- Joined
- Aug 14, 2014
- Messages
- 4,637
- Reaction score
- 1,669
- Location
- Madison, WI
- My Car
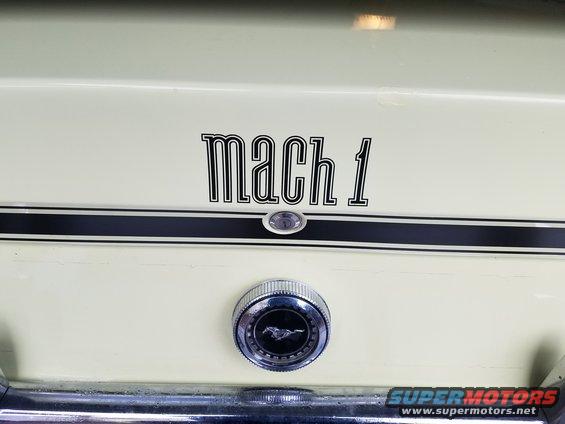
- 1971 Mach 1 w/408C stroker
I also installed a Champion CC381 radiator no long ago, which is thicker and wider than the stock. That said I have gaps between the vertical side of the shroud and radiator, and a gap between the radiator and frame. I am not able to use the original filler piece unless I modify it. At this point I am looking for ideas. I don't want to modify the original filler piece. Do you have pictures of your solution?The only thing I have left to do is get a new filler piece fabricated. The Original black plastic Filler piece that goes between the radiator and the Core Support is so fragile I dont want to try to put it back on there. It is completely disintegrating. The clips are also not going to hold it to that thick radiator frame. So I think I will run by the metal shop on Moday and get them to bend me a piece of polished Aluminum to match the original filler piece. Then I will just screw it to the radiator frame. I will have to see if I can find some better threaded clips as well that will work with the 1/8" thick frame.