Something is amiss here. 20 in at idle is a lot, what cam are you running? I am only getting around 11 - 12 in at idle with a 351c and I can lock up all fours no problem with 17x9 all around and stock brakes. I do not think your issue is a lack of vacuum.
HI,
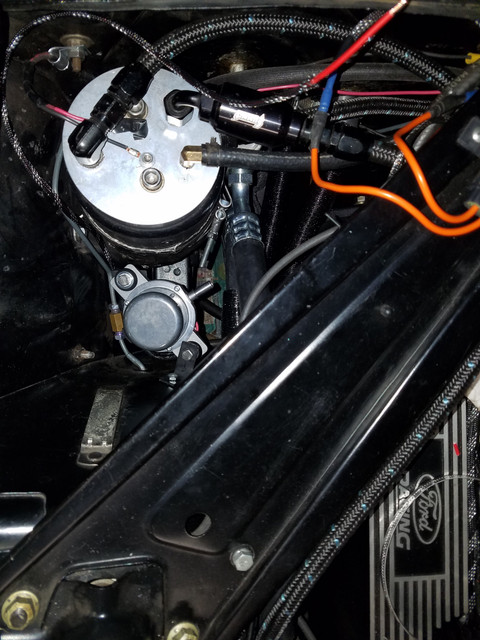
the cam is Mechanical Roller Comp Cams Extreme Energy 242/248 @0.050"
Heads are AFR Bullit
Intake is Edelbrock Performer RPM Airgap
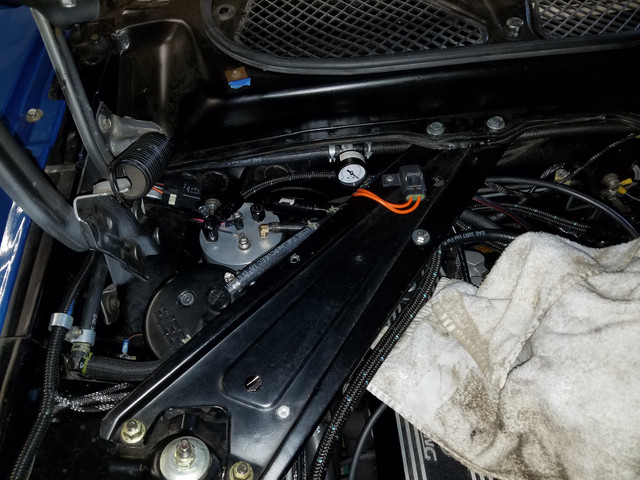
I made another test and connected the Hella pump directly to the booster - yah - I found more brakes but did not lock up yet....
Interesting was also to find out that the pressure switch from Summit cuts the pressure at 14 inHg !!!!!! At this level the brake pedal was stone hard....
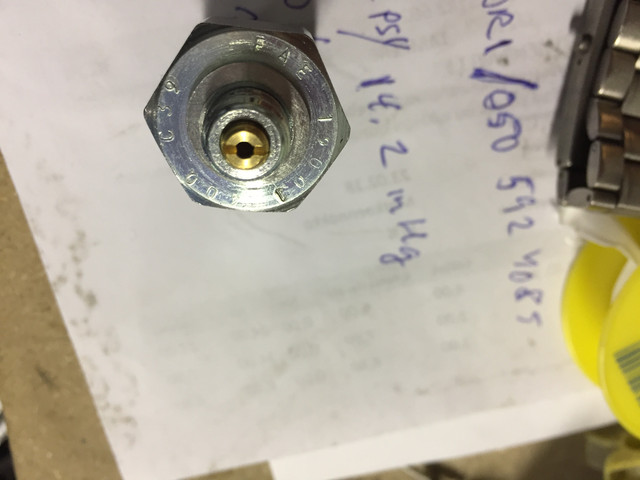
This same look pressure switch seems to be offered in different kits as well ?
Where to get a switch to adjust it till 24 inHg ?


")