canadian_red_maple_leaf
Well-known member
- Joined
- Dec 23, 2010
- Messages
- 266
- Reaction score
- 8
- Location
- Vienna, AUSTRIA
- My Car
- 1966 Mustang K-Code Coupe
1968 VW Beetle
1969 Mustang Mach1
1971 Mustang 351 Boss
1972 Mustang Convertible
1983 Mercedes 280SL
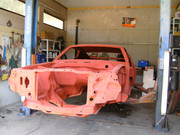
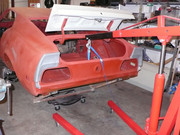
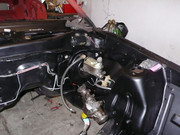
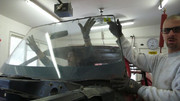
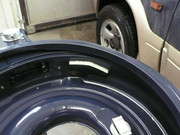
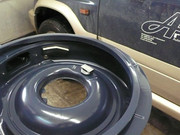
before starting up with the actual welding work on the wheel housing we took out the front window.
we fiddled a wire between the fame and the window and cut it out by moving the wire back and forth
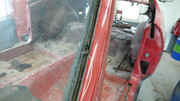
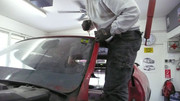
simply push the window forward and out goes the windschield
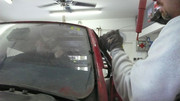
easy does it
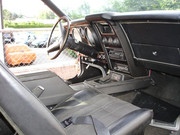
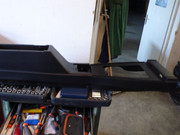
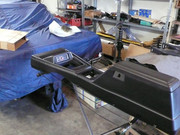
up next was the center console. it's amazing how many parts you have to refurbish when you restore a car.
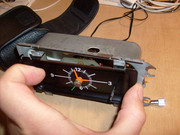
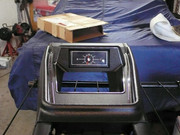
center console before:
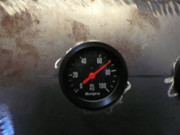
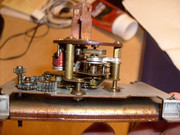
clock before
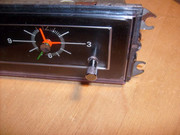
cleaned and lubed
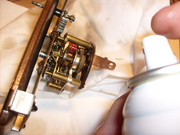
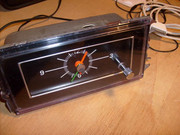
reassembly of the center console
new paint job
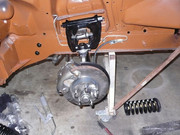
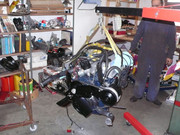
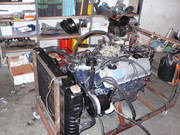
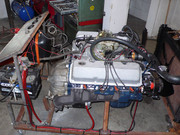
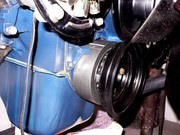
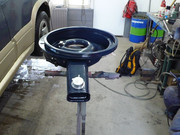
after that i put the boss balancer back onto the engine
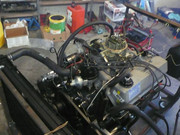
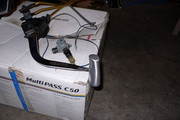
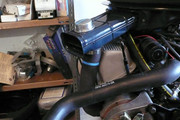
rebuilt the air cleaner
original filter
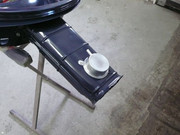
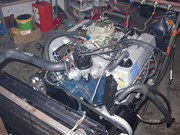
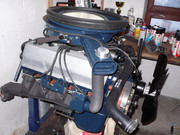
ready for the engine....
tattttaaa
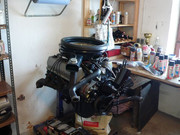
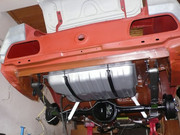
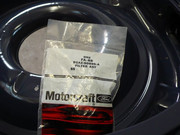
finding that heat shield and heater riser tube was really hard.
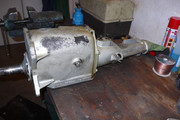
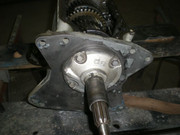
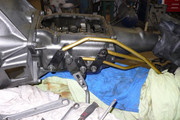
up next was the toploader
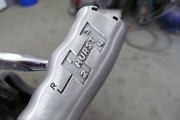
hurst shifter beautiful
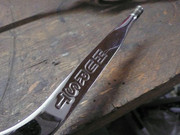
just hat to clean the linkage


the hurt shifter handle
the top loader before
more to come soon

abudi
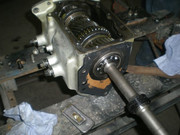
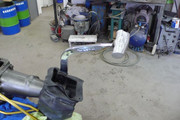
now to the top loader
cleaning took around 4 hours what a pain in the ass

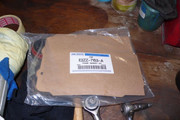
original seal kit
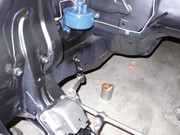
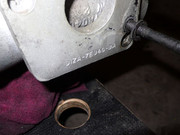
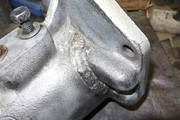
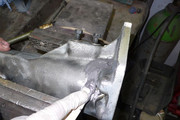
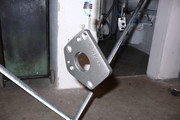
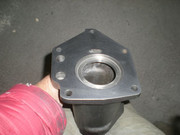
the tail housing had a leak and this is why
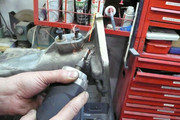
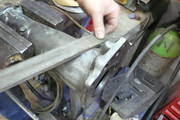
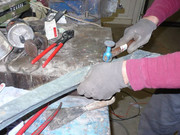
grinding the bad welding work down
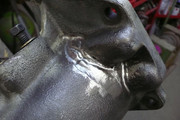
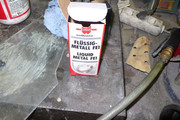
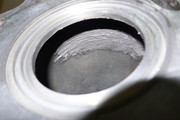
this is liquid metal that is heat and pressure resistant
from the outside
and inside
let it dry for 30 minutes
and on goes the sanding
almost done

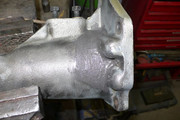
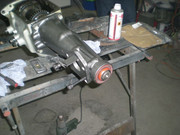
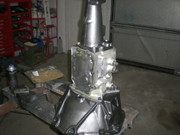
resurfaced
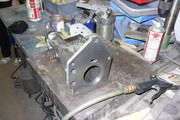
and painted in iron cast
the bell housing should have been blue i know. i liked it better in cast iron

no i didn't forget that")
the 40 year old paper seal
this seal was rock hard
in goes the new one
the front paper seal with silicone

back in place
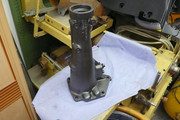
tail housing
new paper seal with silicone to be on the safe side
tail housing with the new real seal
one last look into the tranny
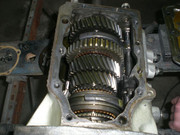
before paint
done

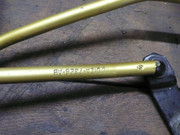
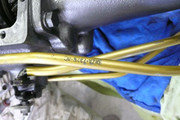
with hurst shifter "bone" and the dust boot. btw you can use the dust boot from the 70 top loaders as well
the boss linkage is gold from what i have researched
pre lubed gears

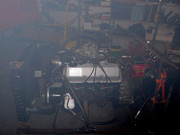
detailing the engine


i hope that's enough for now :-D
abudi
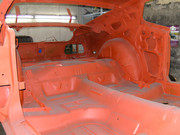
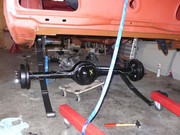
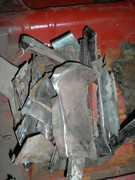
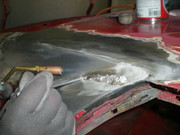
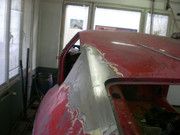
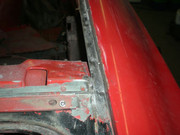
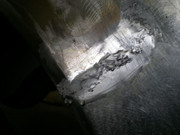
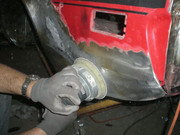
let the welding begin
i'll let the pictures speak for themselves
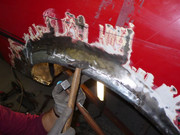
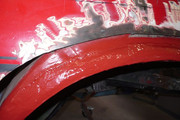
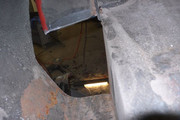
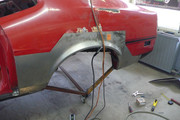


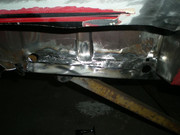

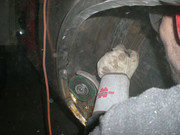
this is the most tedious work i can image

it's a dirty job but someone's got to do it
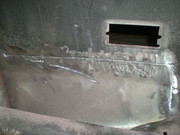
bye bye rust
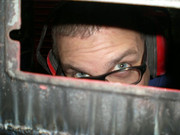
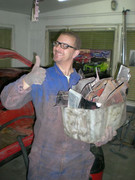
as you can see we had some fun too
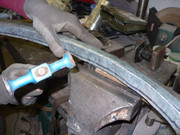
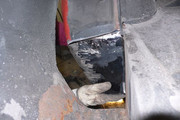
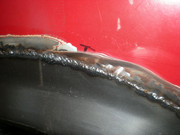
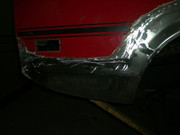
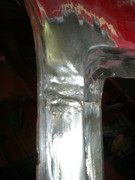
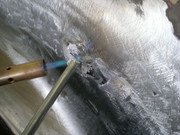
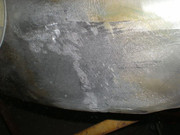
let the tinning begin

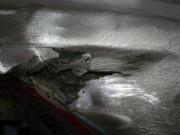
tinning ingredients

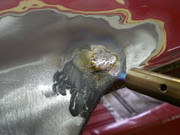


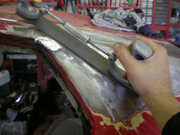
looks good huh
et voilà ....
abudi
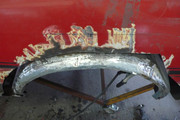
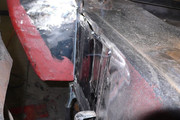
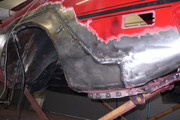
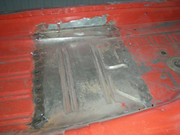
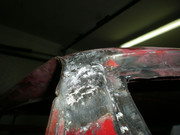
here are a few more pictures of the welding and tinning work.
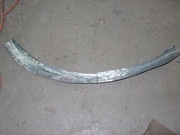
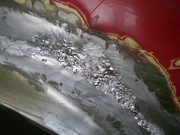
before tinning
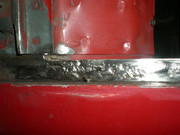
after
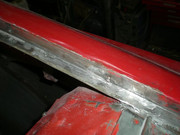
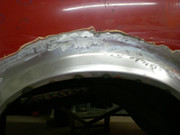
don't be greedy with the tin
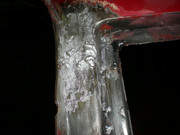
after
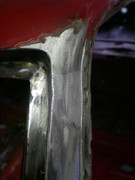
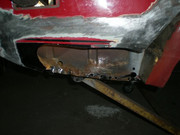
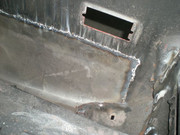
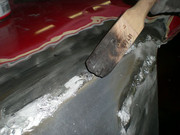
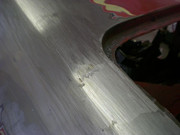
the side panel tinning

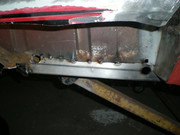
sanding with 80 paper
now the car can go and get sand blasted
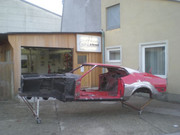
more pics to come
abudi
we fiddled a wire between the fame and the window and cut it out by moving the wire back and forth
simply push the window forward and out goes the windschield
easy does it
up next was the center console. it's amazing how many parts you have to refurbish when you restore a car.
center console before:
clock before
cleaned and lubed
reassembly of the center console
new paint job
after that i put the boss balancer back onto the engine
rebuilt the air cleaner
original filter
ready for the engine....
tattttaaa
finding that heat shield and heater riser tube was really hard.
up next was the toploader
hurst shifter beautiful
just hat to clean the linkage
the hurt shifter handle
the top loader before
more to come soon
abudi
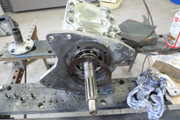
now to the top loader
cleaning took around 4 hours what a pain in the ass
original seal kit
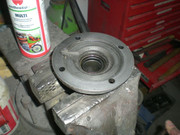
the tail housing had a leak and this is why
grinding the bad welding work down
this is liquid metal that is heat and pressure resistant
from the outside
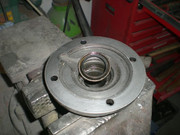
and inside
let it dry for 30 minutes
and on goes the sanding
almost done
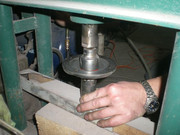
resurfaced
and painted in iron cast
the bell housing should have been blue i know. i liked it better in cast iron
no i didn't forget that
the 40 year old paper seal
this seal was rock hard
in goes the new one
the front paper seal with silicone
back in place
tail housing
new paper seal with silicone to be on the safe side
tail housing with the new real seal
one last look into the tranny
before paint
done
with hurst shifter "bone" and the dust boot. btw you can use the dust boot from the 70 top loaders as well
the boss linkage is gold from what i have researched
pre lubed gears
detailing the engine
i hope that's enough for now :-D
abudi
let the welding begin
i'll let the pictures speak for themselves
this is the most tedious work i can image
it's a dirty job but someone's got to do it
bye bye rust
as you can see we had some fun too
let the tinning begin
tinning ingredients
looks good huh
et voilà ....
abudi
here are a few more pictures of the welding and tinning work.
before tinning
after
don't be greedy with the tin
after
the side panel tinning
sanding with 80 paper
now the car can go and get sand blasted
more pics to come
abudi
Last edited by a moderator: