- Joined
- Jul 10, 2011
- Messages
- 2,056
- Reaction score
- 606
- Location
- Germany, Southwest, Black Forest
- My Car
- 1973 Ford Mustang Mach 1 T5 Q-Code 4-Speed
Hey guys,
in this little tutorial I will show you my restauration of my original Ford space saver tire inflator bottle so you could do it by your own.
You need:
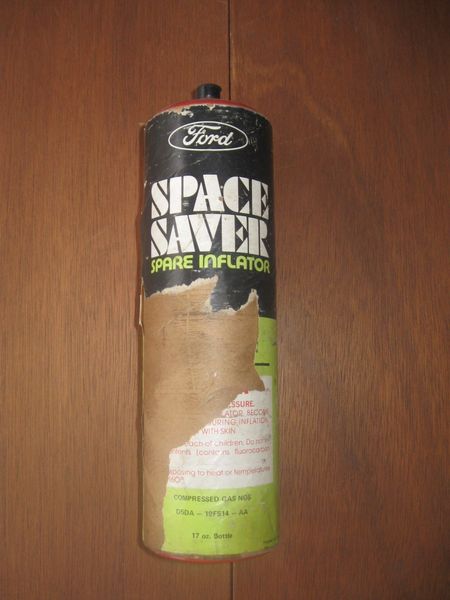
space saver tire inflator bottle with cardboard
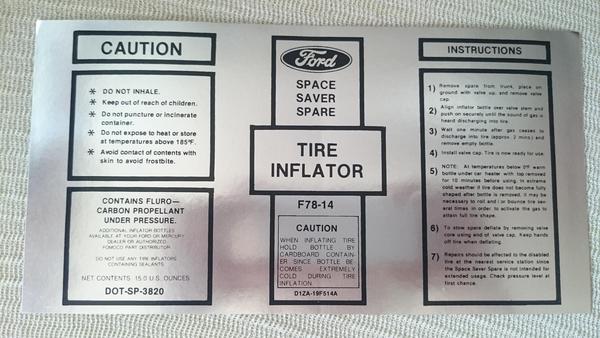
Repopped decal for the space saver tire inflator bottle
Pencil
Jigsaw
Sandpaper (300-400 and 800-1000)
Boiling water
1)
You need a space saver tire inflator bottle with an intact cardboard around it.
I had the luck to find an original Ford dealer replacement bottle from 1975 for 50 bucks on Epay US by bidding on it - strike! It's decal was a little damaged and it was empty so that's the reason of this price. NOS (dealer replacement) bottles from Ford are between 200-300 bucks. An original car-bottle I have never seen there...

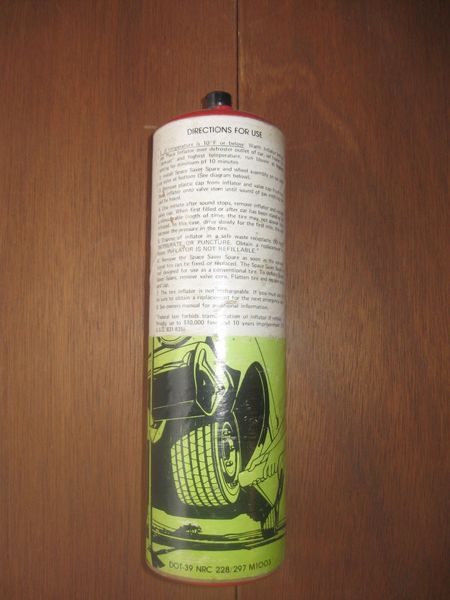
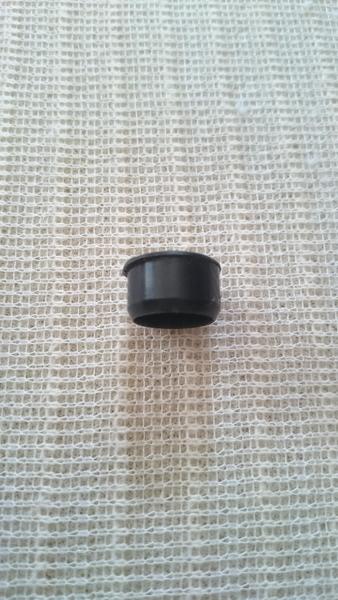
I never wanted to spend that much on a bottle! So I looked around - you could also go with a bottle Datsun, Nissan, AMX or GM - they are exactly the same in measurements and appearance and they are much cheaper to find! The most important is an intact cardboard and the little cap on top of it which has to come with it!
2)
Take the carboard apart from the bottle - the best works a spray can with lid on it. So you could put the bottom of the inflator bottle on the spray can and strip off gently the cardboard. You have to go smoothly and slow over the seam in the middle of the bottle which holds the cardboard in place. Pushing from top to the bottom works best, don't try the other direction. After that it looks like this:
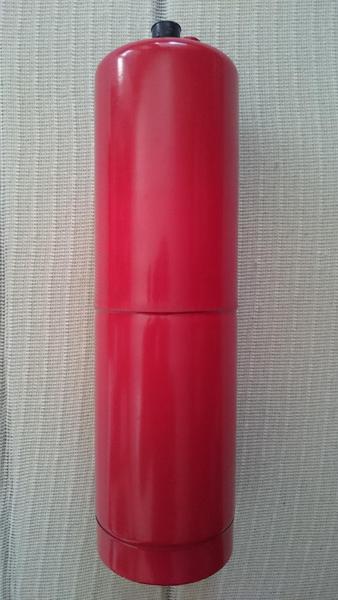
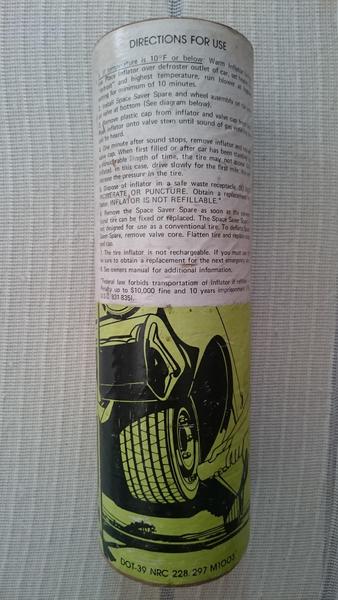
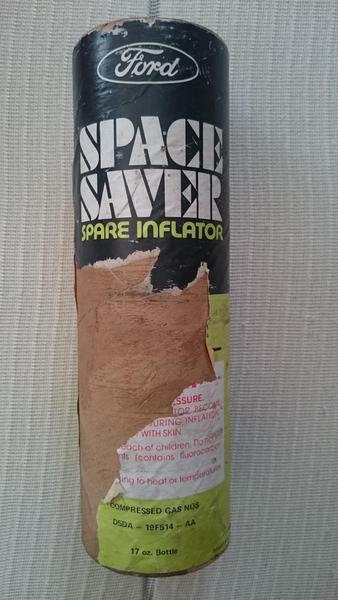
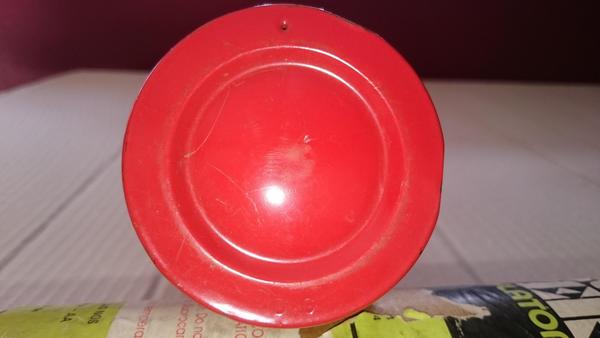
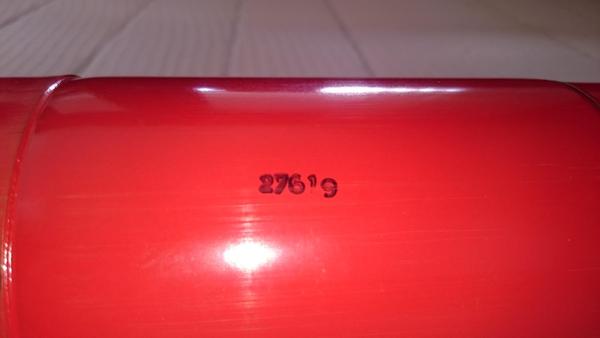
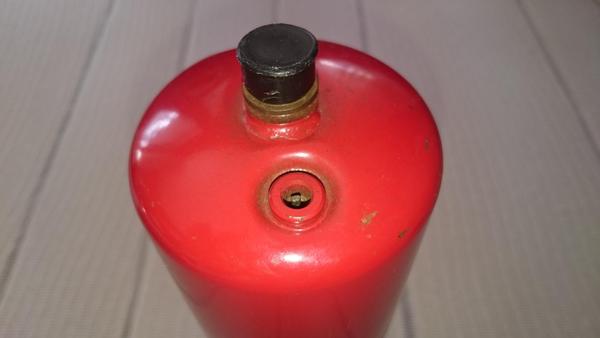
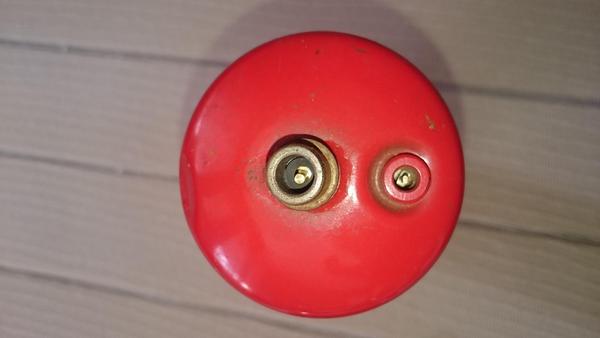
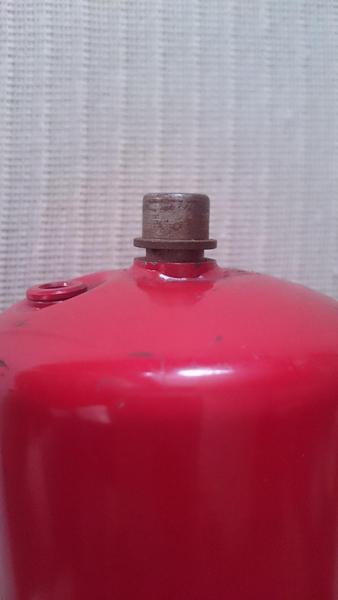
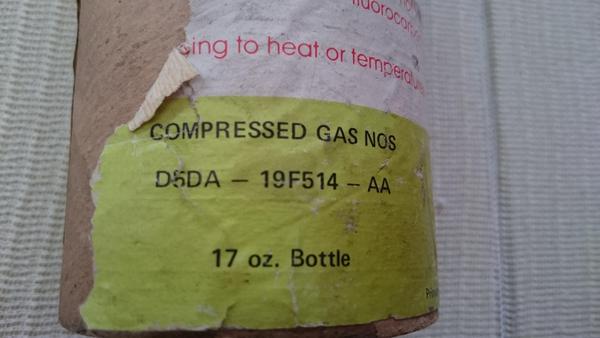
Here are some characteristics of an original Ford bottle:
One small hole and stamped "DG"
3)
Now take the repop decal and lay it around the cardboard in it's end position - fix it after that with scotch tape in this position.

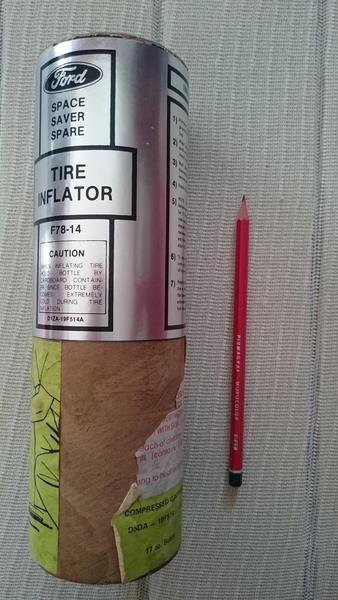
Important for the original look and to prepare:
Let a small cardboard edge free around it - approximiately 0,040 - 0,080 inches!
4)
Take the pencil and mark it sharply around the decal
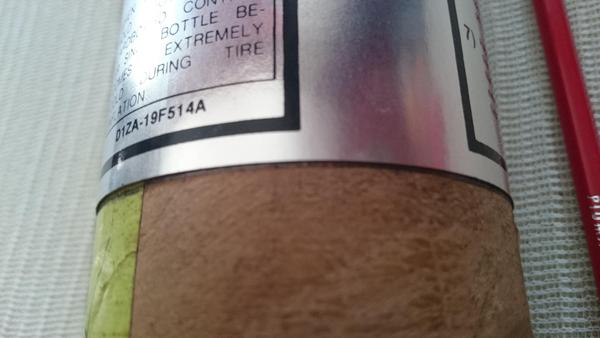
Add the bottom space to the top so if you cut it off you have enough space on both side of the decal to the cardboard - see also 3)
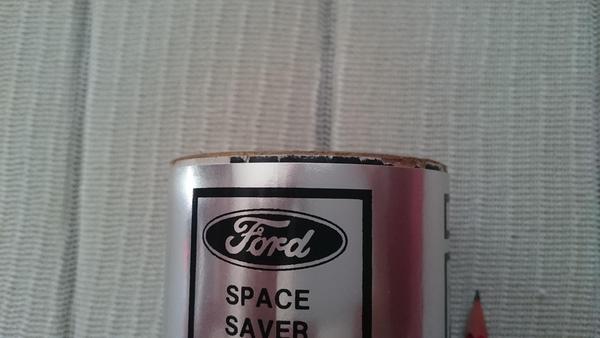
After that take the decal apart and it has to look like that:
5)
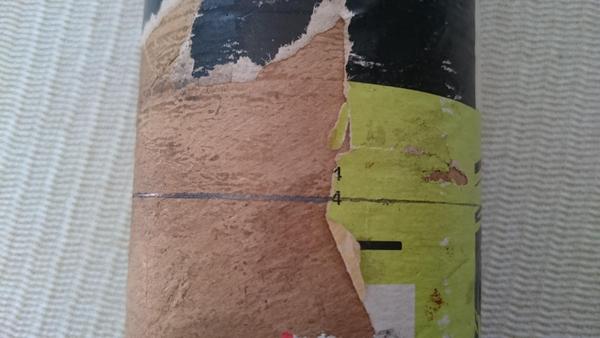
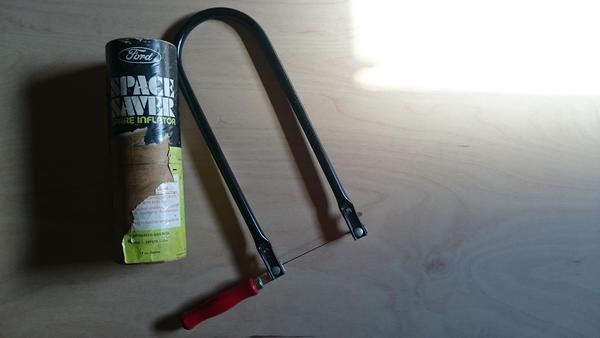
Take the little jigsaw and saw gently around the pencil marking on the cardboard! Have a look for an absolutely straight held saw blad. Little imperfections could be corrected on the next step...
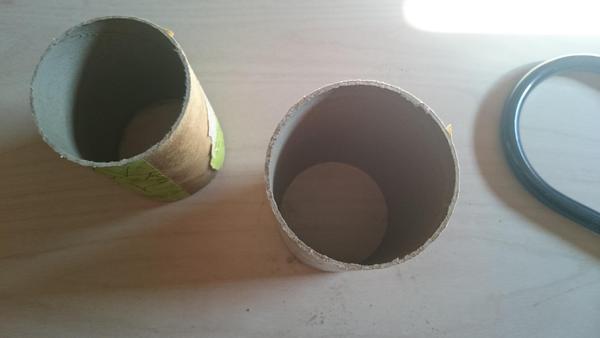
6)
Now we need a sandpaper and lay it flat on a solid underground. Take the right cardboard half and lay it with the cut off side on the sandpaper with 300-400 grain. Then move it with light pressure in circles around till it seems to be fine for you and you have an even edge. For finishing take a finer piece of sandpaper (800 - 1000 grain) and treat the whole edge till it will be smooth like your baby's or girlfriend's butt
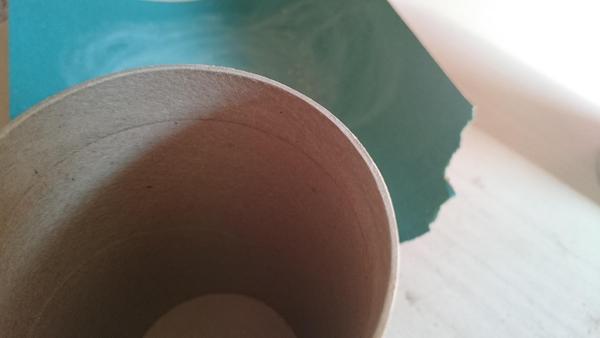
7)
Now a test-fit - looks good
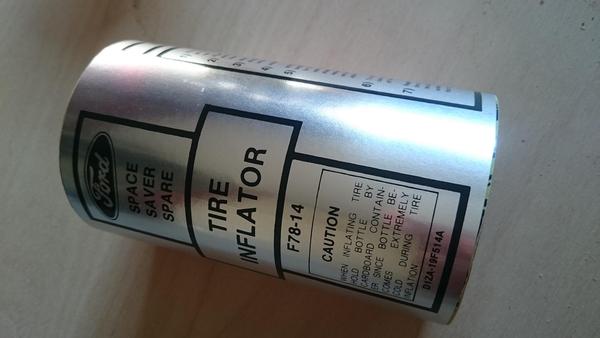
8)
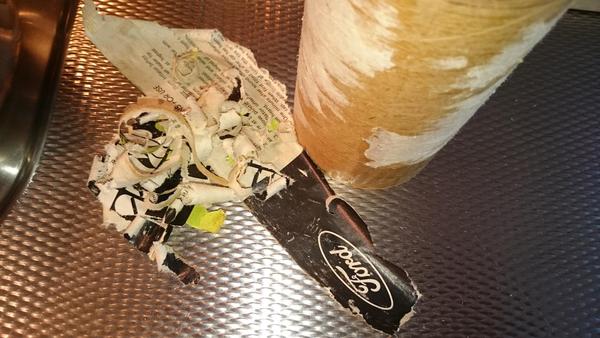
It is time to get rid of the old decal! So prepare a little water in a pot and wait for boiling. If there is some steam take the cardboard and turn it around in the steam over the pot.
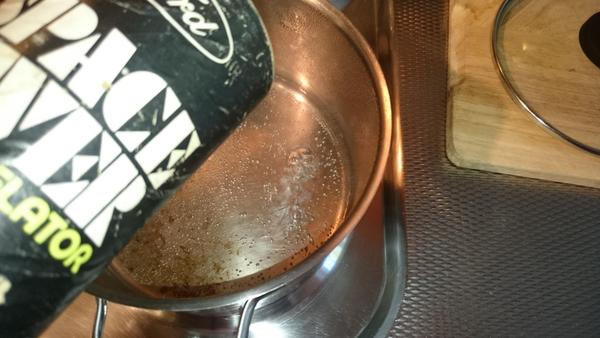
BE CAREFUL - IT WILL GET HOT AND COULD BURN YOUR HANDS!
And could ruin you cardboard if you hold it too long over the steam in one position. Take care!
After succes it looks like this:
9)
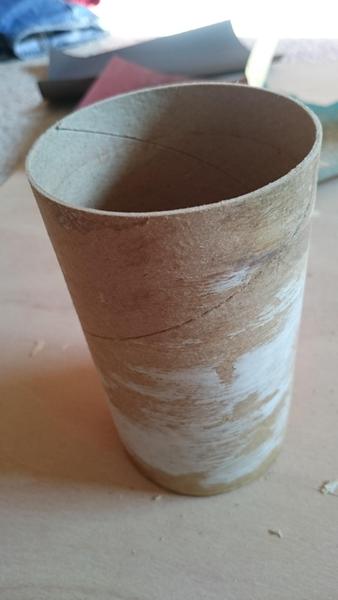
Now it's time for sanding the loose rest of the decal away - first with the rough grain then with the finer one. Be careful and sand not to much. After that take a hair dryer and blew the dust away and make it bone-dry again!
10)
Time to get ready!
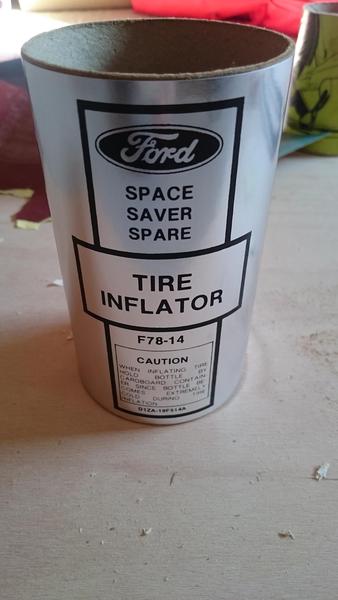
Take on half of the decal and stick it slowly in place. Look for the right distance to the edge on both sides of the cardbord and look out for bubbles. If you were careful enough it should look like that:
11)
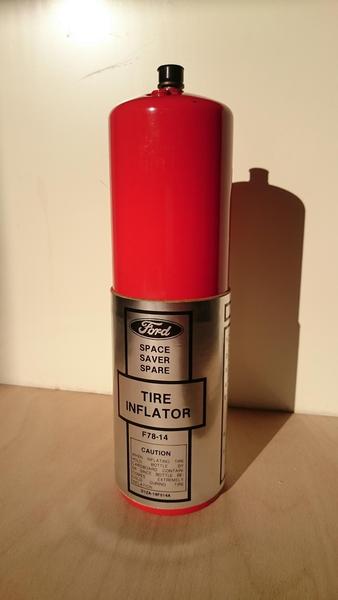
Put the cardboard careful from top to the bottom back on the bottle and let some space to the bottom space for an original look. If you had all done right the cardboard will be hold tightly by the seam in the middle of the bottle.
R E S U L T
Have fun and success ::thumb::
in this little tutorial I will show you my restauration of my original Ford space saver tire inflator bottle so you could do it by your own.
You need:
space saver tire inflator bottle with cardboard

Repopped decal for the space saver tire inflator bottle

Pencil
Jigsaw
Sandpaper (300-400 and 800-1000)
Boiling water
1)
You need a space saver tire inflator bottle with an intact cardboard around it.
I had the luck to find an original Ford dealer replacement bottle from 1975 for 50 bucks on Epay US by bidding on it - strike! It's decal was a little damaged and it was empty so that's the reason of this price. NOS (dealer replacement) bottles from Ford are between 200-300 bucks. An original car-bottle I have never seen there...


I never wanted to spend that much on a bottle! So I looked around - you could also go with a bottle Datsun, Nissan, AMX or GM - they are exactly the same in measurements and appearance and they are much cheaper to find! The most important is an intact cardboard and the little cap on top of it which has to come with it!
2)
Take the carboard apart from the bottle - the best works a spray can with lid on it. So you could put the bottom of the inflator bottle on the spray can and strip off gently the cardboard. You have to go smoothly and slow over the seam in the middle of the bottle which holds the cardboard in place. Pushing from top to the bottom works best, don't try the other direction. After that it looks like this:


Here are some characteristics of an original Ford bottle:
One small hole and stamped "DG"


3)
Now take the repop decal and lay it around the cardboard in it's end position - fix it after that with scotch tape in this position.


Important for the original look and to prepare:
Let a small cardboard edge free around it - approximiately 0,040 - 0,080 inches!
4)
Take the pencil and mark it sharply around the decal

Add the bottom space to the top so if you cut it off you have enough space on both side of the decal to the cardboard - see also 3)

After that take the decal apart and it has to look like that:

5)
Take the little jigsaw and saw gently around the pencil marking on the cardboard! Have a look for an absolutely straight held saw blad. Little imperfections could be corrected on the next step...


6)
Now we need a sandpaper and lay it flat on a solid underground. Take the right cardboard half and lay it with the cut off side on the sandpaper with 300-400 grain. Then move it with light pressure in circles around till it seems to be fine for you and you have an even edge. For finishing take a finer piece of sandpaper (800 - 1000 grain) and treat the whole edge till it will be smooth like your baby's or girlfriend's butt

7)
Now a test-fit - looks good

8)
It is time to get rid of the old decal! So prepare a little water in a pot and wait for boiling. If there is some steam take the cardboard and turn it around in the steam over the pot.

BE CAREFUL - IT WILL GET HOT AND COULD BURN YOUR HANDS!
And could ruin you cardboard if you hold it too long over the steam in one position. Take care!
After succes it looks like this:

9)
Now it's time for sanding the loose rest of the decal away - first with the rough grain then with the finer one. Be careful and sand not to much. After that take a hair dryer and blew the dust away and make it bone-dry again!

10)
Time to get ready!
Take on half of the decal and stick it slowly in place. Look for the right distance to the edge on both sides of the cardbord and look out for bubbles. If you were careful enough it should look like that:

11)
Put the cardboard careful from top to the bottom back on the bottle and let some space to the bottom space for an original look. If you had all done right the cardboard will be hold tightly by the seam in the middle of the bottle.
R E S U L T

Have fun and success ::thumb::


