- Joined
- Aug 14, 2014
- Messages
- 4,543
- Reaction score
- 1,590
- Location
- Madison, WI
- My Car
- 1971 Mach 1 w/408C stroker
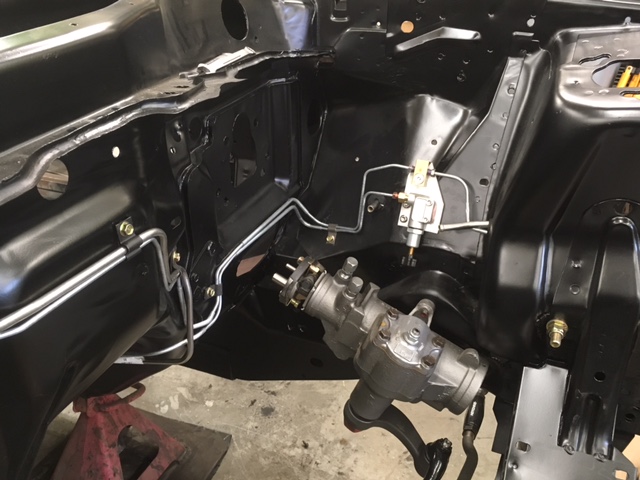
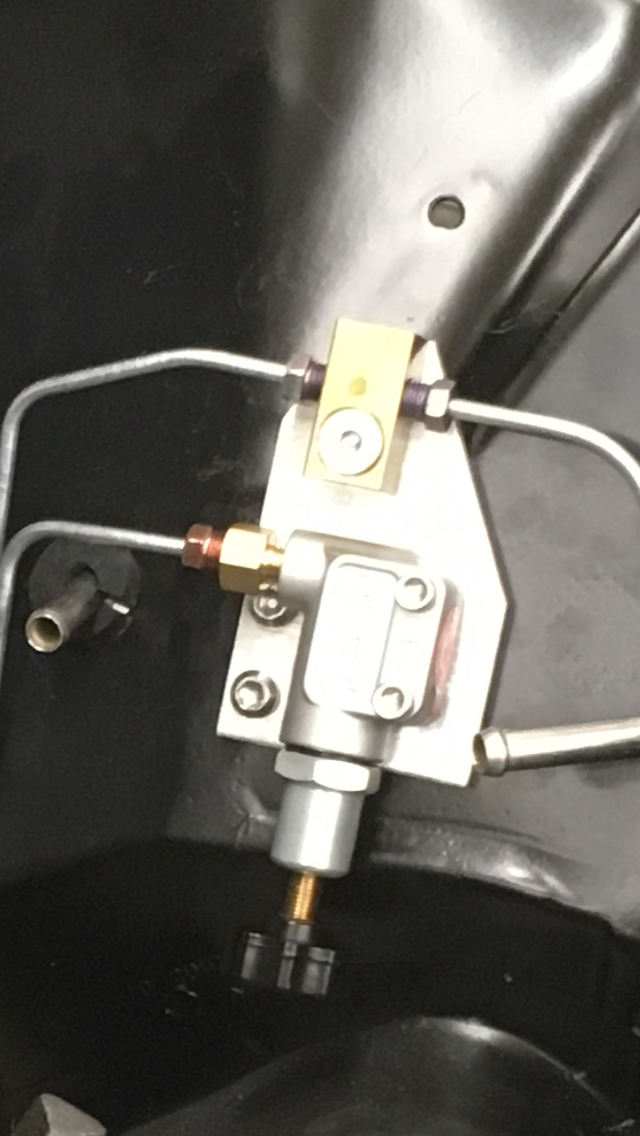
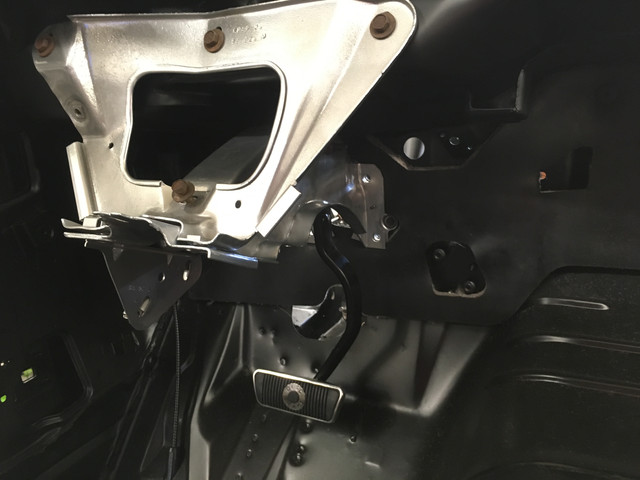
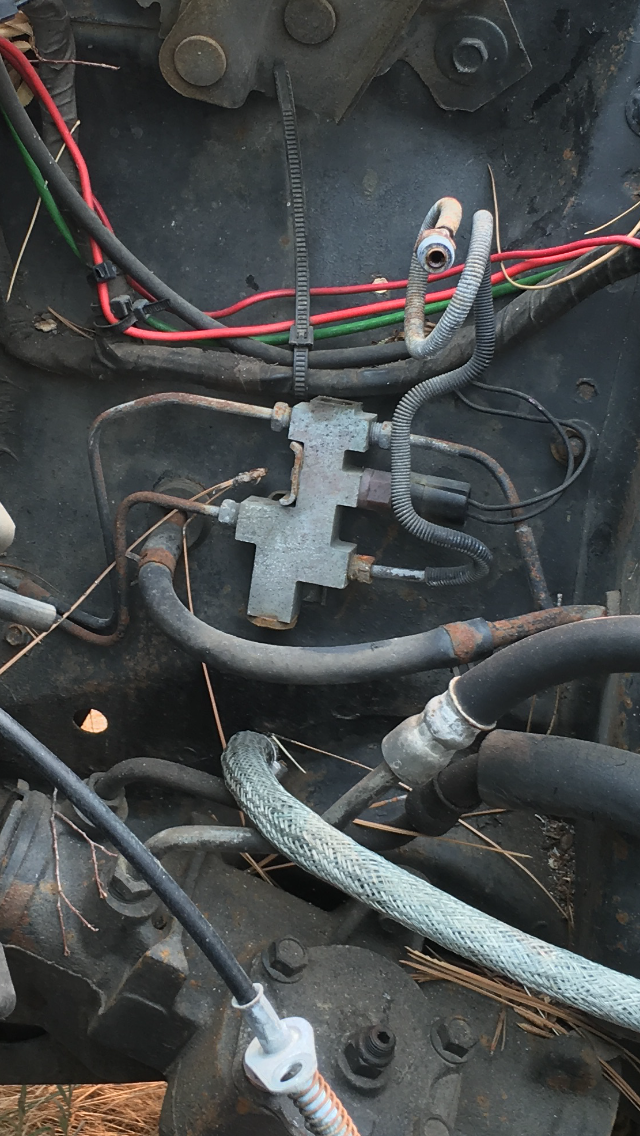
Awesome. What type of steering system do you have?Finally got my brakes including hand brake operational, new braided hoses, made up all new pipes and vacuum bled it and after a few adjustments have a great pedal.
Now just need to put the rest of the car together.
Sent from my SAMSUNG-SM-G930A using Tapatalk