You are using an out of date browser. It may not display this or other websites correctly.
You should upgrade or use an alternative browser.
You should upgrade or use an alternative browser.
351 4v ( 408 and TKX )
- Thread starter mach71351c
- Start date


Help Support 7173Mustangs.com:
This site may earn a commission from merchant affiliate
links, including eBay, Amazon, and others.
Thanks. Believe me I can't wait to see the video as well.Cant work out how i missed this thread. Maybe it was started before i joined. Having just started at the beginning and read through i cant believe how far you have come with this car. If this thread doesnt give other members the impetus to restore theirs then nothing will. What a fantastic job. Looking forward to seeing the car finished and fired up with attached video
Thanks Kevin, I'm trying I'm trying!!!Looks good Mike!!!! Get that thing together and on the road!!
It may be the pics tricking your eye. If you look at page 5 you will see that the top of the molding is just below the body line. Hear are some pics of thickness of the molding.Fabulous!
Totally agree with @pegleg on this: very motivating!
Could you give me the height/thickness of the molding on the quarter? I have this option too, but looks like yours is more flat than mine and higher too.
Because these are U shaped to have the retainer to fit in them, they end up being dirt collectors very fast, so I was thinking of making thinner copies of my set in stainless steel and somehow yours on the quarter looks exactly how I would like to have them. Were there different shapes or is it the pict that is tricking my eye?


Thanks Brian,means allot.Very very nice build you have here. It is great to see someone with your talents and friends and family who can help you along the way. Great to see you are getting a little closer. All good things come with time and patience and your dedication to both is showing through in the quality of this build. Good Job!
MCA show roflCar is looking great been a long road for sure but keep at it.
Just a note about how you are doing under the fenders and around the front end. Ford did not spray black on the outside of the inner fender wells. If you go to the Ford Facts Book you will see the notes on how the car was painted. Had two coats of primer, sanding and then the I believe two coats of color sprayed by normal means and then final coat sprayed with a special head.
The under side of fenders just got over spray, painted off the car, and the inner fenders got what ever the guy on on that side decided to put, lol. This car is an original paint car you can see none of the bolts are painted and suspension parts have no over spray on them like a repaint would have. Ford applied the seam sealer and what little undercoat they applied then primed and painted the car the color. The black below the Decor Group trim was then sprayed along with areas beside the tail light openings and under the hood and cowl area.
Your car will look better with the black under the fenders but would not be concourse correct if trying to gain points at a MCA show.
Here are a few pics of the car I have that has factory paint on most of the car. Hood and tops of front fenders were painted at some time maybe hail damage?
Way more paint on passenger side than the drivers side for sure. I scraped the loose seam sealer off and put POR on to prevent rust and put some seam sealer and undercoat back on. This is a driver and not trying to win shows.
The outer upper shock tower pieces I had removed to clean everything and they are SLOP gray like the shock tower braces.
You can see the bare steel where I had remove the cracked and loose seam sealer.


$36.32
$55.00
The Complete Book of Ford Mustang: Every Model Since 1964-1/2 (Complete Book Series)
Amazon.com

$29.95
$35.95
Ford Mustang, Mach 1, GT, Shelby, & Boss V-8 (64-73) Haynes Repair Manual
Amazon.com


$35.00
$49.95
Ford Mustang (2005-2014) Haynes Repair Manual (USA) (Paperback)
Haynes Repair Manuals


$13.75
$16.39
Ford Mustang: Trivia & Fun Facts Every Fan Should Know About The Great American Icon!
Amazon.com


$99.99
Polished Rocker Panel Sill Plate Molding Kit with Clips Compatible with 1964-1966 Ford Mustang - Authentic Restoration for Classic Car Enthusiasts
Classic 2 Current Fabrication

Thanks Mike. Nope, no hockey stripes for this one!Looks great Mike. So I guess it won’t get hockey stripes?
Thanks Ryan. I know I was hoping to be farther along by now.Glad to see you back at it Mike. Looking good! Ryan
- Joined
- Dec 23, 2010
- Messages
- 6,624
- Reaction score
- 104
- Location
- Luxembourg / Europe
- My Car
- 1972 Mustang Convertible
Good choice!!!Thanks Mike. Nope, no hockey stripes for this one!Looks great Mike. So I guess it won’t get hockey stripes?
Painted front bumper bracket assembly today.

- Joined
- Mar 30, 2017
- Messages
- 2,410
- Reaction score
- 916
- Location
- The Netherlands
- My Car
- 73 Grande 351C
71 Mach 1 429CJ
Nice!
Thank for the picts + scale. I'll check asap, pretty sure mine are not having this shape.
Thank for the picts + scale. I'll check asap, pretty sure mine are not having this shape.
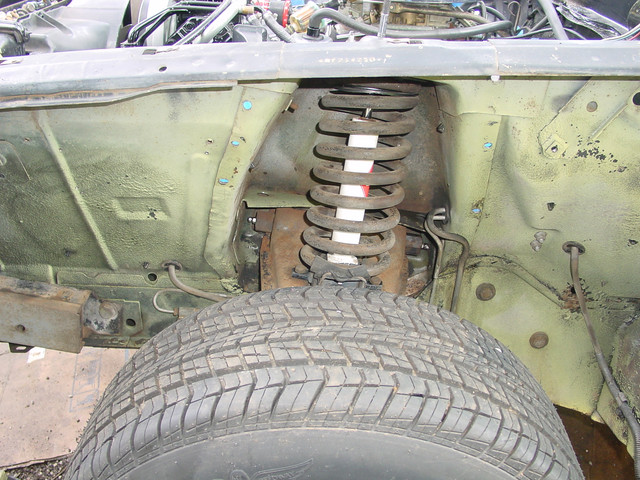
Had a good day with the Mach 1. 1st EZoff and pressure washed the shock tower cavers. Then primed and undercoated them. 2nd removed the wasted front suspension and steering. 3rd sanded the engine bay. Tomorrow mask the car up in plastic and paint the engine bay.


Got the engine bay painted today. Very pleased how it came out. Big thanks to my wife for helping me tape it up.


- Joined
- Mar 30, 2017
- Messages
- 2,410
- Reaction score
- 916
- Location
- The Netherlands
- My Car
- 73 Grande 351C
71 Mach 1 429CJ
Awesome! I hope to be that far this winter.
How did you remove the suspension? Removed the spring first and then upper and lower arms in one go?
Nice approach, I did remove a few times the arms, but never thought of doing this way...
How did you remove the suspension? Removed the spring first and then upper and lower arms in one go?
Nice approach, I did remove a few times the arms, but never thought of doing this way...
I removed the springs first awhile back. I screwed a 4x4 block of wood in place of the spring to keep the car a roller. I removed the suspension as a hole so can pressure wash and then disassemble on the work bench.Awesome! I hope to be that far this winter.
How did you remove the suspension? Removed the spring first and then upper and lower arms in one go?
Nice approach, I did remove a few times the arms, but never thought of doing this way...


Looks awesome!!!
Thanks guys! I feel this is a turning point for the project.
- Joined
- Sep 30, 2018
- Messages
- 27
- Reaction score
- 0
- Location
- Union County NJ
- My Car
- 1971 Coupe, 351C 2V, C6, apparently was 250 I6 base coupe. Needs a bit of TLC and mucho dinero. Body is straight, which is a good start.
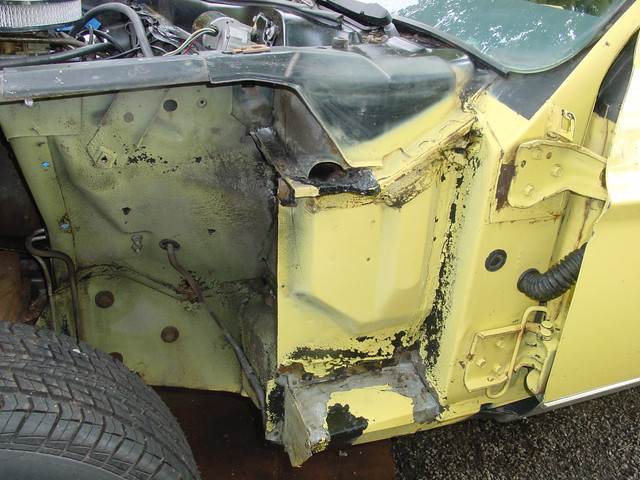
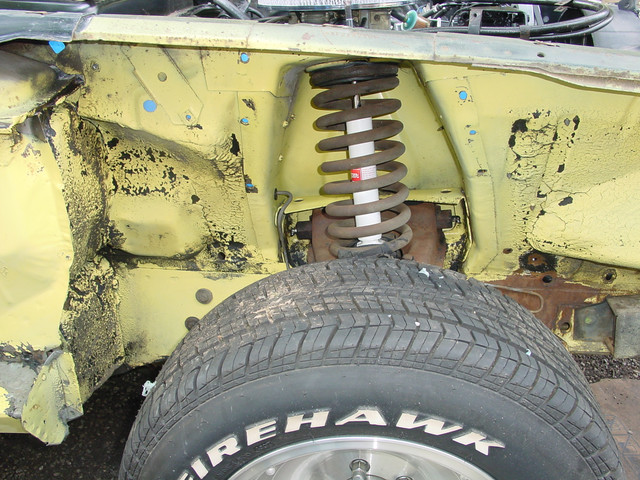
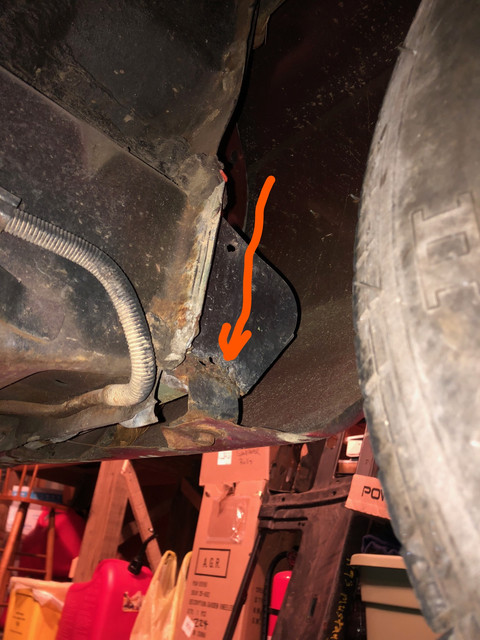
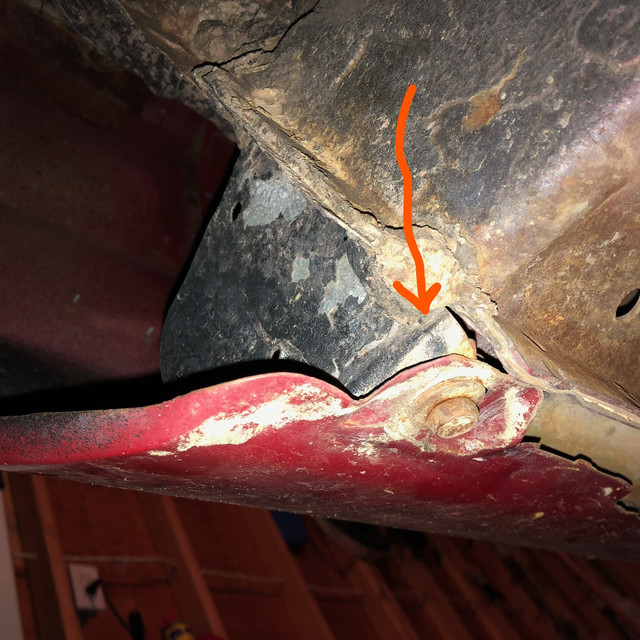
I'm new to the site and i am planning a 71 Coupe project. I was looking for pics on how the front fenders attach, right behind the wheels, since my car has some issues there. Passenger side looks like it was crushed up a bit, and the drivers side has a 90 deg. extension tacked on. See pic's
Your thread has great detail pictures of the clean up and paint, especially of the chassis. Your work is looking real good too. The "rotisserie" is excellent too. Thought of making one out of pipe and angle iron. That idea you used is so simple, it's great. Hope yours turns out to be everything you want. Again, great thread.
Your thread has great detail pictures of the clean up and paint, especially of the chassis. Your work is looking real good too. The "rotisserie" is excellent too. Thought of making one out of pipe and angle iron. That idea you used is so simple, it's great. Hope yours turns out to be everything you want. Again, great thread.
jowens1126
Jim
- Joined
- Jan 25, 2017
- Messages
- 733
- Reaction score
- 24
- Location
- Tavares, fl
- My Car
- 71 Mustang Mach 1
302-2v
C4
Well that is one EPIC build thread! Congrats on being able to take the time to document and photograph so much of the good work you have done. I know how difficult all that is. I really like what you have done with the car. Its a James Bond Car! Always loved that one.
Its really nice to see someone do a restoration like this in their garage. It takes some skill and know how, but most of all it takes the ability to know what you can and cant do yourself, then find someone you trust that can do it. I envy your welding skills. I wish I had taken that up in my youth. Its one of those things I have been planning on doing for years but never have.
So its now been almost 4 years of work on the car to get it to this stage. Have you ever sat down and added up all the cost of this yet? I dont know if I would have the nerve to do that, lol. Especially with the wife around.
I was looking at a resto project done by a shop out in cali on a 68 Torino. It was meticulous just like what you have done. I emailed and asked how much, they actually replied in like 10 mins and said about $200k. Now that just seems a tad bit unreasonable to me, but you know how those shops value their time. So you might say, you saved yourself about $150k by doing this yourself. Thats a much nicer way to look at it.
One thing I didnt see or may have skipped over was the engine that you got back in the first page for free. Whatever happened with that?
Similar threads
- Replies
- 28
- Views
- 2K
- Replies
- 27
- Views
- 855