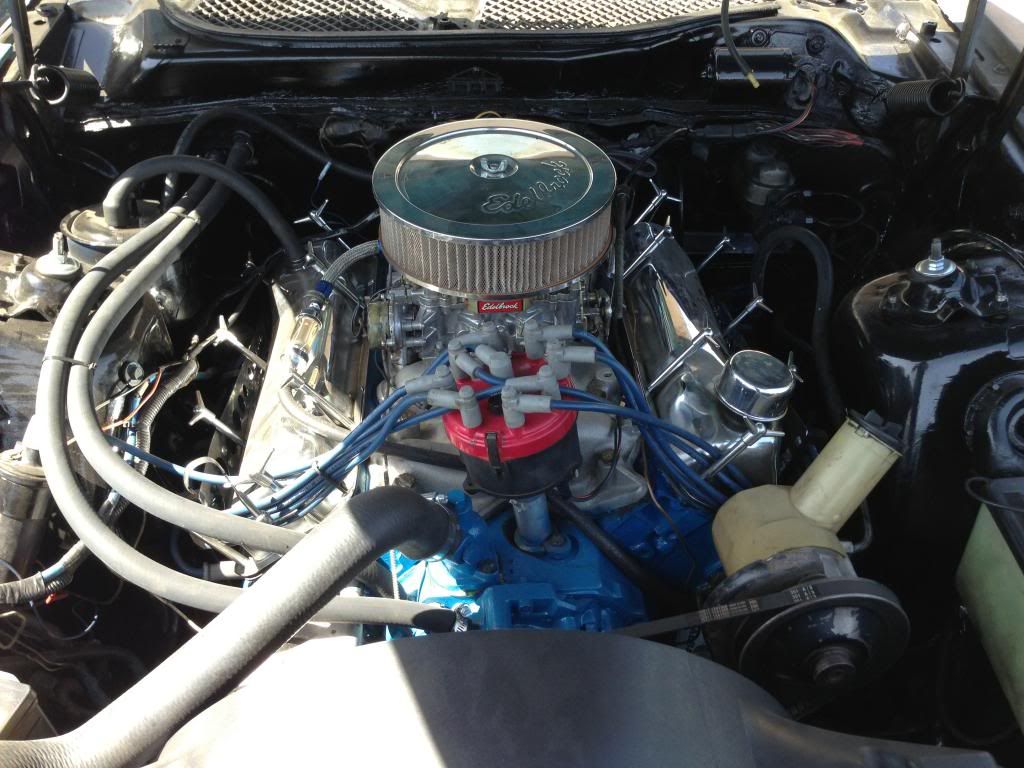
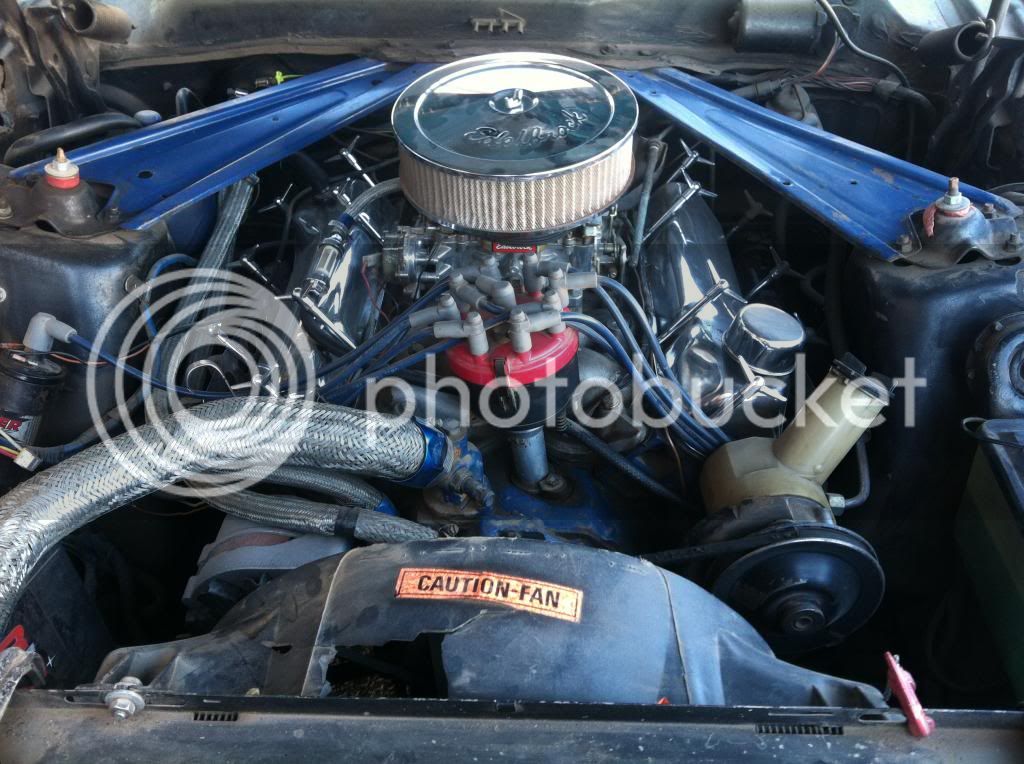
Just a comment here, The pcv valve is connected to the fuel vapor canister. Should be connected to the air cleaner if memory serves me right. Needs the vacuum to draw out the crankcase vapor. Looking good, nice project.
-jbojo
Stock setup would have one vent directly to the air cleaner (ported vacuum), while the PCV valve itself would be connected to the PCV output at the bottom of the carb or on the carb spacer (to manifold vacuum).
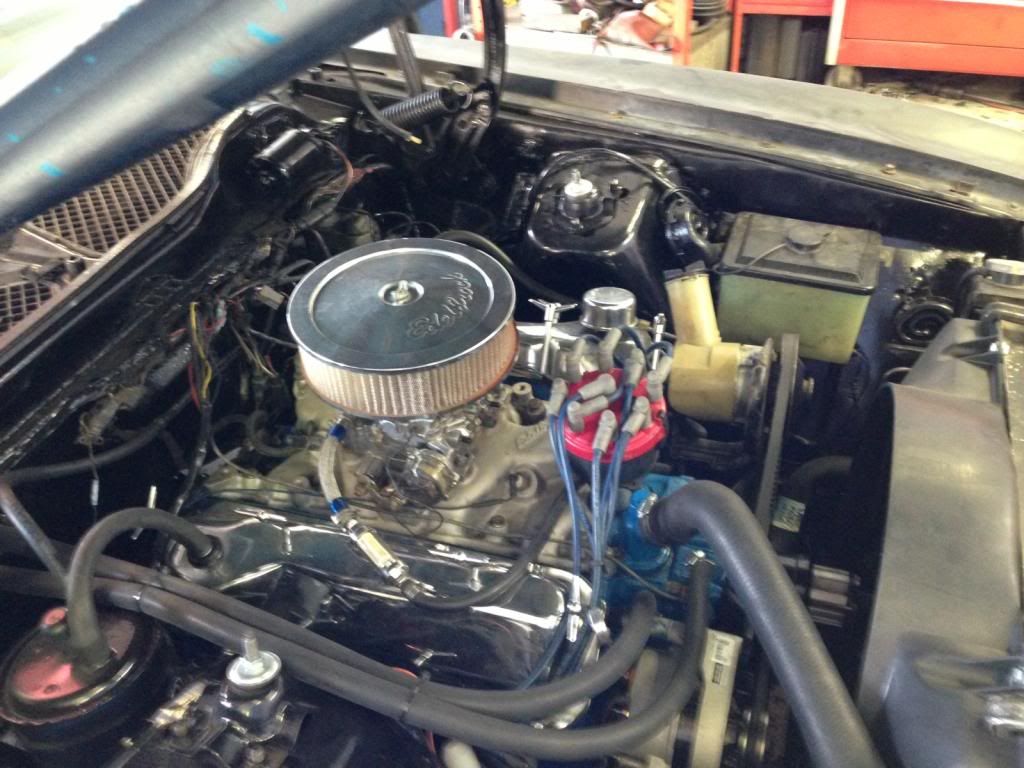
Right now, it looks as if the LH side is venting to outside air (good enough) but the RH that's connected to the charcoal canister appears to have the PCV valve connected to it, in which case, it should be re-routed to pull off the PCV port on the Edelbrock at the bottom flange.
FYI, I can't think it a good thing to suck anything from the charcoal canister into the oil...
-Kurt


 ) over the summer.