cudak888: 1971 M-code "Soylent Green" - 8/30/14: Shrinking disc time

7173Mustangs.com

Help Support 7173Mustangs.com:

This site may earn a commission from merchant affiliate links, including eBay, Amazon, and others.
Hang in there, Kurt! Still did better than I did. :D
Redneck patch panels for the car with the Redneck Gas Tank Hanger?

;)

-Kurt
Nuthin' but the finest, you know. Now if you'll 'scuse me while I go brush my tooth. rofl

 
I have to chime in on this post and just say how great it is to see you guys tackling this major bodywork. I learned long ago 23+ years that I would be better off saving my pennies towards bodywork. I just do not have the talent, tools, talent, patience, talent, perseverence, talent, skill, or talent to tackle it. It has been a treat to follow both of you (cudak888 & Mister 4X4) as you tackled these new challenges. Cudak888 I hope you do continue to build your skills and share them with us as they grow. If you do chose another coarse, short of selling the car, I will support you, but it looks to me like you are building your skills. Panels are cheap it is the sweat and toil that you put into them that is the payback. KEEEP AT IT and your mustang family will be here for your frustrations to get shared and applaud your accomplishments.

 
I have to chime in on this post and just say how great it is to see you guys tackling this major bodywork. I learned long ago 23+ years that I would be better off saving my pennies towards bodywork. I just do not have the talent, tools, talent, patience, talent, perseverence, talent, skill, or talent to tackle it. It has been a treat to follow both of you (cudak888 & Mister 4X4) as you tackled these new challenges. Cudak888 I hope you do continue to build your skills and share them with us as they grow. If you do chose another coarse, short of selling the car, I will support you, but it looks to me like you are building your skills. Panels are cheap it is the sweat and toil that you put into them that is the payback. KEEEP AT IT and your mustang family will be here for your frustrations to get shared and applaud your accomplishments.
+5,427!! The fact that you still have some shred of your great sense of humor is a testament to your character and well-stocked liquor cabinet! :p

Hang in there - you know we're all rooting for you!

 
Gentlemen, I thank you for the kind words. Sometimes I wonder if I could make it through this job without your support - though I'm very glad that it is not the case.

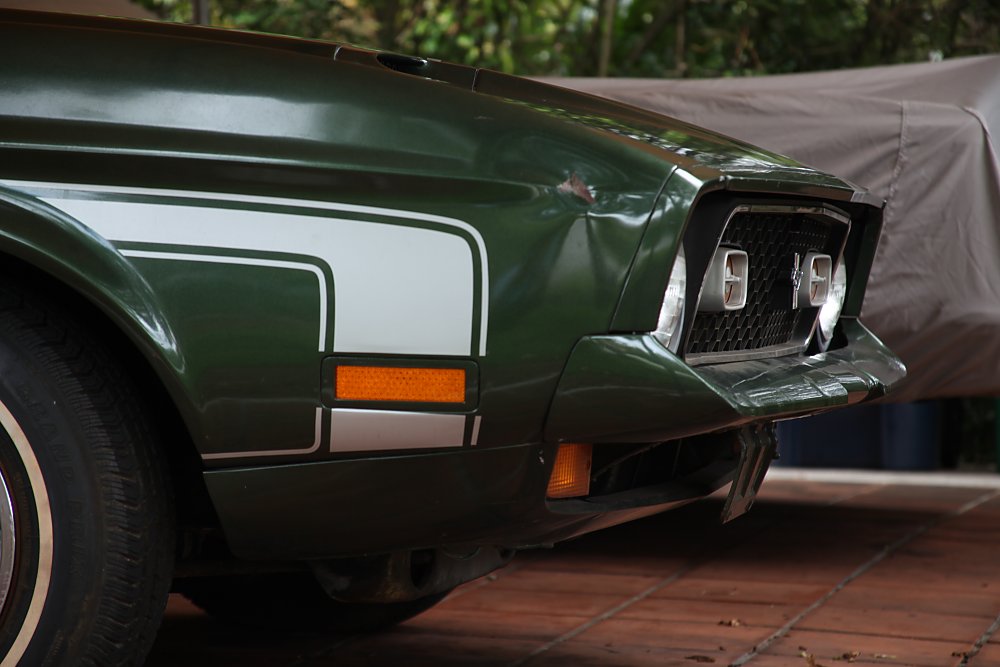
Anyway, I feel I owe it to the forum to show a few of the problem areas.

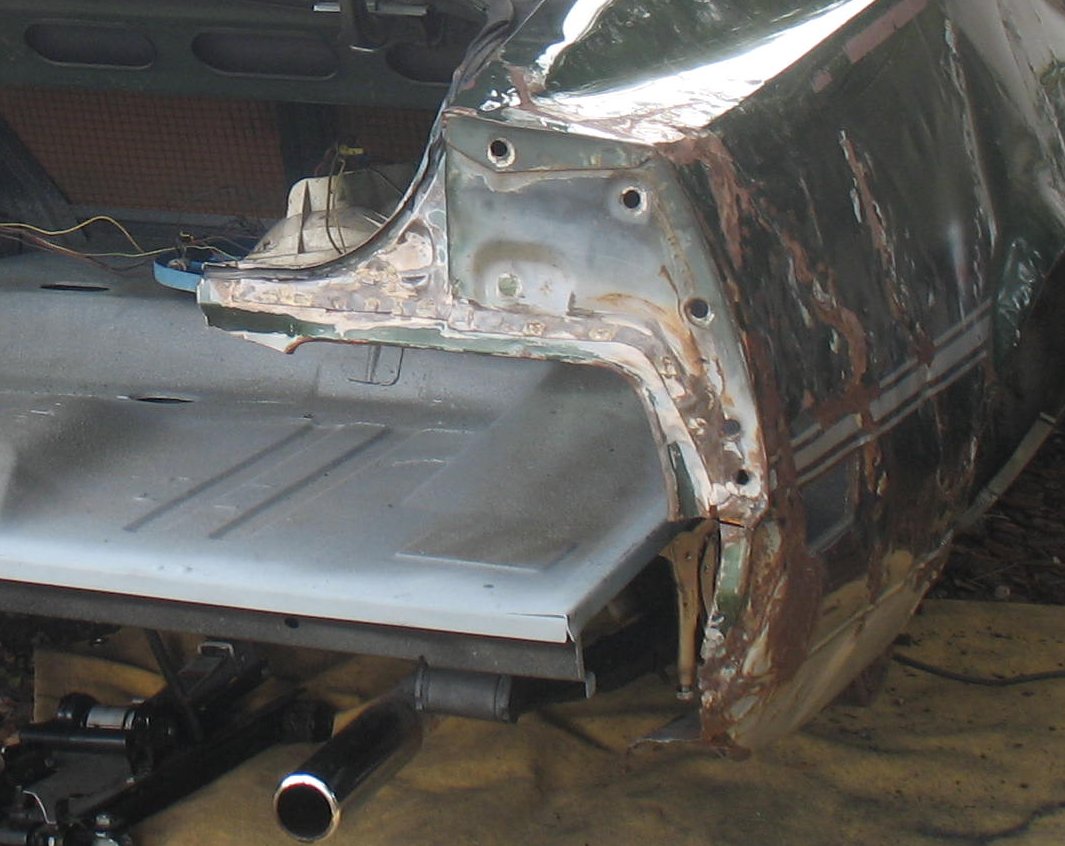
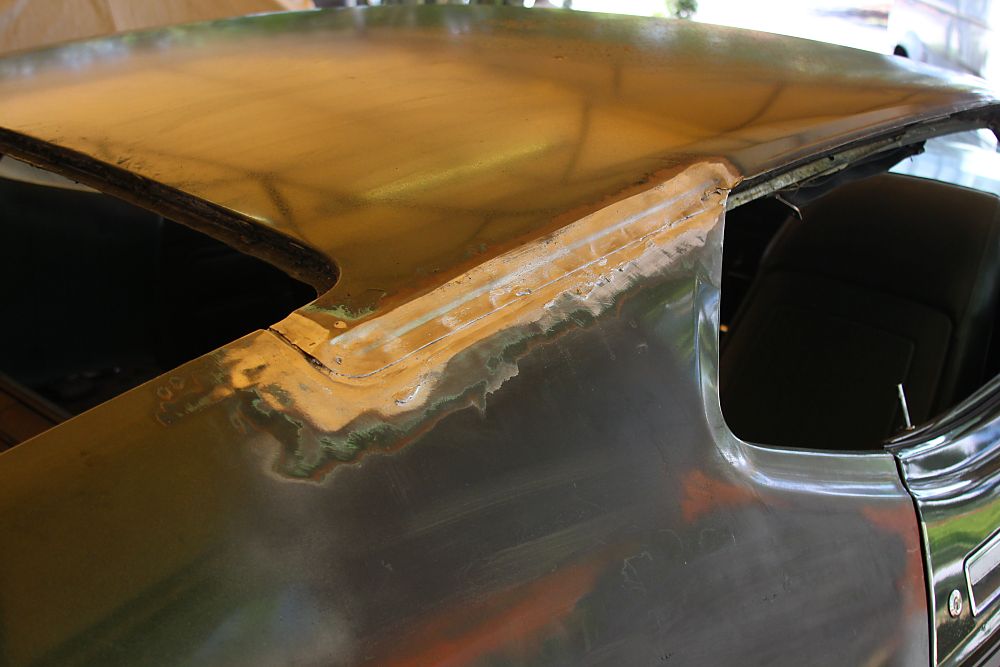
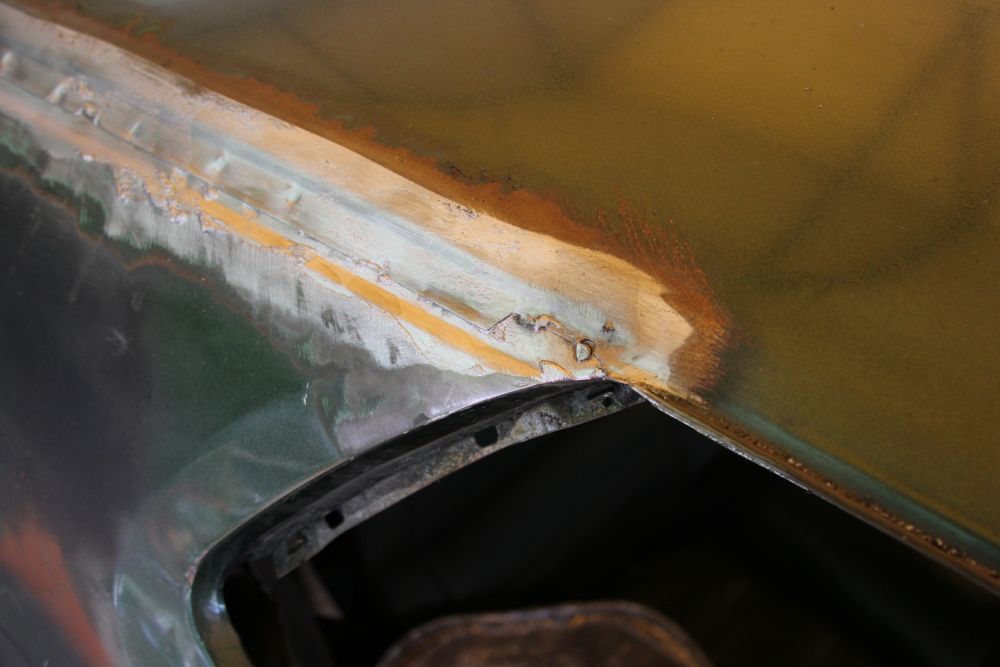
After slicing a slit in the badly-repaired trunk (and pulling the outer skin back to its factory position), I was met with this. I have fit the end cap to where it SHOULD be, rather than trying to match it up to the fender:

71_mustang_197.jpg


71_mustang_198.jpg


Besides not fitting correctly on top, the entire end cap is binding on the lip of the taillight lens bulge on the taillight panel, causing the lower half to push outwards; especially on the inside.

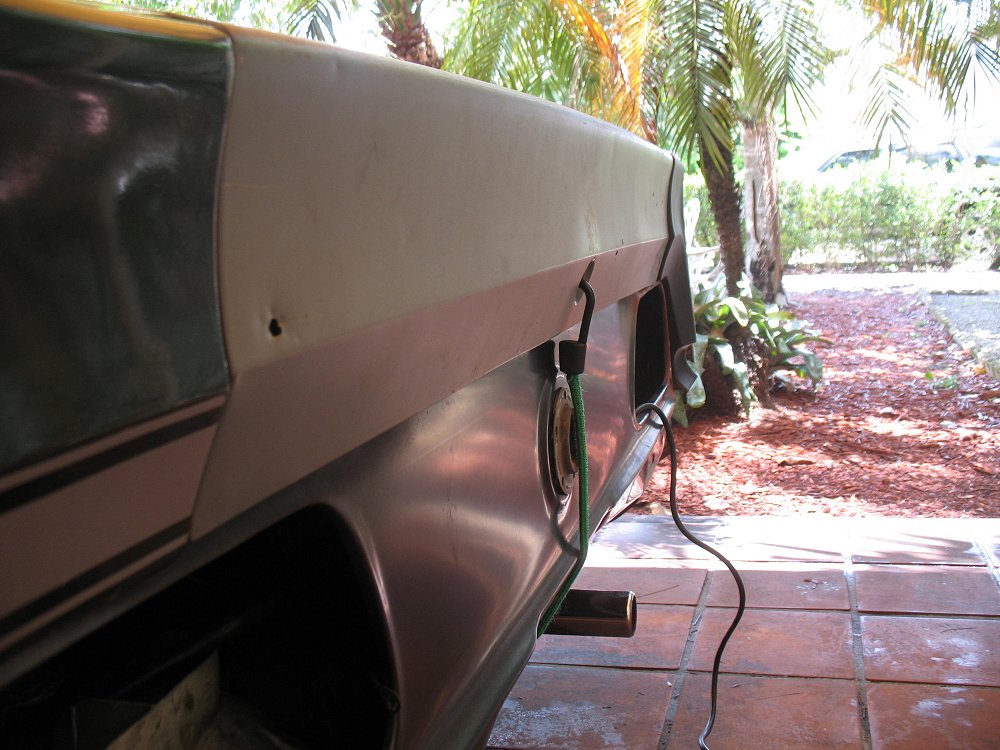
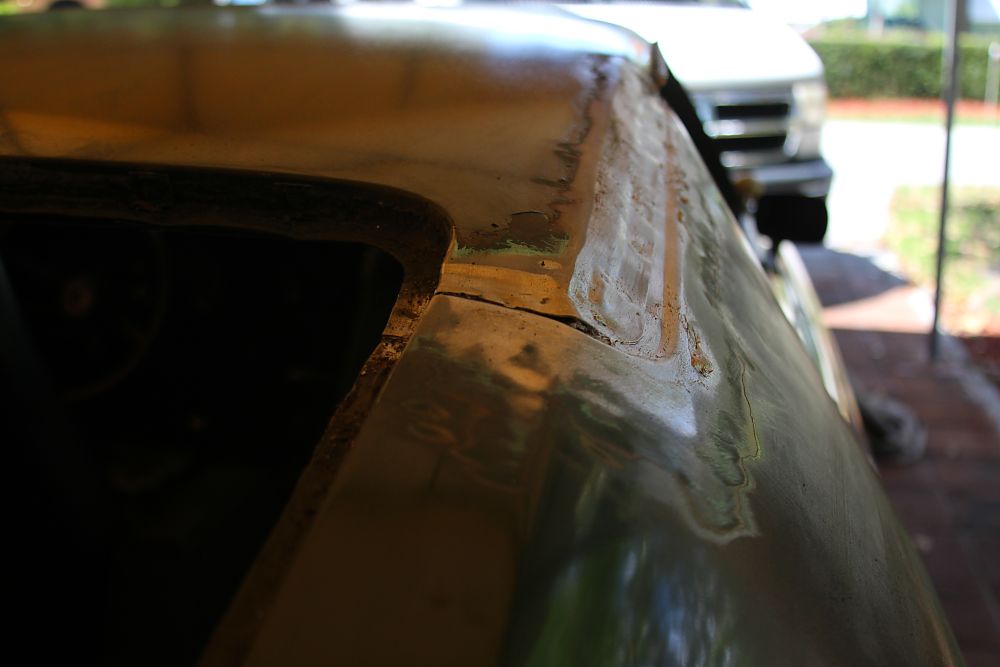
Now if we go back in time - picturewise - here is a photo of the panel end as found (with the dealer replacement Ford-service taillight panel) - note how much lower it sits than the filler/rubber channel to its left...

71_mustang_199.jpg


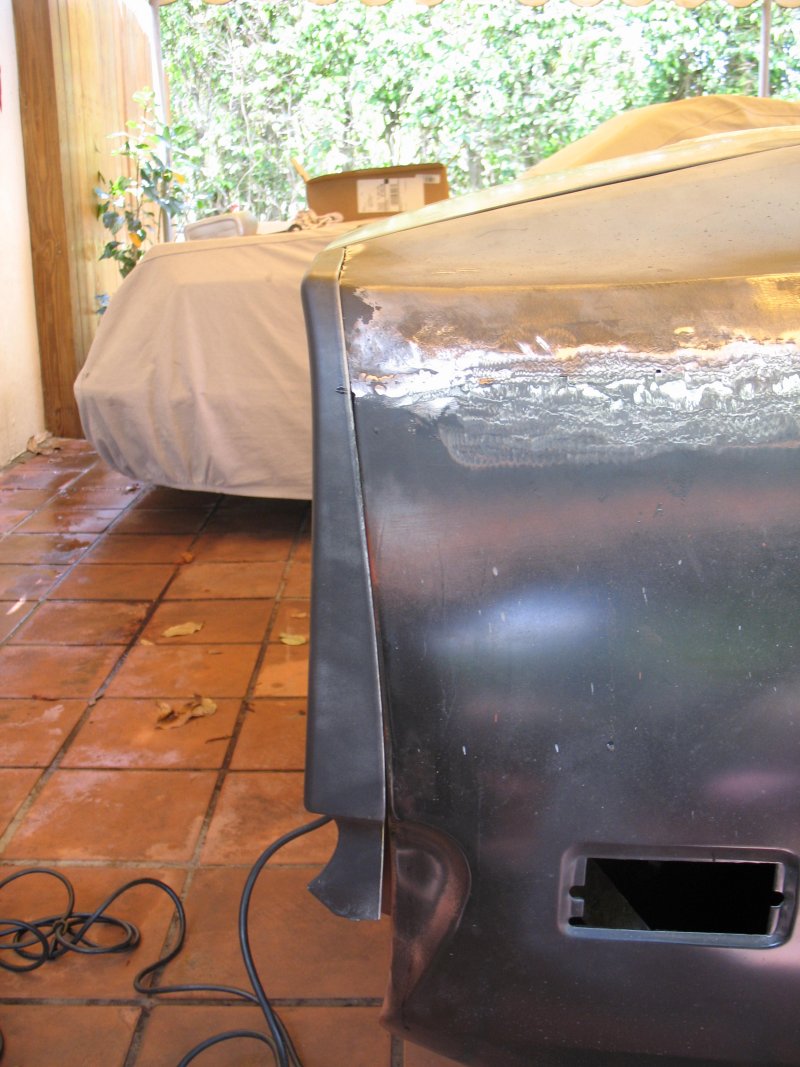
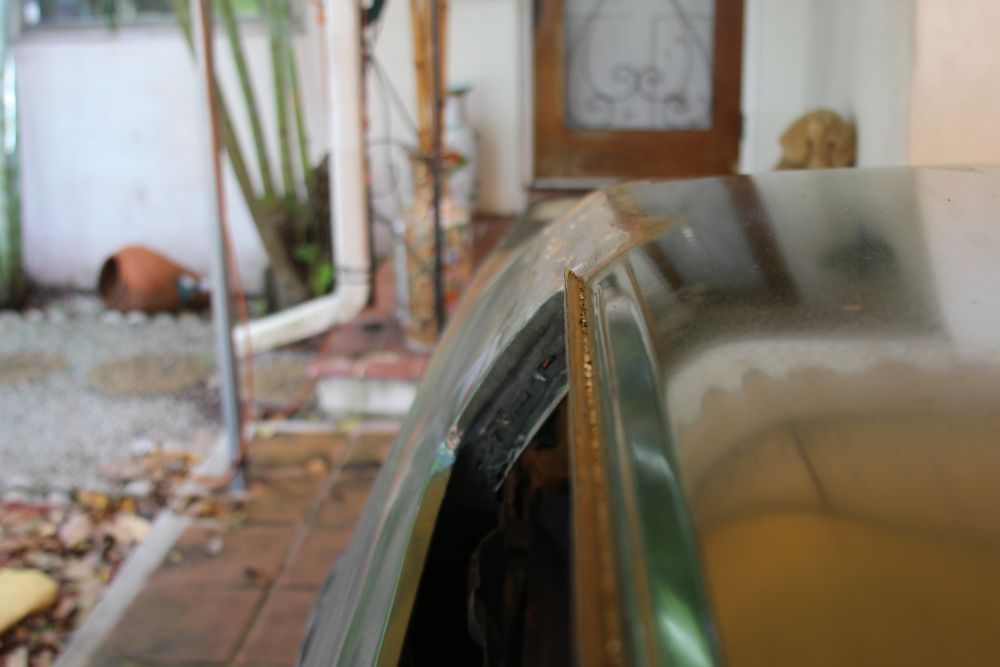
...and here is the same panel, tacked (at the filler) with the replacement taillight panel:

71_mustang_200.jpg


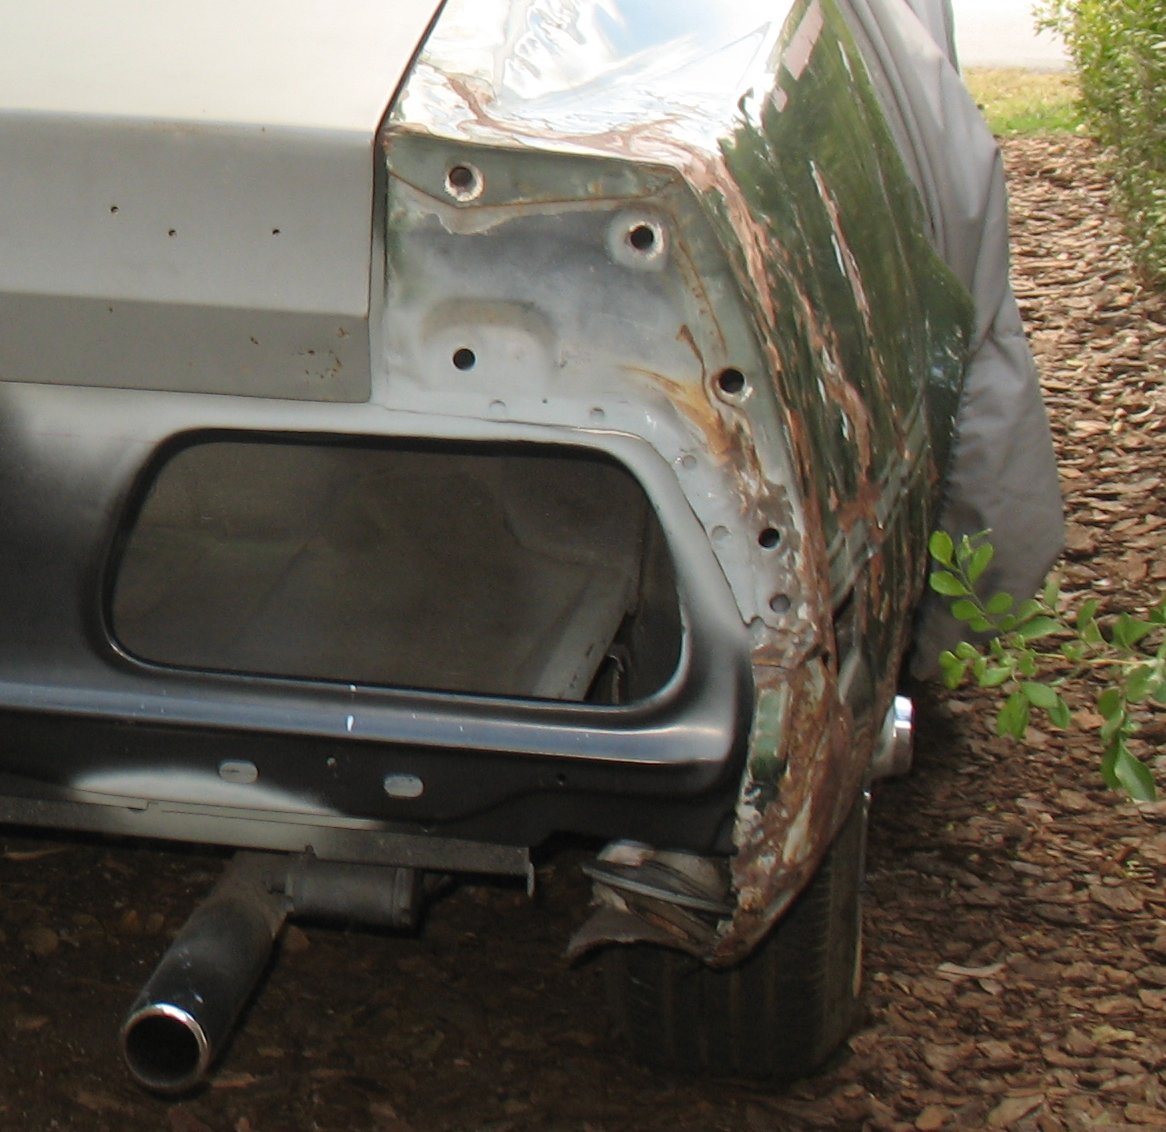
Now, there is the argument that I put the taillight panel in too high on the right side - but the panel automatically aligned itself via the weatherstripping channel. Lowering the panel on that side would have required removing and lowering the filler piece to match.

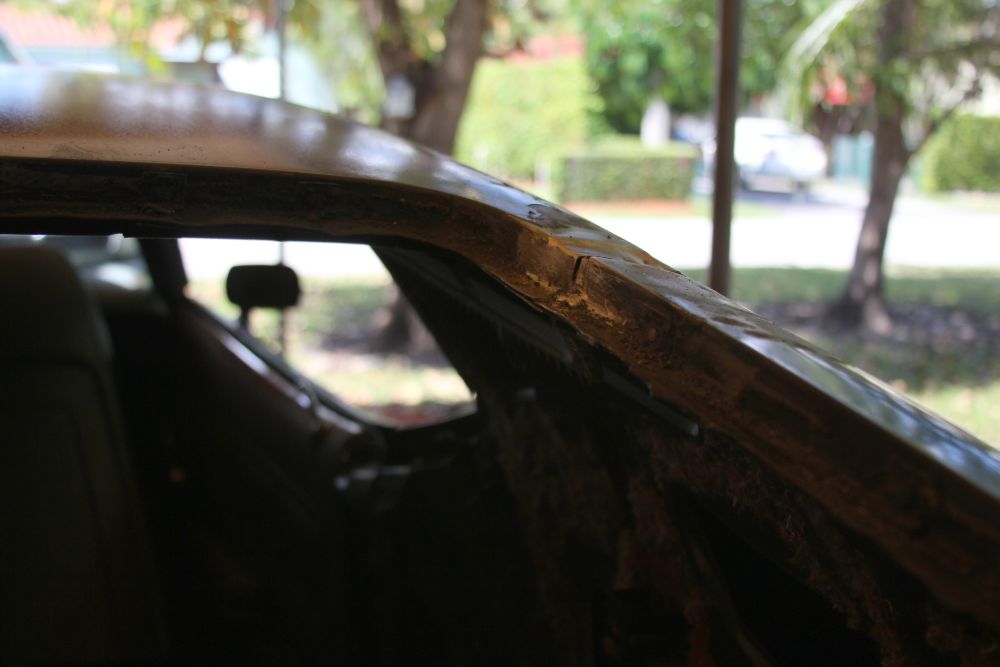
Hence, it is my belief that:

A. The quarter panel was installed wonky from the factory to begin with

B. The dealer-replaced taillight panel (the one I cut up) was installed low (how, I don't know - perhaps the repop panel has different tolerances) to compensate for the fit issue.

C. The original taillight panel was probably installed low on that side too.

Come to think of it - I may be able to solve most of my problems by dropping the new taillight panel down on the right side, and installing the replacement patch to fit - and getting a patch that has the filler panel already connected to it. My best bet, most likely...

-Kurt

 
Last edited by a moderator:
Definitely appreciate it. Bit difficult to stay on top of what's available online, much less the stuff scattered around the country.

Shipping to Miami (FL) is going to be a killer either way. At this point, I don't care what it takes.

-Kurt

 
Nothing. No quarter panel in sight, used or NOS.

Anyway I'd be inclined to put the cash towards another Canon 5D Mark II camera body rather than the panel at this moment.

That and some old Nikon lenses. Yes, I'm fishing...

-Kurt

 
Last edited by a moderator:
Bummer. I've been thinking about a new camera myself but keep putting it off because my current ones keep working.

I'll keep a lookout for a quarter panel.

 
Bummer. I've been thinking about a new camera myself but keep putting it off because my current ones keep working.
I use the 5D Mark II only as it is essential to me both as a photography camera and a cinema camera. It's dynamic range in 1080P is phenomenal, and I get no crop factor from the full-frame sensor.

Coupled with Nikon lenses, it's a dream (it's also my bread and butter, but it's tough for a new college graduate to find a stable job in the local video industry - most jobs are freelance). Worse yet, used bodies are still running $1,300 - same price as I paid for the one I have now. Quite a few jobs require a backup body - and it's a wise thing to do.

For the record, none of the progress photos were shot with it (they were shot with a simple Canon PowerShot A620*). The following comes from the 5DM2:

mustang_5d_1.jpg


mustang_5d_2.jpg


mustang_5d_3.jpg


van_wheels.jpg


burnnotice_rambler_2.jpg


burnnotice_rambler_3.jpg


ferrari_3.jpg


As for video, I'll post some of the latest (unfinished) nighttime footage of the "Stupid Guys Steal a Car" sitcom (shot with the 5DM2) tomorrow.

-Kurt

*EDIT: Pictures shown later in this thread were taken with a Canon EOS-M running on full automatic mode.

 
Last edited by a moderator:
I hear ya about back up camera. Notice I said "ones" I have. I was a pro photog back in the day and still will do a shoot if someone calls me. Absolutely have to have a backup camera or two when shooting a wedding!

 
I hear ya about back up camera. Notice I said "ones" I have. I was a pro photog back in the day and still will do a shoot if someone calls me. Absolutely have to have a backup camera or two when shooting a wedding!
Ugh. Wedding. Won't touch one of those with a 10 foot pole, video-wise anyway.

That said, following is the video footage I referenced:

[video=youtube]


-Kurt

 
I've done video but not any more. Stills only at this point. I don't have any video equipment even...all sold. I got tired of the post event processing. There is still a little of that with the individual images in PS but not too bad. My favorite part of it was becoming part of the family and the actual shooting. All the other stuff is kind of blah to me. I miss film in that regard.

 
I've done video but not any more. Stills only at this point. I don't have any video equipment even...all sold. I got tired of the post event processing. There is still a little of that with the individual images in PS but not too bad. My favorite part of it was becoming part of the family and the actual shooting. All the other stuff is kind of blah to me. I miss film in that regard.
Perhaps that's why I prefer video - post-processing in Premiere/AE is part of the fun. The same seems tedious in Photoshop.

-Kurt

 
Kurt,

Just my 2 cents on your quarter panel replacement, have you considered having a experienced metal man come over and do his magic on your installation ? I applaud you for how far you have got on this installation, but as we all know, me especially, that the help of a true professional can turn a project around very quickly in the right direction. After all the front end metal work I completed on my 73 Mach 1, I very much needed the experience of an automotive metal man to get the fenders, hood, etc to line up correctly. I would hate to see you cut out the good work you have already completed and spend the $$$ for a new quarter.

Good luck !!!

Thanks, Jay
I'm entirely sure that I'd be working myself into a larger expense trying to make the reproduction fit by paying a shop.

If I were to invest in having a shop do it - which I'm not, for I know I am entirely capable of completing the project given the proper sheetmetal - I'd have them do the job with the NOS panel.

The reproduction panels stink as a full-panel repair, and anybody who has worked with them in this capacity will undoubtedly tell you so.

-Kurt

 
Enough delay - back to work on ol' Soylent Green!

Today's task was to pull the rear window molding/trim (Want to learn how? See the tutorial in the How To section), press out the window, and melt out the lead with a BernzOmatic MAP torch.

2csfozr.jpg


Lots of dried up goop. The tar that was not dry was tacky - but not enough that it wouldn't peel off my fingers with a rag:

wb9g1f.jpg


Somewhere along the road, I forgot to take any photos between here and torching off the lead. Neighbor did snap a shot of the weatherstripping channel coming off:

71_mustang_204.jpg


Also tore out the rear half of the already-damaged headliner to prevent any chance of fire when torching the lead. The insulation here was such a dustbowl that I'm entirely convinced that the P100-rated respirator that I bought to protect myself from the lead was probably equally necessary when I used it for this portion of the job.

FYI, I noticed the headliner bows are color-coded. Is this usual?

71_mustang_210.jpg


And out goes the lead:

71_mustang_205.jpg


71_mustang_206.jpg


Lovely hammer-beat roof lap from the factory :rolleyes:

71_mustang_207.jpg


Basking in my rust-free driprails:

71_mustang_208.jpg


71_mustang_209.jpg


We'll see what next weekend brings... :)

-Kurt

 
Last edited by a moderator:

Latest posts

Back
Top