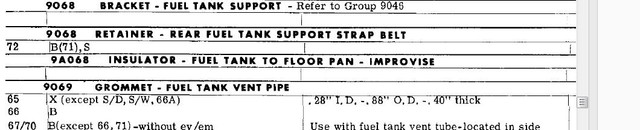
I debated with the same issue of the insulation when I took my tank down. I don't think my tank is original, but not sure. It had two pads that look very OEM in between the tank and floor. There was no rust in either side so I ended up reusing them. I did a lot of research about it and the key is to use a material that is not hygroscopic (a material that doesn't absorb water). If the material doesn't absorb water you shouldn't have an issue with moisture retention. I was close to using some of the carpet underlayment I had laying around. I had the one I bought from CJPony for the trunk. It is cheap and you can cut it to fit. I ended up not using and keeping the pad that was there. In hindsight I should have replaced it. As far as I understand the underlayment does not absorb water.
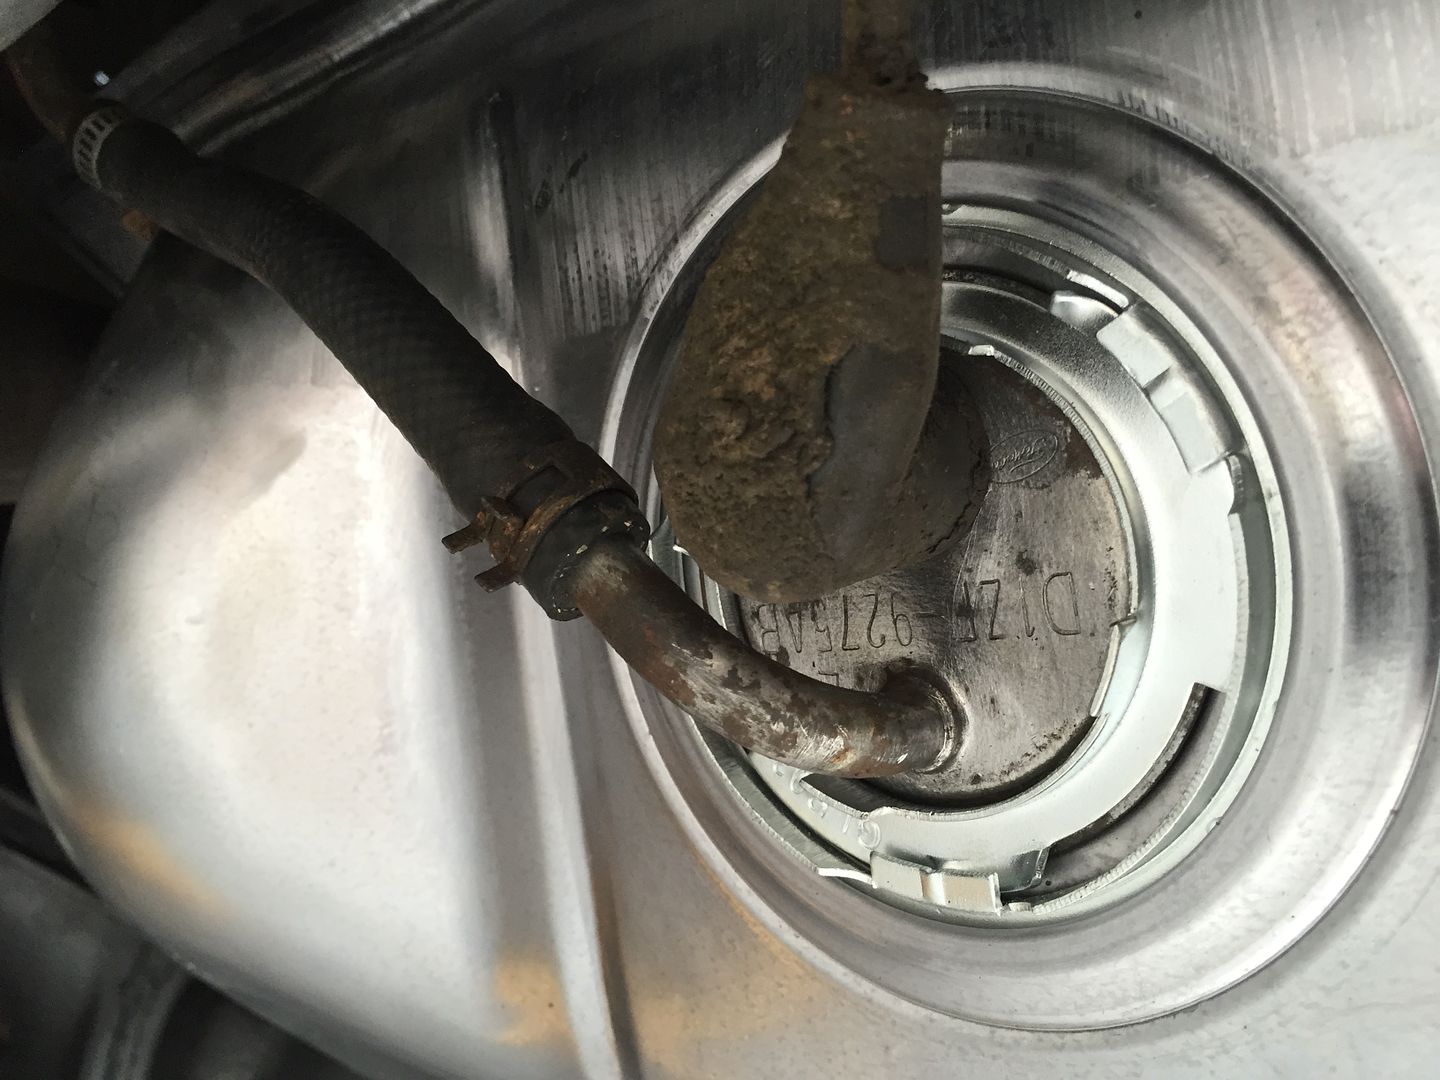
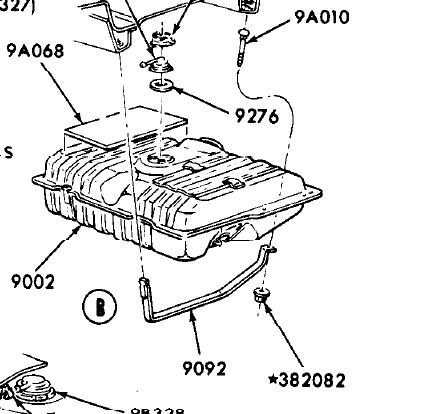
With regards to the sending unit I ended up using one I bought from Dan of Ohio. I first bought one from CJP to which I adapted a second return tube. However, this one leaked through the electrical connector. I ended up installing the one from CJP at the top of the tank used as a return from the EFI pump. Before installing at the top I removed the electrical stuff, float and sealed the connector with gas tank sealer to avoid possible fume leakage.
Moisture issue, that is why I used solid rubber, not neoprene or tar paper, or......
As for the sending unit, if you or anyone else knows what is happening, I would be all ears. Electrical stuff and me don't get along too well. From the listing for the Dorman sending unit RockAuto will be replacing the Spectra one with, it list 75 ohms empty and 10 ohms full, I get 75 ohms empty, but it goes to an open circuit (beeps) before it reaches full. It worked okay before it was removed, so what is the issue or is there one? I'm going to install it for now anyway because I need it there regardless until I get the replacement and that could be weeks.