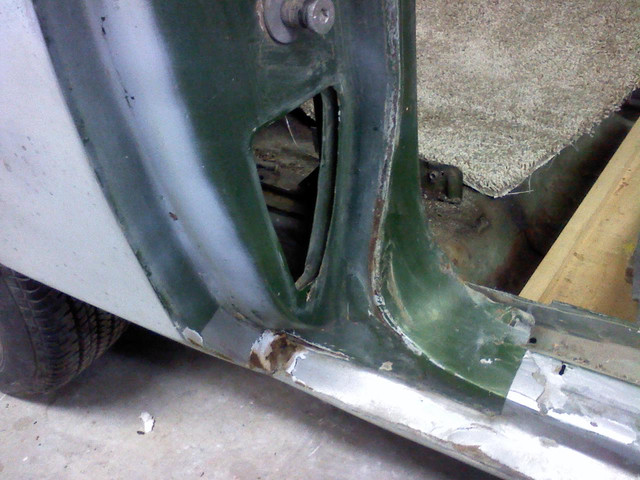
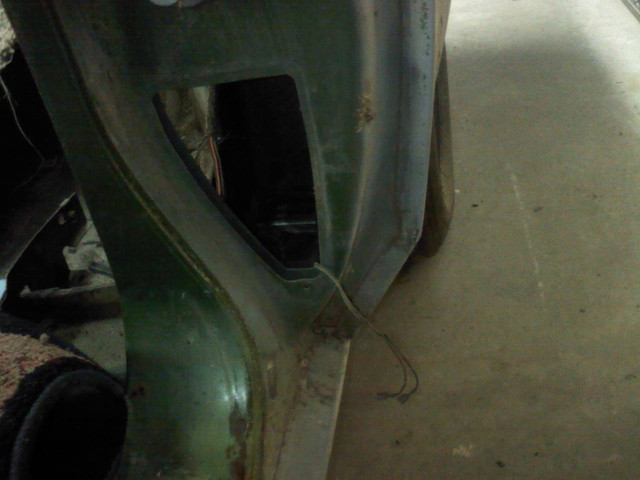
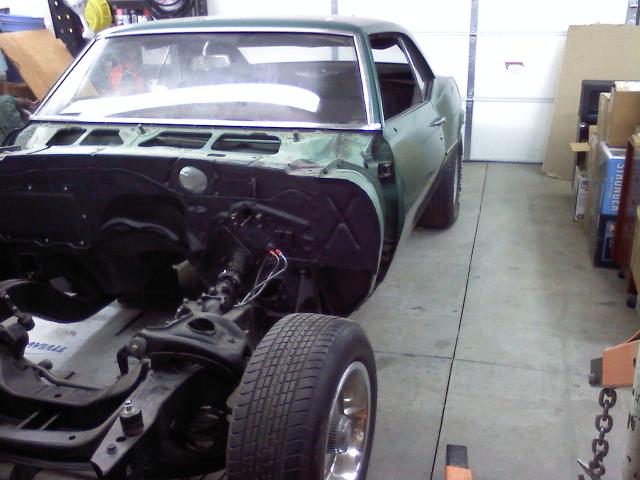
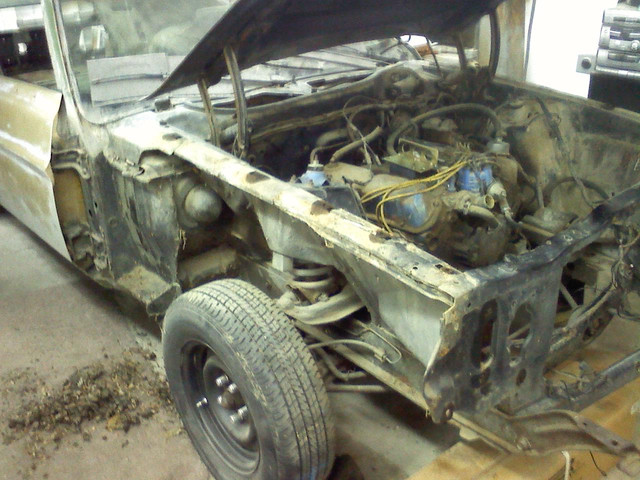
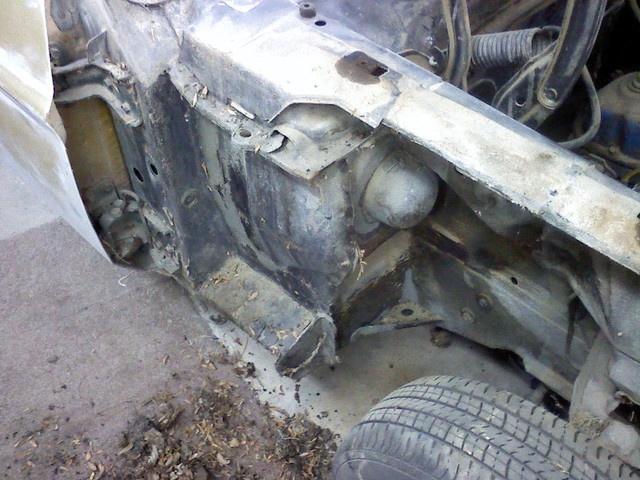
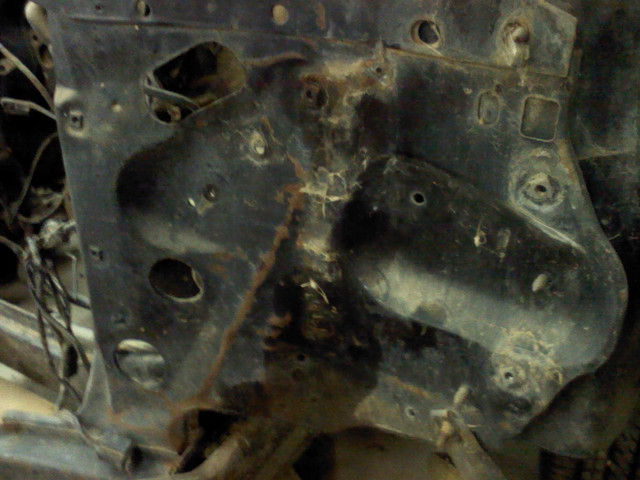
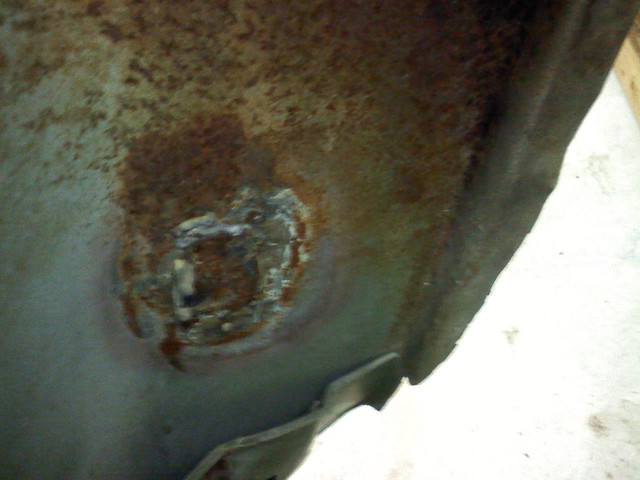
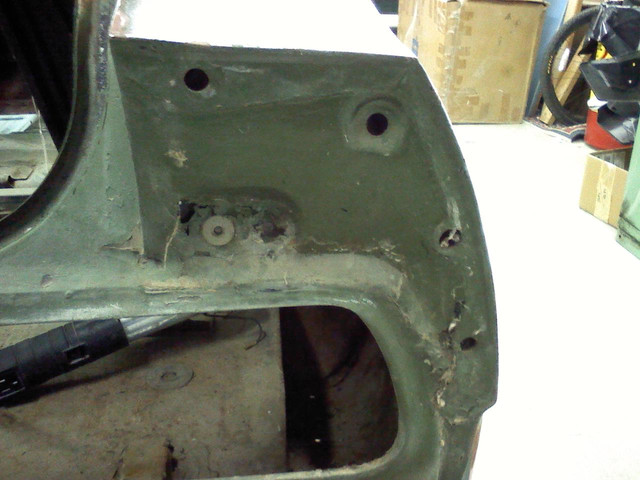
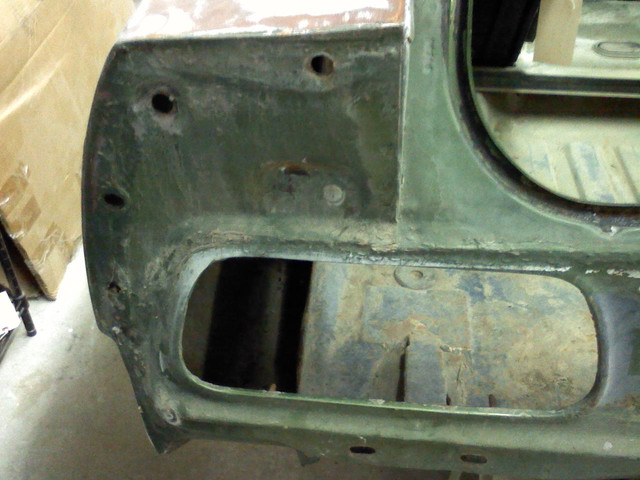
The metal work list keeps growing as we discover more rust after removal of parts.
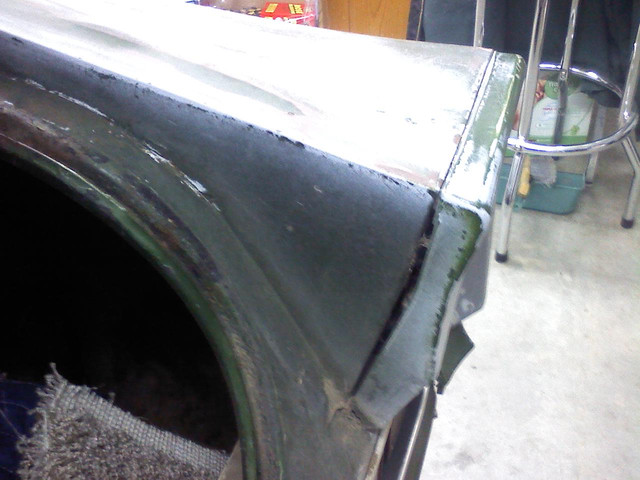
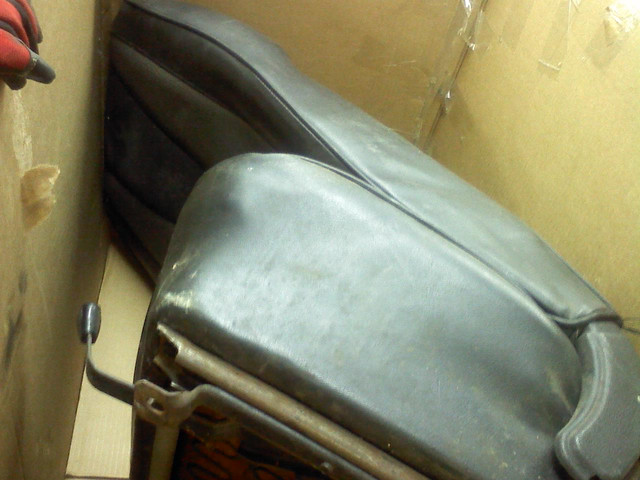
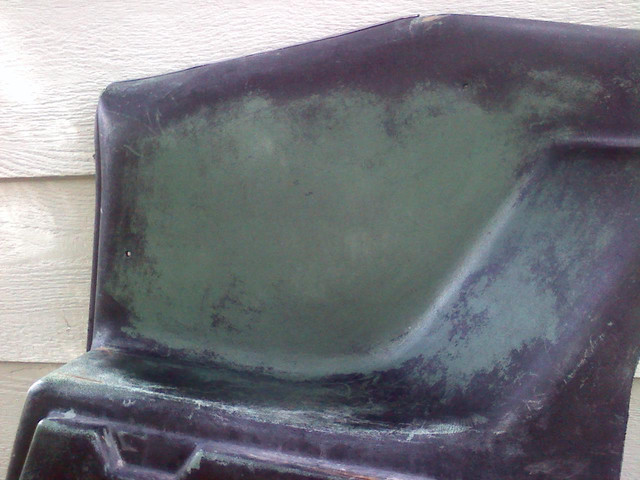
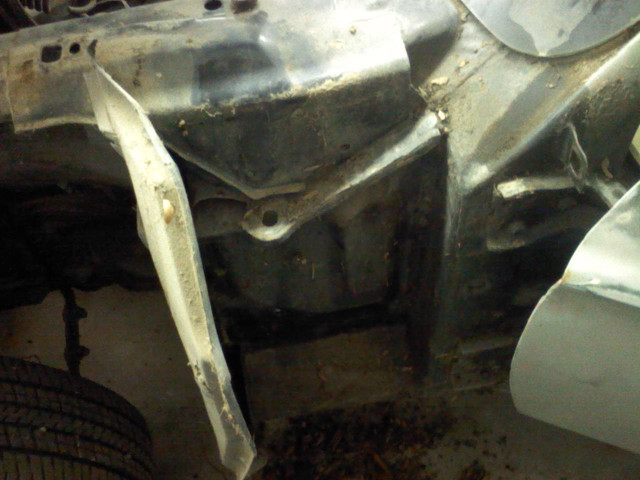
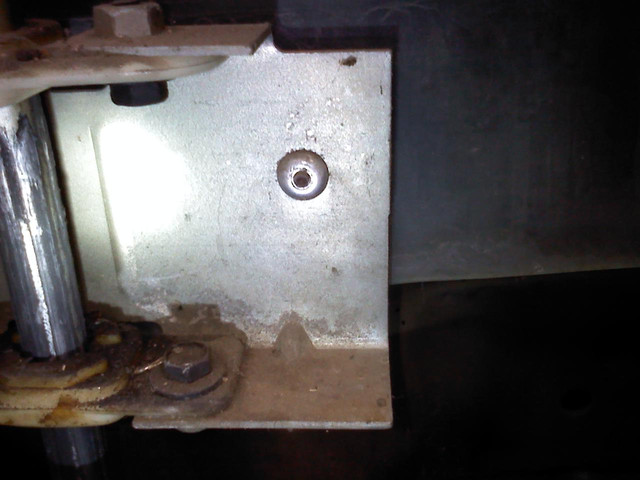
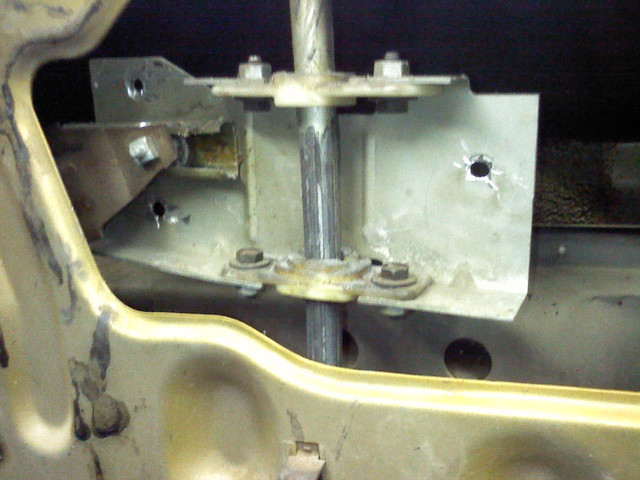
The right tail light had a stud (lower, outboard) that was just spinning when trying to remove the nut. Probably why the PO couldn't sell off that tail light assembly. We applied Kroil and let it soak for a few days. I used vise grips to hold the stud still while I tried to break the nut loose with an open end wrench and the stud sheared at the nut. I tried to split the nut with a dremel cutoff wheel, but couldn't get the proper angle so the cutoff wheels kept breaking while cutting into the harder steel of the stud. Seeing the lower tail light braket was badly rusted, I just pried on the tail light and ripped the stud through the corroded bracket.
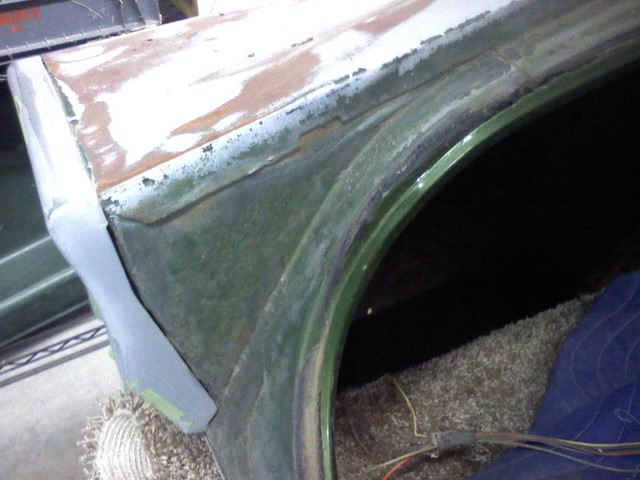
Replacing this bracket looks like it will be difficult. Then again the passenger 1/4 is probably coming off the car.
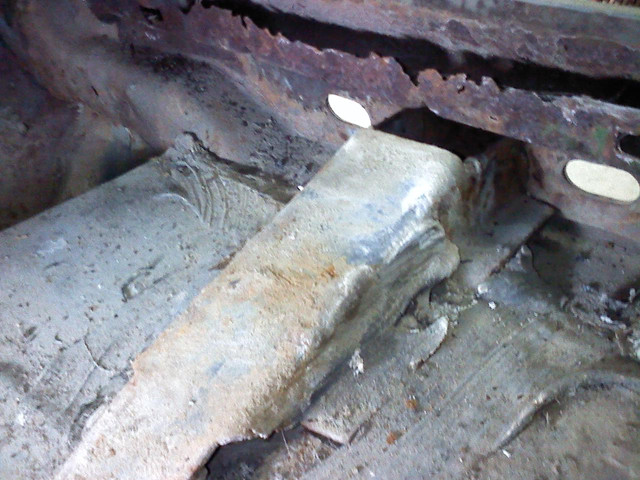
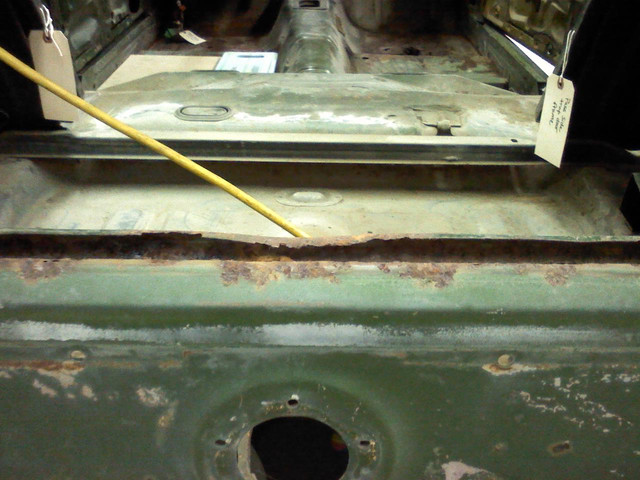
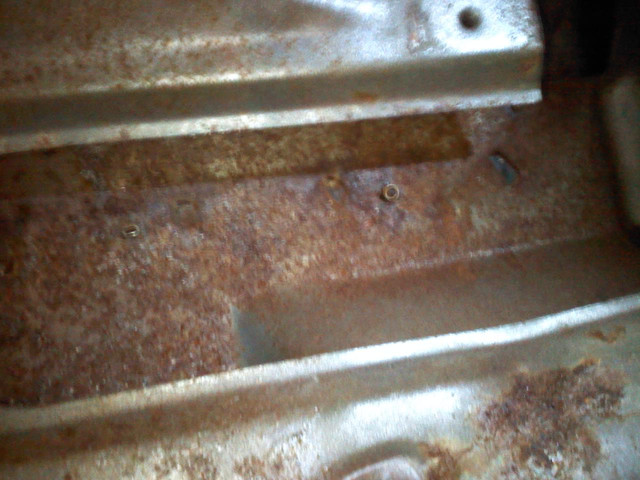
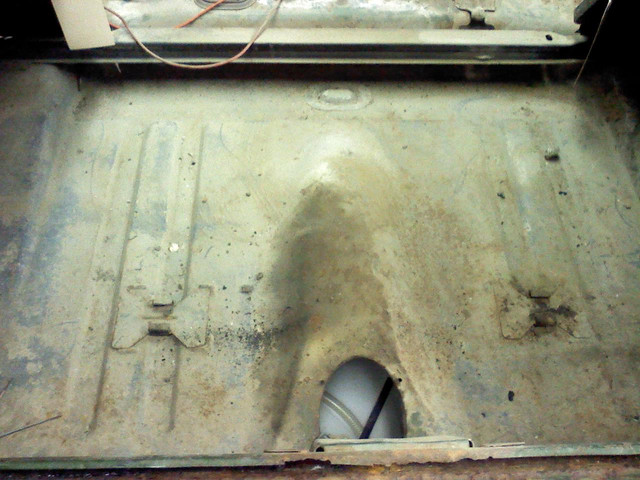
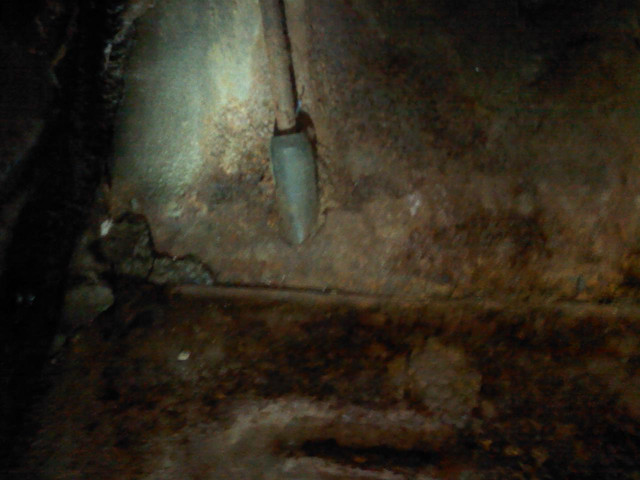
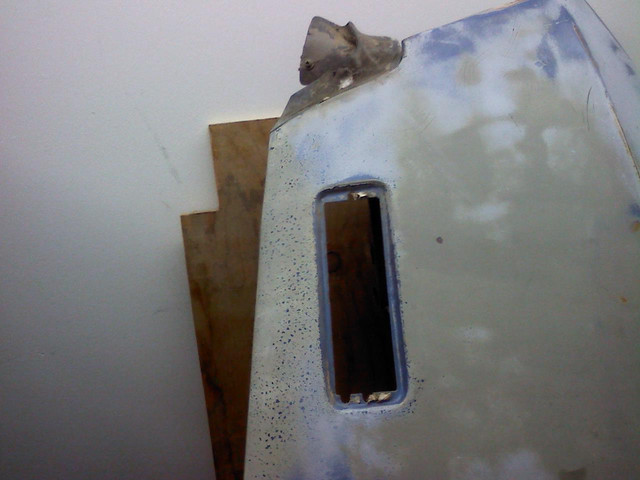
The trunk seal channel is rusted bad in one section and will need to be cut out.