On the use of the DazeCars spring compressor tool;
I used Rem Oil to keep the threaded rod lubed to prevent galling. The big nut is 1 1/4" and the two nuts on the welded bolts are 9/16".
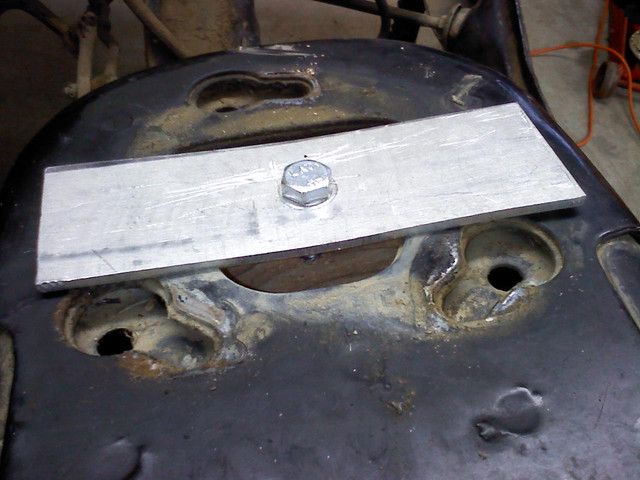
When installing the nuts at the lower shock mount holes I had to use a wrench to tighten the nut on the outboard welded bolt/stud. The tolerances were too tight to use a socket. When flipping it 180 degrees on the drivers side the nut would not install on the welded bolt as it was too close to the spring perch. I had flipped it 180 because the threaded rod was touching the upper shock tower mount bracket. So I flipped it back and did not have any interference with the threaded rod and the upper shock support bracket. It might be a stack up of tolerances or the drivers side of the cars suspension is crooked (there is evidence of accident damage on this side of the car). Although the threaded rod never really is centered on either side.
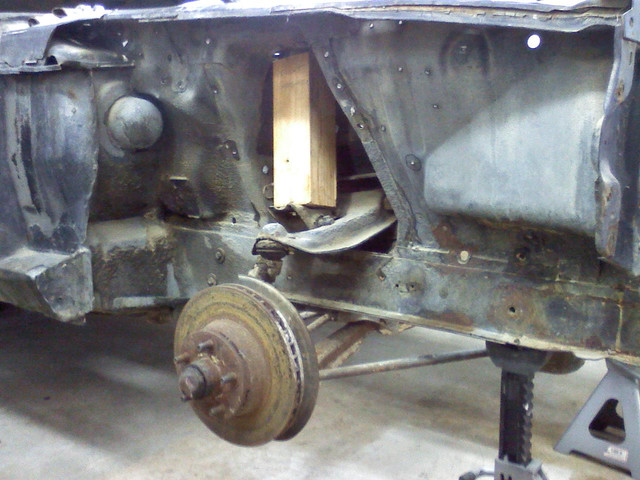
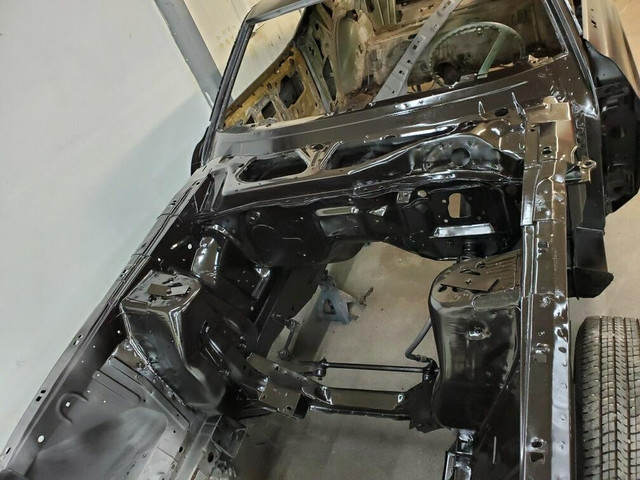
Also I supported the rotor/spindle with a milk crate when unbolting the spring perch from the A-arm to keep the suspension from dropping before I unbolted the A-arm. The directions noted that the spring only needs to be compressed 3-4 inches. I did an eyeball measurement until I felt it was compressed enough, then I measured from the center of the bearing hub to the floor. At 21 inches that was just right. The bottom of the frame to the floor measurement with the car on jackstands was 21.75 inches.
After the spring and perch were removed from the upper a-arm I was concerned, that while the directions stated to loosen the nut to remove compressed spring tension I thought that the whole assembly would just spin. It did not and worked great.
I highly recommend this tool. Having never removed coil springs from a Ford before and never using a spring tool like this one it was easy and safe.


