Her 72 Mach 1

7173Mustangs.com

Help Support 7173Mustangs.com:

This site may earn a commission from merchant affiliate links, including eBay, Amazon, and others.
Brett did he save the brackets off the old floor for...

seat belt mounts in tunnel and all 4 in the rear seat area

L & R sheet metal rails that weld to the floor that the interior plastic quarter panels bolt to

brackets for parking brake

 
Thanks Kevin! I did ask the bodyman about his process in removing the floor and whether he braced the body or not. His procedure did not involve bracing. He has done several Mustang full floor pans without bracing. Hope all remains squared.

Don I will double check with the bodyshop and make sure he has saved those brackets. Thanks!

 
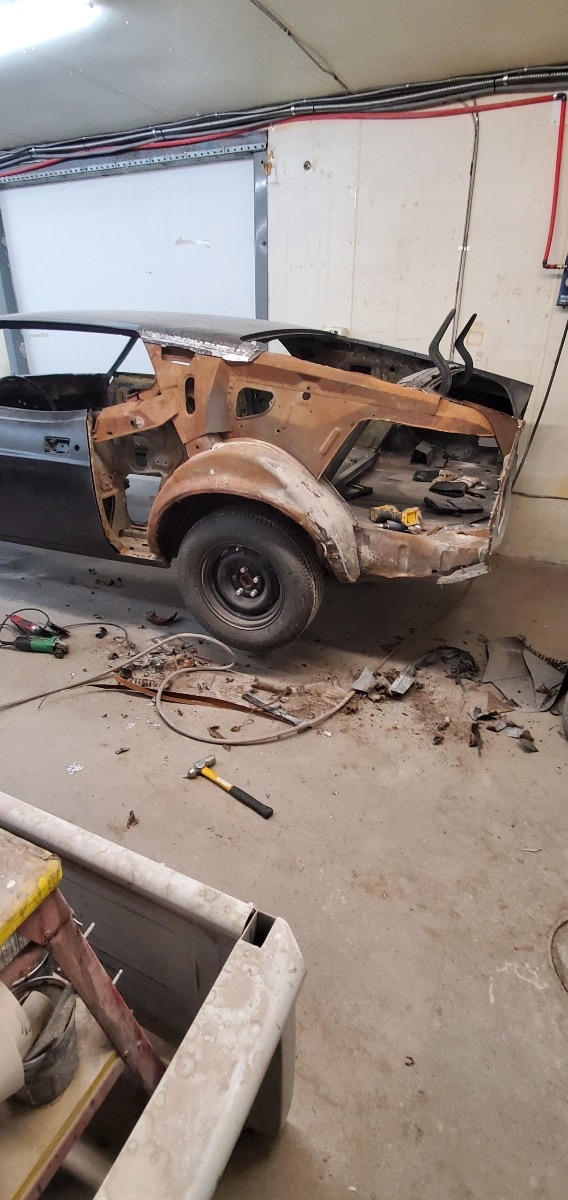
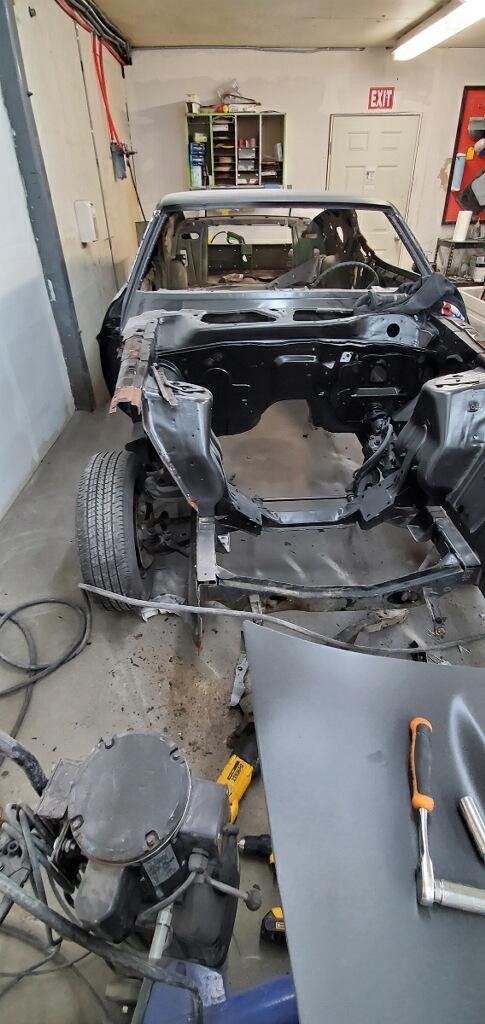
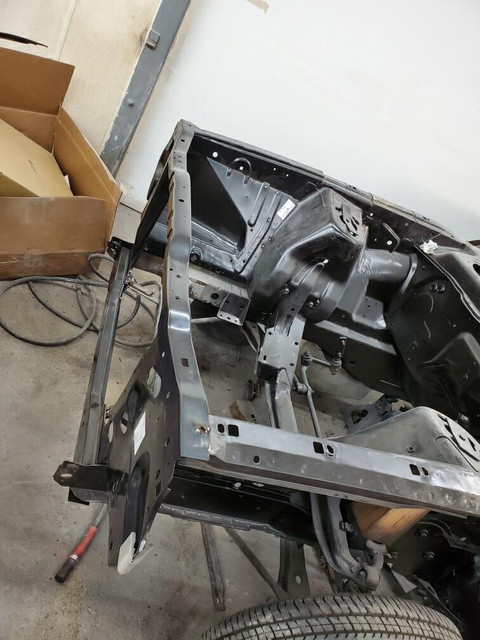
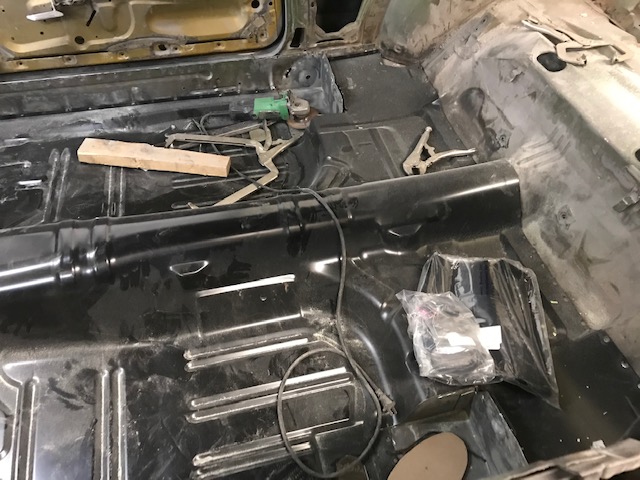
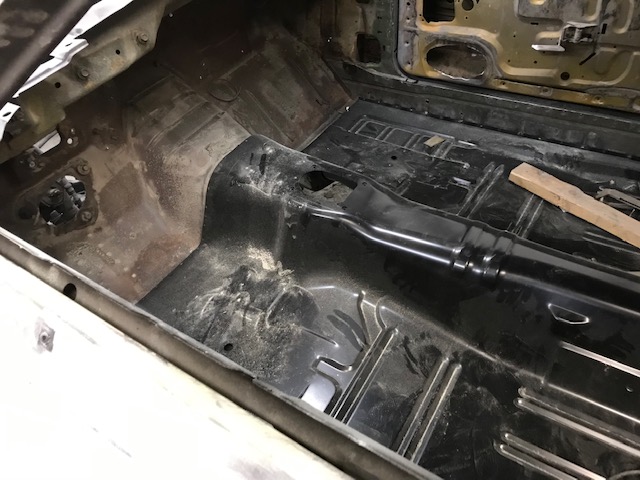
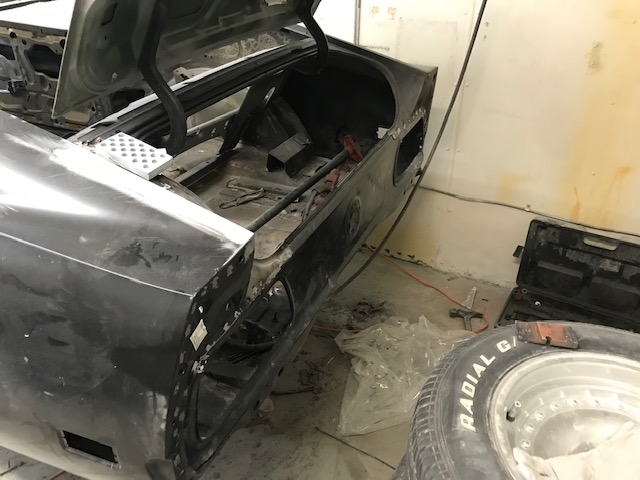
Not much to report on our end. But the bodyshop has done some work.

A thought came to mind since the Mach 1 has been away from home; I removed all fuel and brake lines prior to heading to the body shop. I have to come up with a plan to reinstall fuel feed line and possibly drivers side brake line, BEFORE the drivers fender gets the final installation.

Also the plastic splash shields will need to be addressed. One side is reusable, the other is not(cracked). If I could find a nice "set" I would rather go that route as the one side that is reusable is kinda "old" looking and doubt a coat of SEM paint will help.


Definitely got some surgery going on. Did they get the floor pan in before they cut the quarter panel off? That’s alot of structure to have cut out at once with no bracing.

 
Plastic shields, I have all 4 for inside if the fenders

Although any used ones would need a good cleaning and or possibly a coat of dye

Also have the 4 that go in the inside upper front of the fender

 
Definitely got some surgery going on. Did they get the floor pan in before they cut the quarter panel off? That’s alot of structure to have cut out at once with no bracing.

No they didn't Kevin. Yes it is a lot of structure removed. I have a planned visit to the shop tomorrow.

I have no hands on experience with floor pan removal. But I have read a fair amount on the subject over the years (magazine articles, internet) and recall an episode or two with the tv show that Stacey David did some years ago. Generally just being imersed with car stuff for 30 plus years. That said, I questioned the body shop owner before work began as to whether or not, does he "brace" the body before he cuts the floor out. He had replied something along the lines of; he does not brace the body as the structural integrity of the Mustang lies in the outer structure (perimeter) of the car and further explained that once he places the car on jackstands that the car is not moved until the floor is done. I took that as a learning experience for me, because I thought that bracing is necessary. I figured he's the pro and he has replaced full floors on Mustangs before ours. Buuuuttt, when I saw the picture of the rear quarter panel skin removed I once again became concerned about the effect on body dimensions. I don't want to stress or worry about his work. But with my limited knowledge and no hands on experience it gives me pause. Ignorance can be bliss.

Thanks Don. Sounds like you have more pieces than what we took off. We may be missing some pieces.

 
Brett did he save the brackets off the old floor for...

seat belt mounts in tunnel and all 4 in the rear seat area

L & R sheet metal rails that weld to the floor that the interior plastic quarter panels bolt to

brackets for parking brake

Made a visit to the bodyshop today. All those brackets are in the scrap metal dumpster. He said he didn't save them as the older (64-??) Mustang replacement full floor pans come with the brackets. Oh poop.

We also had a discussion about bracing (again). In short: how he is doing our Mustang is how he has done Mustangs before and he is confident in his procedure.

 
I have heard that if you remove the steering column and the dash, a full floor pan can fit through the windshield opening without having to fold any parts of it.

I am also unsure why a missing 1/4 skin would contribute to instability when the heavy inner structure is in tact, but I do wonder how he is going to get the floor in and not move the car off the jacks with the passengers side that close to the wall.  There are a lot of Rocker panel welds that need to be done on the top side of the floor pan along the rocker.

kcmash

 
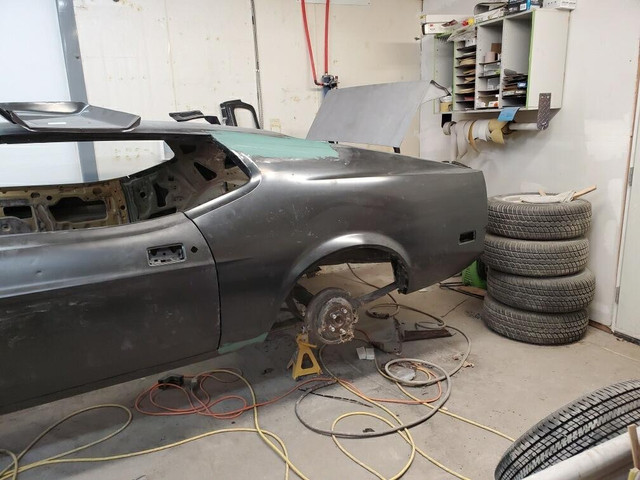
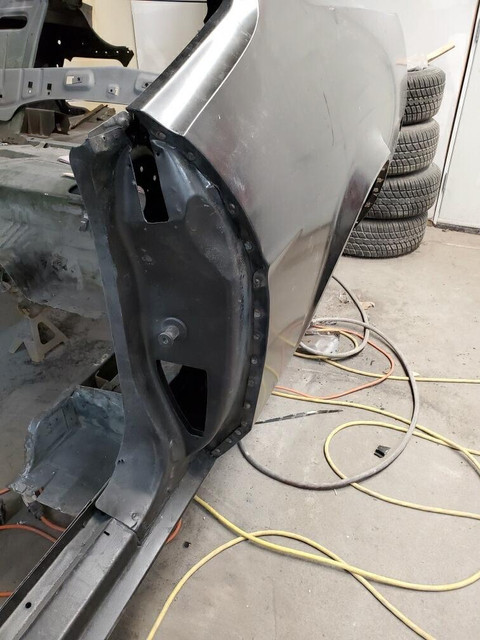
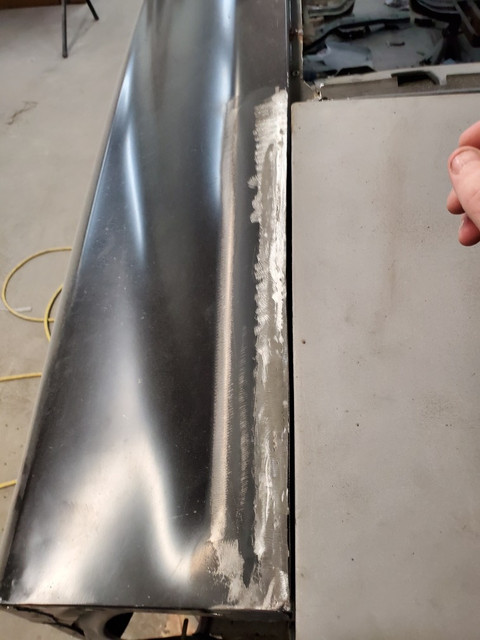
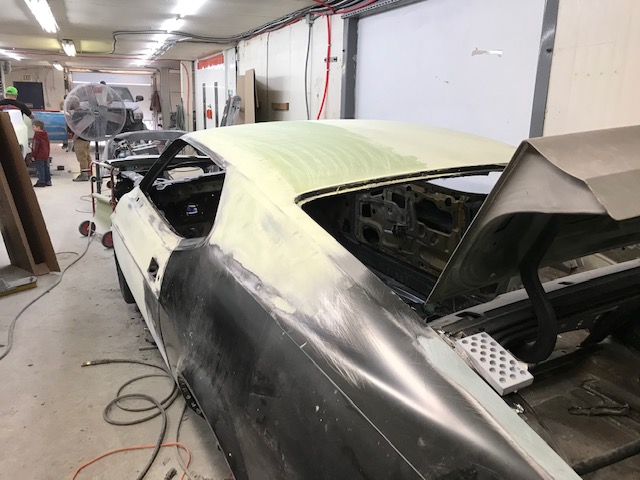
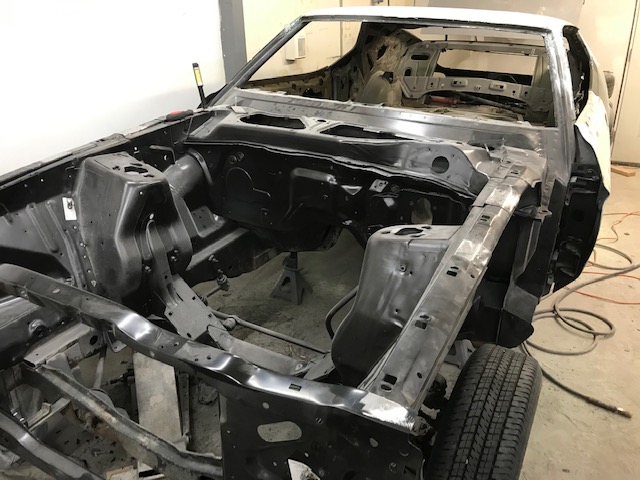
Bodyshop work coming along nicely. The Dynacorn 1/4 panel gets a quality rating from the bodyman. The trunk to 1/4 gap was all that needed addressing for fit.


Core support and battery apron tacked in place.


Gap work.


Last edited by a moderator:
Progress looking good!
I am pleased with the progress and the bodyman said it is moving along faster than expected.

But at the same point I am left with a feeling like I cheated on an exam in school. I've spent a lot of time reading other builds on this site and have been and continue to be amazed at the talent and workmanship that others have put into the paint and bodywork on their Mustangs. I do not get the feeling of accomplishment seeing the Mustang being reworked by someone else. I felt good about prepping the Mustang for the bodyshop, but now I am just paying someone else a lot of money to make the Mustang look great. I'm looking forward to getting the Mach 1 back home so my wife and I can get back to work on the restoration.

 
Her Mach 1 is moving along nicely. It may be done a whole lot sooner than expected. Even the bodyshop owner is suprised. Hopefully in part it is because we brought him a stripped, rolling shell. The other part is definitely the quality dynacorn parts. I had a good conversation with an experienced bodyman at the shop and he said the drivers 1/4 on my wife's Mach 1 was one of the easiest ones he's done. Another project in the shop (impala) he's working has a 1/4 that is one of the worst and he's sure it isn't a dynacorn part.

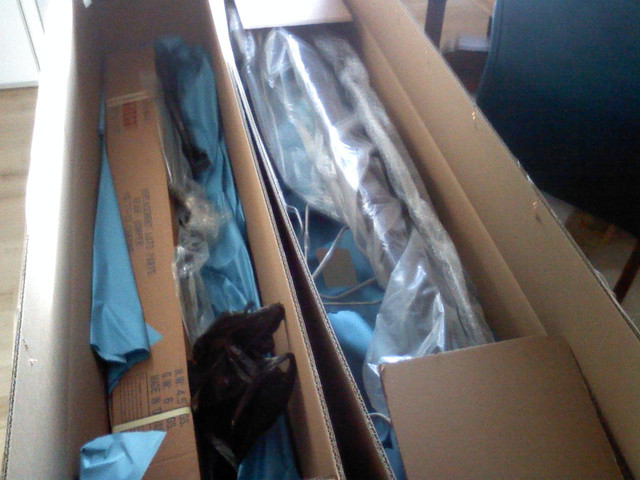
Another visit is planned for tomorrow to bring the urethane bumper and interior metal parts.

Some pics


Glad things are moving smoothly. Great to hear it is going so fast. I think replacing the entire floor is faster than doing the patches and for sure will be a better job. 

I do not remember if anyone has mentioned that some of the brackets from your old floor has to be taken off and put on the new repo part. The emergency brake bracket is one of them.

The brackets has turned into a "problem" as they were not saved and ended up in the scrap bin.

One rear seat 1/4 plastic side panel bracket was recovered from the bin. Damaged but can be used as somewhat of a template to make 2 new.

Rear seat bottom hold down brackets are gone. We had to order ones meant for older Mustangs. Hope they can be retrofitted.

Currently sorting out the parking brake bracket. Ordered one for another year model and it isn't the same. So I've requested a pic from another member here.

Bodyshop has replaced full floors in older Mustangs before and told us that those repro floors come with brackets. He said that is why ours were not saved when the old floor was cut out.

My first rodeo for this in depth of a restoration. Definitely a first to be paying someone this much money to work on our car. I hope the floor brackets is the worst of this resto.

 
Thanks all. I reviewed some pics that were taken after the floor was cut out. It appears the forward drivers side parking brake cable bracket "was" there attatched to the frame rail. Waiting to hear back from the bodyshop if it is still there.

Another member sent pics via PM of the bracket placement. Thanks Vintageman!

The support brackets/nuts for seatbelt mount bolts are apparently included with the reproduction full floor pan.

The bracket for the parking brake cable rod that we bought looks just like the one that is pictured from Vintageman. We'll just have to get that located and attached.

I don't feel like I know a lot about 71-73 Mustangs. But I have learned a bunch since joining this site. So even though I'm paying someone to replace parts on the body and make the whole thing look nice. I'm finding myself "telling" the bodyshop how to put a 72 Mustang back together from time to time.

 
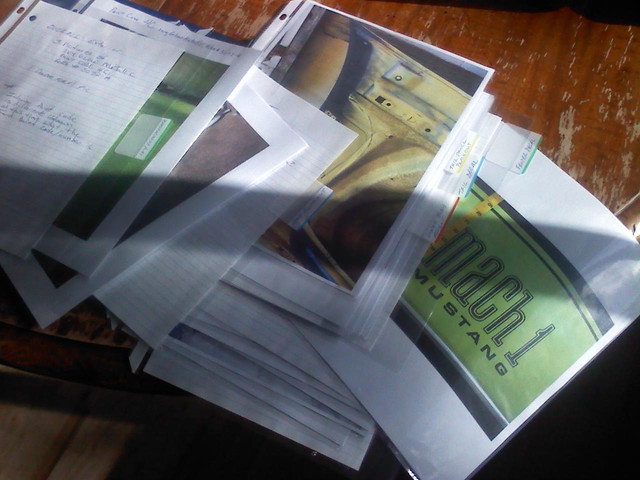
Going to the bodyshop today. I put together a 39 page binder with 30 pictures of paint and decal details with 9 tabbed title pages with descriptions. I added some descriptions and details on the pictures as well.

I could not have put this binder together without this website and the forum members who have done this before and have offered their pictures and advice. I wish I could remember everyone by name who has helped thus far, I can't. So: THANKS TO EVERYBODY HERE AND 7173MUSTANGS.COM!!!


Back
Top