Water pump Joy!

7173Mustangs.com

Help Support 7173Mustangs.com:

This site may earn a commission from merchant affiliate links, including eBay, Amazon, and others.
Joined
Jan 25, 2017
Messages
733
Reaction score
24
Location
Tavares, fl
My Car
71 Mustang Mach 1
302-2v
C4

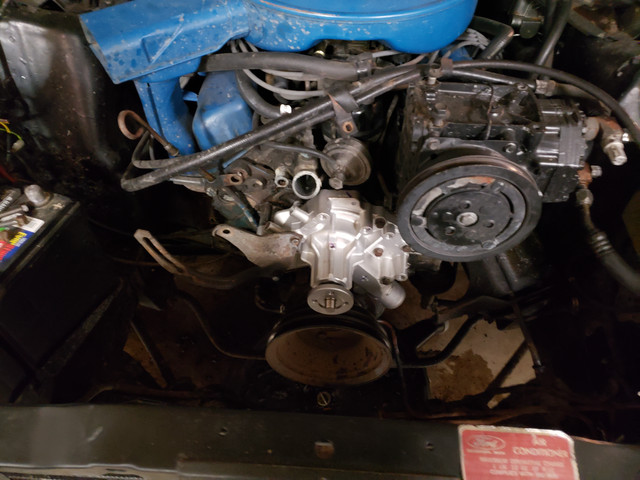
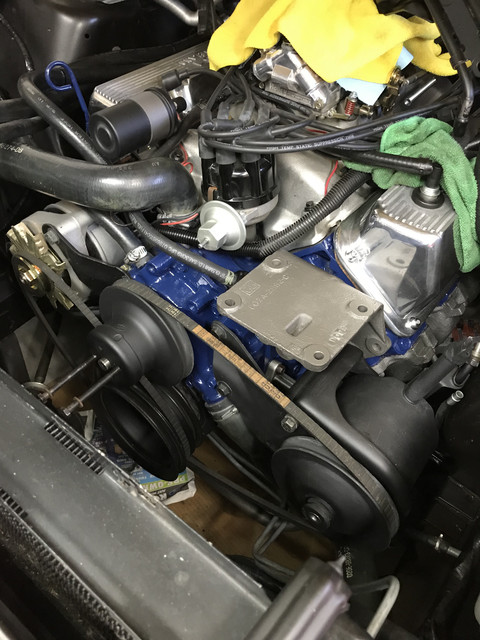
Today we started on changing the water pump.  I never dreamed it would be such a pain in the ass.  I see why people used to bitch about V belt systems.  Ive never dealt with a v belt set up before.  I had to take the alternator out, the radiator out, loosen the ac idler, loosen the PS pump just to get all the belts off.  

My current bitch is the AC.  It wont move without removing the front hose.  So, I messed up and cracked the hose fitting thinking it was empty, and it spewed what looks like Fix-A-Flat foam out of it.  I dunno if thats normal.  But there wasnt much pressure behind it, so Im letting it drain.  The AC has never worked and I was going to clean it out and swap it over to R134a anyway.  But damn, I wasnt expecting to do it right now.

Once all this crap drains, is it ok to just hook it back up till im ready to work on the AC system?

I need to remove the hose going to the Condenser so I can remove the compressor to get the bracket out of the way for the water pump.   I wasnt expecting a 7 hour tear down job, but damn.  Looks like it will be a full day tomorrow.  Im hoping to at least get it all torn down today so we can work on cleaning all the sludge, and oil off of everything.

 
Welcome to my world! I'm at the "put it all back together" phase now. Be very patient removing the bolts holding the water pump in place -- they are easier to break than you think. Go ahead and order a new set as well; even if you get them all out intact, it's possible they won't be worth reusing.

My a/c was not working at the time so I wasn't concerned about removing it (after testing to see if there was anything left in the system; there wasn't) but then again, I replaced the temp sensor and radiator, too, along with a rebuilt power steering pump and upgraded the alternator. Once you get the water pump off, consider removing the cover plate behind it and checking your timing chain (mine had quite a few broken links).

Take LOTS of pictures. It's amazing what you can forget.

I had done this once before when I had a '71 fastback, but it was a Windsor, not a Cleveland. Night and day difference.

 
Yea I took not enough pictures.  I took notes, but jesus that's alot of bolts. There must be 25 to 30 or more.

But anyway, it's out now. I have it soaking with degreaser now. It's incredibly nasty.

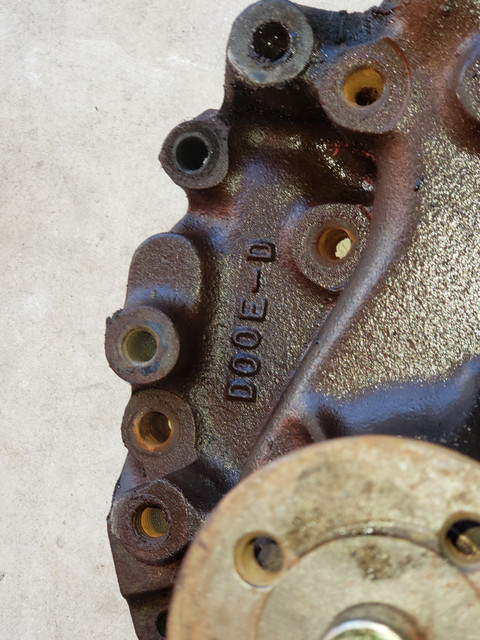
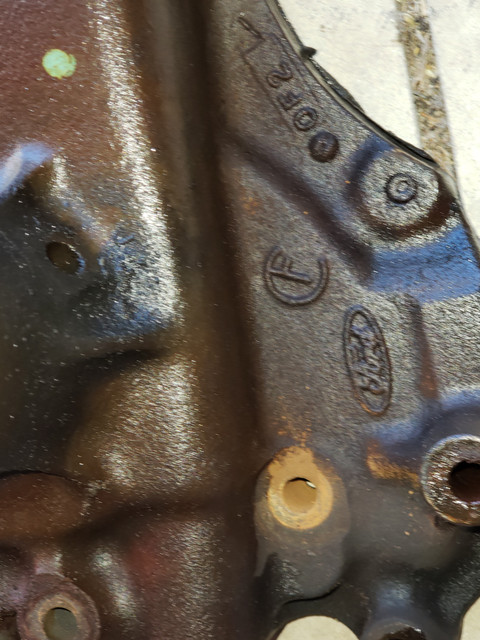
Amazing thing is, it was the original water pump. DOOE casting. Damn thing lasted 50 years. Cant match that today.


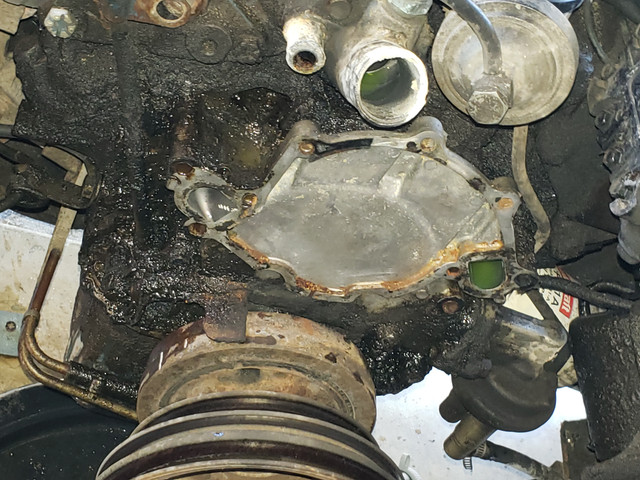
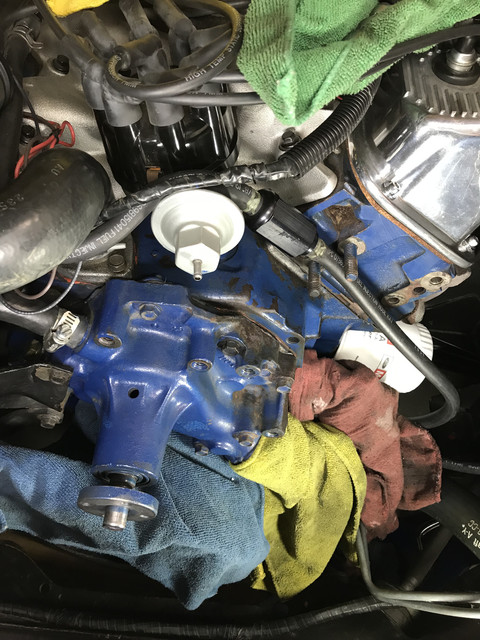
This is the ugly part.  Look at all that gooey goodness we have to clean up.  Wooohooo.  I may need more brake kleen.  Thats 50 years of nastyness right there.  I cant believe it, but the original water pump tells me this block is original and has never been rebuilt.  Hard to believe.  I suppose that 53,000 mileage is correct.  One nice thing to see is. I dont see any evidence of heavy corrosion.  Ususally after this much time, the water neck is corroded to **** and back.  Theres just a tiny but of corrosion on it.  The passages on the timing cover look great too.


Last edited by a moderator:
I think it may have been mentioned a time or two on our forum about how it seems to never be possible to just do one task on our cars. One thing leads to another, which leads to another, which......

Good luck and let us know where the journey (replacing the water pump) takes you.

 
Were making good progress now.  My son spent an hour and several cans of brake kleen to get the timing cover somewhat clean.  Clean enough for now.

We could have done so much more, but I am staying focused on the task at hand.  If I get carried away, I will pull the engine. lol

So instead of that, which I cant afford, time or money, I just focused on the task.  Fixed whats broken.  Ordered up a new set of hoses.  Fortunately the bolts were in amazing condition.  A few were a little rusted but not in bad condition.  I cleaned them all up with a dremel and a wire brush.  I did replace one of the long bolts.  Otherwise they were all great.  

The AC bracketry has me completely stumped.  I took off the left one, the bottom one and its still bolted in somehow.  I was sure it would have to come all the way off.  Nope, I was wrong.  

Were done for tonight.  Even though its a bit cool, the mosquitoes are out in force.  So we will wrap it up in the morning.  Taking out the radiator made it alot easier to get to everything.  I guess it wasnt as bad as I thought initially.  It still took 4 hours to get to this point.  Probably another 2 or 3 to finish all up.  The classic car repair shop right down the street quoted $550 to do the job.  I thought that was really high.  Now I think its a screaming bargain.  I would have charged more than that to do it for someone.


Last edited by a moderator:
one question I should know but dont remember. Which bolts should get RTV? I put it on all the long bolts. I did not put it on the 3 short bolts. If I need to go back and do the 3 short bolts thats fine, I just need to know.

 
Were making good progress now.  My son spent an hour and several cans of brake kleen to get the timing cover somewhat clean.  Clean enough for now.

We could have done so much more, but I am staying focused on the task at hand.  If I get carried away, I will pull the engine. lol

So instead of that, which I cant afford, time or money, I just focused on the task.  Fixed whats broken.  Ordered up a new set of hoses.  Fortunately the bolts were in amazing condition.  A few were a little rusted but not in bad condition.  I cleaned them all up with a dremel and a wire brush.  I did replace one of the long bolts.  Otherwise they were all great.  

The AC bracketry has me completely stumped.  I took off the left one, the bottom one and its still bolted in somehow.  I was sure it would have to come all the way off.  Nope, I was wrong.  

Were done for tonight.  Even though its a bit cool, the mosquitoes are out in force.  So we will wrap it up in the morning.  Taking out the radiator made it alot easier to get to everything.  I guess it wasnt as bad as I thought initially.  It still took 4 hours to get to this point.  Probably another 2 or 3 to finish all up.  The classic car repair shop right down the street quoted $550 to do the job.  I thought that was really high.  Now I think its a screaming bargain.  I would have charged more than that to do it for someone.

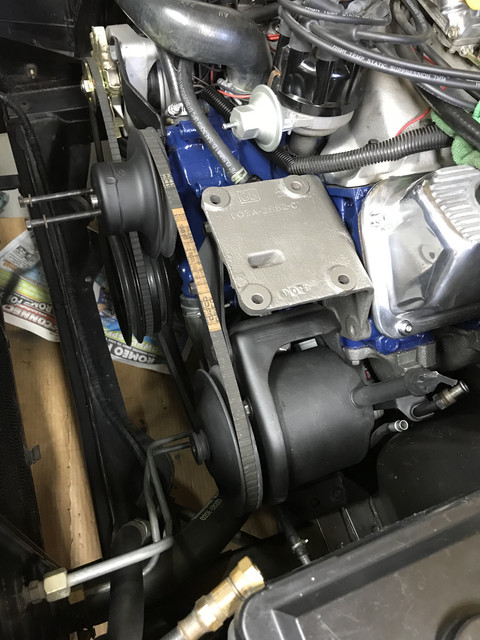
Here’s a couple pics of the a/c bracket.


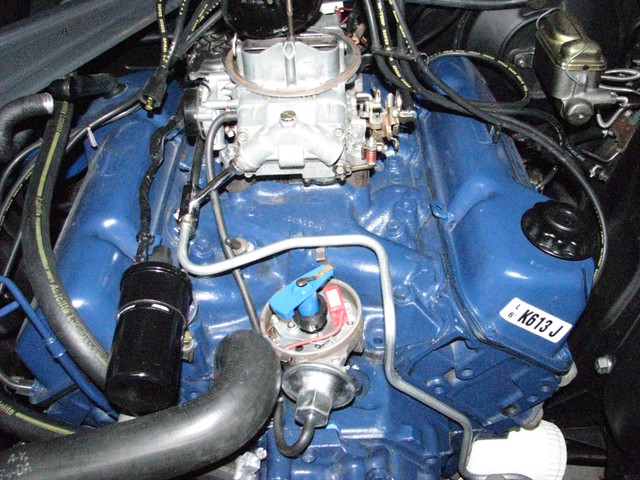
Damn I wish I had time to get it looking that good.

What is the hose right of the vacuum advance?

 
Last edited by a moderator:
Damn I wish I had time to get it looking that good.

What is the hose right of the vacuum advance?
It’s the fuel line. I just did that kinda temporarily, but I did use fuel injection hose. Still need to make a new steel replacement. I don’t have the tools to make one, but I will. Definitely on my to do list this year. I can’t use a stock one because I have an aftermarket carb and intake. I haven’t had any problems with it though and it’s been “temporarily” on there for a couple years now, lol.

Good luck with your repairs, hopefully no leaks!
 John, not to hi-jack this post, but here's a pic of what I made up for mine with a Holley carb. Maybe do something similar. These pics are also in another recent thread.


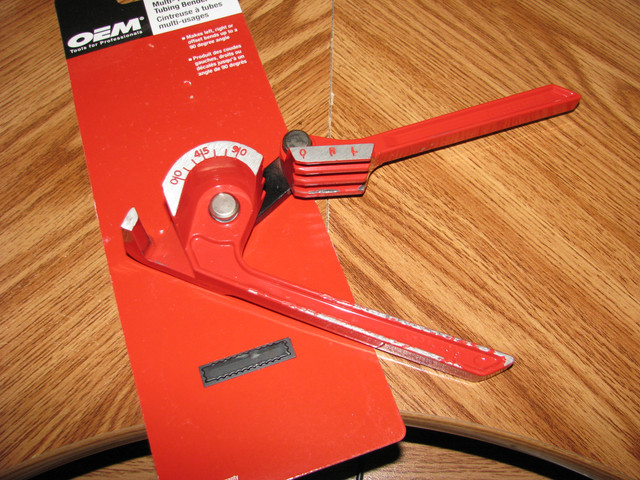
This is the bending tool I used. PM me if you need more info, glad to help.
No problem Geoff, that’s the way it should be. I am planning on the same thing.

 
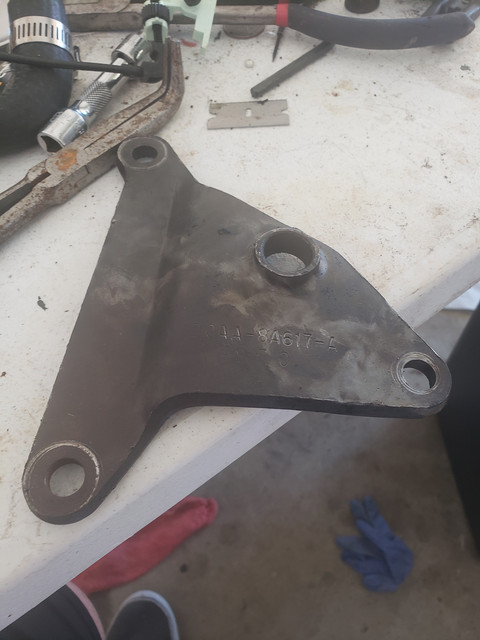
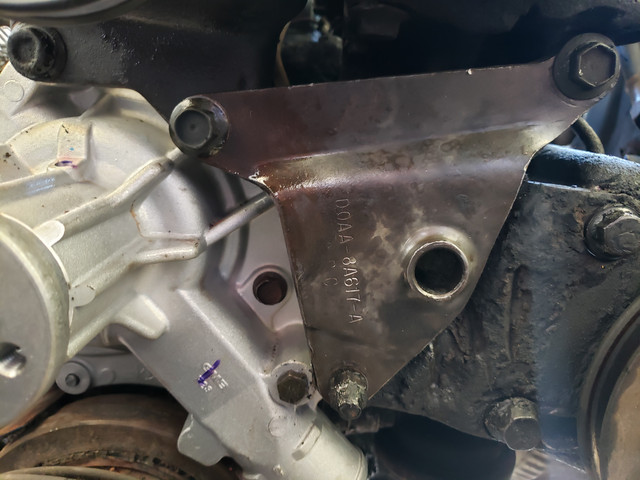
Ok I'm stuck. I have this bracket and I don't remember where it went.  Help!!!!!!


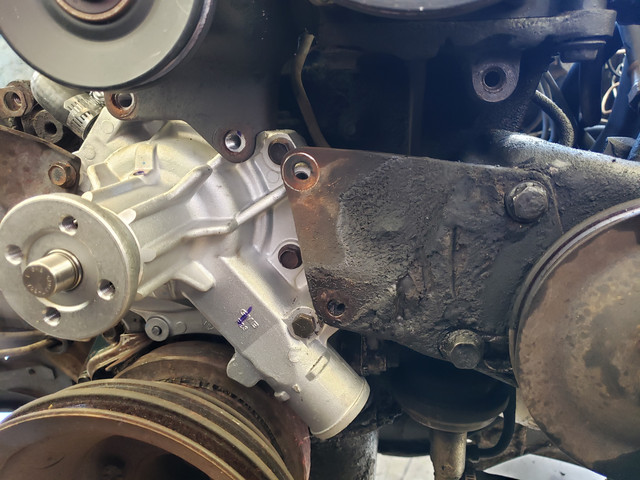
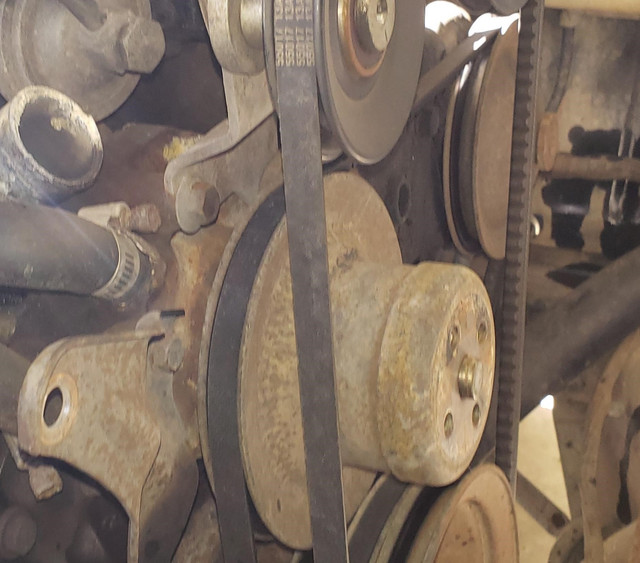
Some how, the bracket above goes OVER? the power steering pump bracket?  I swear I have no Idea why I didnt get a picture of this bracket before we took it out.

 
Last edited by a moderator:
still thinking

One thing I do know, theres a stud that goes in the bottom hole.  Thats the only thing I had in my notes.

this seems to be the best picture i have.  


Last edited by a moderator:
Back
Top