73 Convertible Restoration Project

7173Mustangs.com

Help Support 7173Mustangs.com:

This site may earn a commission from merchant affiliate links, including eBay, Amazon, and others.
Joined
Aug 30, 2014
Messages
1,591
Reaction score
415
Location
Delaware
My Car
Stock 1973 Mustang Convertible with a 351C 2v and C6
Modified 1970 Mach 1 M-Code with a 351C 4v Manual
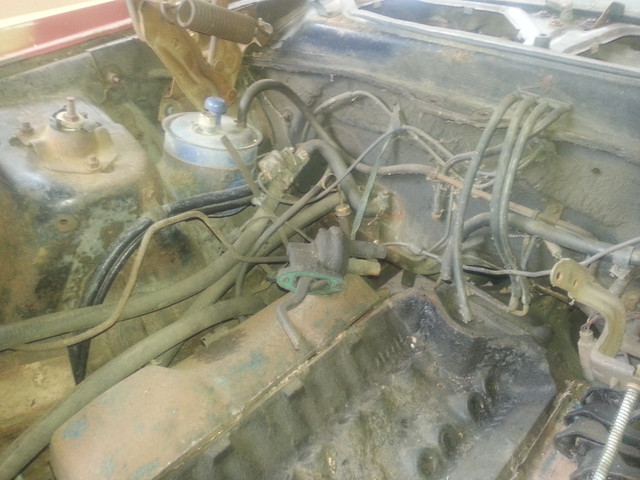
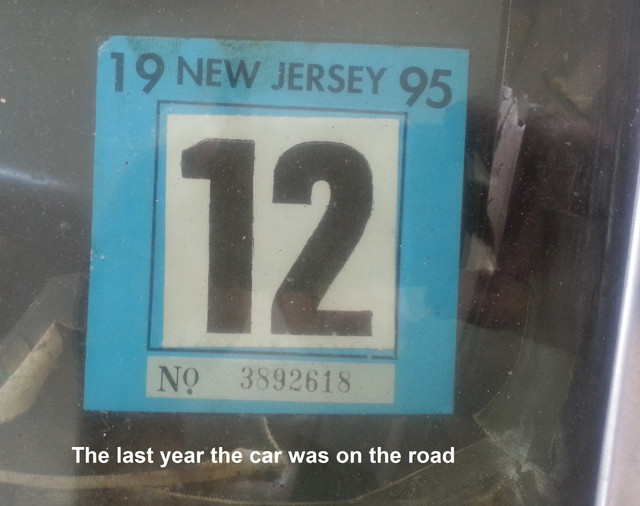
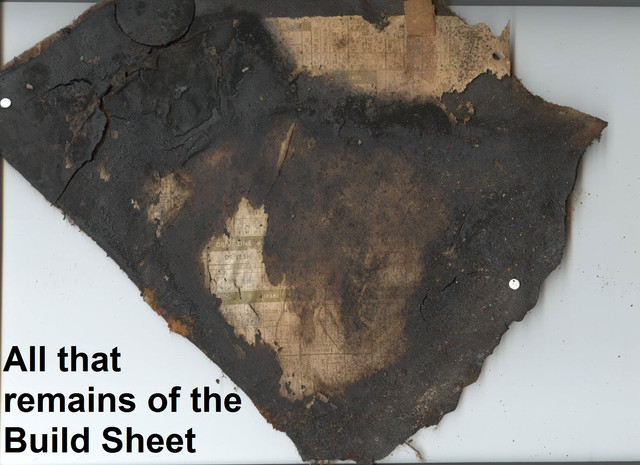
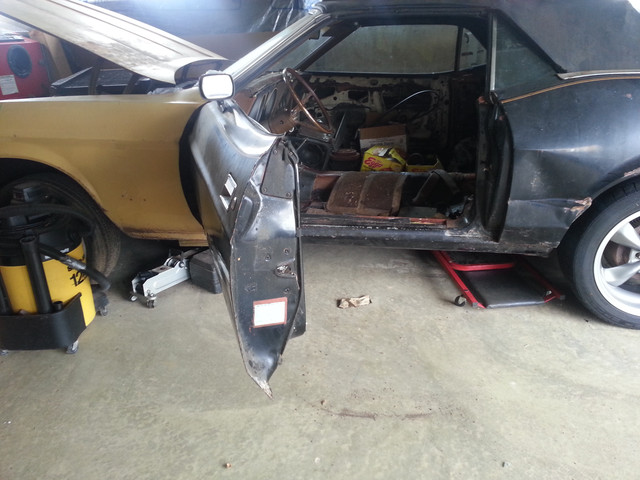
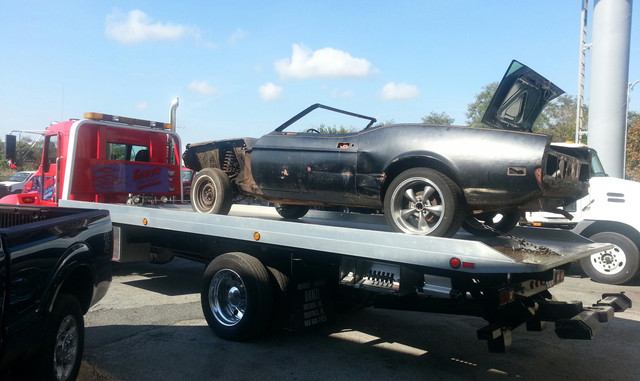
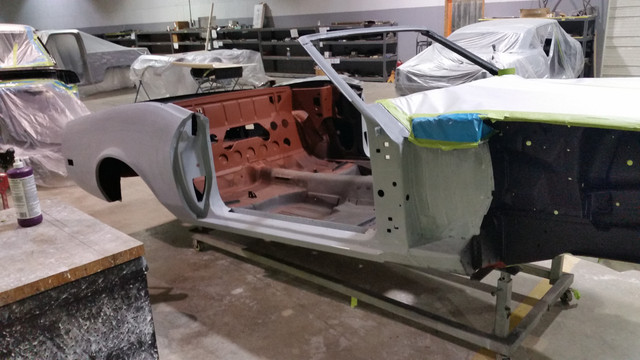
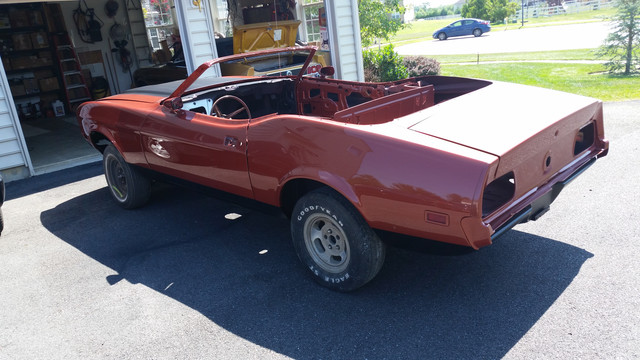
Bought the car about 20 years ago from a guy around the corner from me. I had my eye on it for about a year and offered to buy it a few times, but he declined my offers. He had let the car fall in to disrepair and one day I gat the call that he wanted to sell it. The car barely ran back then and needed lots of work.  I towed it home and garage kept it for a few years and then needed the garage space for my 69 Mach 428 R code, so I moved it outside on blocks under a tarp and there it sat for 15 years. I got the invoice from Lois Eminger and a Marti report, the car was a well optioned June 73 built car and had an unusual beginning as a Ford Marketing company car for an employee in New Jersey. I continued to collect parts for it over the years with the hope that I would one day be able to begin it's restoration and bring it back to it original show room condition. That day came about 2 years ago.

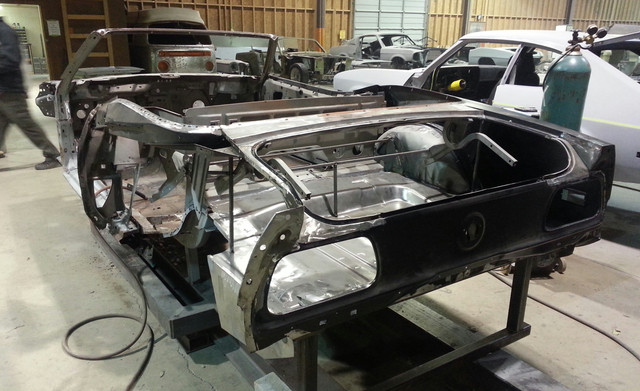
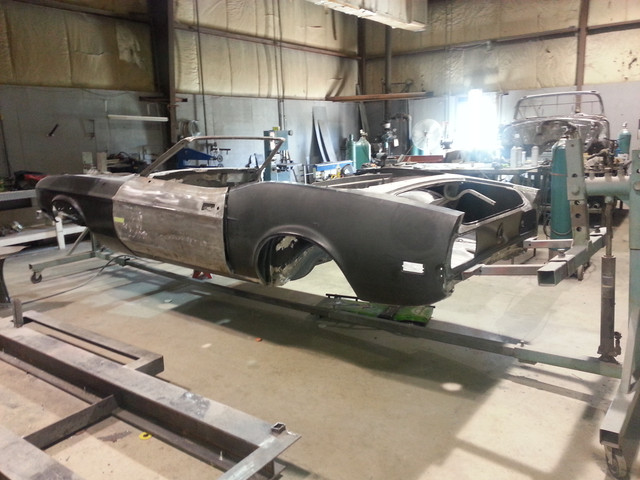
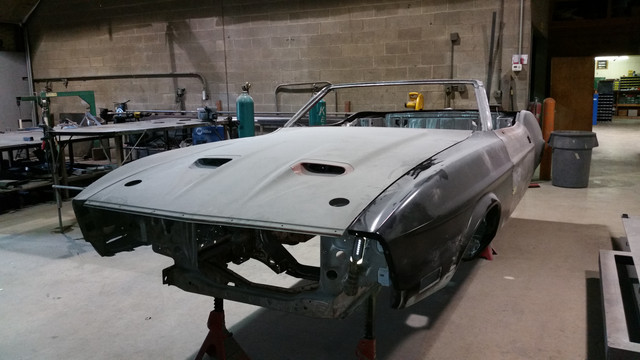
My goal is to restore the car essentially to stock condition, with a few exceptions. On this car the body work was going to be a huge effort. I was just not in a position to do it and the paint, so I had a local restoration shop handle it. https://ibb.co/irxn1F[/URL]

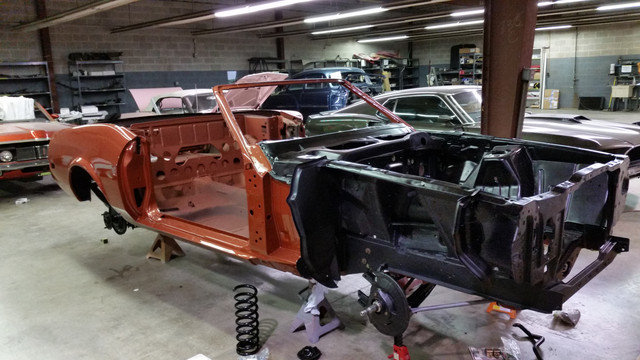
Getting it stripped down and ready for body shop....
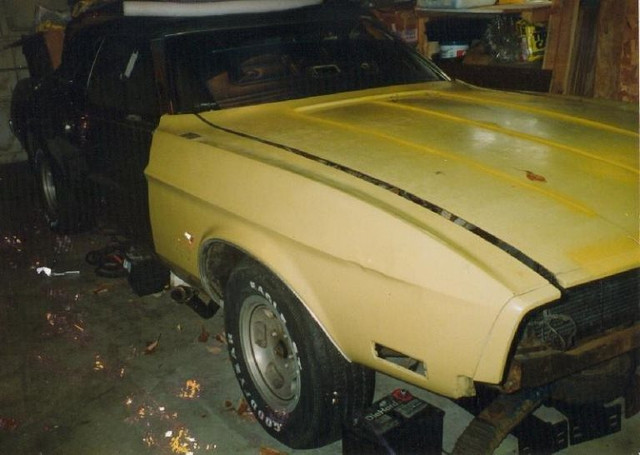
1_copper73_1.jpg


Tons of acorns and stuff after years of mice making it their home...
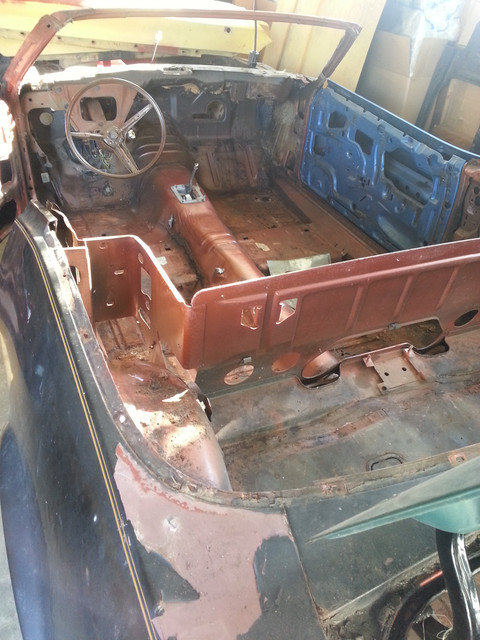


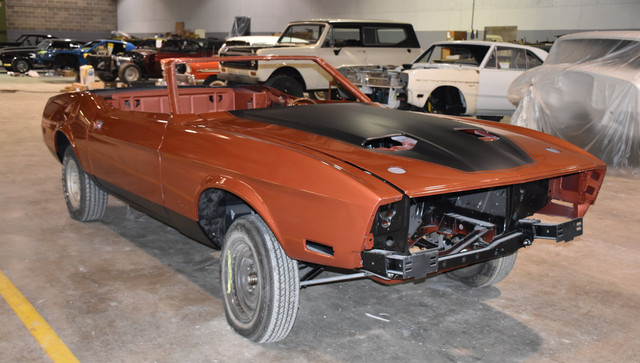
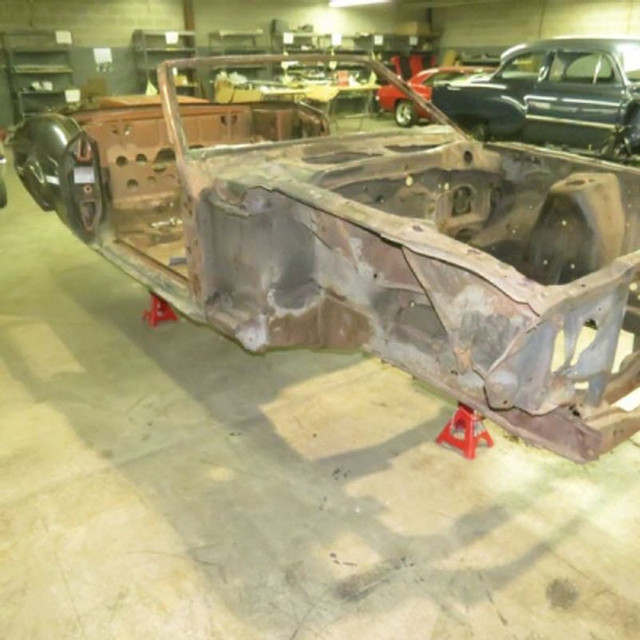
Off to the body shop for the next year or so.... My 2005 Mustang GT''s old rims and tires don't look too bad on the rear.


Time for me to get started cleaning up the drive train, interior, and body parts while the body work gets done a the local body shop.


Last edited by a moderator:
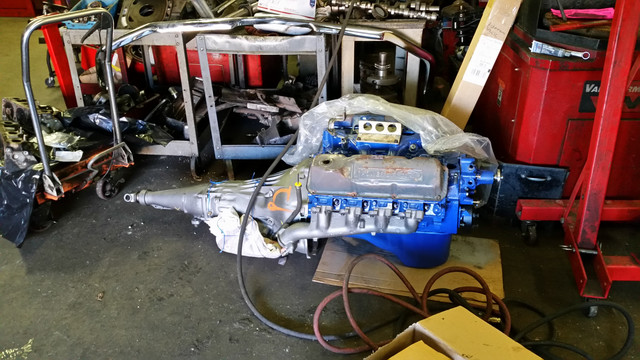
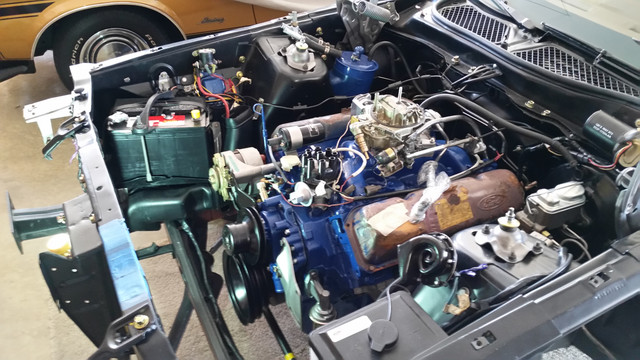
With the help of my mechanic/machine shop, just completed the engine work with the mods below. The trans and differential are done too.

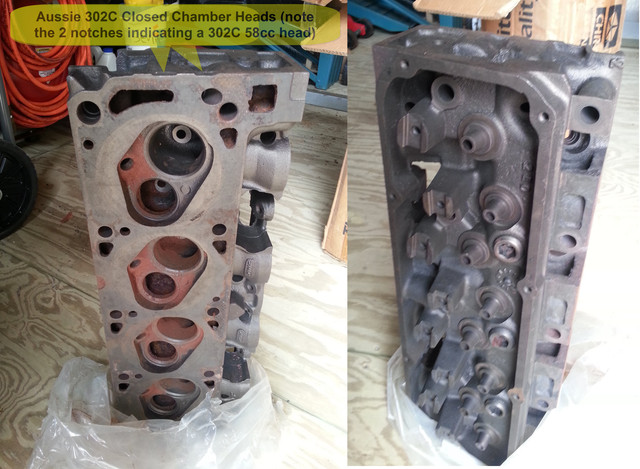
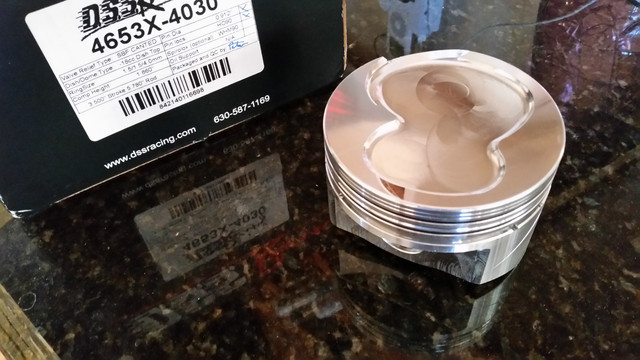
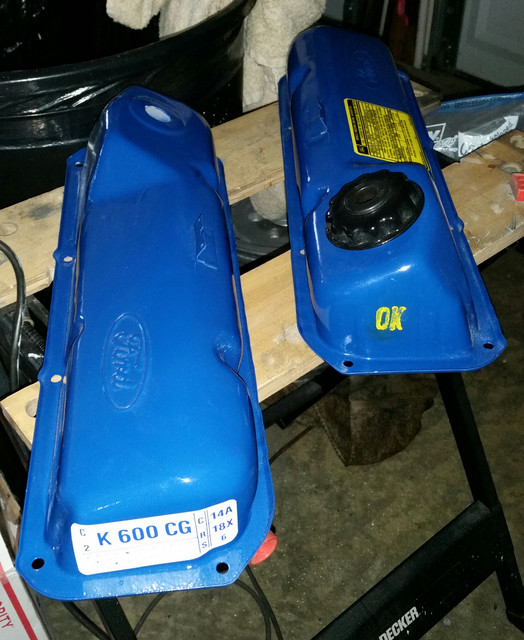
Swap the 2v open chamber heads with Aussie closed chamber 2v 58cc heads with a set of 18cc dished pistons from DSS Racing to help with high compression from the small chamber heads. Stock crank. A somewhat mild cam from Howards Cams. Want a smooth idle and need good vacuum for the A/C, etc.

Swap the intake and carb for a 4v setup: Edelbrock and a late model (big block) Ford 4300A 600 cfm square bore Carb. I had the carb and a EGR plate for years and wanted to keep a stock look. Just needed a rebuild.

3pc roller timing SA gear set

Howards Cams and Springs 231031-10 Hydraulic Flat Tappet 1600 to 5000 Camshaft and springs Lift: .496 / .496, Duration @ .050: 213 / 213, Centerline: 106, Fair idle, Good low to mid-range torque.

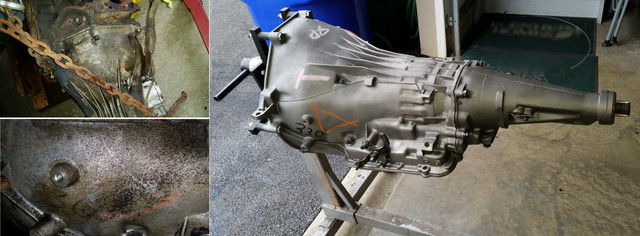
Rebuild the C6 with a 2000 rpm stall converter (stock was 1800) and a shift kit

Swap the 2.75 open rear with an Eaton Truetrac anti-slip differential, 3.50 gears. Update: Did not like the 3.50 gears for highway cruising. So I swapped them for a set of 3.00s. Gave up a little off the line, but much better on the highway.

Change from single to dual exhaust

Slightly stiffer front springs with stock ride height to better handle the front end weight. The A/C compressor, Urethane front bumper, frame and extensions (102 lbs), 351C (not really a small or a big block) and a heavy C6 add a lot of weight up front.

Keep the original AM/FM radio, but add a dash speaker to compliment the replacement factory door speakers and post-amp 4 channel equalizer to boost the wattage. This should be enough for me when I am cruisin’ around with the roof down.

Never having done this before, I could be over my head and heading for trouble. We will see how well this configuration works soon.


upload an album

 
Last edited by a moderator:
I had my Aussie heads opened up to 60cc running slightly less than 8 cc dished pistons. I will be running a much crazier roller cam though. Should be a good runner.

 
That was a good move! If everything else is stock, then my guess is your compression is around 10.25? I'm getting 9.50. I wish I had machined mine and opened them up to 60cc as well. In retrospect maybe a better way to go.

Good Luck!

 
That was a good move! If everything else is stock, then my guess is your compression is around 10.25?  I'm getting 9.50. I wish I had machined mine and opened them up to 60cc as well. In retrospect maybe a better way to go.

Good Luck!
10.10:1 static and about 7.9:1 dynamic.

 
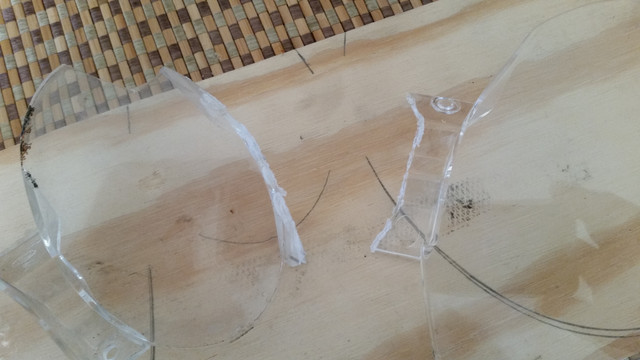
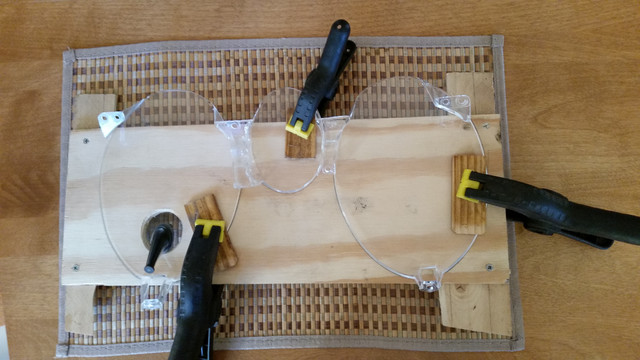
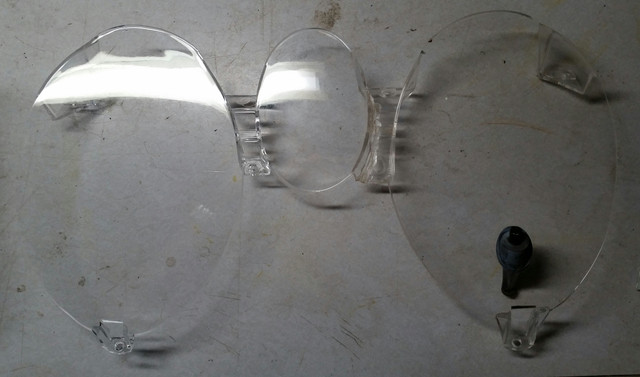
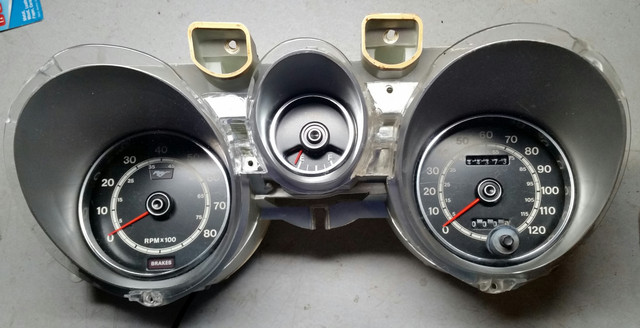
The tach part of my original gauge lens cover was scratched and the fuel lens was badly chipped. My Speedometer/trip odometer lens was perfect condition. To my knowledge a complete lens with the trip odometer button hole is not reproduced, so I decided to splice a standard lens repro and my original Speedometer/trip odometer lens together at a seem hidden behind the dash bezel. So using a dremmel, some clear plastic epoxy, a outline of the lens on a board to hold it all in place, and a prayer that it will work.

Chipped Lens....


Spliced Lens.. Old Odometer lens part left and new Fuel and Tach lens part right...

https://ibb.co/m2K26Q
20151120_155241.jpg
[/URL]


Repaired lens. The epoxy worked perfectly...


Spliced Lens.


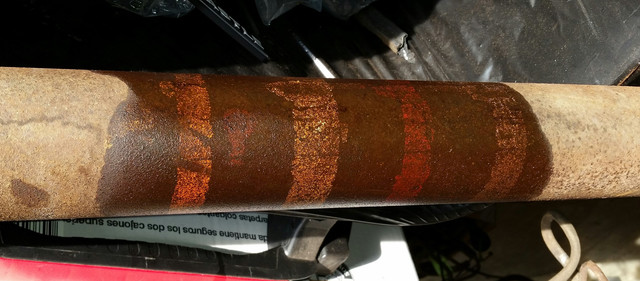
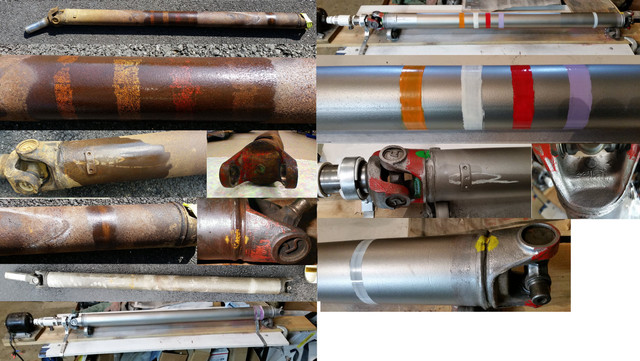
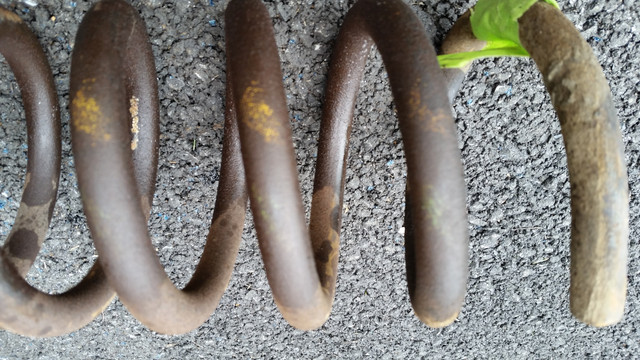
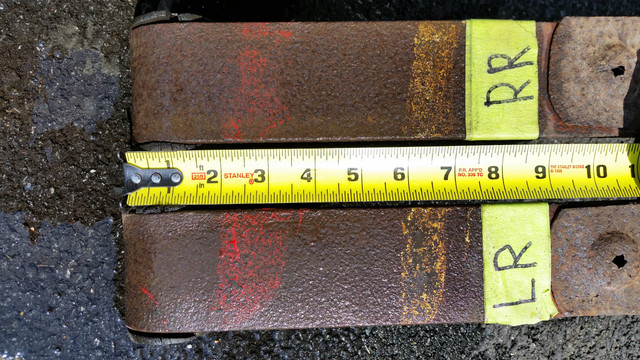
Discovered the paint marks on my drive shaft and front and rear springs using a little WD40 to bring them to light....


Soaked the shaft in some VapoRust enclosed in a PVC tube. Mounted on a board with casters to spin it, some sanding and paint to reproduce the original marks. That VapoRust is amazing stuff!


Last edited by a moderator:
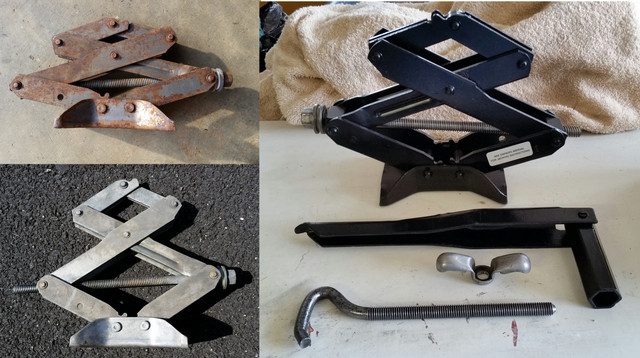
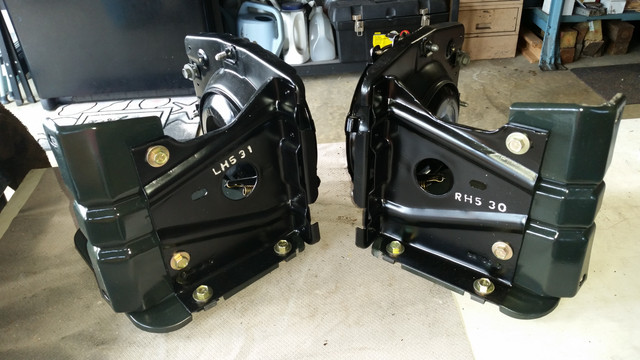
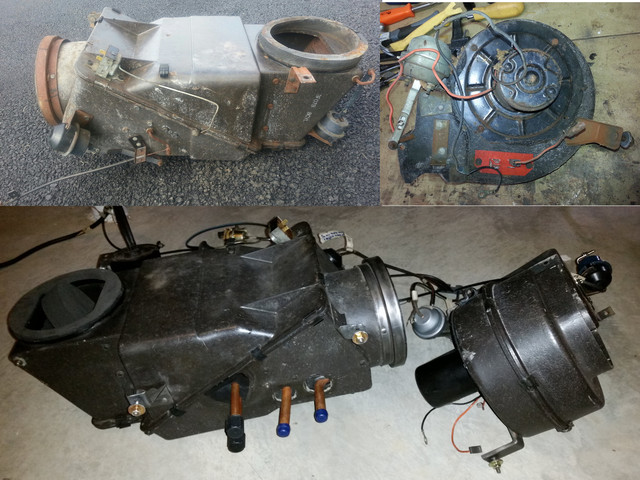
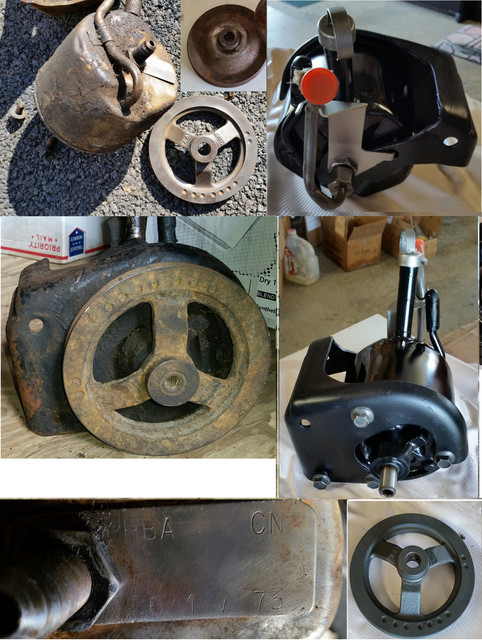
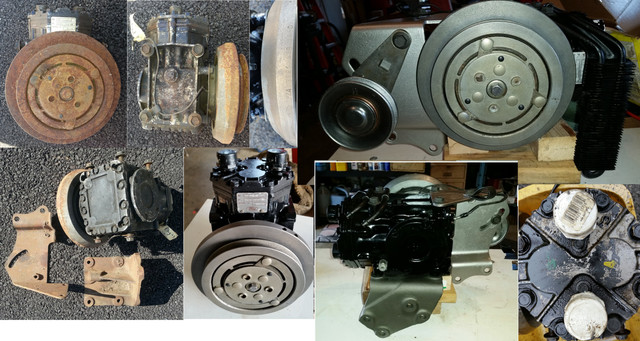
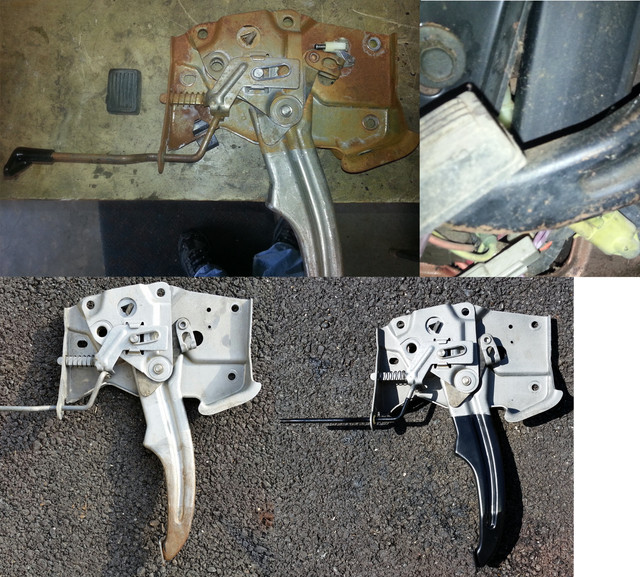
More parts cleaning...that VapoRust is amazing stuff! Greatly reduces or eliminates the effort needed for wire brushing or blasting. Some before and after pictures...


Soaked the A/C clutch face down in VapoRust still attached to the compressor. That's it. 


where to host photos

 
Last edited by a moderator:
Nice. I haven't tried the vaporust before. Does it take long? I have used the molasses trick many times. It works fantastic but is as slow as its name.

 
Nice. I haven't tried the vaporust before. Does it take long? I have used the molasses trick many times. It works fantastic but is as slow as its name.
It all depends on the amount of rust. I soaked the driveshaft for about 6-7 days. Nut and bolts over night or two. The A/C clutch about 2 days. What great about it is it gets in to places you can't reach or don't want to blast for example the A/C clutch and parking brake pedal. You can reuse the stuff until it stops working or takes too long to work.  Its non-toxic and has little fumes, so you don't stink up the garage with a chemical smell. I found that it does not remove paint on non rusty surfaces, grease, or damage plastics.  Good stuff!


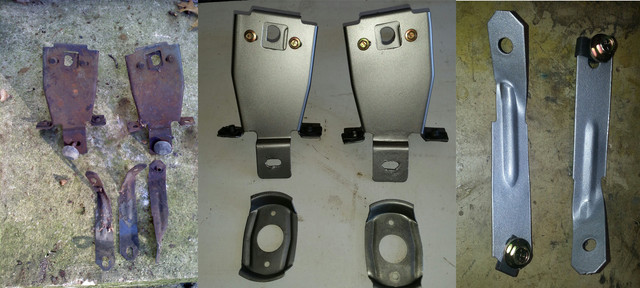
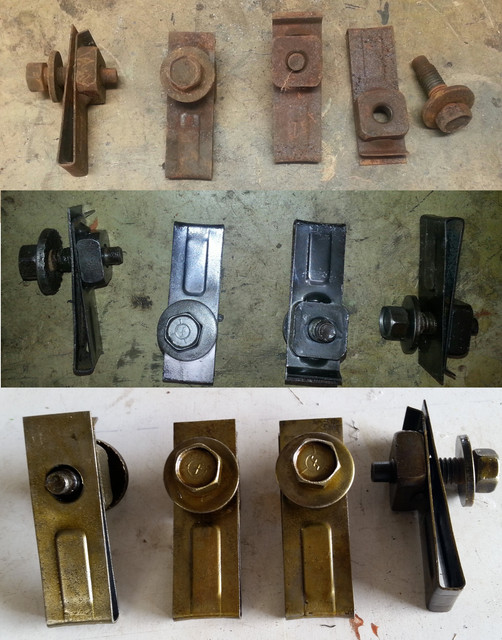
I can't afford to replace every rusty bolt and some hardware is just not available, such as these 73 front urethane bumper attachment clips


Last edited by a moderator:
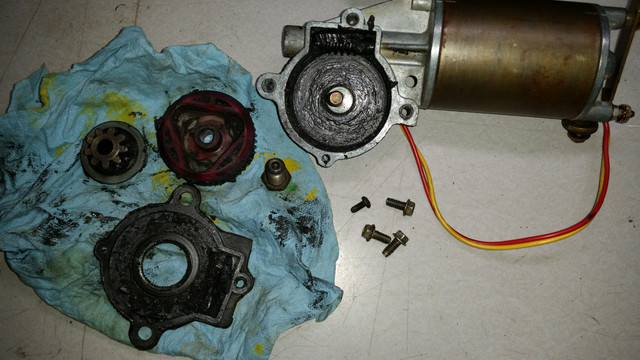
Had to replace the brittle plastic gear in both of the door window motors. They needed a good cleaning and fresh grease anyway.


Removed the rust and re-stamped them


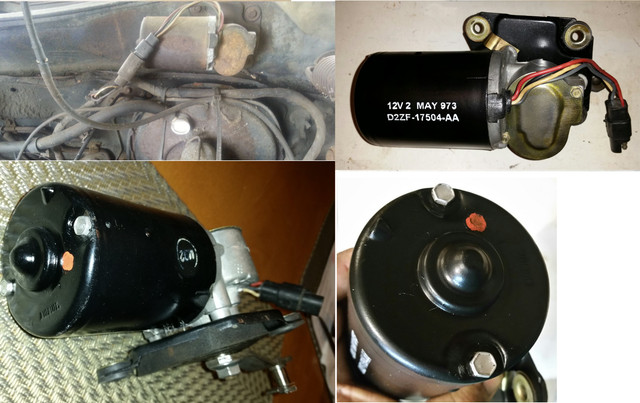
Same thing with the Wiper motor


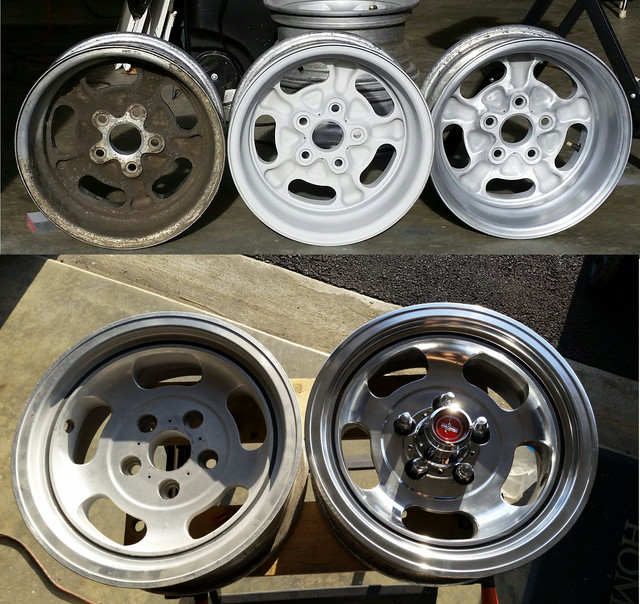
The aluminum slot wheels were very rough! Years ago, I found a few dozen original lug nuts lying on the ground at a mustang only junk yard. Apparently scavengers took off the aluminum slot wheels and threw the lug nuts on the ground. I just walked around picking up the good ones like sea shells on the beach. Got a complete set plus some extras for $20. A little buffing and they are almost good as new.


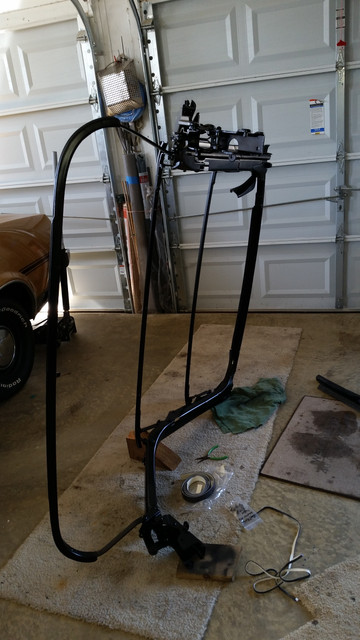
Roof frame.


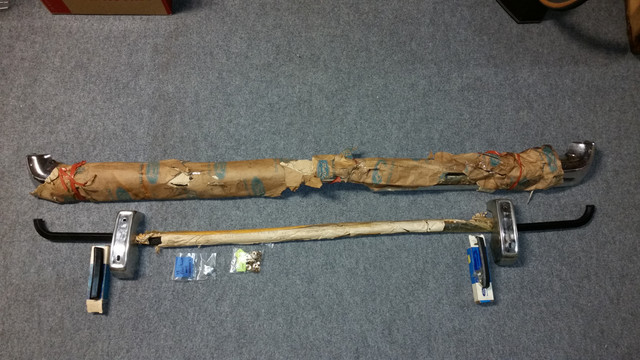
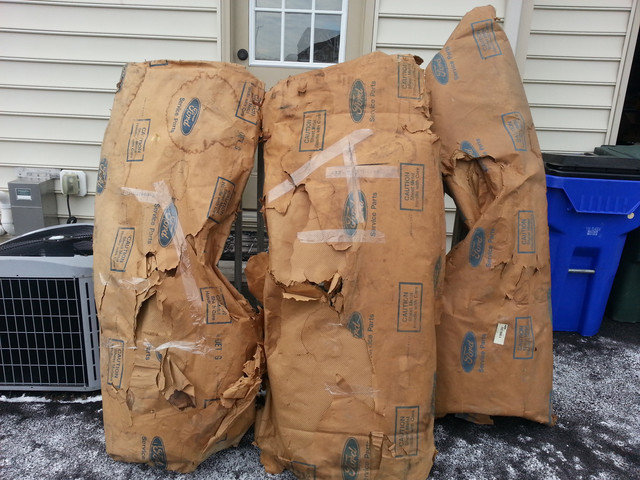
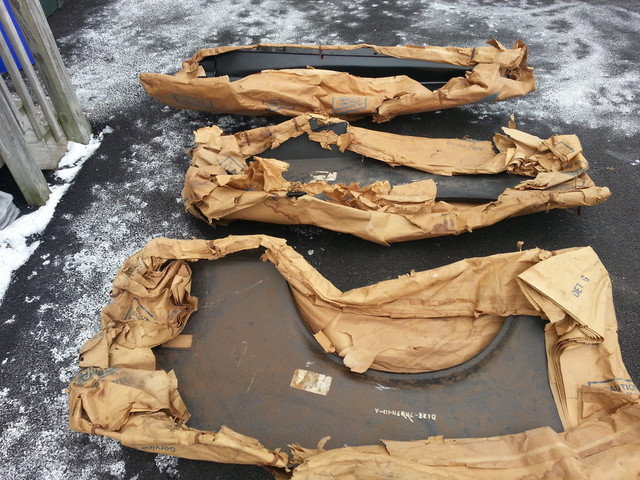
NOS 73 rear bumper and rubber strips.


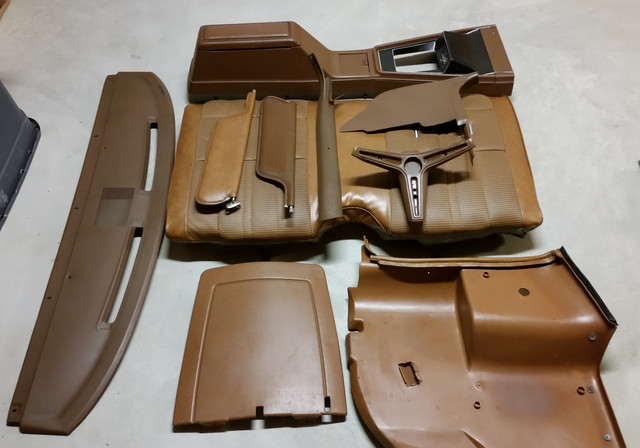
Ginger interior is very hard to match with the off the shelf vinyl dies/paints. Apparently there were two or three color shades used in each car. The dashboard area, windshield pillar molding, Sun Visors, Steering column and wheel, kick panels, console, and carpet (floor and door) were a darker ginger. Where as the front seat backs and rear quarter panels were a lighter ginger to more closely match the seats and door panel vinyl.  Note I show two different color sun visors...the lighter one is from a fastback/coupe.


Last edited by a moderator:
Mike,

First I have to say my wheel were in bad shape front and back. If yours are not so bad then a good polishing maybe all they need.

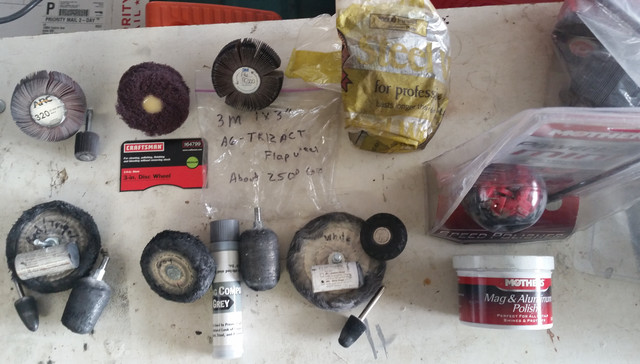
The back side of the wheels I used my blasting cabinet with low pressure. Blasting left the back side clean but a bit dull. Then I used a 320 flat flap wheel on a hand drill or 0000 steel wool where I could not get with the flap wheel. I was not trying to polish the back side, just clean it. Final step I used a wheel clear coated on the backside only.

On the front side I lightly used a large diameter fine 320 grit flap wheel to take out any scratches and scuff marks along the outer edge and a small diameter fine 320 grit flap wheel in the slot and lug holes. Then I used a progression of finer grit sand paper (800 up to 2000). Once I was happy with the appearance (a good dull shine with no scratches), I then used a hand drill with separate cloth polishing wheels for Tripoli, gray, white polishing compounds. Then Mothers aluminum polish on a Mothers buffing wheel.

Then a good cleaning with Denatured Alcohol. As a final step I used Sharkhide aluminum protective coating on the front of the wheels.


Last edited by a moderator:
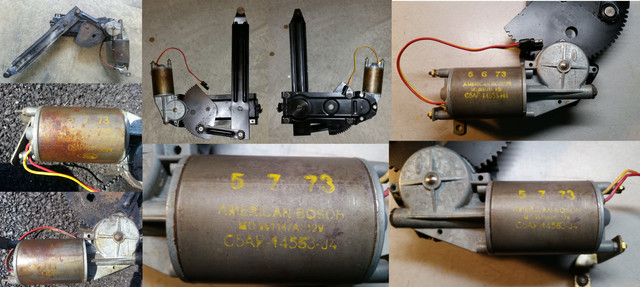
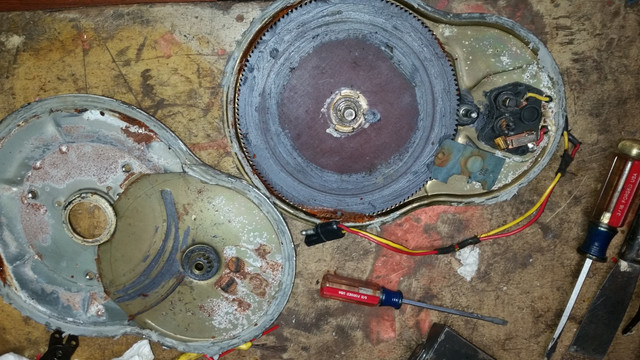
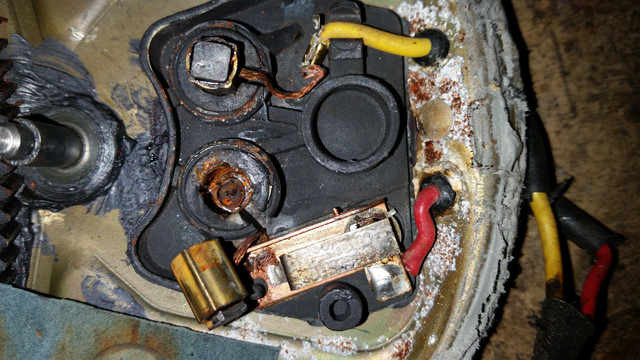
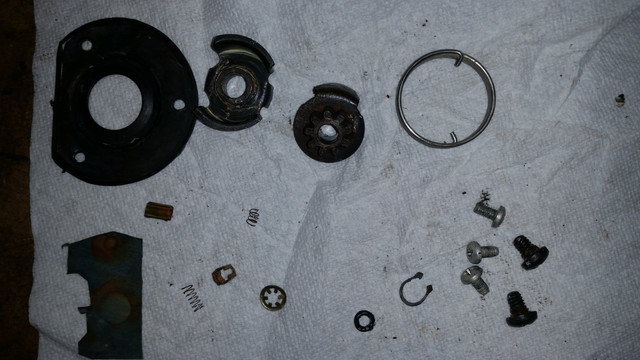
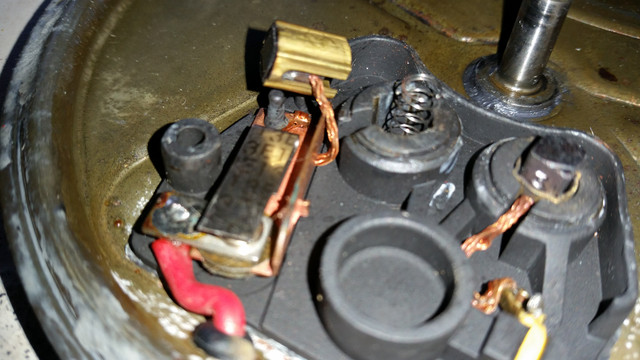
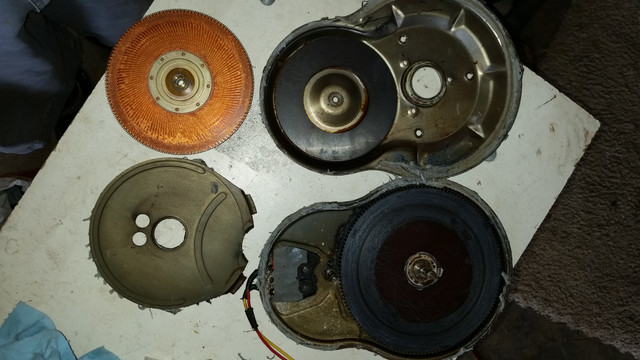
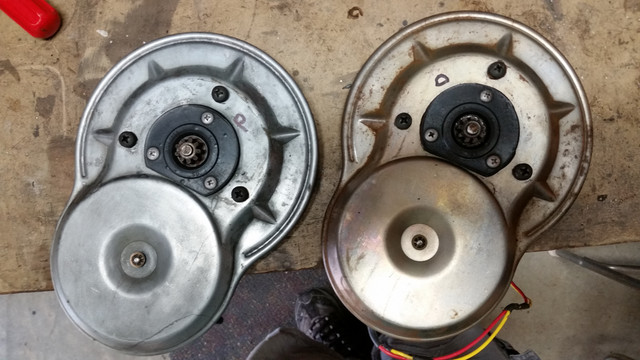
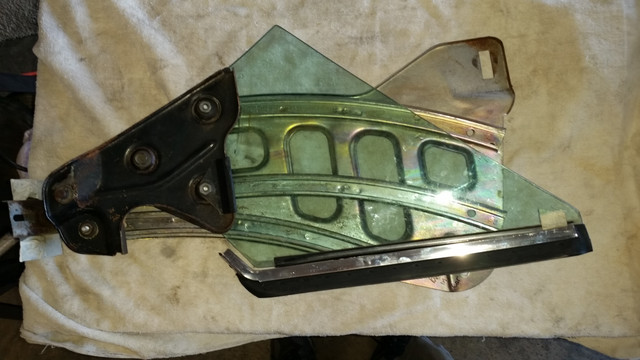
Time to tackle the quarter window rails and pancake motors. Mine were weak and could not lift the windows without help. I watch a utube video on how to disassemble and clean them. I was ready to give it a try. I'll spare everyone the gory details on disassembly you can see it on utube.

Once apart, I had to remove all the old grease and a few of the brushes were very worn and the pressure springs completely rusted. I was able to find compatible brushes online and I had a few small springs that I trimmed down to size. In the end I was unable to revive one of the motors, but the servo gear was damaged beyond my ability to repair it on the other motor, but fortunately I found one in good working condition on Craigslist for a steal.


best online image hosting

 
Last edited by a moderator:
Back
Top