- Joined
- Aug 14, 2014
- Messages
- 4,469
- Reaction score
- 1,512
- Location
- Madison, WI
- My Car
- 1971 Mach 1 w/408C stroker
Trying posting this here from my build thread:
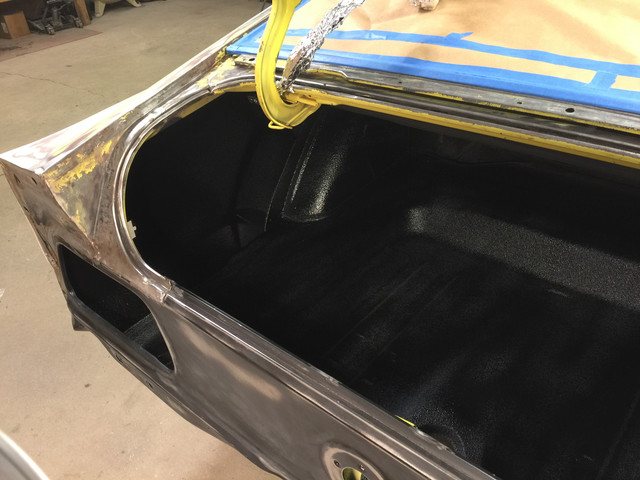
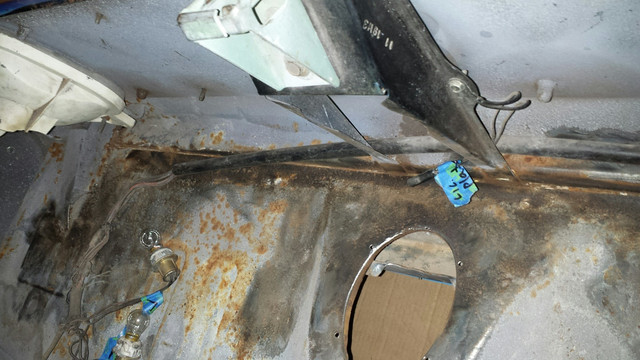
I am currently working on fixing rust issues in the trunk and inner fenders. As I ready to paint the trunk area I am curious on how the trunk side of the tail light panel it's supposed to look from factory - this is a hard picture to find since it has to be taken from inside the trunk. By no means I am performing a rotisserie restoration, but I would like to approximate as close as possible within my capabilities. After repairs, grinding, cleaning, prepping, I am covering the trunk floor with Rust Bullet, beadliner coating and trunk paint, but I don't know how the inside of the tail light panel is painted, how the center support of the panel is painted and how the trunk lock bracket is painted. Also, if someone has a picture of the trunk seal groove (without seal) where it meets the inside of the trunk it would be appreciated.
Another question, I have seen the exterior side of some tail light panels painted black, was this an option, or just customization?
This is what I am calling the trunk side or inside of the tail light panel:
imagehost ru