- Joined
- Jun 14, 2019
- Messages
- 571
- Reaction score
- 174
- Location
- Coachella Valley (Palm Springs)
- My Car
- 1973 Convertible, 351 4v CJ, C6, Mach 1 Decor options, power: steering, brakes and windows, a/c, Rally Pac gauges, Deluxe interior.
[url=https://ibb.co/ZVjjKXW][img]https://i.ibb.co/zrMMbxG/s-l1600-2.jpg[/img][/url]
And in the beginning... (btw, a forum dedicated to our own builds/restos is such a great idea - thanks)
Introductions have been made in the New Users forum, so this is my rebuild/resto thread. My goal is an original-as-possible sweet “weekend cruiser” with only the few modernizations that are more or less essential to dependable driving (i.e., I never ever want to have to adjust points again — my absolute nemesis!). I plan to work my way through (in this order) 1) dependable, 2) comfortable, 3) attractive up to awesome ride.
The car arrived yesterday so I got my first thorough unattended inspection. No complaints about the seller; it was a quick & efficient transaction and the description was thorough and accurate, however... it’s always the ‘what they don’t say’ you have to look for.
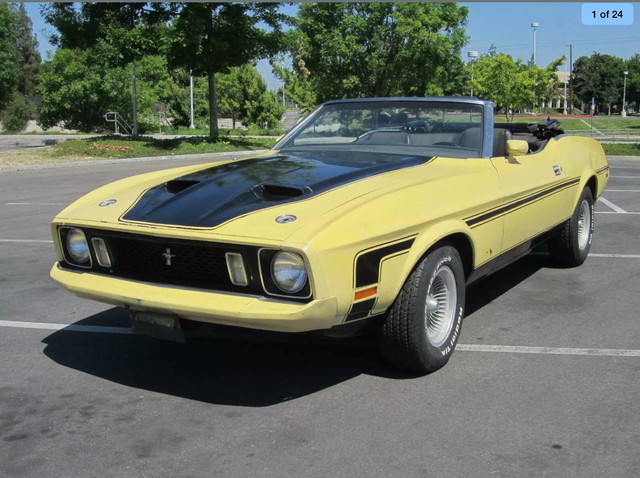
My first impression? “Welcome home, beautiful!” (Seller’s photos)
And now reality.
Exterior: “par” for 46 year old car not maintained beyond the essentials. 2nd paint job was crap. Several small trim pieces (hood locks, side panel “Mustang” script) missing. Def needs a new top (knew that) but the top mechanicals are *excellent*. Endless body tweaks and adjustments needed. Floor pans and trunk, solid other than (known) dime size hole in passenger rear trunk well. More troublesome: that “little scrunch” on the driver rear corner will probably necessitate a quarter panel replacement.
Being the first year for the 5 mph bumper mandates, I expected they’d seen punishment. That said, front bumper looks pretty good although it seems a bit set back: the urethane attached to the bumper for the sides that covers the gap to the fender overlaps onto the fender by about 1/2” — can the bumper just be adjusted back out?
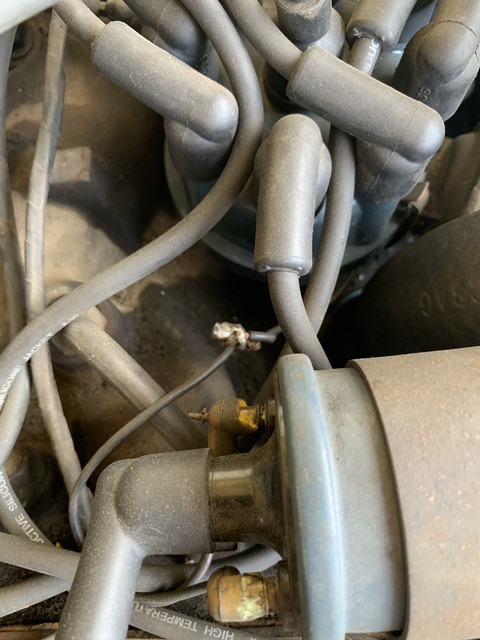
Under the hood: Seller replaced air, oil and fuel filters, all the fluids, battery, coil, voltage regulator and upper/lower radiator hoses. It’s good because I would have done that anyway, but not good because the old fluids are a good diagnostic. P/s pump leaks (a lot) — no fluid even showing on the dipstick — but when the engine is running, works fine(?). But I can’t really take it our for spin until... the leaky radiator is fixed (has been ordered and yes, I’m staying with copper/brass and upgrading to 3-row).
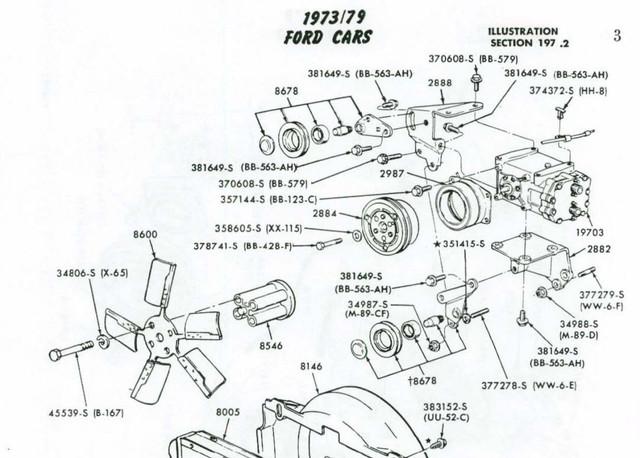
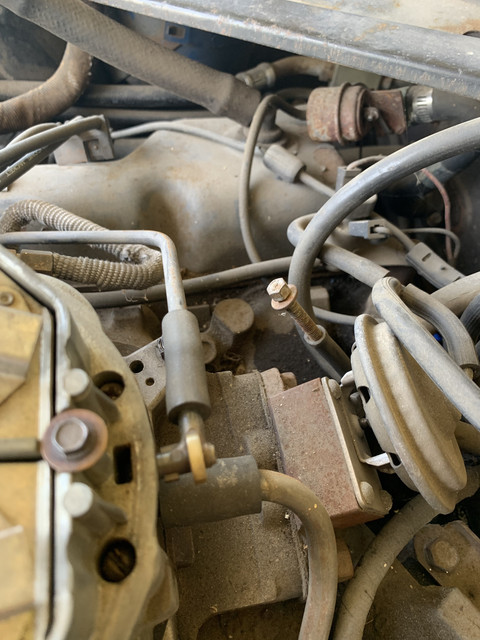
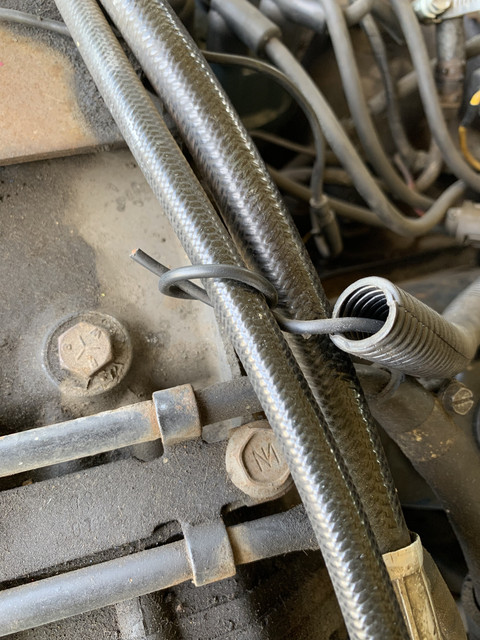
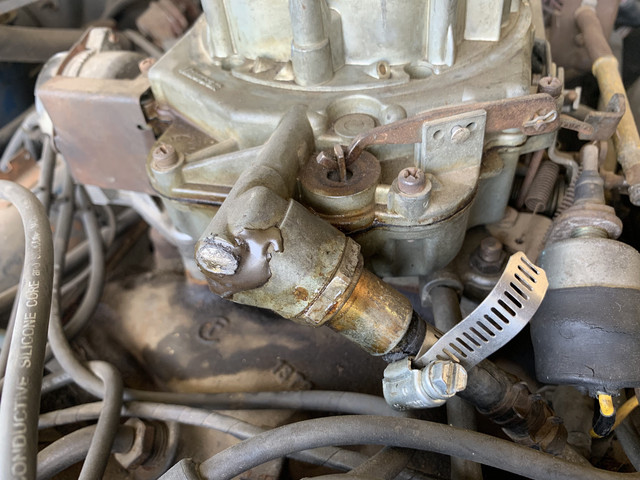
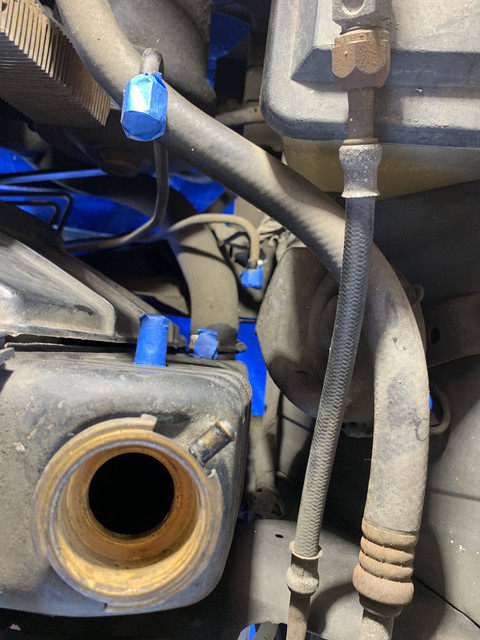
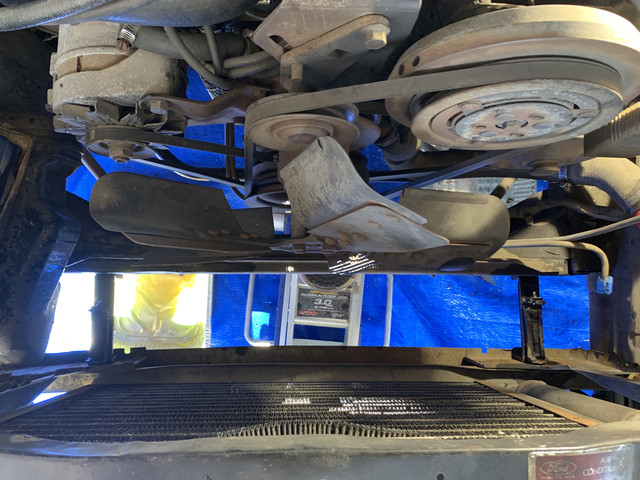
But... lots of “ponderables”. Why is the oil dipstick coming up under the a/c compressor rear hoses? Not near, “in”. What were they thinking with that hose that’s about a foot too long (can’t yet say what the hose is for, but it hangs down 3”-4” under the engine). And “Hey, you: ya left one of your sockets attached” (I remember the excruciating effort to get up in there with my ‘71 many moons ago and then when extracting my wrench, the socket stayed behind. But I never left one.)
With engine running: starts *nearly* flawlessly *nearly* every time! And then the fun begins... A few misfires until it gets warmed up but then purrs smoothly. However, exhaust smells way too rich and idle never drops below 1k. After getting to normal temp a few revs (hold at 2500) reveals: stumbles on the way up, say at 1500-2000 rpm as if it were getting too much fuel, but then surges beyond that. If you’re holding 2-2500 rpm and just take your foot completely off the accelerator: spin down to full stop and off (dead). A slow release of the pedal and it just returns to idle. I will be inspecting every vacuum tube under the hood I can find today.
Underneath: cursory inspection. Old undercoating needs to be removed/replaced, but it’s really done it’s job. No rust other than expected surface dust. Rear end does not leak. No oil/fluids coming out of unusual places.
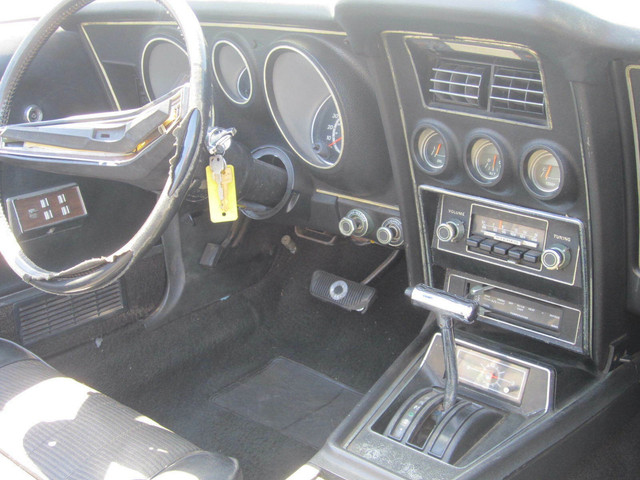
Interior: Ulpholstery and carpet def ready to be replaced. But workable as is for now. Dash cracked (meh, not dreadful. Add to the list). Passenger and driver seats were switched so that will eventually go back (as is, the seat back release levers are on the side furthest from the door), console is in good shape except the console liner/bin has part of the bottom cut out for who know’s what) and inside, first owner-added “what does this switch do?” . Instrument lenses clear! Uh, who knows how to get that mess of a horn working — without replacing the wheel? (see photo). All major switches work as do the power windows (passenger’s needs new cam, but you can hear the motor purring as it tries. Bueno). Wipers work and park perfectly, but alas, no washer.
HVAC: well... compressor known as not working, but, controls mostly ok. Fan speed good. Air to a/c vents and floor vents fine, except hi “Hi/Lo” (no mixing; all upper or all lower). On “Heat” it should send most air to the floor, next position over, mix floor and defrost, on Defrost, full output to windshield. Seems we are at “Mix and Full Defrost” only. Maybe some jammed doors, or missing/broken vacuum hoses.
Radio: “silent”. Either not getting power, or dead; TBD. Console clock: same.
Nighttime inspection: all exterior lights good except for one side marker lamp. High/low work (but oh my do those headlight need to be aimed). Interior courtesy lights all working (not many in a ‘vert), but... no dash or console lighting.
Which led to this morning, crawling under the dash, to see what I might see, regarding the dash and console lighting and radio power. What. A. Hornet’s. Nest.
So many splices! And a new “what does this do?” switch. Fuses in the fuse block a-ok, so about the radio, there must be an in-line fuse somewhere... or something is just completely unattached.
There you have it. I have about a grand worth of parts on order — so while I wait, I’ll be here reading up on “disassembling the instrument panel and center console”.
And yes, since this is a (hopefully) ongoing thread of my project and progress, any of your $.02 you want to throw in along the way would be welcomed.
Introductions have been made in the New Users forum, so this is my rebuild/resto thread. My goal is an original-as-possible sweet “weekend cruiser” with only the few modernizations that are more or less essential to dependable driving (i.e., I never ever want to have to adjust points again — my absolute nemesis!). I plan to work my way through (in this order) 1) dependable, 2) comfortable, 3) attractive up to awesome ride.
The car arrived yesterday so I got my first thorough unattended inspection. No complaints about the seller; it was a quick & efficient transaction and the description was thorough and accurate, however... it’s always the ‘what they don’t say’ you have to look for.
My first impression? “Welcome home, beautiful!” (Seller’s photos)


And now reality.
Exterior: “par” for 46 year old car not maintained beyond the essentials. 2nd paint job was crap. Several small trim pieces (hood locks, side panel “Mustang” script) missing. Def needs a new top (knew that) but the top mechanicals are *excellent*. Endless body tweaks and adjustments needed. Floor pans and trunk, solid other than (known) dime size hole in passenger rear trunk well. More troublesome: that “little scrunch” on the driver rear corner will probably necessitate a quarter panel replacement.
Being the first year for the 5 mph bumper mandates, I expected they’d seen punishment. That said, front bumper looks pretty good although it seems a bit set back: the urethane attached to the bumper for the sides that covers the gap to the fender overlaps onto the fender by about 1/2” — can the bumper just be adjusted back out?
Under the hood: Seller replaced air, oil and fuel filters, all the fluids, battery, coil, voltage regulator and upper/lower radiator hoses. It’s good because I would have done that anyway, but not good because the old fluids are a good diagnostic. P/s pump leaks (a lot) — no fluid even showing on the dipstick — but when the engine is running, works fine(?). But I can’t really take it our for spin until... the leaky radiator is fixed (has been ordered and yes, I’m staying with copper/brass and upgrading to 3-row).
But... lots of “ponderables”. Why is the oil dipstick coming up under the a/c compressor rear hoses? Not near, “in”. What were they thinking with that hose that’s about a foot too long (can’t yet say what the hose is for, but it hangs down 3”-4” under the engine). And “Hey, you: ya left one of your sockets attached” (I remember the excruciating effort to get up in there with my ‘71 many moons ago and then when extracting my wrench, the socket stayed behind. But I never left one.)
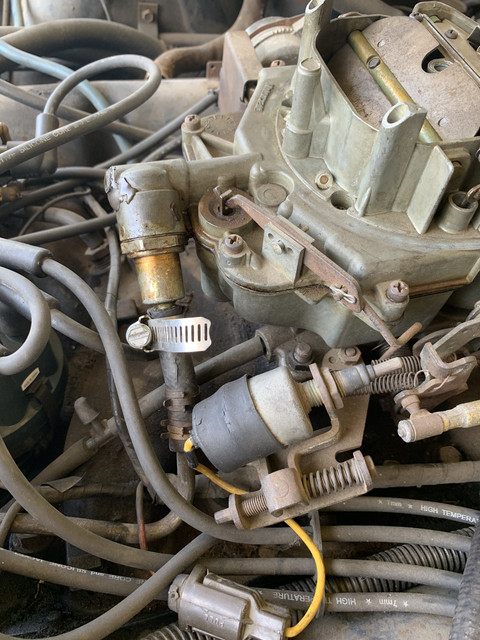
With engine running: starts *nearly* flawlessly *nearly* every time! And then the fun begins... A few misfires until it gets warmed up but then purrs smoothly. However, exhaust smells way too rich and idle never drops below 1k. After getting to normal temp a few revs (hold at 2500) reveals: stumbles on the way up, say at 1500-2000 rpm as if it were getting too much fuel, but then surges beyond that. If you’re holding 2-2500 rpm and just take your foot completely off the accelerator: spin down to full stop and off (dead). A slow release of the pedal and it just returns to idle. I will be inspecting every vacuum tube under the hood I can find today.
Underneath: cursory inspection. Old undercoating needs to be removed/replaced, but it’s really done it’s job. No rust other than expected surface dust. Rear end does not leak. No oil/fluids coming out of unusual places.
Interior: Ulpholstery and carpet def ready to be replaced. But workable as is for now. Dash cracked (meh, not dreadful. Add to the list). Passenger and driver seats were switched so that will eventually go back (as is, the seat back release levers are on the side furthest from the door), console is in good shape except the console liner/bin has part of the bottom cut out for who know’s what) and inside, first owner-added “what does this switch do?” . Instrument lenses clear! Uh, who knows how to get that mess of a horn working — without replacing the wheel? (see photo). All major switches work as do the power windows (passenger’s needs new cam, but you can hear the motor purring as it tries. Bueno). Wipers work and park perfectly, but alas, no washer.
HVAC: well... compressor known as not working, but, controls mostly ok. Fan speed good. Air to a/c vents and floor vents fine, except hi “Hi/Lo” (no mixing; all upper or all lower). On “Heat” it should send most air to the floor, next position over, mix floor and defrost, on Defrost, full output to windshield. Seems we are at “Mix and Full Defrost” only. Maybe some jammed doors, or missing/broken vacuum hoses.
Radio: “silent”. Either not getting power, or dead; TBD. Console clock: same.
Nighttime inspection: all exterior lights good except for one side marker lamp. High/low work (but oh my do those headlight need to be aimed). Interior courtesy lights all working (not many in a ‘vert), but... no dash or console lighting.
Which led to this morning, crawling under the dash, to see what I might see, regarding the dash and console lighting and radio power. What. A. Hornet’s. Nest.
So many splices! And a new “what does this do?” switch. Fuses in the fuse block a-ok, so about the radio, there must be an in-line fuse somewhere... or something is just completely unattached.
There you have it. I have about a grand worth of parts on order — so while I wait, I’ll be here reading up on “disassembling the instrument panel and center console”.
And yes, since this is a (hopefully) ongoing thread of my project and progress, any of your $.02 you want to throw in along the way would be welcomed.


