MechEng's Build Thread

7173Mustangs.com

Help Support 7173Mustangs.com:

This site may earn a commission from merchant affiliate links, including eBay, Amazon, and others.
Spent some time on the car this weekend, I work rather slowly on it. Mostly because I'm terrified of mucking something up. But I did manage to get the first sheet metal patch tacked into place. Hopefully this weekend I can score the wheel tubs I need on sale *fingers crossed*


Thanks Jbojo.

Anyone care to share how they cut their sheetmetal? I've been using a pneumatic die grinder with a 3" cut off wheel. Works well enough but it seems really slow. I'm open to any and all suggestions!

 
Thanks Jbojo.

Anyone care to share how they cut their sheetmetal? I've been using a pneumatic die grinder with a 3" cut off wheel. Works well enough but it seems really slow. I'm open to any and all suggestions!
A lot of times I use a 4 1/2" electric grinder with a thin cutoff wheel. If that wont fit in a tight area I use a air powered body saw with a good blade. If im cutting a lot of big stuff out of the way I use my plasma cutter. if im cutting new sheetmetal to make patches I use my throatless shear.

 
Last edited by a moderator:
Thanks Jbojo.

Anyone care to share how they cut their sheetmetal? I've been using a pneumatic die grinder with a 3" cut off wheel. Works well enough but it seems really slow. I'm open to any and all suggestions!
Depends what I'm doing fabricating..But this is my first go to for sheet metal

in conjunction with other tools depends on the shape complexity thickness

http://www.northerntool.com/shop/tools/product_200442137_200442137?cm_mmc=Bing-{adtype}-_-Power%20Tools-_-Cutting%20Shears-_-1443470

 
Depends what I'm doing fabricating..But this is my first go to for sheet metal

in conjunction with other tools depends on the shape complexity thickness

http://www.northerntool.com/shop/tools/product_200442137_200442137?cm_mmc=Bing-{adtype}-_-Power%20Tools-_-Cutting%20Shears-_-1443470
Q,

I had looked at one of those. My question would be that since I don't have much skill in forming panels I've bought a number of the pre-made patches and I need to trim them to shape, how well do those sheers handle pre-bent metal? Or are they really only good for flat stuff?
They work really well I used them in conjunction with an air saw (tight areas) for almost all my replacement patches (rough cut floor pans too) The key is to plan your cuts..practice on some scrap first..I use a cheap harbor freight air saw..Cut off wheels work well but they are slow & the worst part is the amount of metal shavings debris that gets thrown into every nook & cranny..You really need to cover tape any and all seams when using them inside a car not to mention the glass too the sparks will ruin your glass leave little pock marks..What panels pre made patches are you replacing ?

 
Q,

I'm replacing the tail light panel, I already swapped in a new trunk lid. Those are the only two full replacements I'm doing. Then I'm also patching the rear lower quarters from about 2 inches below the side marker light down, a portion of the trunk drop offs and wheel tubs. Also the upper trunk opening lip.

Sent from my iPhone using Tapatalk
If thats all your doing then the air saw will work fine OR you can also use a jig saw with a fine metal blade..One tool you should really have is a panel flanger for doing the lower qtr sections if your not butt welding..It makes a step on one side of the metal (on the qtr not the patch) so the 2 pieces sit flush instead of overlaping

http://www.summitracing.com/parts/BRC-13229/
Thanks for the tip. I planned to pick up an angle grinder and air saw this weekend. I'm doing all butt welding for this series of repairs. I know that it takes a little more time to get things lined up well, but I don't like the idea of having a flange where water can get trapped if I can avoid it.

 
Did some work this weekend:

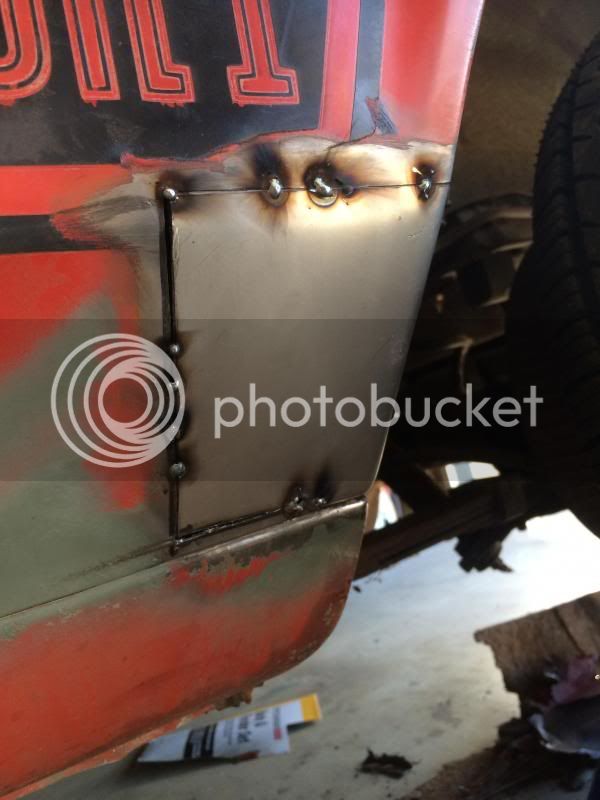
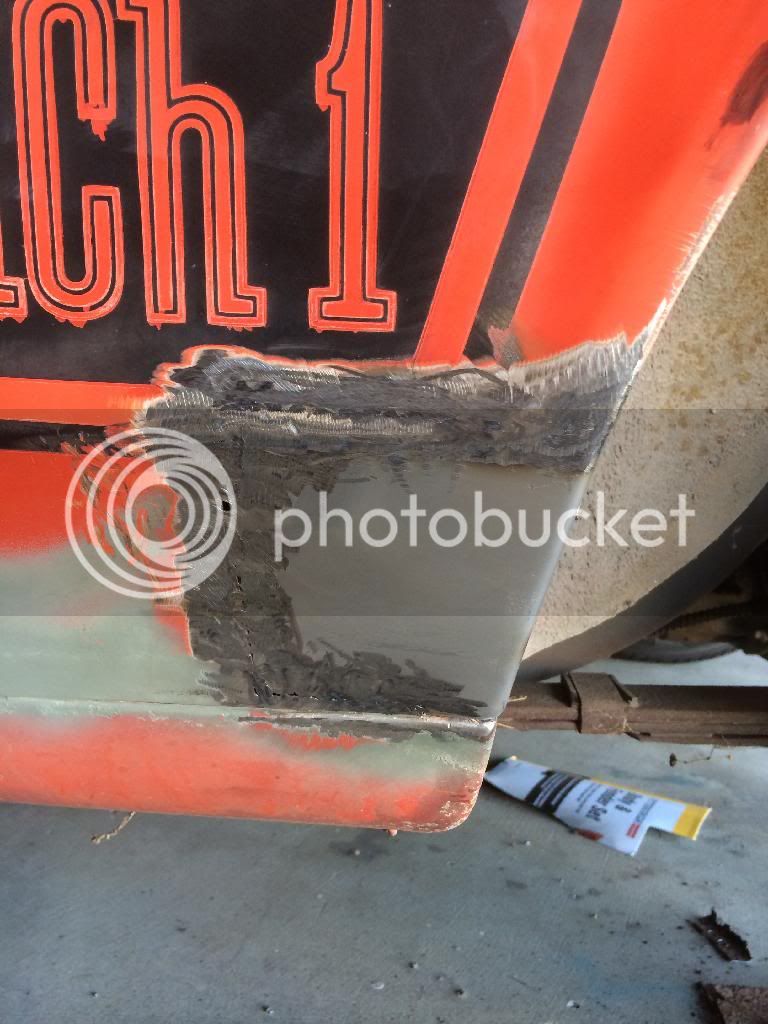
Got most of the grinding done on the first patch I welded in. Learned a lot from this one and I'm glad I started with a pretty basic patch. I should be able to do a better job on future ones.


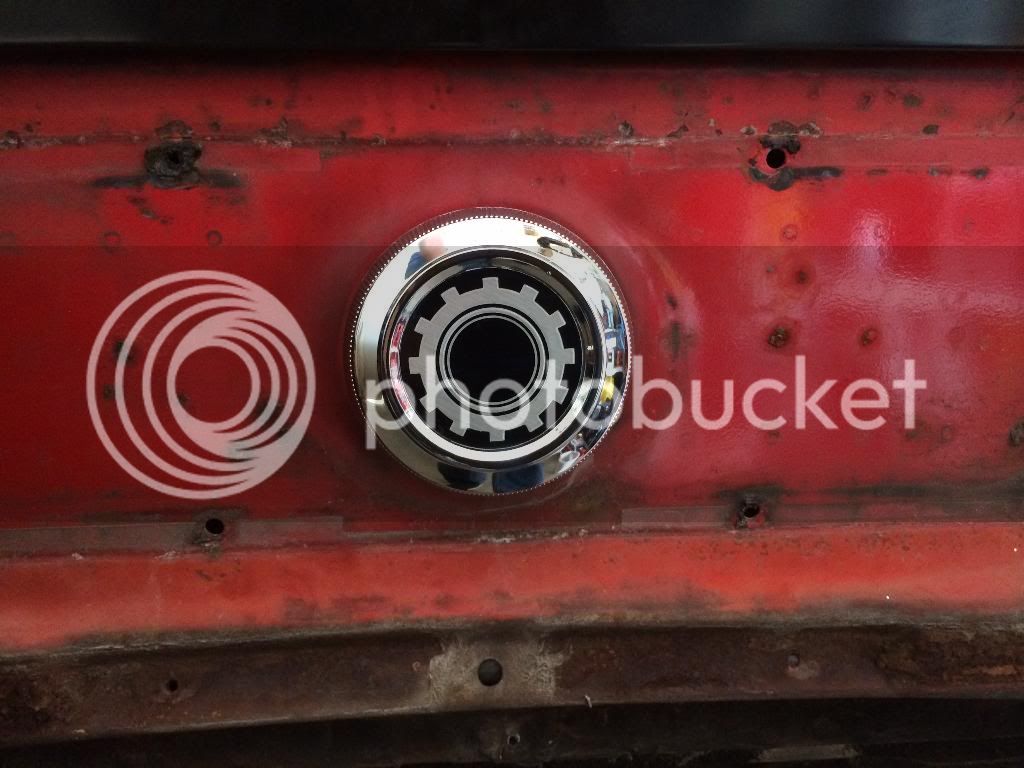
I also installed the new gas cap that I purchased. Kind of a fun little piece.


I also flipped the car around in my garage so that I could look at the rust and damage on the passenger side. My front fender looks like it was snagged on something at some point in its life so I'll need to get that fixed.

I've been having issues with the engine vomiting oil once the car gets nicely warmed up and the throttle is held at about 3000rpm. So I went around and found that all my oil pan bolts were at least 1 turn loose from 12 ft-lbs of torque. Hopefully that was the solution to that problem.

Since buying the car I was missing on of the springs for the hood pins. So I went on a mission to find new springs. I finally found a company that had a few springs that seemed like they'd be close. I settled on this one.


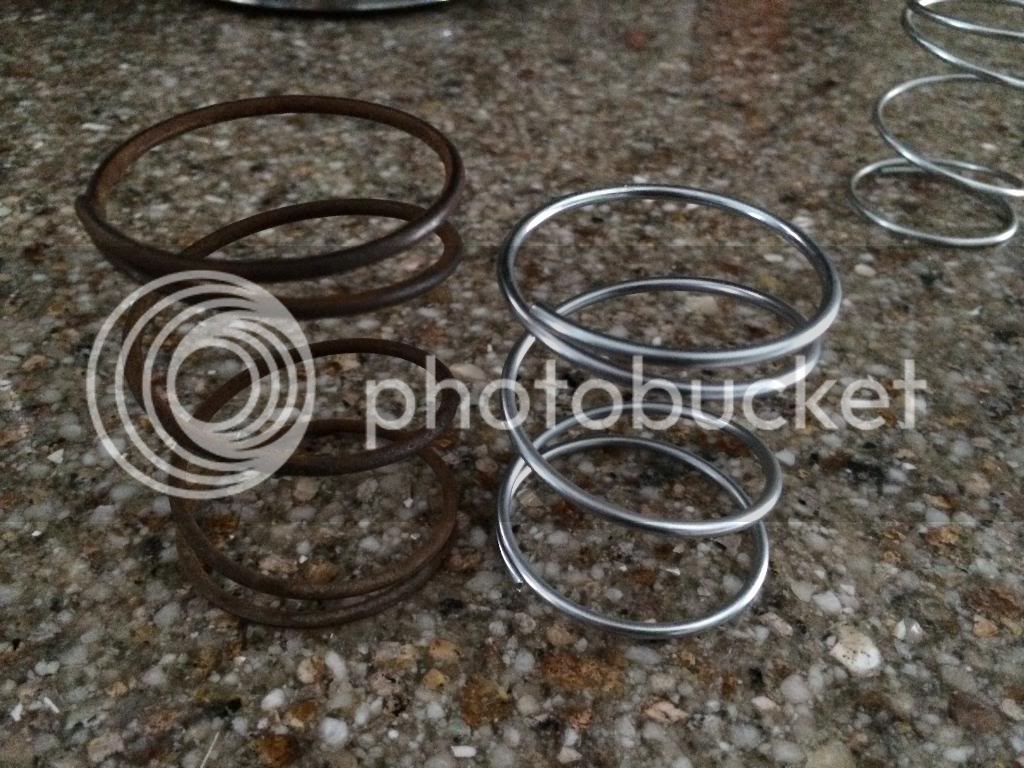
Original on the left, replacement on the right. Other than being about a quarter inch shorter in length it's basically dead on everything else. Here it is installed.


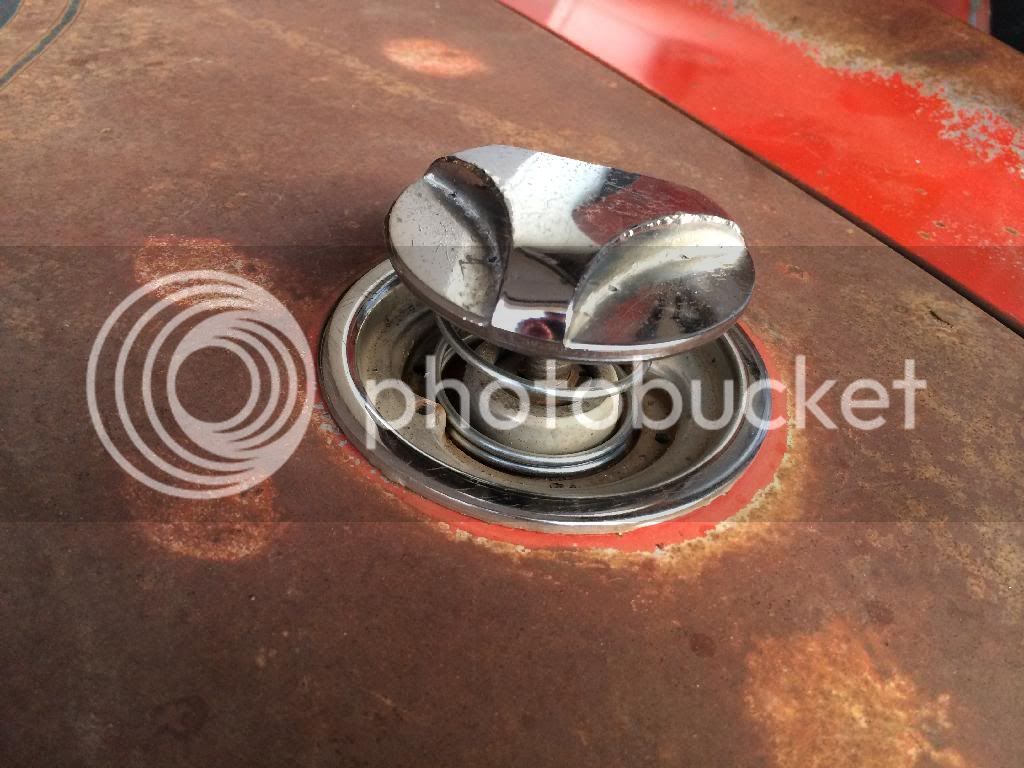
I replaced both of the springs since the one that I had was pretty rusty anyway.

Does anyone have a picture of what the hardware on these pins is supposed to look like? I feel like mine never want to do anything other than unscrew themselves so I think I'm missing something.

This weekend I hope to get the passenger side cut up and the rust repair started there. Once the new tail light panel goes in it'll be time for her maiden road trip in over 20 years!

 
Jbojo,

I'm mostly looking for how the pieces are stacked on the threaded portion. For my car I have the Chrome piece, which connects to the threaded lock arm. On that arm I have a single washer with two keeper tabs and a single nut. I just feel like there's something missing. So a picture of the pin from the top of the car showing the threaded area, and the bottom of the hood showing the same area, I think would do nicely.

Thanks!

 
MechEng,

I don't have this installed yet however I did take pics of everything. Someone with it mounted can provide the mounted pics.

1st Pic is all the components

2nd is the lock. Other than the nut there is a locking washer under the nut.

3rd is the mount that holds the assembly to the hood.

Hope this helps.

-jbojo

 
Thanks jbojo. Based on your pictures I'm not missing anything. I think I just need to put a dab of loctite onto the threads so it can back out as easily.

Sent from my iPhone using Tapatalk

 
Did a little bit of work on her yesterday, decided that I was tired of the trans pan leaking and set out to replace the seal and the filter. Getting the pan off wasn't bad, but I am assuming that it was the factory gasket. It was pretty well welded to the bottom of the car and compressed to about the thickness of a piece of paper. So with the limited access I had under the car it took me about 4 hours to get it all scrapped off and cleaned up to my liking. Went to replace the filter and found that the fine mesh around the inlet pipe was completely gone leaving only the course filter behind so I'm glad I set out to do this. Got it all buttoned back up, torqued the bolts in a star pattern to 13 ft-lbs and refilled her. Got the engine running (The new electronic ignition makes it start up so much nicer!) and checked the level. Little more fluid and then it was time to go around the block! Car handles well but man my brakes suck, that's next on the list.

I'm going to be taking it to an Autobody shop I think for the welding work it needs done, they're not open on the weekends though so I'll be giving them a call on monday to get a rough idea of price and time table.

Here's a shot before I pulled it back in while i was cleaning the garage. I can't believe I ever wanted to get rid of it! Next time I think that I need to just go start it up and listen to that motor.


Back
Top