canadian_red_maple_leaf
Well-known member
- Joined
- Dec 23, 2010
- Messages
- 266
- Reaction score
- 8
- Location
- Vienna, AUSTRIA
- My Car
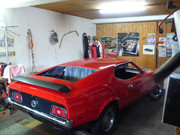
- 1966 Mustang K-Code Coupe
1968 VW Beetle
1969 Mustang Mach1
1971 Mustang 351 Boss
1972 Mustang Convertible
1983 Mercedes 280SL
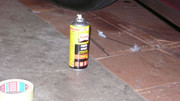
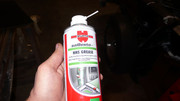
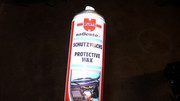
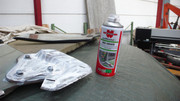
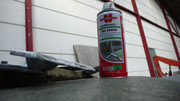
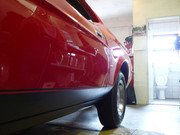
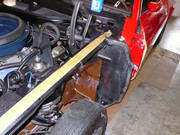
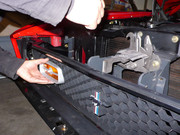
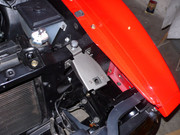
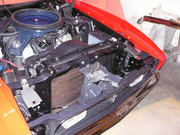
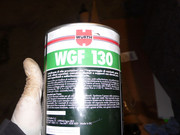
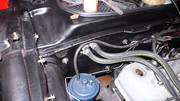
thanks michael,The wax is a rust prevention. It has almost no sound deadening effect.
In Europe there are two accepted ways of chemical aftermarket corrosion protection methods:
- waxes. They are the most common because they are used by the major car manufaturers at the factory
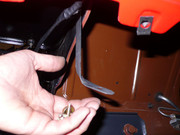
- fats and oils. The fats have the advantage over the waxes that they never harden or shrink. They crawl when they get warm and close in any beginning rust process, preventing further contact of oxygen and moisture to the metal.
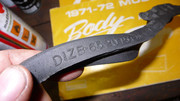
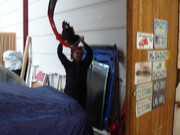
In Germany, Austria and Switzerland mostly fats are used in classic car restorations or conservations. The most famous is the "Mike Sander's Corrosion Prevention Fat". It has won several long-term tests under scientific conditions.
Advantage of the fat is the reliable protection over a long time, a major disadvantage is the "sweating-out" on hot days. The car begins to drop stains of molten fat. Another con is the complex processing with hot, sticky fat in big heated pots and the use of heated spray guns.
This is the reason why a lot of restorers use waxes in their home environment.
Michael
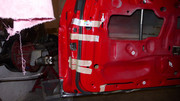
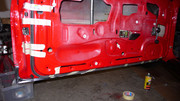
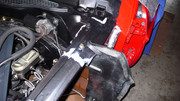
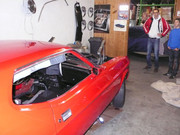
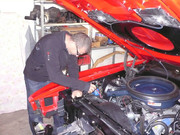
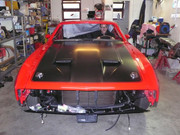
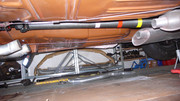
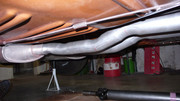
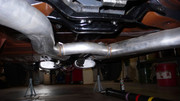
that pretty much boils it down. once my restoration is done, i'll be taking the car to have it preserved with mike sanders wax. the whole frame rails, rocker panels, doors and behind the splash shields are going to be waxed.
abudi


")