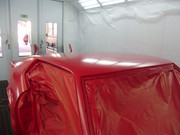
If I may, I will take a short opportunity to contribute some pics of the tin/lead solder work on a Mach 1.
This technique is not only used by european body craftsmen or restorers, it was also used by Ford on the assembly line, namely where the seams of the roof sheetmetal meet the pillars and the quarter panel.
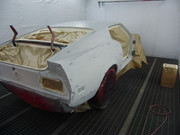
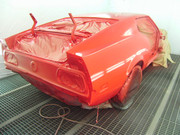
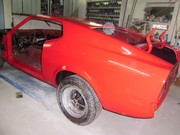
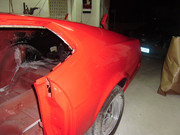
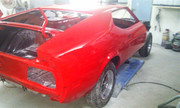
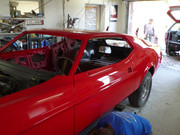
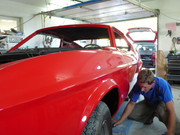
In this case the right quarter panel on the Mach 1 was changed because there were several deformations, kinks and rust-troughs beyond economical repair. Also the inner wheelhousing was deformed. To get better access to it, the old quarter panel was removed and a Scott Drake quarter sheetmetal was welded in. The fit was quite poor and a lot of modifications and custom work had to be done.
I would like to see your tin/lead pics and tips.I heard that if you take your time and do it correctly that you don't need any spot puddy.
Right. No coarse putty work is needed. The solder is sanded and painted with body filler. In some cases some fine putty is used to cover fine irregularities.
But could you do a spot in the middle of a panel without warping that panel?
The metal does not warp because the temperatures working with tin/lead are not high enough to deform steel. The melting point of the solder is around 190 degrees Celsius (374°F).
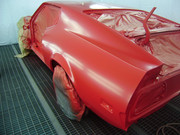
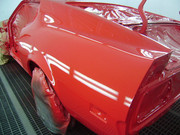
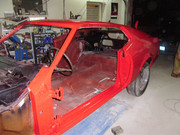
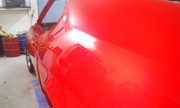
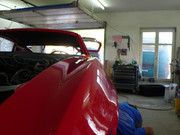
The freshly welded seam of the new quarter panel.
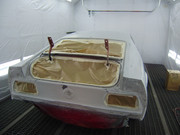
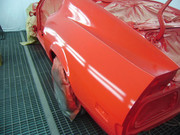
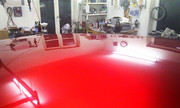
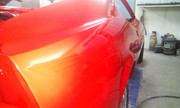
The primer is generously removed and sanded to the bare metal. Some roughness benefits adhedsion of the solder. A flux is applied to the metal (a whitish paste). Then the flux is heated with a torch and the melting tin components in the flux adhere to the steel, making a perfect contact face.
Then the flux is heated with a torch and the melting tin components in the flux adhere to the steel, making a perfect contact face.
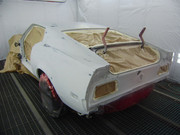
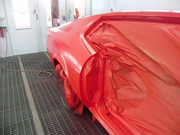
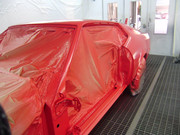
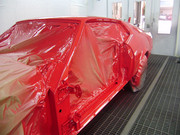
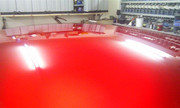
The solder is applied. The tin/lead mixture is heated with a torch until it gets creamy soft, not liquid. In this condition and with the heat of the torch, it is spreaded to the surface. The tool for this is a metal spoon. Some older craftsmen use tools an blocks made from hardwood. The seam is totally covered.
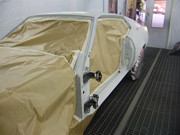
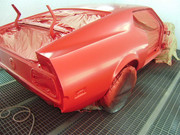
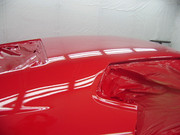
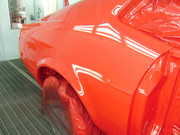
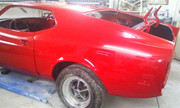
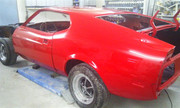
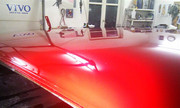
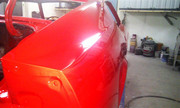
After cooling down the excess of solder is removed wit a cheese grater body file. This also shapes the new surface. Then it is sanded on block.
The panel is ready for primer and filler.
Why all this? Why not take a pot of bondo?
Simple answer. Bondo does not make a permanent and safe connection to metal surfaces. Especially not when you have serious environment temperature changes. Sooner or later a thicker layer of bondo cracks, chips or separates from the sheetmetal because of its different tmperature expansion and contraction behavior. Another point is vibration.
Tin/lead mixture makes a permanent metal-to-metal adhesion that lasts a hundred years if properly made. Also rust protection is better than with bondo.
I hope this will answer some questions.
Sorry, Abudi, for "hijacking" your thread with this, but I thought it might be of interest here...
Michael


")