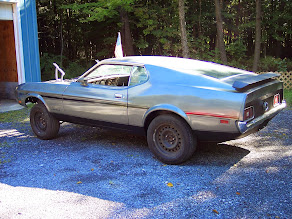
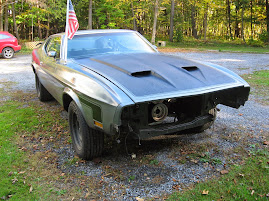
My Mustang is getting very close to completion so I thought I would start putting down the history of the build. It was the spring of 2012 when I bought the Mustang body. Big parts that were missing included the engine, transmission, driveshaft, fuel tank, radiator, a/c-heater box and engine bay pieces, and the floors and truck pan. It was almost completely dissembled and somebody had cut out (with a saws-all) the floors and trunk panel. So I was also missing seat risers, the parking brake hanger under the passenger floor, the spare tire hold down and the front hanger panel for the fuel tank. Things I didn't know I was missing until I went to install components after things were welded in and painted. Actually I knew about the spare tire hold down as they had sawed right through it and left half of it still attached. That first summer I didn't do too much to the car. I finished completely disassembling it (including all of the glass) and planning my next move after I got the paperwork in my name.
Some rusty highlights!
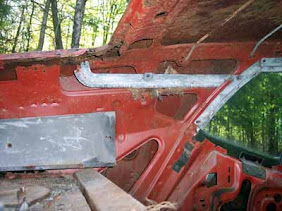
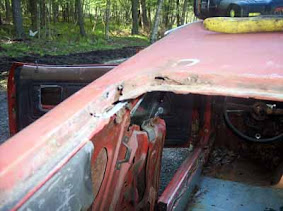
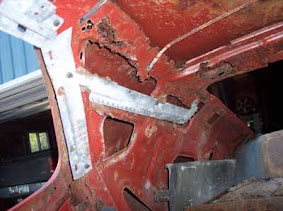
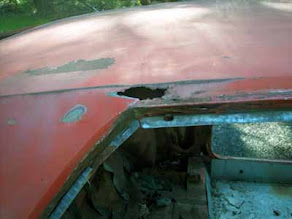
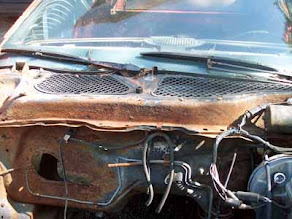
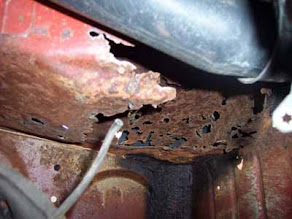
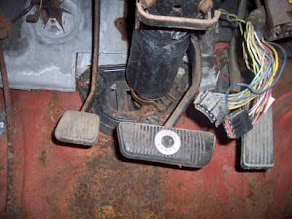
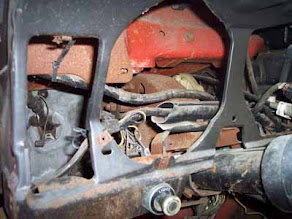
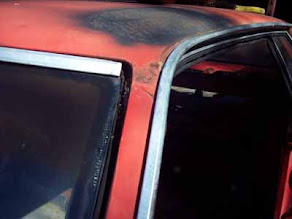
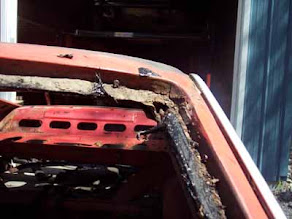
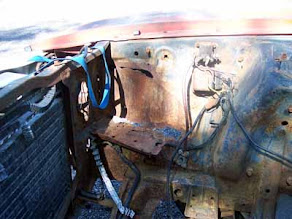
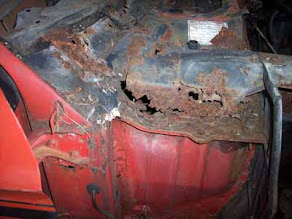
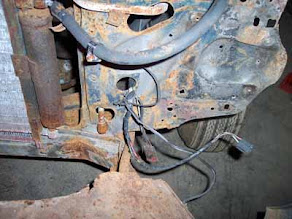
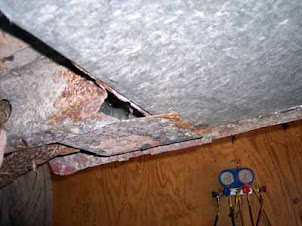
Spring of 2013 and the paperwork is in my name, time to start spending money! My plan was to start at the rear of the car and work my way forward. This Florida car looked decent for it's age on the outside but she was swiss cheese on the inside. I'm used to rust on the bottom of the car but this had rust near the top. Both upper rear window corners were shot as well as the inner c-pillar structure. I ended up fabricating and welding in patch pieces. The inner panel frame work was so compromised that the structure behind the rear seat actual broke at it's welds to the floor. You could push the top of the car back and forth. I ended up removing the whole structure including the speaker shelf (as it need to be rebuilt do to rust) and it made it easier to work around the truck area.
Panel Progress (Rebuilding the beast)
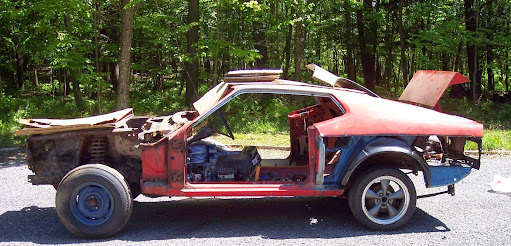
Taillight panel and outer wheel wells in.
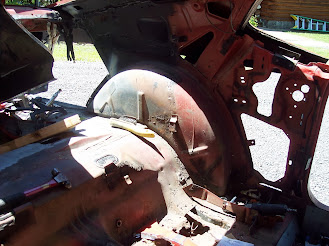
Rebuilding the inner structure.
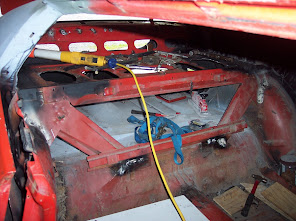
Ratcheting tie strap was used to pull the car in to reach the support panel.
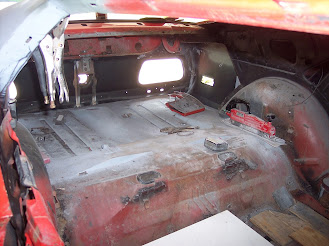
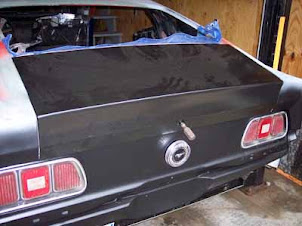
Trunk, tail lamp panel, quarters done.
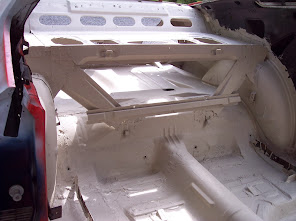
I made real 6x9 speaker openings while I had it out.
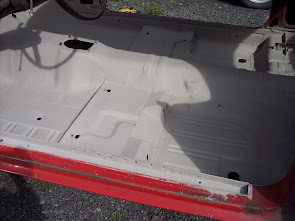
Floors welded in.
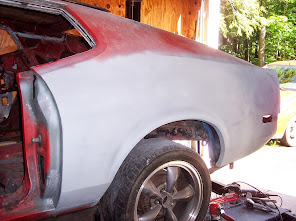
Quarters roughed in.
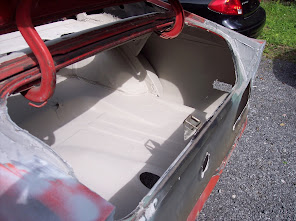
Heat/sound paint laid down.
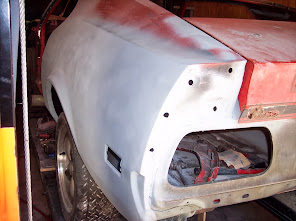
Had to rebuild those extension pieces.
The Cowl
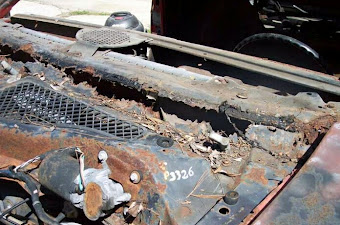
Yup, cowl had to go.
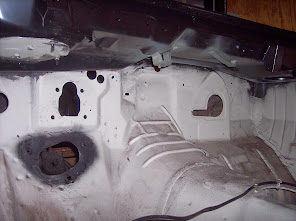
Just in case anybody uses this for reference, the A/C hanger on the right is reverse of what it should be, oops. It was easy enough to bend it the right way..
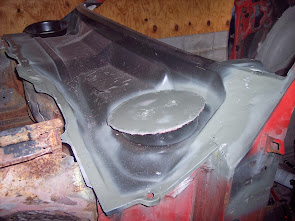
Capping the driver's side off because I have an a/c car was a mistake. That clearance in the bowl is needed for the windshield wiper linkage. Clearancing that after assembly was not fun! If I had it to do over I would cut the bowl out and finish it flat.
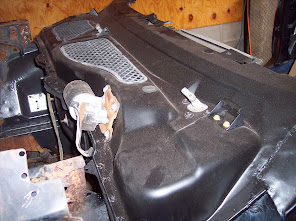
All together and painted
The Dash
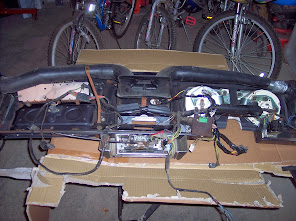
Disassembled, painted, rewired standard for tach and center gauges.
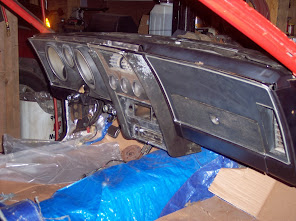
Test fit.
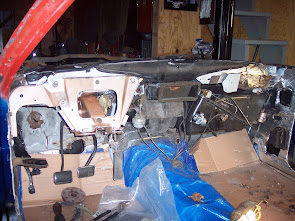
Bought a/c-heater box off eBay. Repaired and reconditioned it.
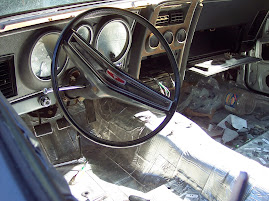
Repaired steering wheel.
The Fuel Tank
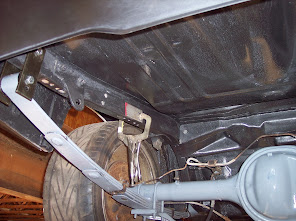
Here is where I realized I was missing the front fuel tank hanger panel.
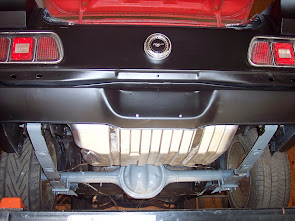
You would never know it from the back.
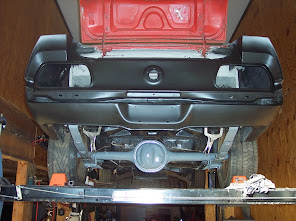
So I fabricated a beam from frame rail to frame rail to attach to.
The Front Clip
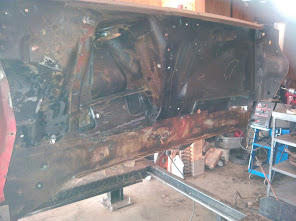
Cleaning up the front.
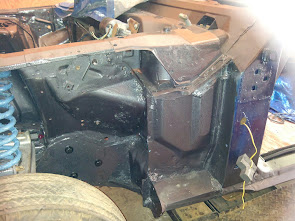
Had to rebuild the cowl to inner panel pieces as they were not available then.
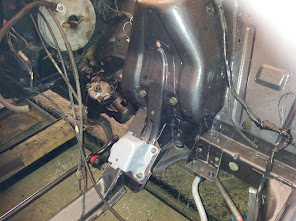
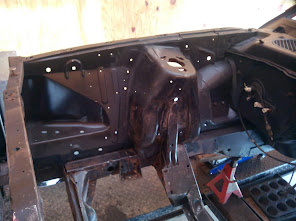
New forward inner panels.
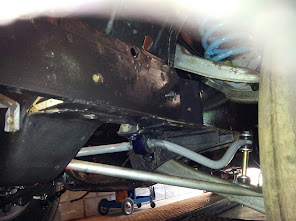
Rebuilt suspension. Ran wiring.
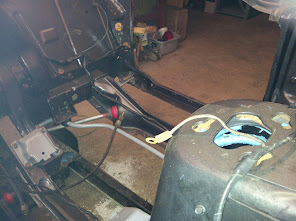
The Seats
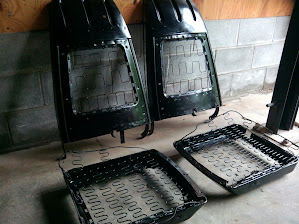
Had some welding repairs to do on both bottom pieces.
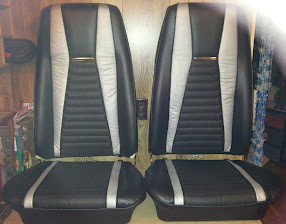
Would fix the foam on the left one later after time to settle.
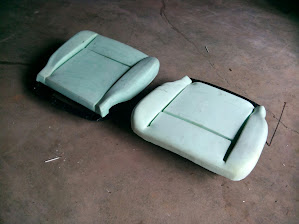
First time doing this.
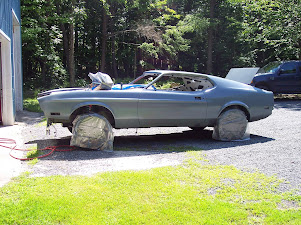
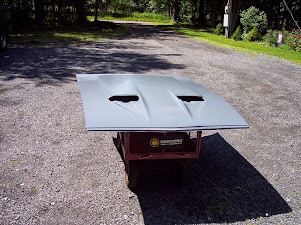
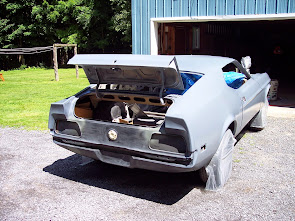
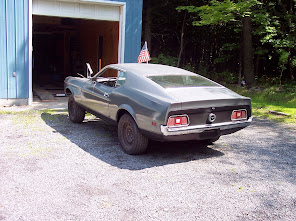
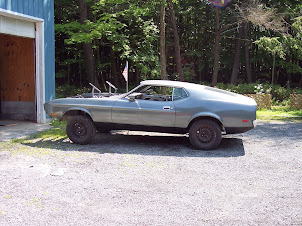
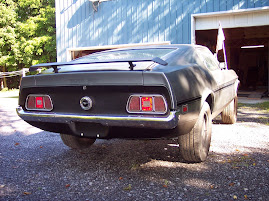
Body and Paint
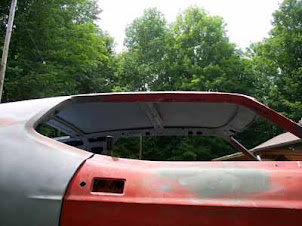
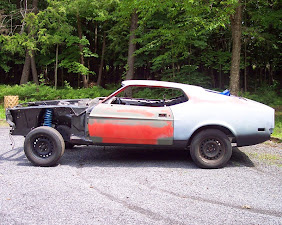
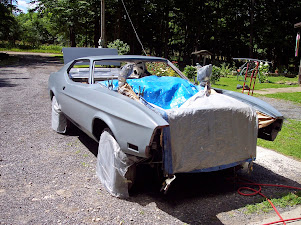
Summit Single Stage
More Down Under
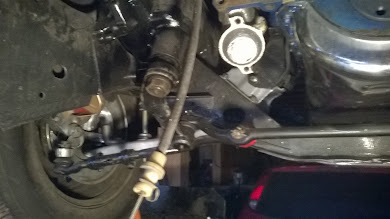
I've had this Cleveland since '89.
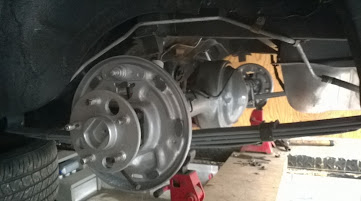
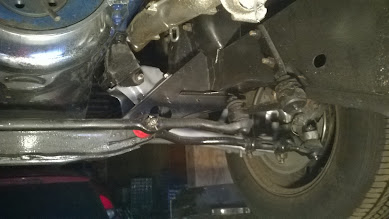
T-5 Transmission
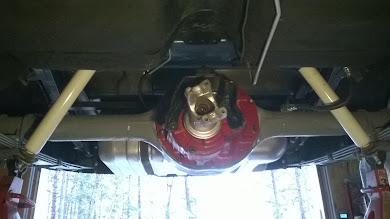
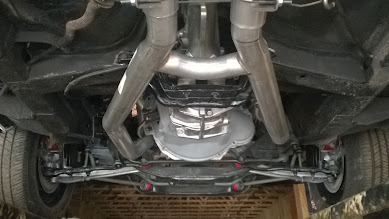
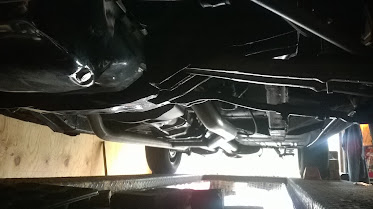
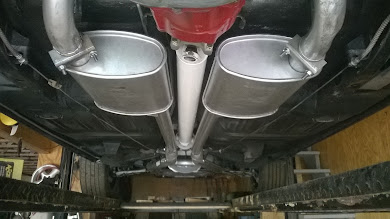
Summit (Ford universal) dual exhaust (header kit)
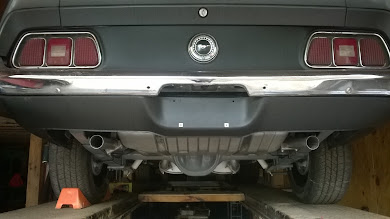
Before chrome tips.
Odds and Ends
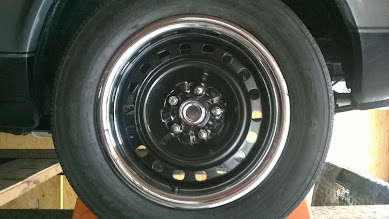
Crown Vic 16" wheels
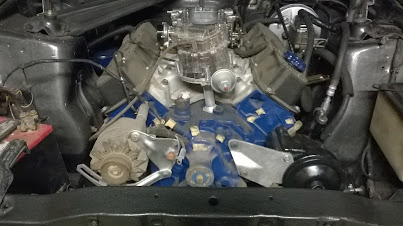 Dirty engine compartment. Ready to plumb and wire the engine.
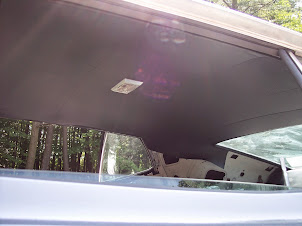
The headliner installed.
When I get it all together I'll post more "finished" images when I create my garage page. Hoping to drive it for the first time this summer!
My Garage Link
Some rusty highlights!
Spring of 2013 and the paperwork is in my name, time to start spending money! My plan was to start at the rear of the car and work my way forward. This Florida car looked decent for it's age on the outside but she was swiss cheese on the inside. I'm used to rust on the bottom of the car but this had rust near the top. Both upper rear window corners were shot as well as the inner c-pillar structure. I ended up fabricating and welding in patch pieces. The inner panel frame work was so compromised that the structure behind the rear seat actual broke at it's welds to the floor. You could push the top of the car back and forth. I ended up removing the whole structure including the speaker shelf (as it need to be rebuilt do to rust) and it made it easier to work around the truck area.
Panel Progress (Rebuilding the beast)
Taillight panel and outer wheel wells in.
Rebuilding the inner structure.
Ratcheting tie strap was used to pull the car in to reach the support panel.
Trunk, tail lamp panel, quarters done.
I made real 6x9 speaker openings while I had it out.
Floors welded in.
Quarters roughed in.
Heat/sound paint laid down.
Had to rebuild those extension pieces.
The Cowl
Yup, cowl had to go.
Just in case anybody uses this for reference, the A/C hanger on the right is reverse of what it should be, oops. It was easy enough to bend it the right way..
Capping the driver's side off because I have an a/c car was a mistake. That clearance in the bowl is needed for the windshield wiper linkage. Clearancing that after assembly was not fun! If I had it to do over I would cut the bowl out and finish it flat.
All together and painted
The Dash
Disassembled, painted, rewired standard for tach and center gauges.
Test fit.
Bought a/c-heater box off eBay. Repaired and reconditioned it.
Repaired steering wheel.
The Fuel Tank
Here is where I realized I was missing the front fuel tank hanger panel.
You would never know it from the back.
So I fabricated a beam from frame rail to frame rail to attach to.
The Front Clip
Cleaning up the front.
Had to rebuild the cowl to inner panel pieces as they were not available then.
New forward inner panels.
Rebuilt suspension. Ran wiring.
The Seats
Had some welding repairs to do on both bottom pieces.
Would fix the foam on the left one later after time to settle.
First time doing this.
Body and Paint
Summit Single Stage
More Down Under
I've had this Cleveland since '89.
T-5 Transmission
Summit (Ford universal) dual exhaust (header kit)
Before chrome tips.
Odds and Ends
Crown Vic 16" wheels
The headliner installed.
When I get it all together I'll post more "finished" images when I create my garage page. Hoping to drive it for the first time this summer!
My Garage Link
Last edited by a moderator:


