Tail light panel moulding

7173Mustangs.com

Help Support 7173Mustangs.com:

This site may earn a commission from merchant affiliate links, including eBay, Amazon, and others.

mach1460

Well-known member
Joined
Oct 3, 2010
Messages
112
Reaction score
0
Location
SD
My Car
72 mach 1
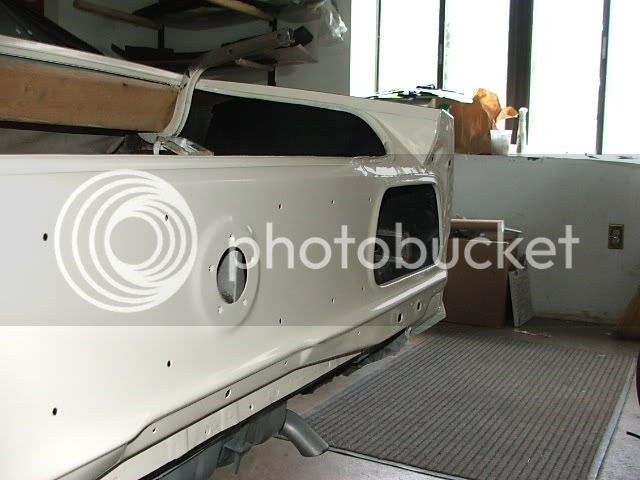
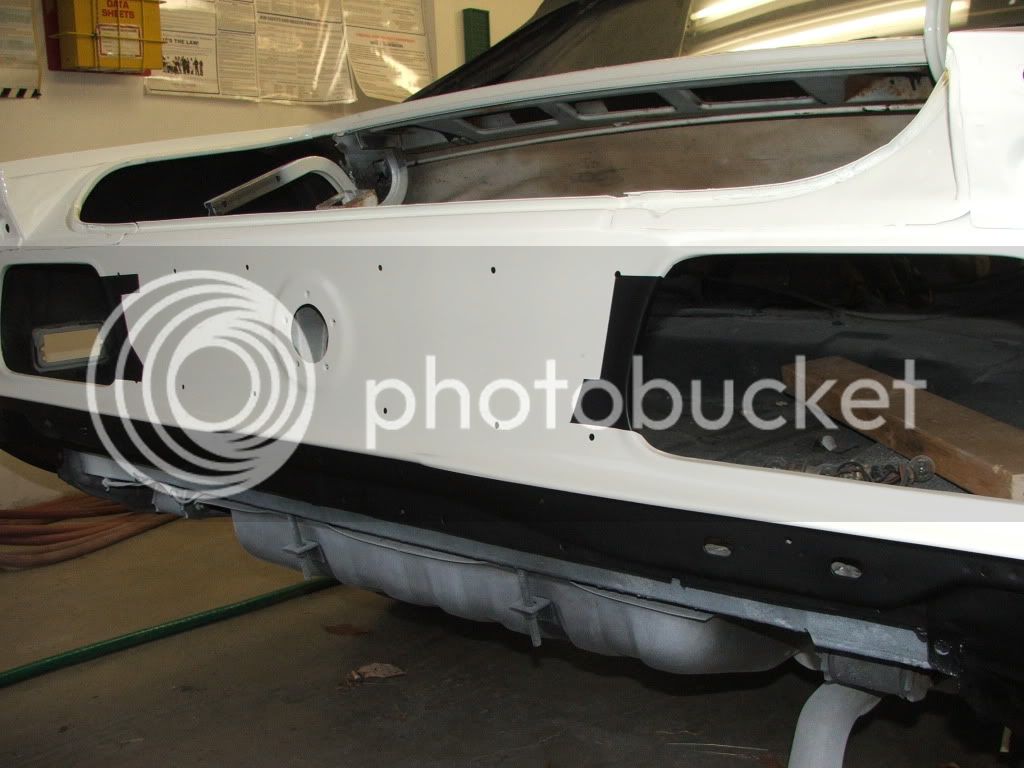
When my 72 Mach was painted (almost 10 years ago) I never replaced the honeycomb panel between the tail lights. Mine was cracked and the chrome strips looked like crap.

Well I finally got around to getting a new tail light moulding and new chrome strips for the top and bottom. I also got a new set of hardware for the install.

Does anyone have some pics and or knowledge for me?? I never thought about it until I got it in my hand, the hardware is weird with a "wire" that comes off one side of the "bolt". Im assuming its to hold the chrome stips one but I just would like to see how its set up, any info anyone---?

 
I have no pictures but, you insert the wire and clip into the channel of the molding and rotate it until it snaps into place. The wire is a spring that holds the clip in place. Then you can slide it to the position you need to line it up with the holes in the tail light panel.

Chuck

 
Thanks chuck. Well I have to drill my holes in the painted panel still, any advice on this---?? My biggest concern is ligning it up to drill. My plan is to grab some fresh drill bits ( What size hole did the factory drill--anyone?)

Ive heard that a guy can put masking tape over where the holes will be drilled to help protect the surrounding paint. - comments?

Also- should I put some primer or paint on the drilled holes to prevent future rust? What did the factory do/use??

 
Not sure about the size of the holes, but here are some pictures of mine at the body to give you a general idea of the layout of the holes. I would probably use the same size drill as the hardware stud.

DSCF6867.jpg


DSCF6770.jpg


DSCF7006.jpg


Ole Pony's pictures answers your spacing question. My best guess about what the factory did is the holes punched prior to paint. I used some home made (base coat mixed with clear and hardener) touch up paint to seal the edges of the holes.

Chuck

 
Look on your new panel. There are notches where the studs go

Drill slightly larger hole for adjustment room

Used any paint or undercoating with artist paint brush on the holes

Use 3-M strip chalk around the holes to seal

Don

Ohio Mustang Supply

440-949-2556

VISIT US ON THE WEB AT

www.ohiomustang.com

 
OK - so what's the technique to actually install the panel. I carefully measured out, marked, and drilled the holes without messing up anything (especially, the paint). Then put the trim pieces onto the panel, put the fasteners in there, slid them into the right places, put the panel up to the car, and there's not enough of the threads sticking through the holes for the nuts to grab - mostly because the fasteners are flopping about inside the chrome molding pieces. There's no way [that I can see] to get anything in there to push and hold the fasteners back far enough to catch threads, so I basically just sit there trying to thread on the nuts that will never grab threads... and keep getting pissed.

I didn't have this much trouble welding the whole front clip onto my car.

 
I remember I had the same issue, because the panel has to be really squeezed down to get the nuts started.

What I did was turn the nuts around, if I remember correctly the nuts hava a washer built into the nut and sealant on them, and the washer was conical and moved the nut further away from the stud.

So I turn the nuts around tighten them down by hand so it squeezed the panel tight to the body, then turned each nut around one by one and tightened so they gripped the studs.

OK - so what's the technique to actually install the panel. I carefully measured out, marked, and drilled the holes without messing up anything (especially, the paint). Then put the trim pieces onto the panel, put the fasteners in there, slid them into the right places, put the panel up to the car, and there's not enough of the threads sticking through the holes for the nuts to grab - mostly because the fasteners are flopping about inside the chrome molding pieces. There's no way [that I can see] to get anything in there to push and hold the fasteners back far enough to catch threads, so I basically just sit there trying to thread on the nuts that will never grab threads... and keep getting pissed.

I didn't have this much trouble welding the whole front clip onto my car.
 
OK - so the squeezing down the panel part, I totally get - in fact, I think I actually got one (1) started... then couldn't get any further. But the nuts are the 'dome' type that I got from OMS. http://www.ohiomustang.com/store/order_page.asp?itemid=2529

I'll have to check [tomorrow] and see if those dome nuts come apart somehow. Otherwise, I might just go to Lowes and see if I can find some standard nuts to make this work. I'm not worried about concours, in fact - I'll be putting a complete carpet kit in the trunk and will likely never see the inside of the taillight panel ever again.

 
Ok if you have acorn nuts then just use normal nuts with the same thread from lowes and get the studs tight by hand then swap one at a time for the acorn nuts.

OK - so the squeezing down the panel part, I totally get - in fact, I think I actually got one (1) started... then couldn't get any further. But the nuts are the 'dome' type that I got from OMS. http://www.ohiomustang.com/store/order_page.asp?itemid=2529

I'll have to check [tomorrow] and see if those dome nuts come apart somehow. Otherwise, I might just go to Lowes and see if I can find some standard nuts to make this work. I'm not worried about concours, in fact - I'll be putting a complete carpet kit in the trunk and will likely never see the inside of the taillight panel ever again.
 
Ok if you have acorn nuts then just use normal nuts with the same thread from lowes and get the studs tight by hand then swap one at a time for the acorn nuts.
Now THAT is a capital idea. ::thumb::

 
Tip: CAREFULLY mark your hole locations, then set a dimple with a punch before you start to drill. It will keep the hole placement accurate, and help prevent you from screwing up a paint job with a "walking drill bit."

 
Great tip! ::thumb::

Did that exact thing, right after I taped off the area with a half roll of blue painter's tape. ;) :D

 
OK, so with Dan's approval and encouragement, I went to the hardware store (Westlake Hardware, our "ACE Hardware" store) and found a couple of different solutions to install the honeycomb tail light panel trim (just in case one didn't work). The fasteners are 8x32, in case anybody ever needs to know - I scored a dozen 8x32 nuts, 8x32 wing nuts, and 4mmx10 flat washers.

Got home, loaded up the brite trim pieces with the panel studs and sealer rings, put the bottom one on the panel and carefully fitted it onto the car. The 8x32 flat nuts grabbed the threads nicely and I was able to loosely fit the bottom piece without hassle. Carefully loaded the upper brite trim piece onto the plastic panel and lined up the studs - again, with the flat nuts grabbing threads. With a little bit of adjustment, the panel's on - and I had enough threads to screw on the acorn nuts over the tops of the flat nuts... can't even see 'em now. SCORE!!

Here it is!

45849_869701746374078_6691708998142879380_n.jpg


If you mark your clip location.

Then put a small dab of sealant under the clip end and let it set up a bit - original Ford clips had a rubber piece on the end.

 
Not a bad idea. ::thumb::

Definitely better than Ford's "Better Idea." rofl


Latest posts

Back
Top