The Rickster - a 73 Mach 1 work in progress

7173Mustangs.com

Help Support 7173Mustangs.com:

This site may earn a commission from merchant affiliate links, including eBay, Amazon, and others.
Show us pics as you start to put the metal in. I am always amazed at what some of the folks have done with cars that I thought were too far gone. Persistence, patience and a lot of skill. Good luck on the project.

 
I forgot the pictures, but I repaired the bolt that holds the front bumper mount. That mount bolts to the frame rail in two locations. The rear one would only spin, as the bolt was rusty, and the nut was not secured inside the frame rail. There was no way to get a wrench on it, so I used a hole saw to cut a hole in the top of the rail, and a carbide burr to make it D-shaped so I could get wrench on it. Also the D-shape made it easier to get the tip of my MIG welder on the nut. I got a 1" open end wrench on the square nut, and with a little persuasion from PB blaster and the hot wrench, I was able to get the bolt and nut disengaged. I cleaned everything up and tightened the nut and bolt up in the frame and gave it some good hard tacks to secure it. Then I grabbed some 14G sheet steel, cut a patch for the hole, welded it in, and cleaned it up with the flap wheel on my angle grinder. A touch of primer to protect the raw metal and you can't hardly find it.

One task down, about a million more to go. I'll try to do better with the pictures.

 
This weekend, I finished cleaning out the shell. Now it's ready to start blasting it, and coating the bare metal with epoxy primer.


Today, I received my spotweld cutter (Blair 11096 that Cudak888 recommended), so I can start on some the core support, take the top off the cowl so I can see if it's salvageable, or has to be replaced. Oh Yeah, we're having some fun now!!

 
I flew back in town earlier today and was finally able to get the piece cut off the parts car for you this afternoon. Wow, that piece took a lot of effort but it's off. Woohoo.

 
I've been working on some temporary wheels for the rear end. I reinstalled the rear springs, and then bolted in the rear axle housing, without axles or center section. I cut out some 5x6 in plates from some 1/4" steel and drilled them to match the bolt holes for the backing plate.

I cut a 15" piece of 2" square tube, that will be welded to the plate. At the bottom, I'll weld another 1/4" plate that I will mount the caster on. I'll add some gussets to the bottom for a little added stiffness, before I'm done. I figure that the leaf springs handle the rotational torque from the engine and keep the rear axle from wrapping to badly, so it should be able to keep the square tube vertical.


I haven't welded it up yet, so critiques of my plan are welcome.

 
Ron, Just a thought that the axle may want to rotate on you in the u-bolts. I thought about fabbing one up like this for the rear of my car, but just ended up leaving the donor axle in it.

skgi_4315756_8328.jpg

 
I thought about the axle rotation. The axle tube does have a flat welded on where it sits on the spring, and the plate on the bottom allows the U-bolts to put a pretty good force holding it flat on the spring. It does withstand the rotational force of a few hundred foot pounds of torque when doing a burnout, so I figured it would hold up to pushing around the driveway. Do you think I'm creating a disaster just waiting to happen?

 
Well, I finished the roller for the rear end. Once the springs were in place, I added an empty axle housing.


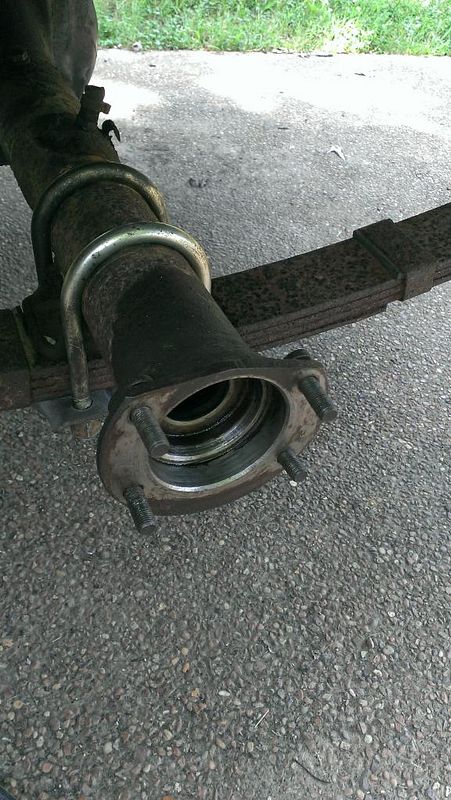
I used 1/4" plate and drilled it to fit the backing plate bolt holes. They were 4-1/2 x 6".


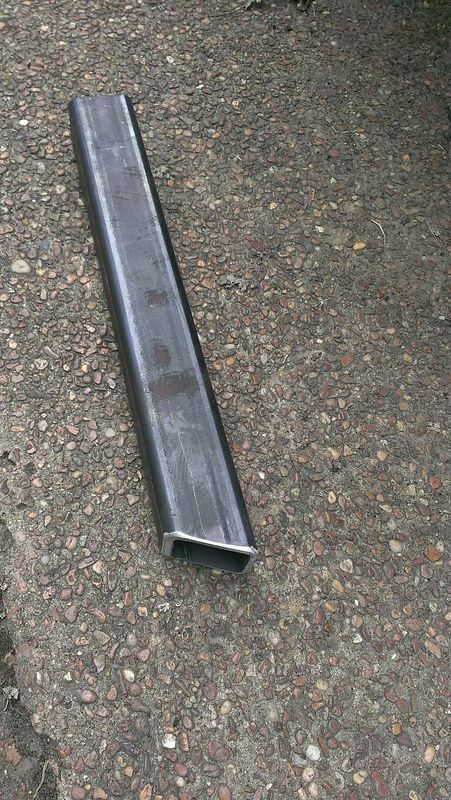
I cut a 15" piece of 3/16" wall, 2" square tubing. For appearances, I beveled the top about 15 degrees.


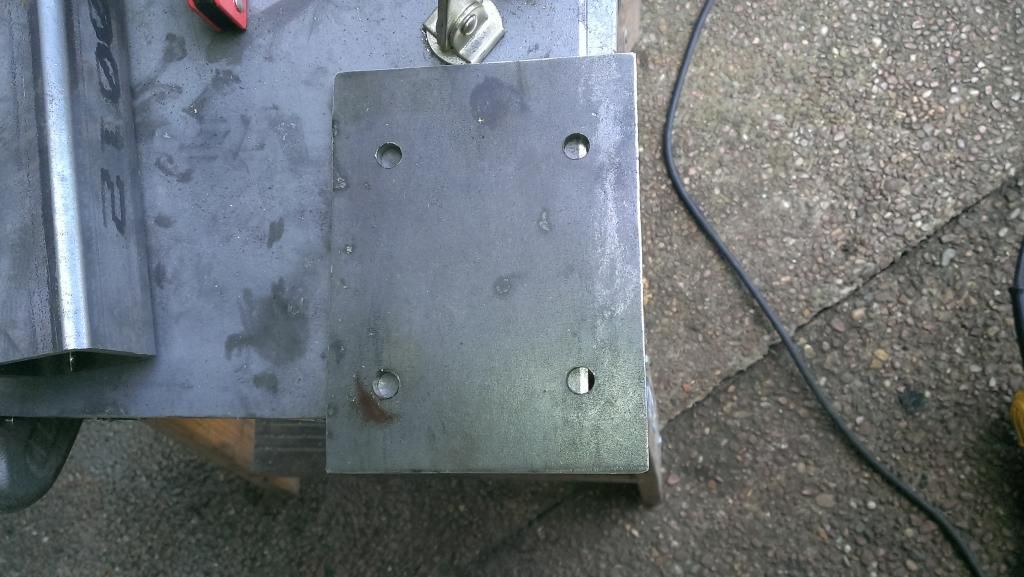
Another 1/4" steel plate, cut 4-1/2 x 6" for the caster to bolt to. I drilled the plate for 3/8" bolts.


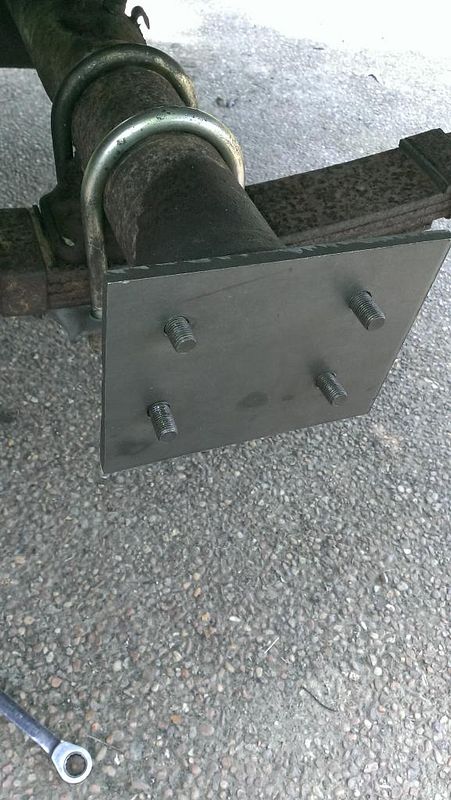
The square tube was centered between the bolt holes, and checked to insure it was perfectly square before tack welding.


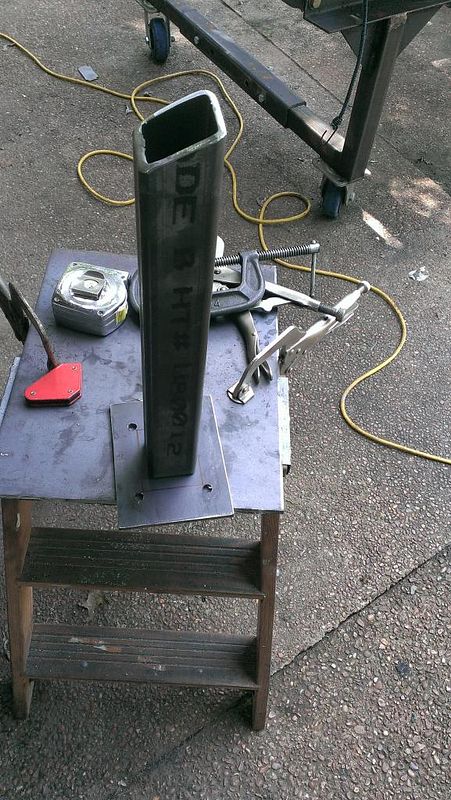
After tack welding, it was test fit to make sure there were no problems. I let the square tube run 1/2" above the plate so that I could weld it on the back along the top, as well as the bottom of the plate.


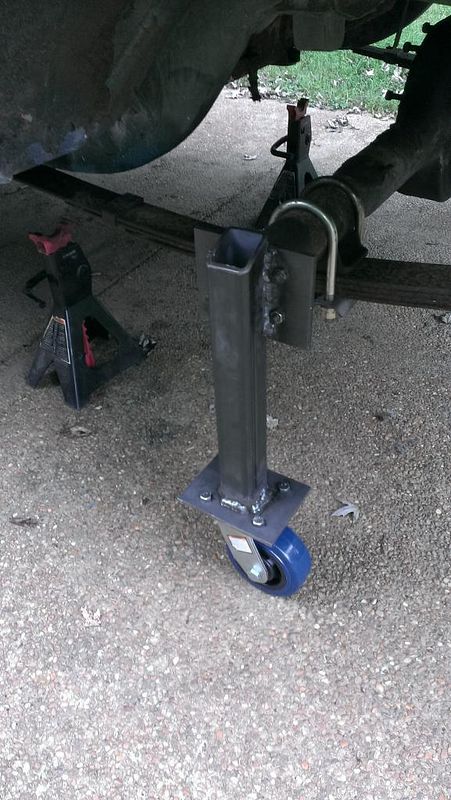
After final welding, the caster was bolted on and then it was bolted onto the axle.


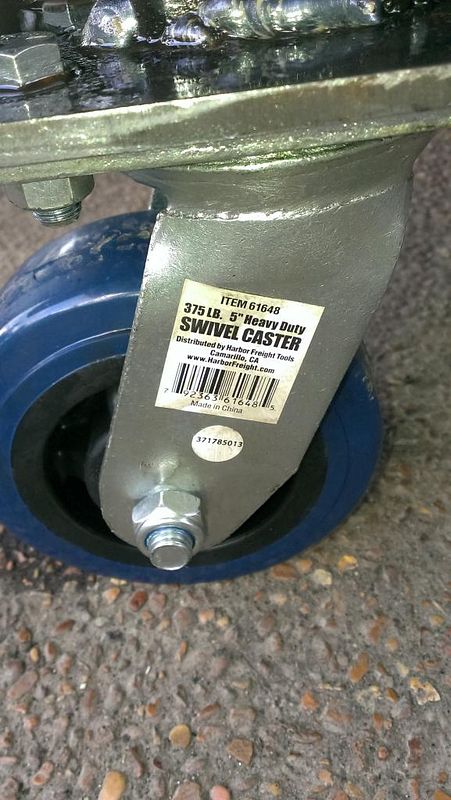
The casters were from Harbor Freight. About $17 each.


And finally, the car as it sits on rollers, with no jack stands needed.


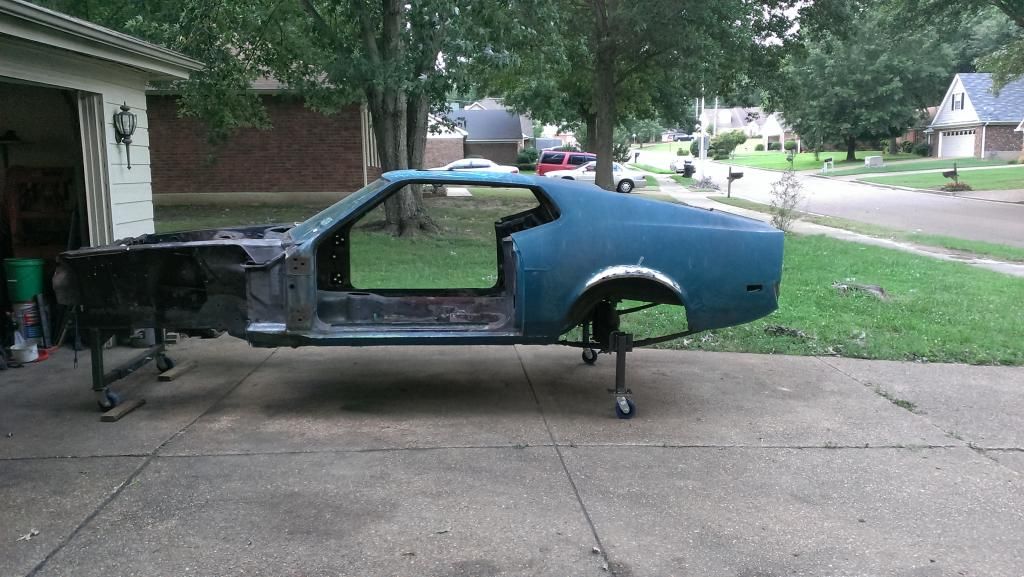
So there it is. The casters work really well. It rolls surprisingly easy. It has the car up high enough that I can work underneath, and with plenty of room to work in the wheel well. I'll still park jack stands under it whenever I'm under it, but it will sure make moving it around the garage a lot easier.

 
Nice job!
Thanks. I think if i was going to do it again, instead of welding the square tube to the upper plate, I would drill it and add a couple of 1/2" bolts. One would be about the center of the axle tube, so there would be no interference, and the other maybe an inch below. It would mean a slightly larger upper plate, but would allow it to be used on axles with other bolt patterns, like a Ford 8.8 just by bolting on a different upper plate set. Overall, though, I'm really pleased with it.

 
Good luck, Brother. I had a '69 in about the same shape. The more I stripped her down, the more rust I found. I didn't have the stick-to-it-iveness. Hats off to you. I really hope you can bring her back! I'll be following your progress.

 
Well, it's been a few years, and the Rustang has been just sitting in the barn.  I finally got my car barn done - well, mostly done.  I still have to install the ceiling fans, but its very useable.  I retired last month, and a few weeks later, I lost my brother to Covid, so I renamed the Mach 1, the Rickster, and will complete it as a memorial for him.  

I started on the front, and pulled the core support, and front right inner fender that the battery had rotted out.  When pulling the core support, I found the left front inner fender was also bent up and needed to be replaced.  I found that an outer frame rail is now available, too, so got the inner fender and frame rail ordered and have been getting them in place.  In cleaning things up, I also found the front crossmember had taken a whack, and it appears that someone may have tried to pull the car with the crossmember.  There are a couple of small rips in the steel dimple in the front right.  This crossmember is available, but it's not cheap.  Should I bite the bullet and replace, or hammer the dimple back into place, weld it up, and grind it smooth again.  I'm pretty sure I won't be able to do anything with the dent in the crossmember, though.  Let me know what you think I should do with that.  

Anyway, I better get back out to the barn, and get to work on this thing, or the wife will find something for me to do around the house, and that won't be nearly as much fun.  I'll keep y'all posted.

Ron

The Rickster crossmember Jul282020.jpg

The Rickster Jul292020.jpg

 
If you have a bent in place in the cross member you can cut hole in other side hammer it out some and then weld it back up. One important area in the cross member is there your radius rods to. Is that in good shape not torn, worn or out of round?
Congrats on the retirement and your brother getting the virus and passing sucks for sure. I just got in from the Dr. myself was wheezing when breathing getting phenomenon so got drugs and inhaler. 

Hope your chassis is not twisted makes everything very hard or impossible to align. 
Building looks great are you going to spray insulation? I put 6" in mine and is worth it. In winter takes nothing to heat it.

I have a vert with good front cross member I think would have to check. It was a ziebart car so not so much rust. You know where I am can cut it out cheap. 

 
Back
Top