What did you do to your car today?

7173Mustangs.com

Help Support 7173Mustangs.com:

This site may earn a commission from merchant affiliate links, including eBay, Amazon, and others.
Couldn't wait to get going on mine, so I played hookey today and went to the shop. After about an hour of walking around finding a few things the painter missed (minor things I can either adjust or buff myself), I installed the trunk seal (and now the trunk lid won't close - Yay).

Then I located the new hood locks I got from OMS and installed them - they'll be needing some adjustment as well. Also cleaned the leftover compound and wax from the ducts installed the inserts - they look awesome.

10173702_813754155302171_1281784452_n.jpg


Then after a look inside, I decided my next focus should be to finish up the new upholstery. Last weekend I fought with it all and was only able to get one seat cushion done. Today, I finished the fronts up and got the front seats back together (still need to repaint the plastic trim pieces and sliders, though).

Here's my ratty old driver seat - it's SO outta here:

10156116_813754171968836_694599295_n.jpg


10176111_813754161968837_1895151243_n.jpg


1525735_813754195302167_810866967_n.jpg


Still gotta toss 'em out in the sun to let the new vinyl relax and tweak 'em a little bit, but not too bad. Most of the TMI Sport Seat kits I've seen done by non-professionals seem to have the same fitment issues... so I'm feelin' pretty good about 'em.

 
Trust me, Bro. I have a whole new respect for anyone who does upholstery.

I think the hard part is done - they say the rear seats are easier (Sure... why not?). rofl

 
Yeah... I lost count. rofl

Actually, I had a friend recommend shutting down 'my side' of the Auto Hobby Shop and charge admission.

Oh, and as far as the common thought that the 'rear seats are easier...' Yeah... throw that out the window. The back panel wasn't TOO horrible, but there was a struggle getting the upholstery to fit over the thicker foam AND secure to the holes in the frame. I actually wound up drilling holes in the lower edge of the frame for the hog rings to have some place to go, because there is no way I can get it stretched far enough for the factory holes - there's also a flap that hangs down to bridge the gap between the top and bottom cushions, so the rings won't be visible.

The bottom cushion is an absolute nightmare - lots of moving pieces underneath the upholstery while you're cinching it all down, since there are no listing wires in the seat foam (as with the front seats). TMI's instructions kinda suck, but are "adequate" at the same time (they make a lot of assumptions). There's an article in Mustang Monthly that's WAY more descriptive and offers a few valuable tips (such as using plastic grocery bags as a slipping surface between the upholstery and seat foam).

 
On your trunk lid not closing, you can adjust the latch bracket on the rear panel upward a bit until the seals are compressed and then move it back down. I think it is 2 1/2 bolts that need to be loosened. I tweaked mine recently and it only takes a few minutes.

Now does anyone know a cheap way to simulate zinc dichromate coating on a part? I welded 2 anti diesel solenoid brackets together so I could use a ford solenoid on a holley 850. It came out great, but I had to grind the finish off a large area and figured I'd just paint it-but if there was an inexpensive way to coat it, I'd be all like "Hell yeah!" ;)

 
Now does anyone know a cheap way to simulate zinc dichromate coating on a part? I welded 2 anti diesel solenoid brackets together so I could use a ford solenoid on a holley 850. It came out great, but I had to grind the finish off a large area and figured I'd just paint it-but if there was an inexpensive way to coat it, I'd be all like "Hell yeah!" ;)
Eastwood sells a three stage spraypaint kit that is supposed to be alright at simulating the effect. But I've heard that it can be kind of "hit or miss" for quality of appearance.

Sent from my iPhone using Tapatalk

 
On your trunk lid not closing, you can adjust the latch bracket on the rear panel upward a bit until the seals are compressed and then move it back down. I think it is 2 1/2 bolts that need to be loosened. I tweaked mine recently and it only takes a few minutes.
Yeah, I was planning on doing that, but got busy with the shop and trying to finish up the seats. Thanks for the tip! ::thumb::

Now does anyone know a cheap way to simulate zinc dichromate coating on a part? I welded 2 anti diesel solenoid brackets together so I could use a ford solenoid on a holley 850. It came out great, but I had to grind the finish off a large area and figured I'd just paint it-but if there was an inexpensive way to coat it, I'd be all like "Hell yeah!" ;)
I thought I remembered seeing an article in a "car" magazine years ago (probably Car Craft or Hot Rod) talking about simulating the Cadmium look with 3 different colors of spray paint. I think I remember White (full coverage), then aluminum silver (full coverage), then a fog coat of gold - followed by some clear. It looked pretty good in the magazine... but paint is paint - results may vary. :D

http://www.eastwood.com/golden-cad-kit.html

Seems like the Eastwood stuff might not be too expensive. A couple of forums I found comment on said the Eastwood kits sucked and were hard to work with. One of the Porsche forums said, "Looks great for stuff under the hood in your Dad's old '50 Dodge... but totally wrong for the German cars."

 
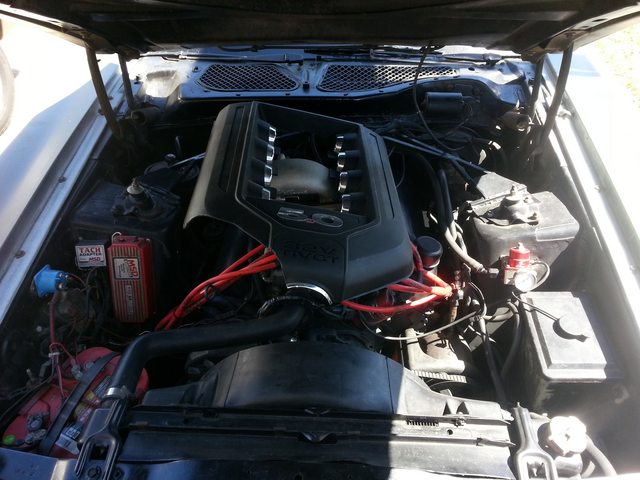
I did a.. umm a c-coyote swap on my car...

3uWlOFfl.jpg


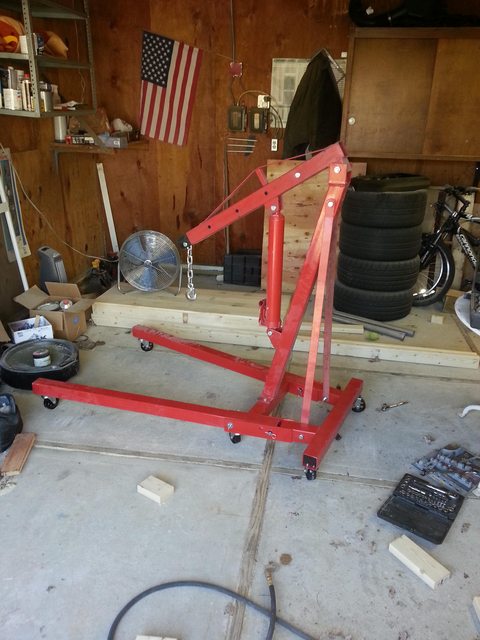
I'm going to pull the engine this week because it is leaky and needs a nice paint job. I want to really get into the engine bay and clean it up too. I am going to plop it back in until the end of the summer, then I'll pull it out again and build it for real. Or replace it with a different engine if I can find something a little more modern on the cheap.

Nothing escapes THE CLAWWWW

HGsiyu7l.jpg


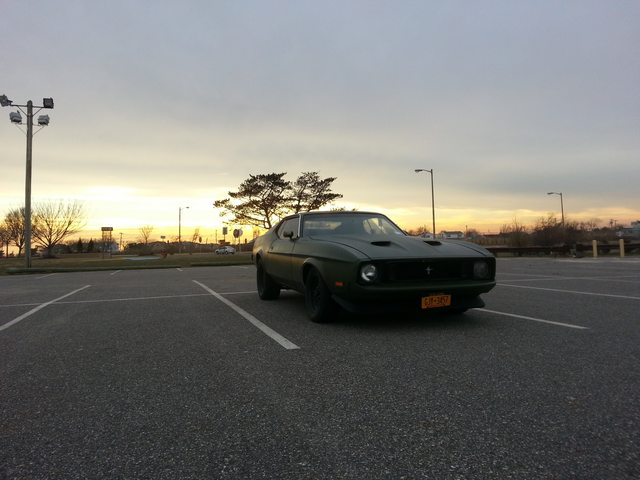
and a glamour shot:

I1XGyexl.jpg


Last edited by a moderator:
I installed my C4 trans this weekend. It turns out the C4 i got was out of a 1978 Mustang II :( which is not a very desirable one. I found out one of the reasons was that the bellhousing is not a normal 157 tooth and is actually 140 something tooth with the starter at a different angle than normal. This delayed my installation since I didn't realize this change until I wanted to put it together, had to wait a week for the small flexplate to arrive. I also had to modify the separator plate since the starter hole wouldn't align.

DSC00636.JPG

DSC00639.JPG

DSC00640.JPG

DSC00641.JPG

 
I changed the oil and adjusted bands on the C4 and rotated slicks. Its ready to hit the track today and tomorrow.

 
Good stuff here...Spring is in the air so everyone is starting to get out.

I finally have my car put together and hit my first local hotrod gathering. Lots of fun! Wish I had taken more pictures to share, but I had a crowd and just didn't get around to it.

Biff Buzby's 2014 April 01.JPG

Biff Buzby's 2014 April 02.JPG

Biff Buzby's 2014 April 03.JPG

 
Last edited by a moderator:
Put the ds door on
does ds door mean dam side door or am i even thicker headed than that in not understanding leaSt smart enough to ask.

 
Put the ds door on
does ds door mean dam side door or am i even thicker headed than that in not understanding leaSt smart enough to ask.
ds = drivers side

 
Back
Top