What did you do to your car today?

7173Mustangs.com

Help Support 7173Mustangs.com:

This site may earn a commission from merchant affiliate links, including eBay, Amazon, and others.
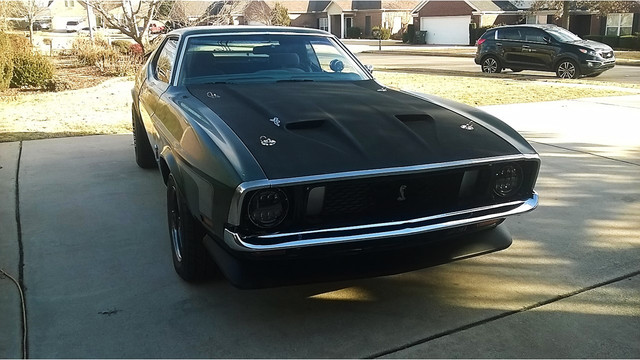
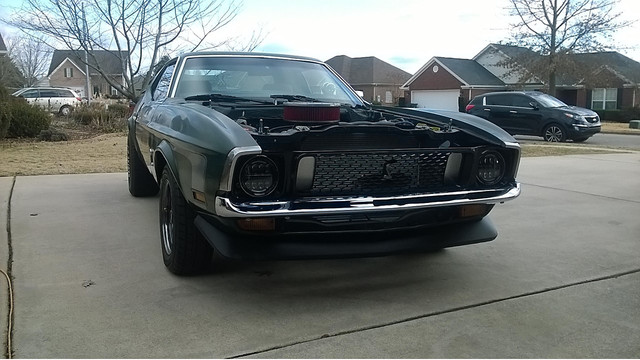
Hello all, I really liked the LED headlight posts and thought I'd do the upgrade to my car too.  These are the Amazon lights and appear to be good quality (time will tell).  While these lights did plug right into my factory harness, I did have to do some slight modification to them so that they would sit perfectly horizontal in the factory headlight "cup".  I only had to massage the protrusions on the backside of the lights so that I could "clock" them to be level.  Without doing so, they tilted upward slightly towards the center of the car.  I can't comment on the brightness because I haven't driven the car at night yet but they really look good IMO.

FYI: The car is a '71 coupe and I've installed the '73 grill (which I've always liked) and made my own "cobra" version.


I just bought my 1st 71-73 project but it had no keys.. so yesterday I started the project by working on that ..

 
Tore down my seats to install new foam and TMI covers. I have done this with my car about 30 years ago and now I'm doing it again. Any TIPS and TRICKS to make it perfect, anyone? Or should I let a professional install it?

IMG_0951.JPG

 
Tore down my seats to install new foam and TMI covers. I have done this with my car about 30 years ago and now I'm doing it again. Any TIPS and TRICKS to make it perfect, anyone? Or should I let a professional install it?
It is not that bad of a job. The second seat will be a lot easier and faster. Here is a thread I started that may give you some tips. Are you going with the Sports or Sports-R?

https://www.7173mustangs.com/thread-tmi-sport-upholstery-question

 
I'm going with the regular seat foam and covers and adding seat heaters to it. I think this time I will let an upholsterer do the job! The quality of seat covers has much improved since the last time I bought a full set.

 
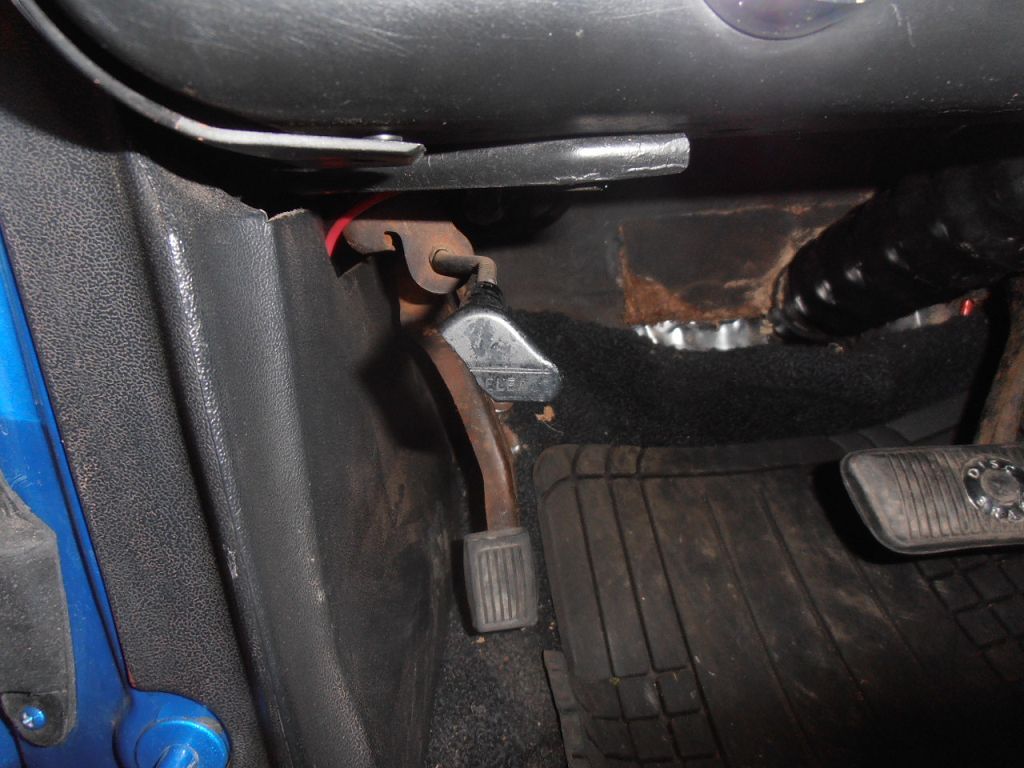
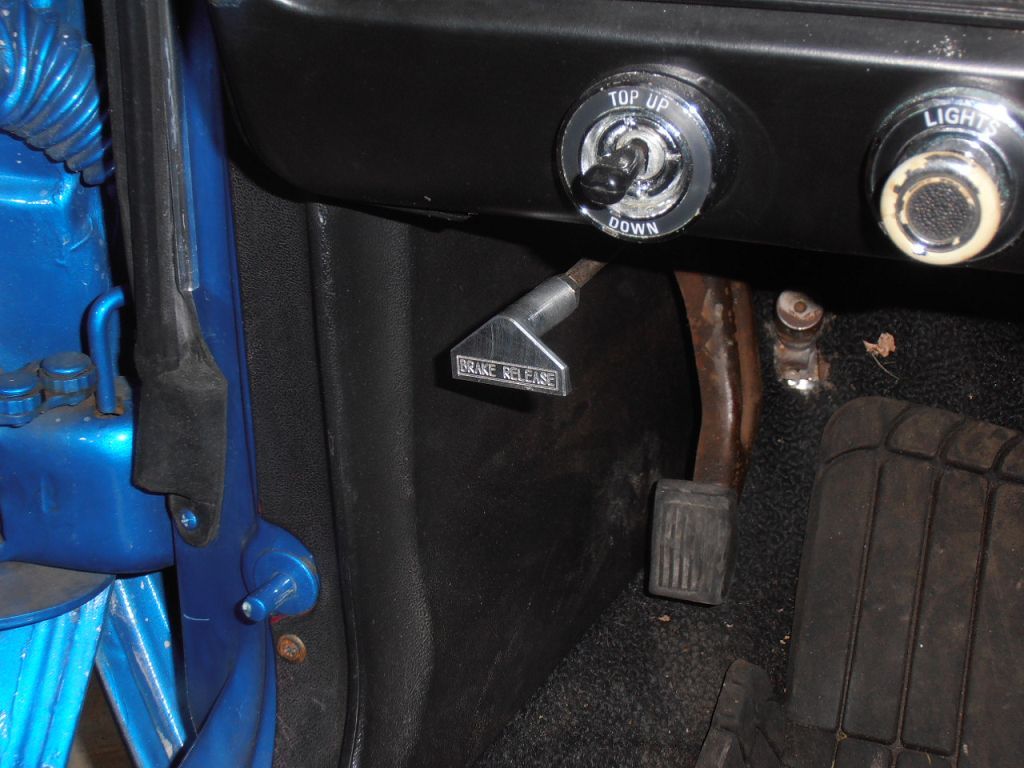
Weather got semi warm enough to be able to work in the unheated garage. Bought the new billet pull awhile ago and it looked easy enough. :cool:

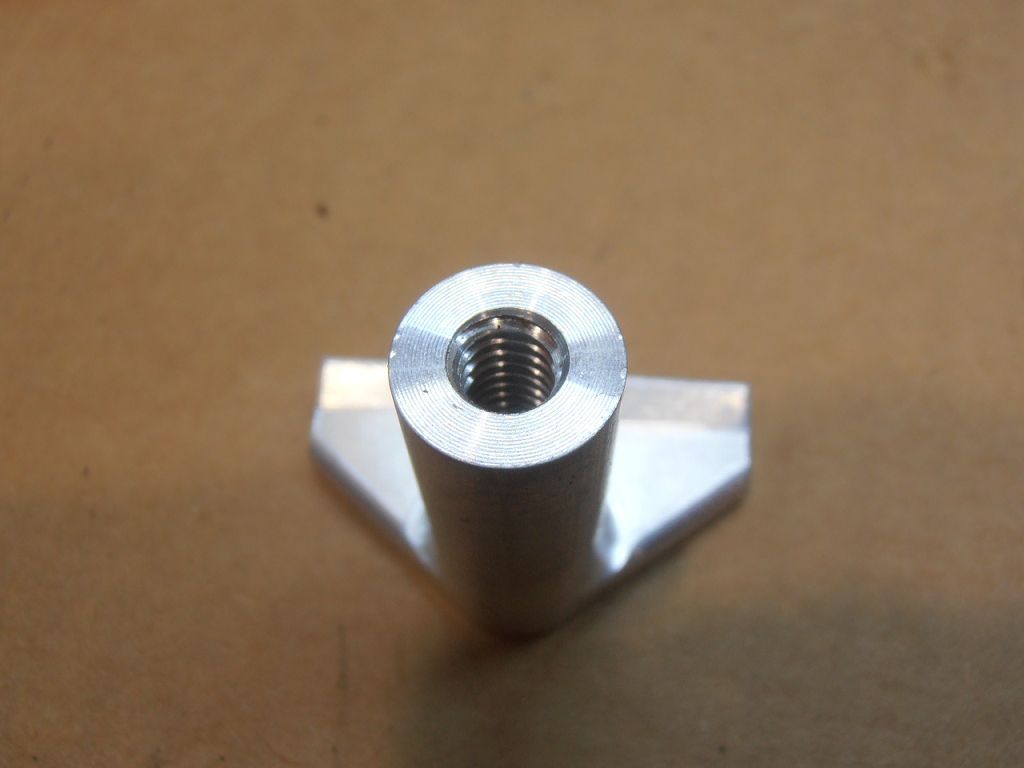
The new pull was threaded, so I figured that it would be just a matter of unscrewing the old and screwing on the new, 10 minutes max.

NOT!!

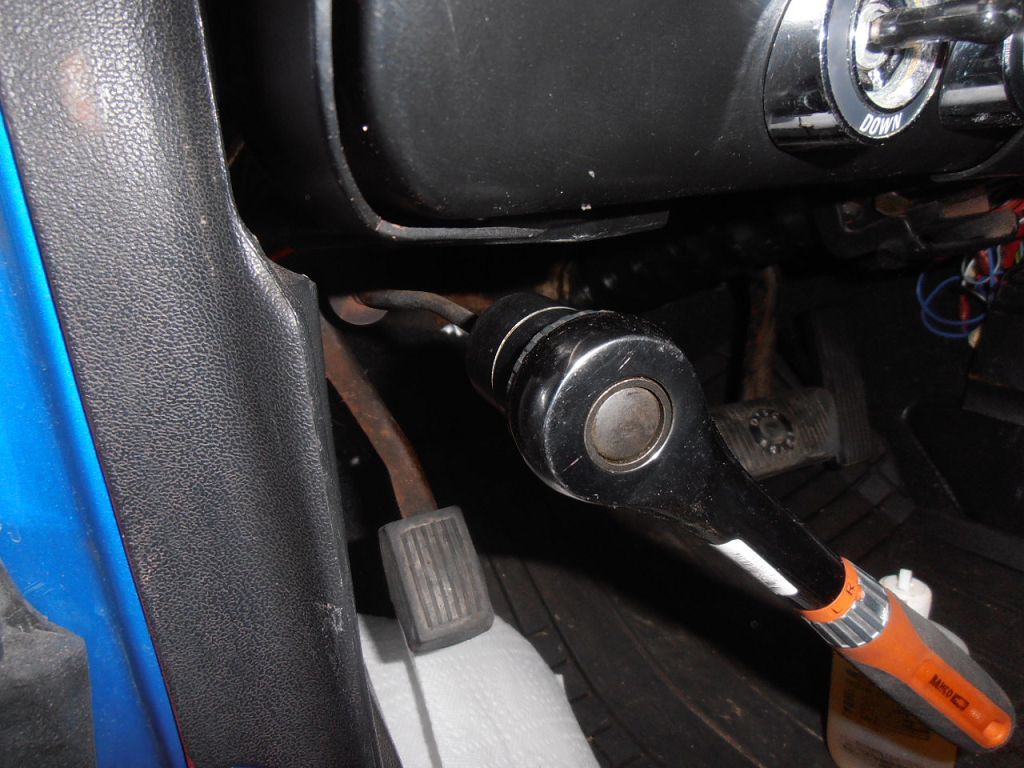
P1210003.jpg


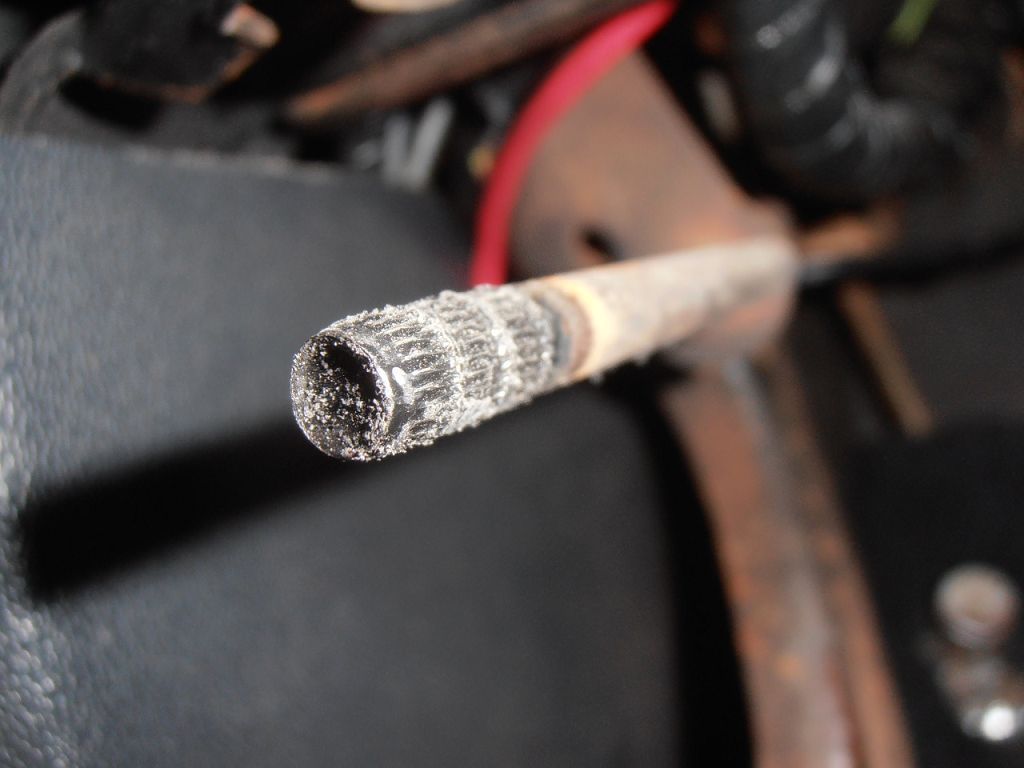
So, it took a little muscle with vice grips to break loose the thread on the existing plastic one, or so I thought, then I unscrewed, and unscrewed, and unscrewed. It turns around and around but not  screwing off. :chin:

P1010002_1.jpg


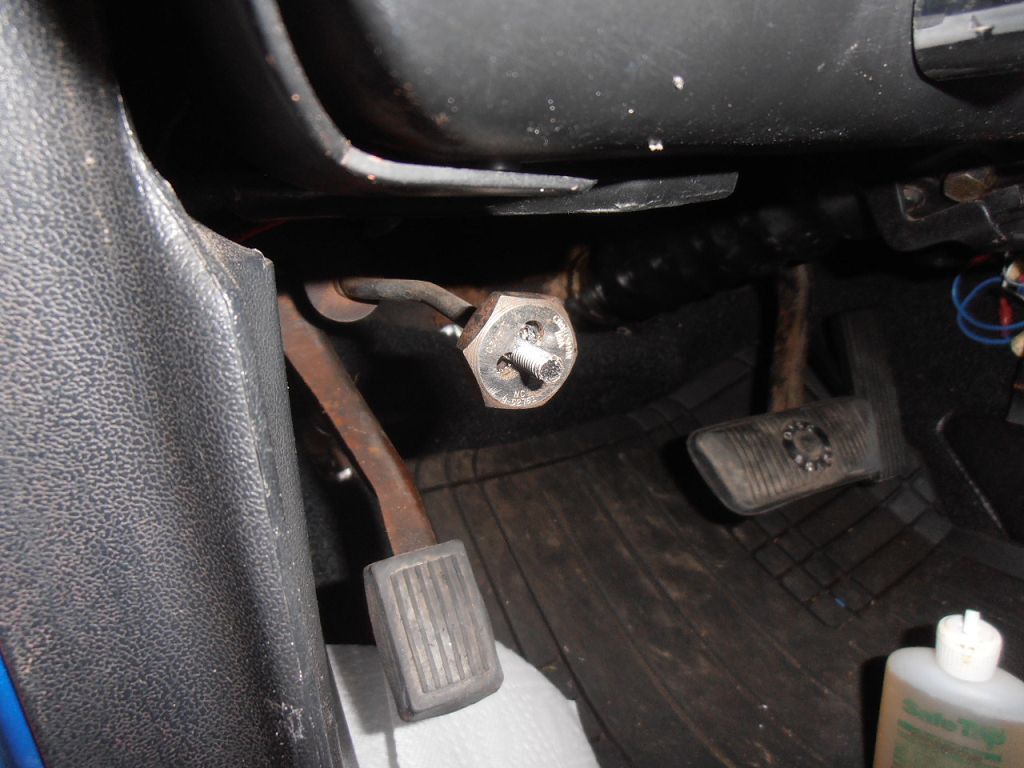
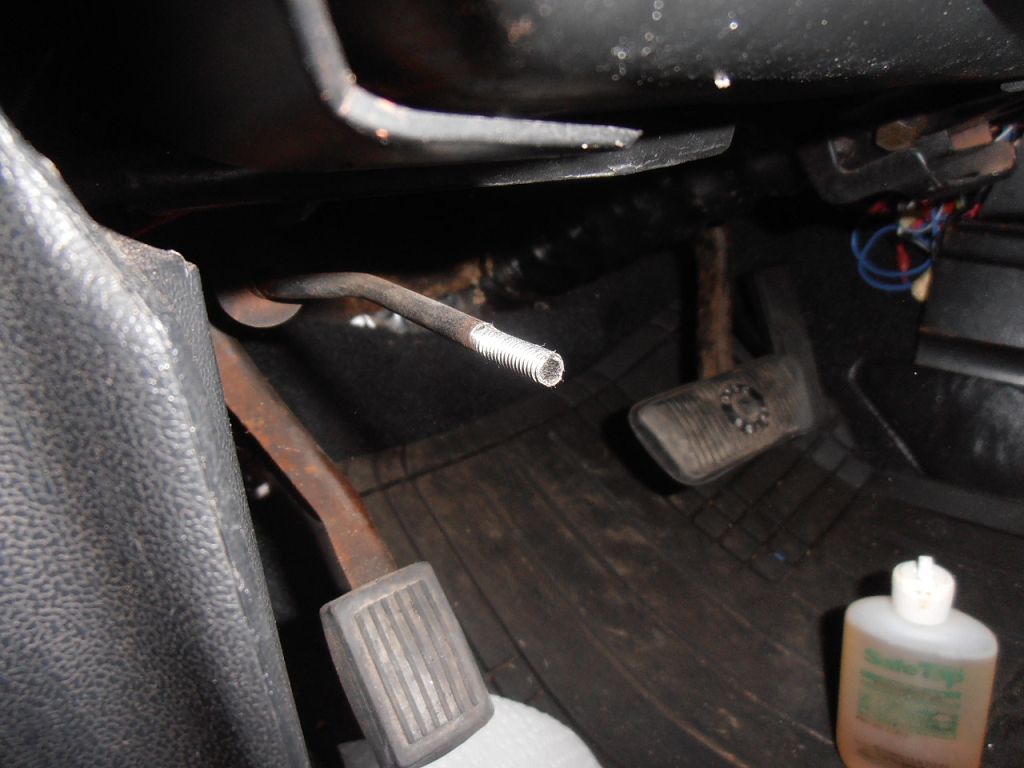
So I get out the hacksaw blade and carefully saw it off. Of course it wouldn't unscrew because it was pressed on.  

P1210005.jpg


I was able to insert a 1/4-20 screw into the new pull, and I just happened to have the right size die laying around the shop , so I proceeded with plan B.

P1210007_1.jpg


P1210010_1.jpg


P1210013.jpg


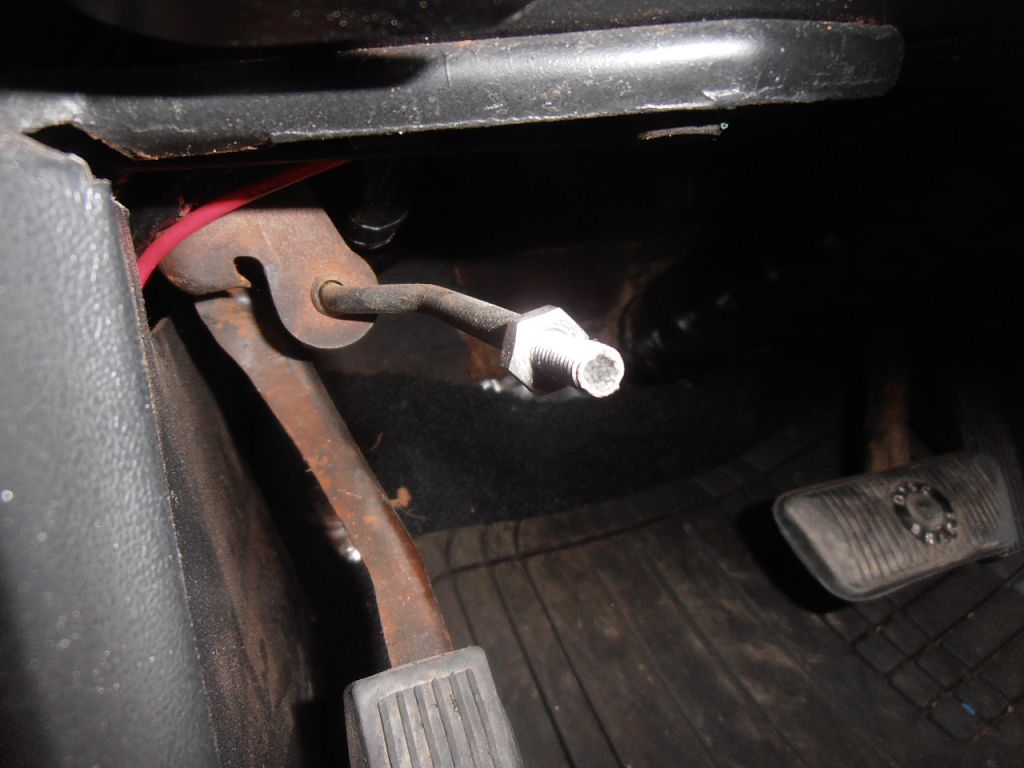
I was going to loctite the new one on, but decided to install a jam nut instead.

P1210014.jpg


And TA DA

P1210017_1.jpg


Note to self: I never realized how badly those pedals need a coat of black paint. :whistling:

I already have the new knobs and should be installing them soon. :D

 
Last edited by a moderator:
It's very cold over here, so done little things that were on the todo...

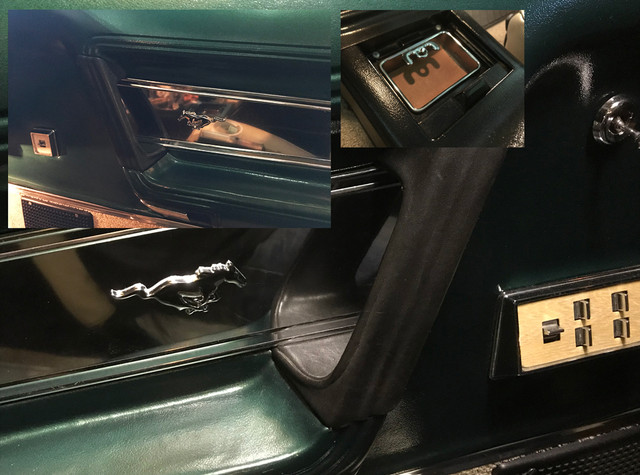
Just like Mr 4x4, I do not like the fake wood sticker on doors, and finally added the ponies I've ordered months ago to the doors.

Then cleaned up the bottom of the console ashtray that started show some corrosion. Will spray zinc it when tmp will rise again,

but as I do not want to smoke in the car anymore, cut some leather patch till I come to that zinc handling.


Then moved on to the LEDS bulbs, I've installed 3 weeks back a fresh taillights harness (thx to midlife) and had ordered red LED's at same time.

4 red, 2 white. Meanwhile saw I needed some LED compatible flasher, as the babies do not drain enuff power to let the bimetal contact do the job.

So ordered one that support leds and incandescence bulbs in lights circuits. They all came this week.

Indeed once in, all works but not turn light. The swap is just old out, new in, and all works. Harness remains intact and original connector is back in bizz.

What a difference!


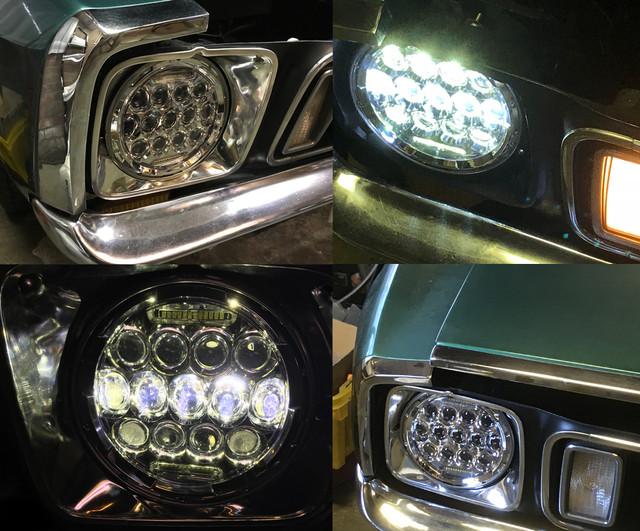
And then installed these. I was so impressed at Ebstang's ones, I gotta have these too :) As Amazon doesn't have the payment methods I prefer and have on Ebay

I search for similar ones. Couldn't find the exact same ones. These were looking ok on picts and specs, so  I ordered them thinking it would not be a big risk if they were crap. Expecting some very light cheap plastic units poorly finished. I could not have been more wrong, their finish is excellent and casing, bezel are in aluminum. The light they give is simply amazing. The install took 10 minutes, where 9 went into cleaning behind the old lights. No change on alignment, H4 connectors off, new in, done.

Strangely they are not to be photographed on or off with my IPhone. What you see here on pict is not how they look for real and the light they give is also not to be captured with this phone hardware. They look very bling-bling on the pict and are much less excessive in real. Tho, I will prolly paint the bezel black around them, waiting to see them outside first. Can't paint in this cold anyway. I'm also not sure I would pass the dutch tech control with these, but found no prohibition for these either on RDW site. All the law says is that you must not blind others.. They have a very clean and directed beam, so I'm not worrying. Plus, may they'd fail pass, I set the old ones back in 3 minutes, and put them back after the control. They offer so much more light than the old ones, no way i'm going back :) Also ordered a new set of lights relays, just to be sure, will install these as soon as they land.


and then it was really too cold in garage...
You obviously have very good taste!   ::thumb::

 
The last time I had my car out after dark, I struggled with the dreaded headlight flicker syndrome.  They're on...now off...back on.....  I installed this headlight relay harness on my Mach today.  It's dang nice, works perfect, and is completely plug and play without any cutting of the car's factory wiring.  Still have some other work I want to do, this is a good start.


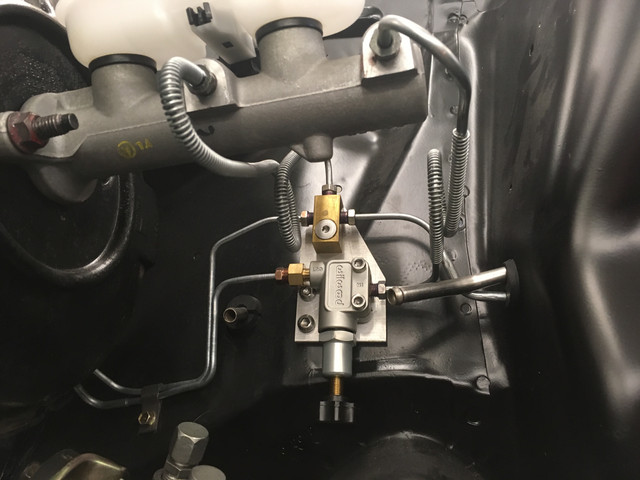
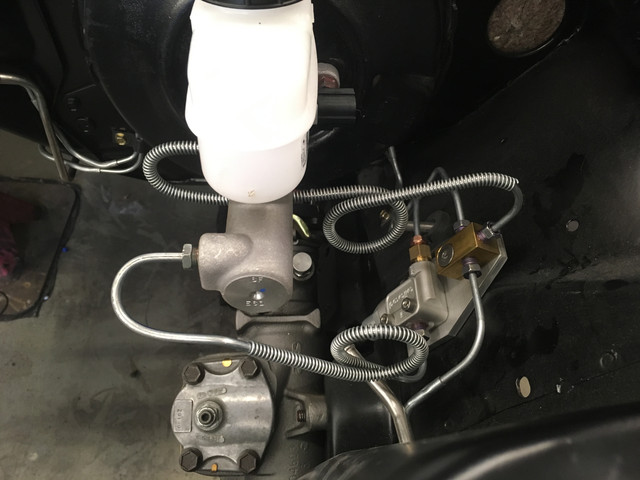
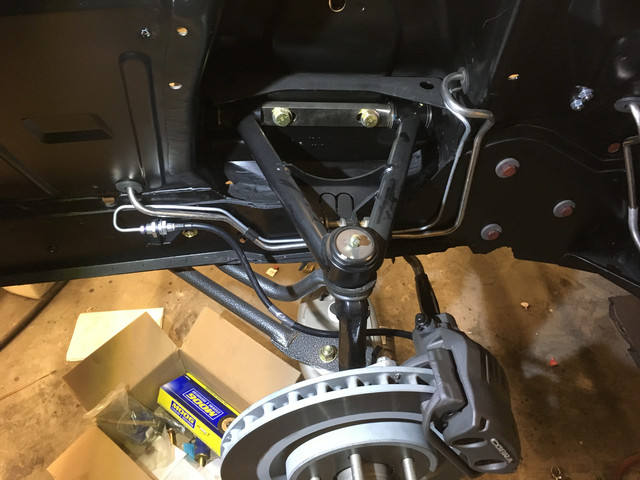
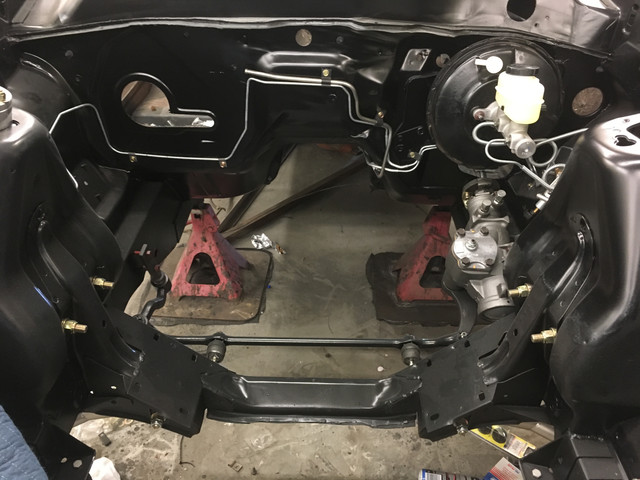
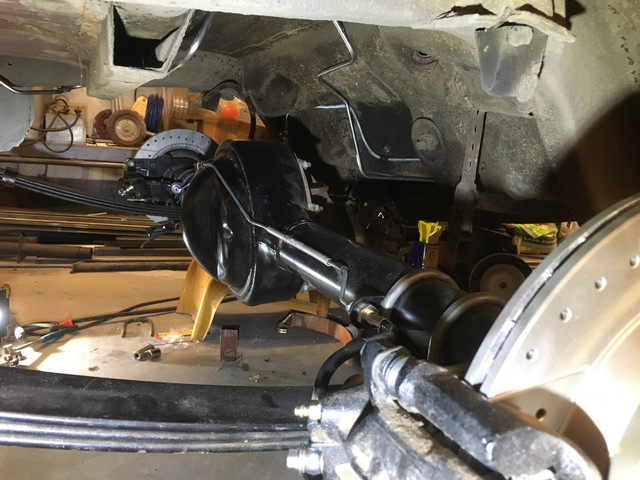
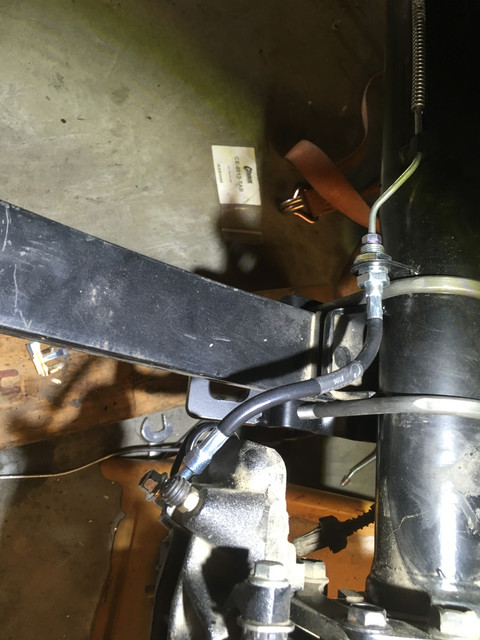
I now have functional hydraulic brakes (Mustang Steve setup)!  Got the steel lines massaged to where they look decent and some custom Crown brake hoses.  Next step is to get the parking brake hooked up, need to measure up everything and get Bruin to make up some cables.  Might be a roller again in the near future.

 
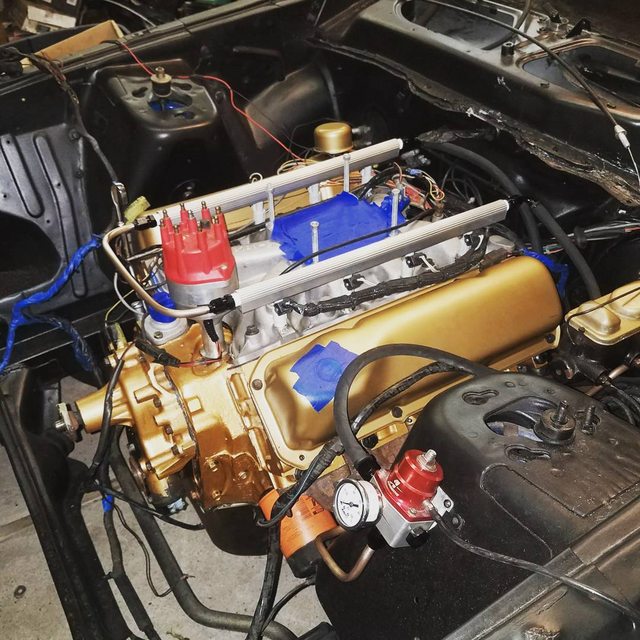
We're getting some nice weather this week so I got my fuel system together. I ran new 3/8 NiCopp hardlines from the new tanks inc. in-tank pump setup and replaced the -8 pushlock I was running all around with -6. I spent today trying to figure out the whacky setup that holds my fuel rails down but finally got it. Now I just need to install the exhaust pipes, install the power steering pump, the radiator, connect the rest of the wiring and mount the battery. I keep saying it will run soon but I mean it this time lol. There's so many things I'm coming across that I really don't like and I'm taking the time to fix. I already revised the squiggly return line in the picture with a cleaner 45º hose end and a bit shorter hose. This was a "pull the engine and replace the bearings in a weekend" deal and is turning into a full restoration  :shootself:

EbqvVCCl.jpg


Last edited by a moderator:
It has been below freezing & snowing most days this week in the UK. Today is a bit better, 4 degrees Celsius after a 1 degree start & some sleet. Snow is now melting.

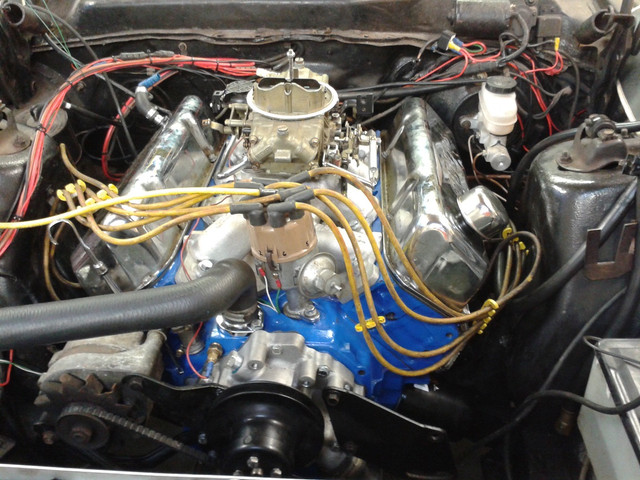
My mate came over from the post-industrial city of Sheffield to help me fire up my rebuilt, forged piston, solid lifter Cleveland motor. The garage was warm enough & we just pushed her backwards til the rear was out in the carport. It all went pretty well, fired right up, 70psi oil pressure at 2500rpm & cold, from stock Ford pump, around 60 when it warmed up. Ran her for about 15 mins total, between 2000 & 3000 rpm. Finally dropped down to 1500 & set timing. Going to run some more another day before installing lambda sensor, checking valve lash & setting idle.

Looking forward to some dry warm weather soon to get her out for a test drive on the local bypass. The way it's been lately it could be quite a few weeks to go.


Got the rest of the tail light panel off today, cut out about half of the trunk floor (will be taking more out before fitting the new floor in), made a homemade media blaster out of a blow gun and water bottle and cleaned up some of the frame rail. Got some blasting media at the local Tractor Supply, 50 pounds for $8.00, seemed like a great price and did a really good job. I got the fine media but may stop by and pick up a bag of course to see it it works even better. Going to continue cutting out the trunk in the next couple days and continue with de-rusting it before using any rust proofing, then on to weld-through primer and putting the new floor in. Making progress feels good. Also measured things out as per the dimensions diagram and so far, measurements are good to go.

Tom

 
Back
Top