What did you do to your car today?

7173Mustangs.com

Help Support 7173Mustangs.com:

This site may earn a commission from merchant affiliate links, including eBay, Amazon, and others.
Been a busy few days here at the home garage resto shop. 😂
Touched up the roof and drivers quarter and fenders. Got the deck lid back from blasting and epoxy primed. Have to spot prime one fender and work a few small low spots on the doors and re-spot prime them. I plan to drop off the hood next week and have it blasted and powder coated since it so large and I won’t have to worry about hurry up and prepping it and prime it before it starts to rust. Hopefully get it to my buddies shop in a couple weeks and get some color on it.
Running low on daylight and warm weather.
I have never done bodywork or painting before and boy what a job it is.
Been enjoying the learning experience for sure. IMG_3255.jpegIMG_3257.jpegIMG_3279.jpegIMG_3281.jpegIMG_3289.jpegIMG_3292.jpegIMG_3294.jpegIMG_3299.jpegIMG_3296.jpeg
 
Decided to drop off the hood today instead of next week. Also putting what I hope is the final coat of primer on this fender. View attachment 93710View attachment 93711View attachment 93712View attachment 93713View attachment 93714
Looking great! seems like you will be spraying color in not time at all! Can't wait to see it.

The convertible on the rotisserie at the media blaster, is that an Impala? It looks like an early 70's Impala to me. Really nice metal work though on the previous repair, haha. Can't hardly see where the metal was patched.:rolleyes:
 
Last edited:
Yes it’s an Impala and it looked good before they blasted it. 😆
Haha, funny how they always do look like they are solid before we blast them. 😉

I can't be too critical of whoever did that previously though, as I am guilty of the "rivet sheet metal and bondo over it" process back in the day before I could weld.
 
Today was the first real drive after the transmission rebuild. It shifts wonderfully. The transmission got 5 forward clutches, 5 direct instead of the 3 and 3 it had. It still has 4 reverse. Changed out the forward drum piston for a newer style with the lip seal versus the square cut seal. I added a B&M shift kit and their thick cast aluminum pan so it holds around 14 quarts of fluid now. The torque converter was rebuilt and given a slightly higher stall by PTC. I also put new bushings in the shifter. It's amazing how much of a difference that made.

There weren't any obvious problems with it other than dumping tons of fluid after sitting for a few days. I assumed there was an issue around the pump seal causing that. I was wrong. In fact the tail housing was cracked causing the leak. We believe this was caused by the broken motor mount. The transmission mount had pulled loose on one side as well. There were internal issues after all. The forward drum piston seal had hardened, bypassing fluid and letting the clutches slip. I couldn't tell it yet but she was on her way out. I'm just glad to be back on the road. Now I have to fix the leaking pinion seal. Fingers crossed the spare 9 inch has a good ratio and I can just swap it in. Wish me luck.
 
Today, looked at it as I left for work and sighed.

But recently, I replaced the bushing in the torque convertor, front pump, gasket o-ring and front seal. While it was out installed a Fairbanks shift kit and added a Chrome pan that holds 2 extra quarts of fluid. Also, cleaned it up and painted the housing. I know, the headers need attention next. They are on the list.

It is a 351C Q-code with a C6 trans.
 

Attachments

  • TRANS.jpg
    TRANS.jpg
    85 KB
Today concluded the power steering pump saga. Long story short, I did not in fact have enough pieces to assemble a working one. I admitted defeat and ordered a new one from RockAuto and installed it today. The heater core got hooked back up the other day. All the vacuum actuators and blend doors are working as intended on the heater box but I still don't have heat. I'm hoping that's an air bubble. The coolant is uncomfortably muddy even after the new engine, so I bought enough fluids for multiple flushes to hopefully remedy both problems.
 
Last edited:
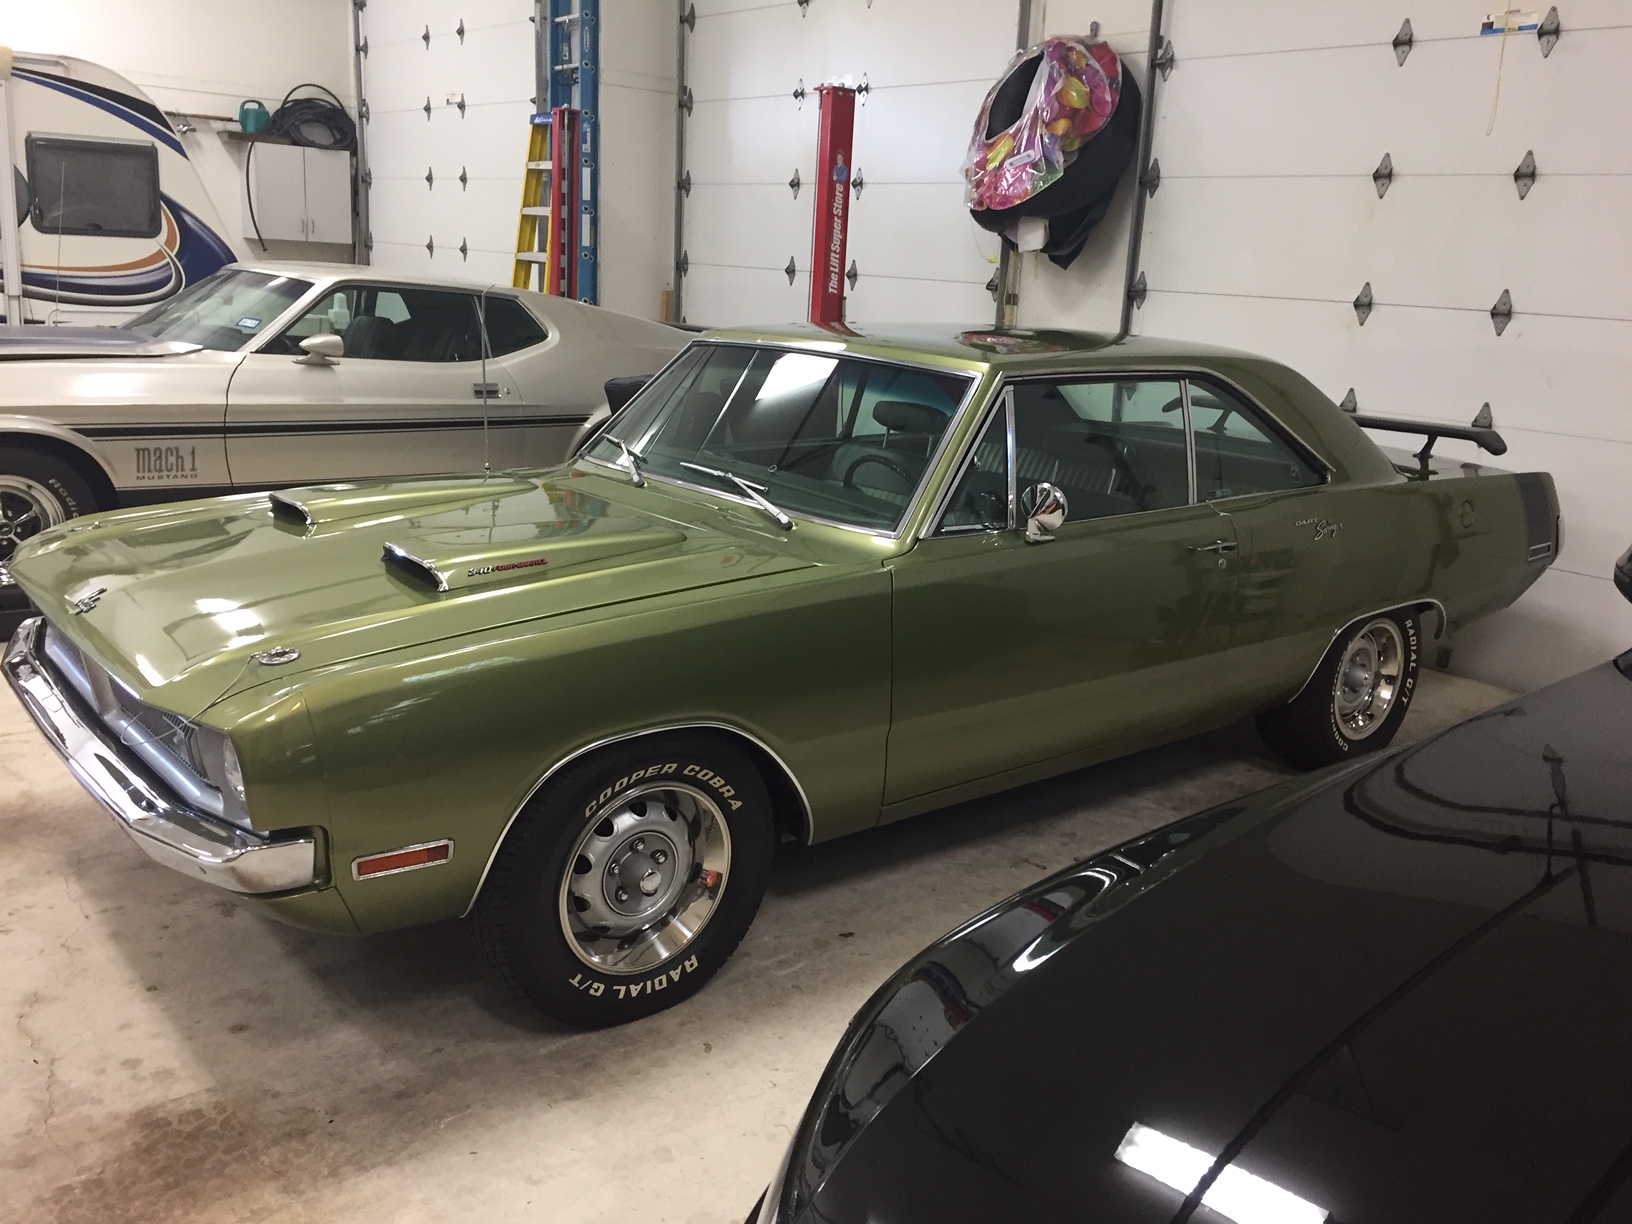
Dropped it from the lift to get the 70 Dart up for an oil change. The Dart and I will be hitting a car show tomorrow.

eRhbcZB.jpg
 
Wow nice! How in the heck does that thing come apart?
Glad you posted this. I purchased one that seemed to be in good condition. Upon opening it up I was very pleased to see it was. Used a couple of tools I made from bottle openers to pry apart the rolled seam. One I ground a thin bent edge for starting to lift up seams edge. The second is more thick and able to roll back enough to get canister apart. Worked as well for my hood flap vacuum canister repair.
 

Attachments

  • VPCanister (7).jpg
    VPCanister (7).jpg
    2.8 MB
  • VPCanister (3).jpg
    VPCanister (3).jpg
    1.3 MB
  • VPCanister (4).jpg
    VPCanister (4).jpg
    1.1 MB
  • VPCanister (8).jpg
    VPCanister (8).jpg
    4.7 MB
another use
Nice idea! I found this paint rack at Summit for around $80.00. Holds parts at a level we taller folk can paint standing up. Has rollers and can be taken apart for storage until needed again.
 

Attachments

  • Paint Rack (1).jpg
    Paint Rack (1).jpg
    3.8 MB
  • Paint Rack (6).jpg
    Paint Rack (6).jpg
    3.7 MB
Back
Top