midlife
Shorts checker
- Joined
- Jan 24, 2012
- Messages
- 4,483
- Reaction score
- 1,253
- Location
- Tucson, AZ
- My Car
- No Mustangs at the moment.
You know, that slab is just about the right size for a swimming pool...


I am pretty sure there will be a hot tub and BBQ and fire pit beside the garage to unwind in, lol. Got to relax after a hard day.You know, that slab is just about the right size for a swimming pool...


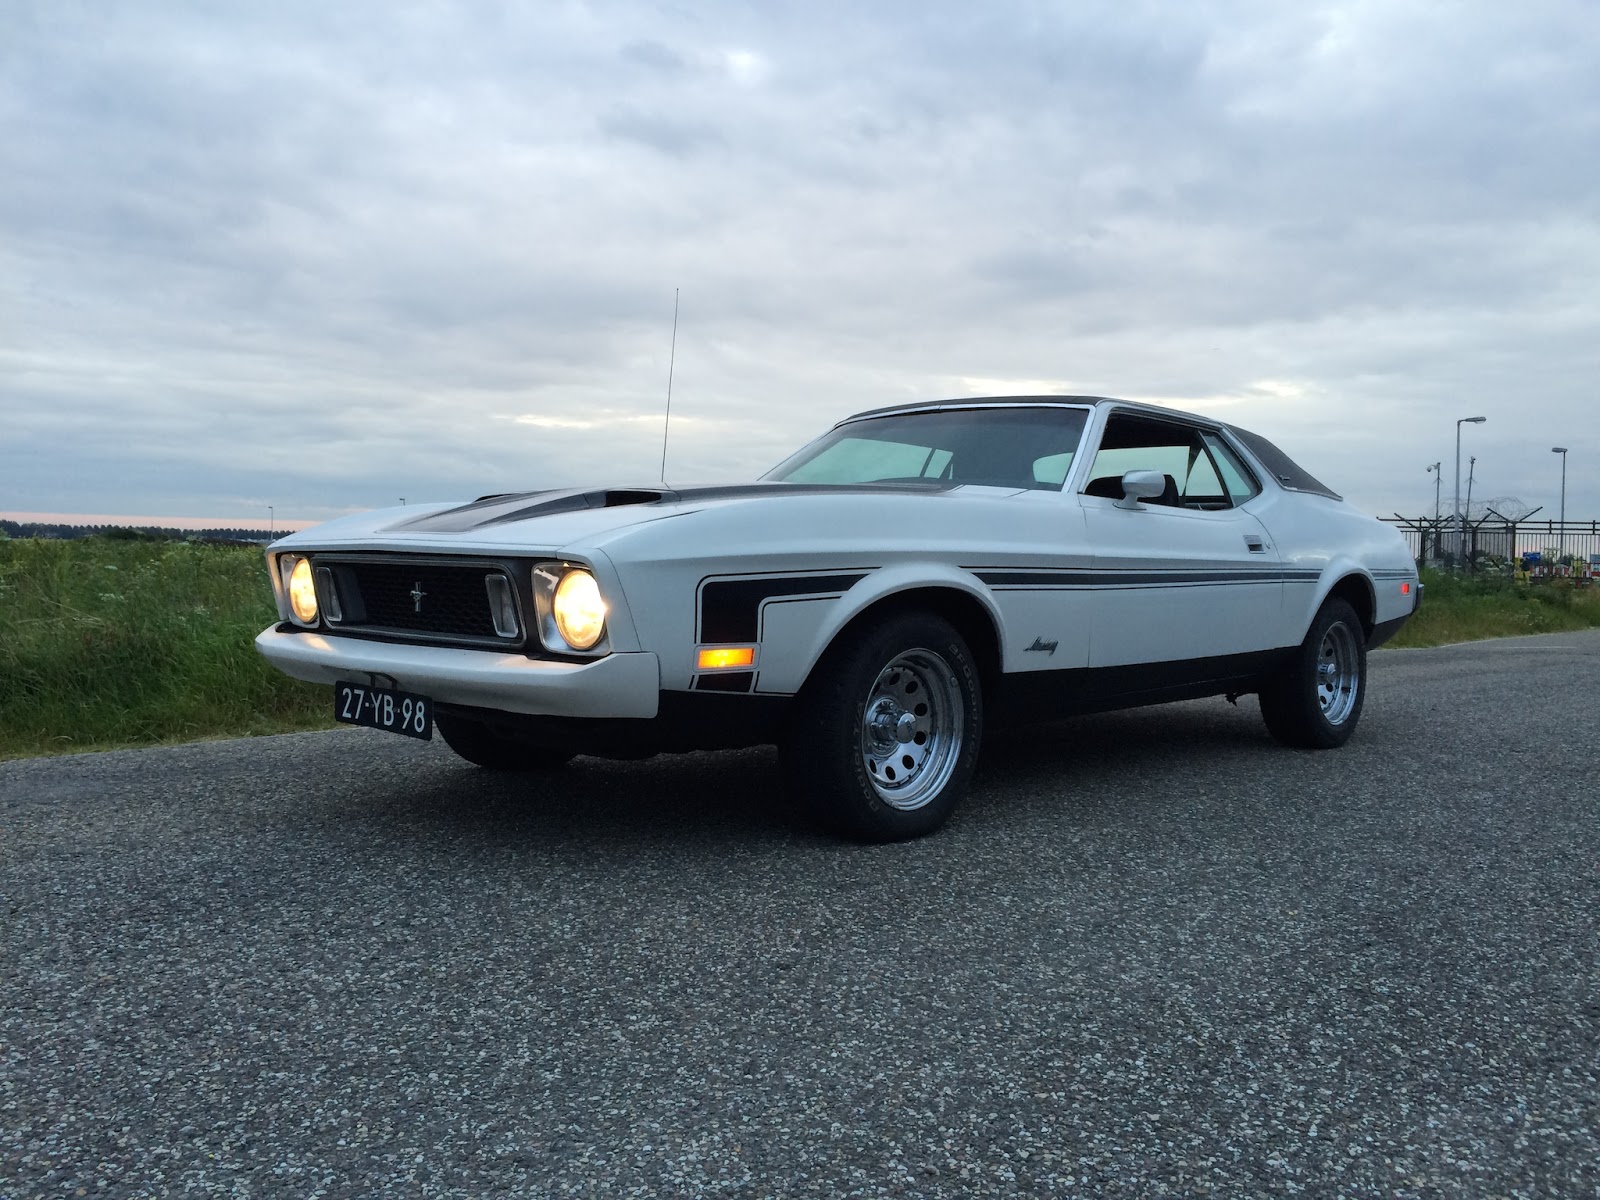
Had a friend that does plastic welding fix my cracked grill. Then sanded and fixed all the pits and sprayed in satin black polished the inner chrome and horse reinstalled and installed the new outter ring (thanks Don it fit great). Blacked out the turn signals as the chrome was really in bad shape. Also blacked out the headlight trim. Thanks to Austin Vert for the pointers on refinishing the grill. I like the results.

Nice job.Thanks. Got it on the car now. I like the look. I didn't realize the turn signal lenses were supposed to be clear until I washed them. Thought they were just heavily frosted.

Way to go Jason,Thanks. By the way. If anyone is planning to do this it is a lot of work. I hand sanded every inch of the grill and all the trim then used filler on any pits and sanded again before spraying. The results are worth the time since nothing fits like an original grill. I have about 15 hours in sanding and prep on it and other than one small crack it was in pretty good shape.
")


Very nice! I am contemplating doing this to mine as the plastic is severely faded. I was thinking of going with a Mach 1 grill but now that I've seen how nice this comes out, I have changed my mind I think. Today I was able get a new battery so I could take the old girl for a spin.Had a friend that does plastic welding fix my cracked grill. Then sanded and fixed all the pits and sprayed in satin black polished the inner chrome and horse reinstalled and installed the new outter ring (thanks Don it fit great). Blacked out the turn signals as the chrome was really in bad shape. Also blacked out the headlight trim. Thanks to Austin Vert for the pointers on refinishing the grill. I like the results.


.jpg")
.jpg")
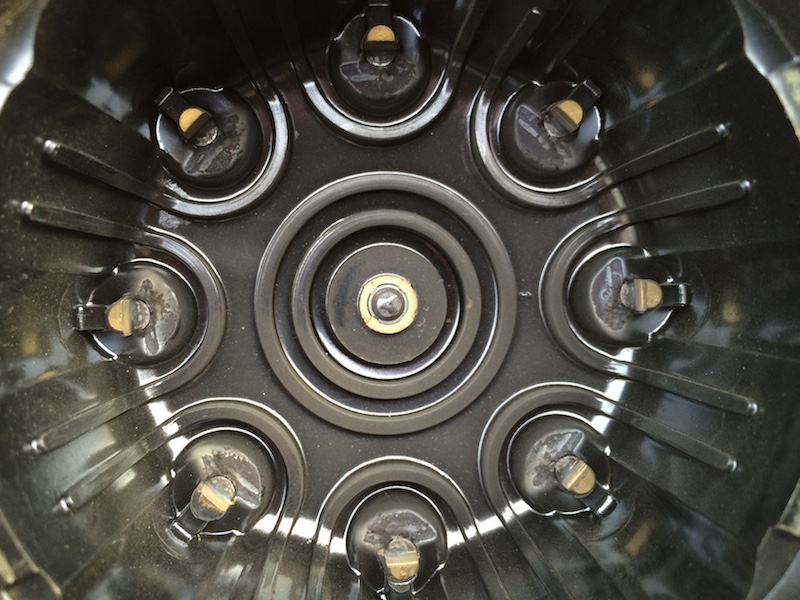
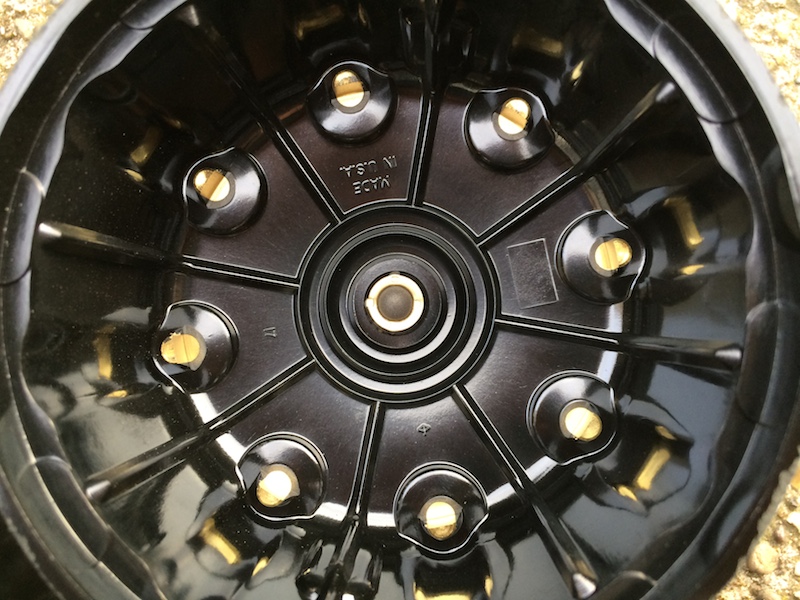
UGG, Cringe. My wiring is a mess. Something that will be tackled when it comes time to pull the engine and rebuild. I spent several days cleaning up possible shorts, dead end wires and stupid PO crap to get it to the point I didn't have to worry about a fire and everything worked.Have been working on all of the wiring/harnesses... just finished the engine bay harness, all cleaned up and re-taped (special stuff...). The hardest part of this harness refurbishment was locating replacement built in harness supporting clips that hold it in place throughout the engine bay. As you know, the ends break off over time, especially when removing the harness(age make them very brittle). I don't think exact replacements are available, had to improvise on one piece. I spent a few hours searching almost every parts box/location I have and came up with three of the four I needed. I did the last one using a smaller clip that is normally used to hold the tail light harness in place. It has the exact same size triangle shape clip head, attached it to the harness on what was left of the original clip, worked beautifully.
Need to clean up (blow out the dirt/dust in the main fuse junction box from all that previous desert area driving (a lot of the under dash area on this car was covered in a coat of special AZ dirt, a protective coating?)... Then I can re-tape the under dash harness. The trunk area tail light harness is a mess, kind of. If anyone has a solid tail light harness I am in the market (have touched base with Midlife already, he is helping where he can - appreciated). At the very least, I need one taillight socket housing to splice into my harness if all else fails... Cheers
Enter your email address to join: