- Joined
- Mar 30, 2017
- Messages
- 2,409
- Reaction score
- 915
- Location
- The Netherlands
- My Car
- 73 Grande 351C
71 Mach 1 429CJ
k, so today went ok, tho, again, loads of time goes to small things
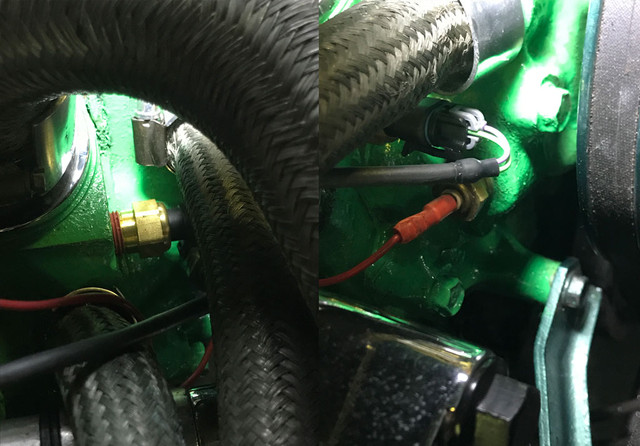
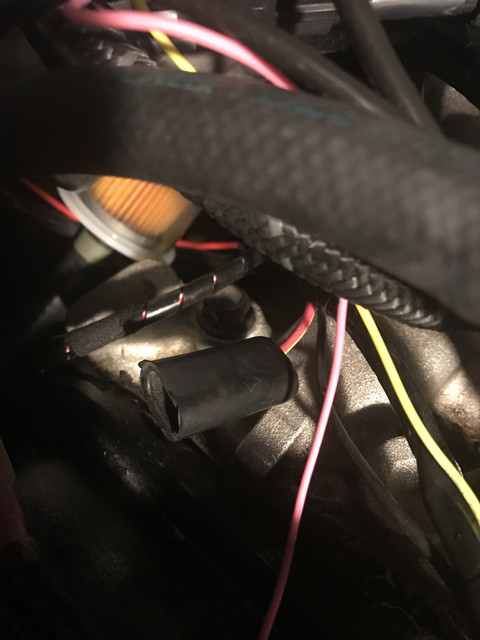
First a pict of the tmp sensor + original relocated to pump. (will change that red colour wire later on)
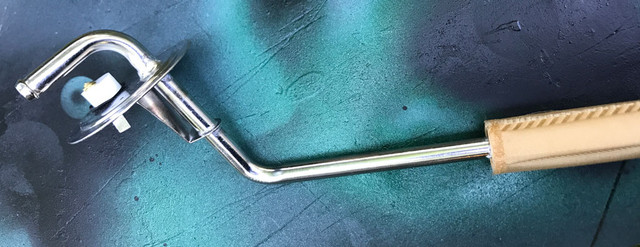
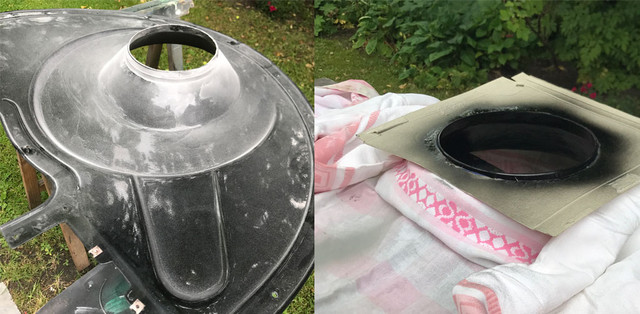
Prepared the sending unit for the tank. Felt bit crazy to semi destroy a good working unit that
costed in total $170 thanks to transport and the great dutch taxes. Lets try to quickly forget that one")
As Don C suggested, as these are from MustangOhio and indeed they looked be of good quality, if you do the swap.
Replace the old sending unit with this new one and apply the punishment to the old one. Mine was changed last year,
so I won't touch it.
I've kept the filter for now, No sure I need to, or if that really matters. I'll see during install.
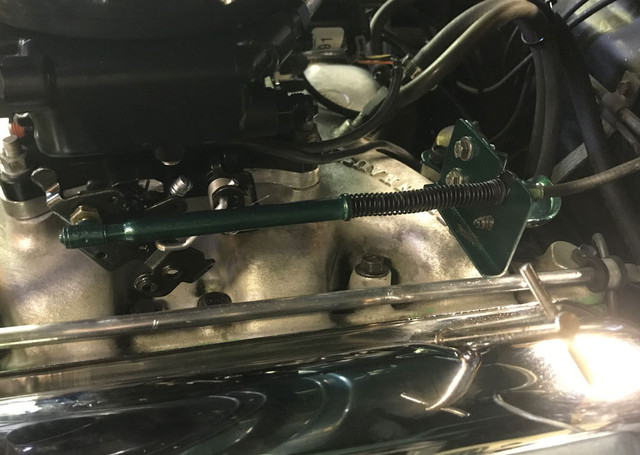
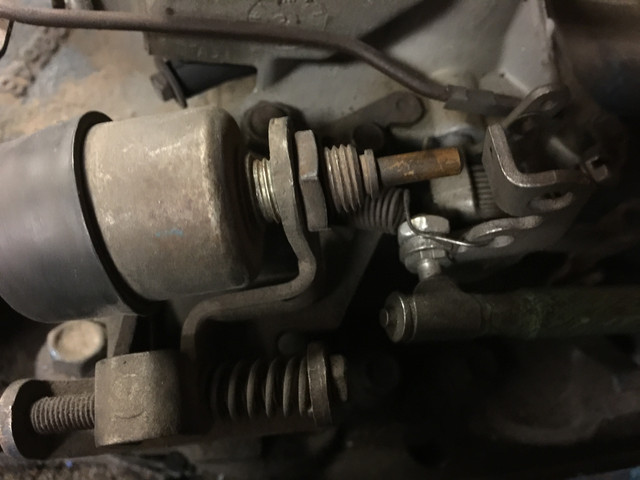
As announced, it was "bracket day" today and started with doing a temporary one, as I've not decided yet where to actually place the
kick down on uint, I've made this one so its inline and I can come back to that Lokar thingy later on. (gonna CAD that thing to have the best possible location and length)
@Adam, on my setup, using the original bracket, the throttle cable needs an offset of 3.5 cm. The bracket here reproduces the front face of the ford bracket.
I'll provide later on detailed figure once I'll do the final one with the KD and properly welded. I simply didn't settle yet on wether the cable should be below or next to it.

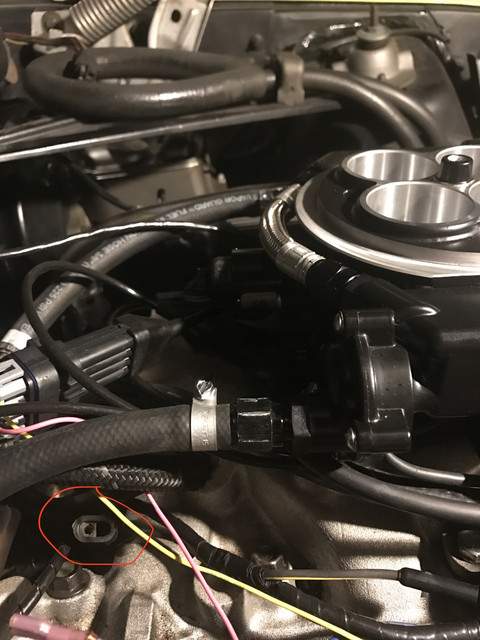
Then came an unexpected new bracket in sight. The unit connector for the positive, negative that needs be directly connected to the battery and
the positive wire for the fuel pomp has two electrical components that need be screwed somewhere. As I do not want drill the firewall unless I have no choice,
I've reused one of the stud that hold the air system inside the car. So made a robust bracket that will hold both units and keep them nicely aligned on firewall.
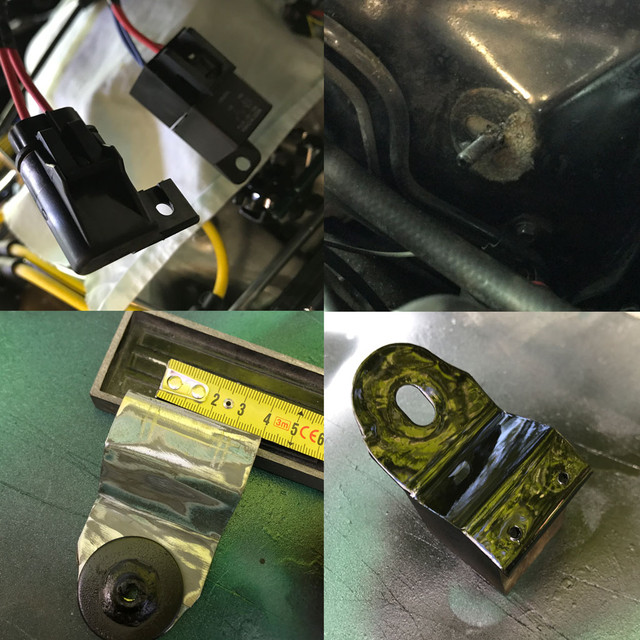
Because my battery is located in trunk and need go thru the car, location's ideal as its next to the grommet. Once in place, aside being firmly in place and
away from block heat, they almost gone for the eye. Once, i'll have properly routed and secured the wires inside, i'll hide/protect them better.
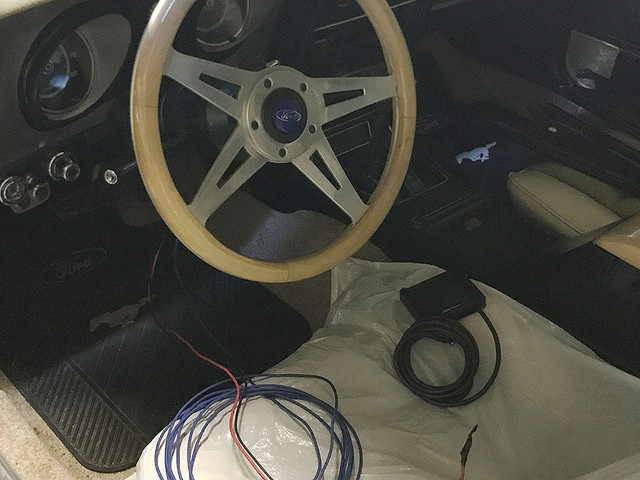
And then it was time for some gym! Somehow a simple thing like passing wires thru a grommet that leads high into the dashboard always
let you discover some unknown muscles which I'm sure I'll remember even more tomorrow morning
Still need to define where i'm gonna pass the wire + connector of the monitor. Prolly thru the airco grommet on passenger side.
All with all, nothing but many details to do here and there. Next session, more picts!
First a pict of the tmp sensor + original relocated to pump. (will change that red colour wire later on)
Prepared the sending unit for the tank. Felt bit crazy to semi destroy a good working unit that
costed in total $170 thanks to transport and the great dutch taxes. Lets try to quickly forget that one
As Don C suggested, as these are from MustangOhio and indeed they looked be of good quality, if you do the swap.
Replace the old sending unit with this new one and apply the punishment to the old one. Mine was changed last year,
so I won't touch it.
I've kept the filter for now, No sure I need to, or if that really matters. I'll see during install.
As announced, it was "bracket day" today and started with doing a temporary one, as I've not decided yet where to actually place the
kick down on uint, I've made this one so its inline and I can come back to that Lokar thingy later on. (gonna CAD that thing to have the best possible location and length)
@Adam, on my setup, using the original bracket, the throttle cable needs an offset of 3.5 cm. The bracket here reproduces the front face of the ford bracket.
I'll provide later on detailed figure once I'll do the final one with the KD and properly welded. I simply didn't settle yet on wether the cable should be below or next to it.
Then came an unexpected new bracket in sight. The unit connector for the positive, negative that needs be directly connected to the battery and
the positive wire for the fuel pomp has two electrical components that need be screwed somewhere. As I do not want drill the firewall unless I have no choice,
I've reused one of the stud that hold the air system inside the car. So made a robust bracket that will hold both units and keep them nicely aligned on firewall.
Because my battery is located in trunk and need go thru the car, location's ideal as its next to the grommet. Once in place, aside being firmly in place and
away from block heat, they almost gone for the eye. Once, i'll have properly routed and secured the wires inside, i'll hide/protect them better.
And then it was time for some gym! Somehow a simple thing like passing wires thru a grommet that leads high into the dashboard always
let you discover some unknown muscles which I'm sure I'll remember even more tomorrow morning
Still need to define where i'm gonna pass the wire + connector of the monitor. Prolly thru the airco grommet on passenger side.
All with all, nothing but many details to do here and there. Next session, more picts!
Last edited by a moderator: