First day install for me. Whole day for little..
As I clean, refresh paint where needed while busy, (after all its no rush).
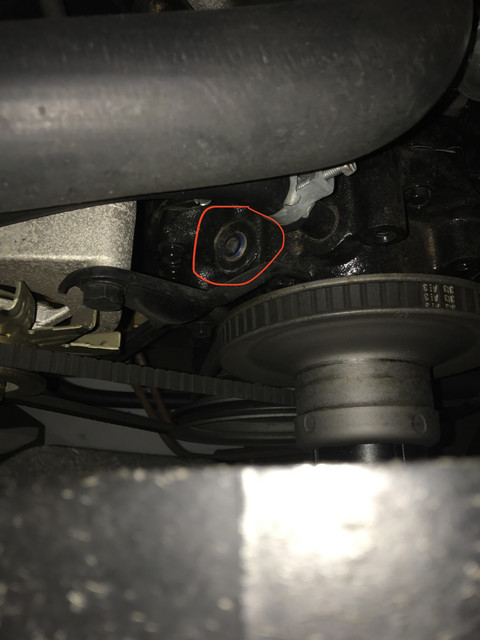
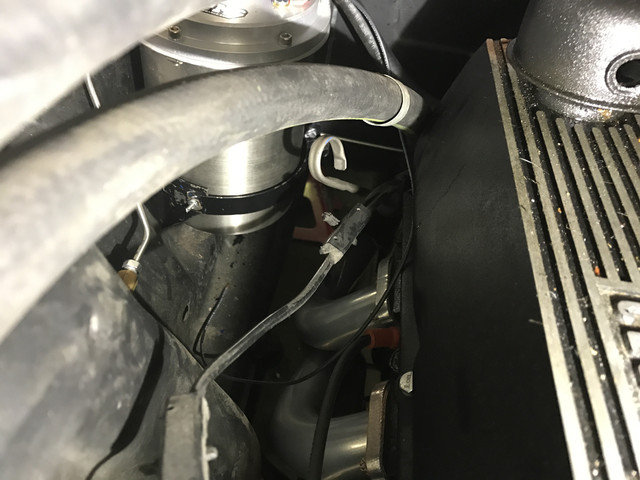
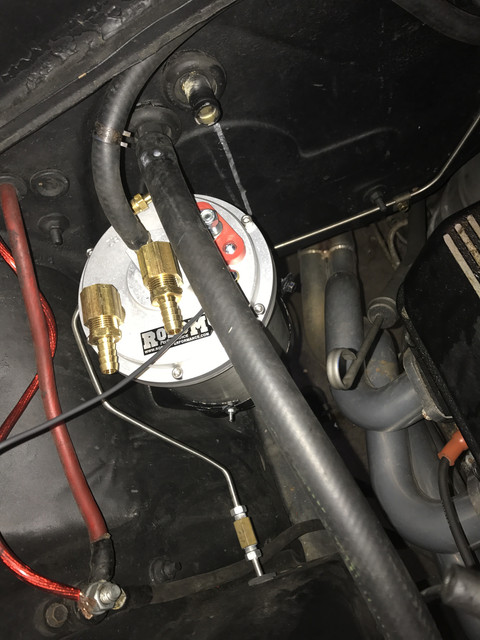
So I've nicely swapped the ford water temp from block to pomp and installed unit sensor. Removed
all the brackets, the alternator, as I wanted be sure I wouldn't f.. the water pomp plug. As I saw it was
claiming his seat firmly from a first try with very low grip, I've opted for the longer safer way.
Once the proper space and tool were in place it came as butter. Cleaned up, repainted a bit the block and installed the sensor.
I did not regret the extra work as all is now looking fresh.
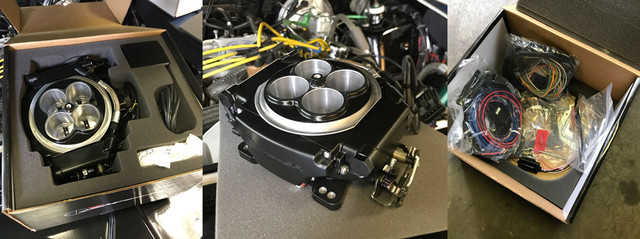
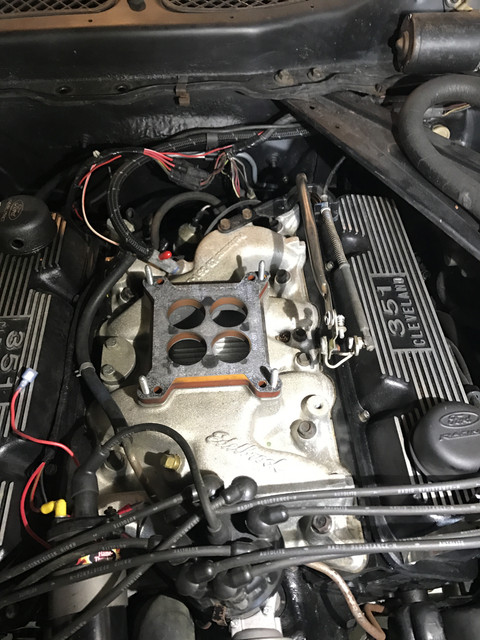
The main unit installed too, tho spend ages to find 4 stainless steel rings I knew I had somewhere to nicely secure
it on my previous studs, as the provided ones are of a lower quality.
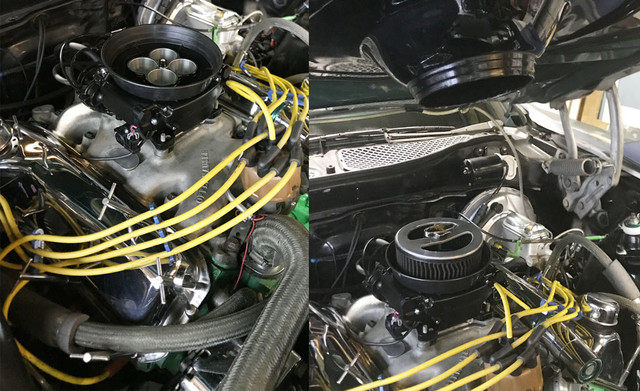
Next was to set the throttle cable: bam! Not in line with unit, looked in kit and the brackets they provide are for any cars but Mustangs.
Pissed at Holley for not providing more suitable material, pushed on tomorrow's todo to fabricate/weld something that is in line.
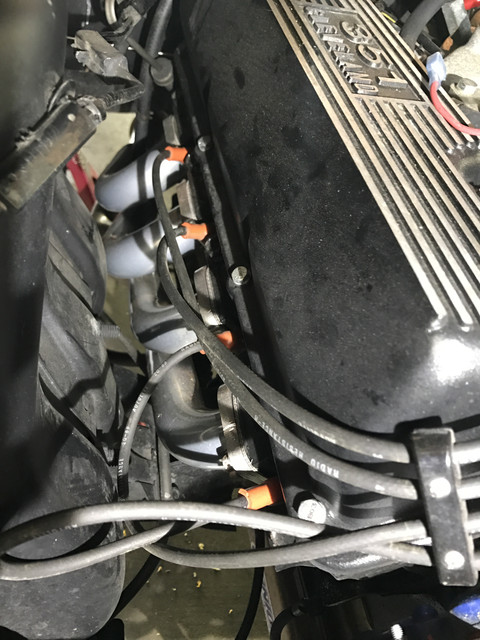
Next as I was busy behind the unit: the Lokar cable for the kick down. As I need also to do the O2 sensor, exhaust needed go out.
so I could access the transmission. (no bridge to put the car on, its a jack stands story in a small garage).
Picked a location + angle for the o2 sensor while busy.
Removed the clip for the long Kick down bracket and tried install that dam cable... and then I was pissed at Lokar
because I dunno from which universe the FMX they show on their doc is, but thats not mine for sure. No way to install that dam cable.
They show this nice with nothing on side trans and say, remove first pan bolt and use it for the bracket, the cable goes where the clip
was... yeah right: Lokar ffs, your company does this things for years,so first why the hell the diameter of the hole is not correct.
K, cable off, measure, drill the hole a bit to right size, set to clip back and then...
second the way they describe the install can never be in line, as the level is like 7 cm away from pan: bam, another welding bracket
story added for tomorrow. Removed cable again, and swore a few times more at Lokar and went on...
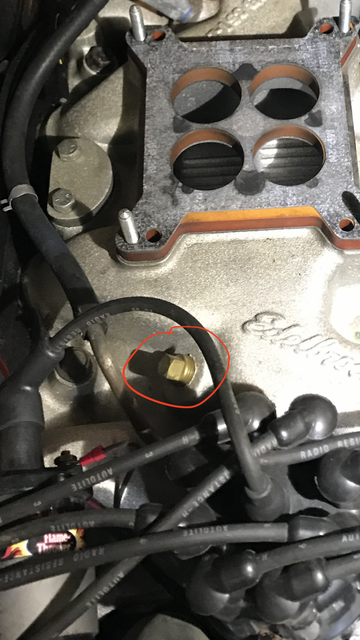
As I've ordered a bung to weld the sensor vs use the clamped prone to leaks plate they provide, I welded the baby.
Taped and pressurised with compressed air and inspected with bright light. No leak detected so far I could test. Should be ok.
During welding of the bung, used a tip I've seen online: placed an old spark plug in bung. It indeed absorbed the heat nicely and once
the exhaust was set back on, the sensor went in with zero efforts, bung had kept a perfect circular shape.
And then the day was over, was time to eat and shower
")
Realised I've forgot took picts too.
Did you have similar issues for the brackets?
Tomorrow I plan swear again at Holley and even more at Lokar till the work on the brackets is done. And then I might look at tank to
replace the vent cap by the sending unit I finally received yesterday... Was planning doing the wiring first, but nice weather is announced
so it will be like a day at the beach