- Joined
- Jan 1, 2012
- Messages
- 8,364
- Reaction score
- 1,205
- Location
- Eugene, OR
- My Car
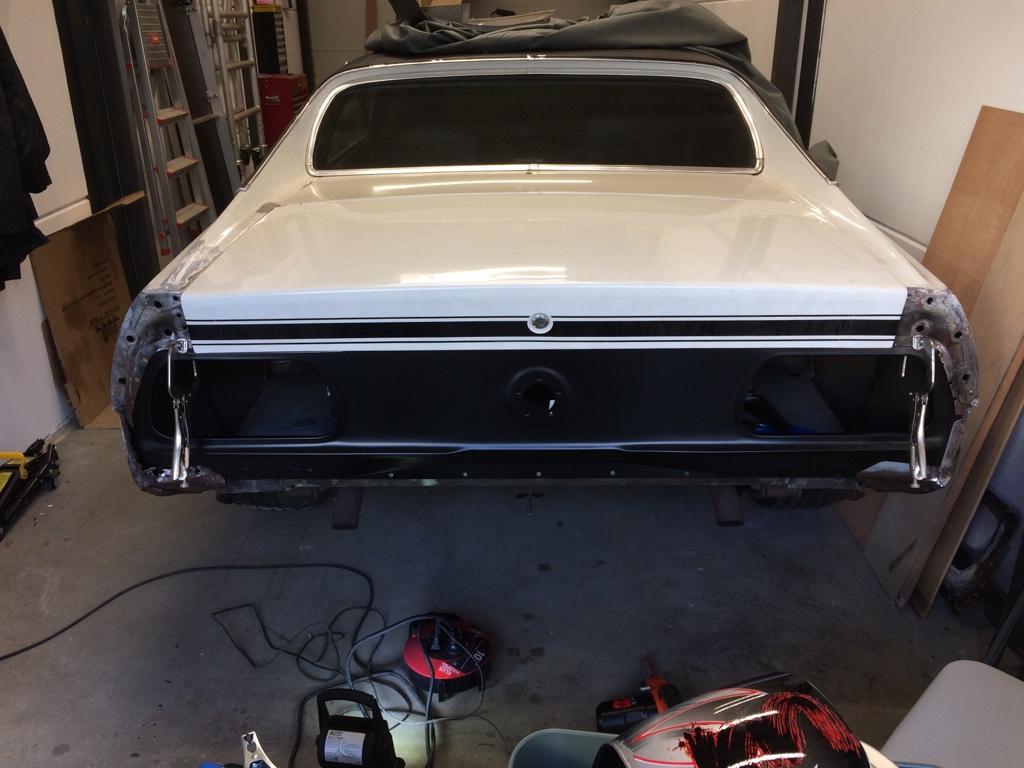
- 1971 Mustang Sportroof M code
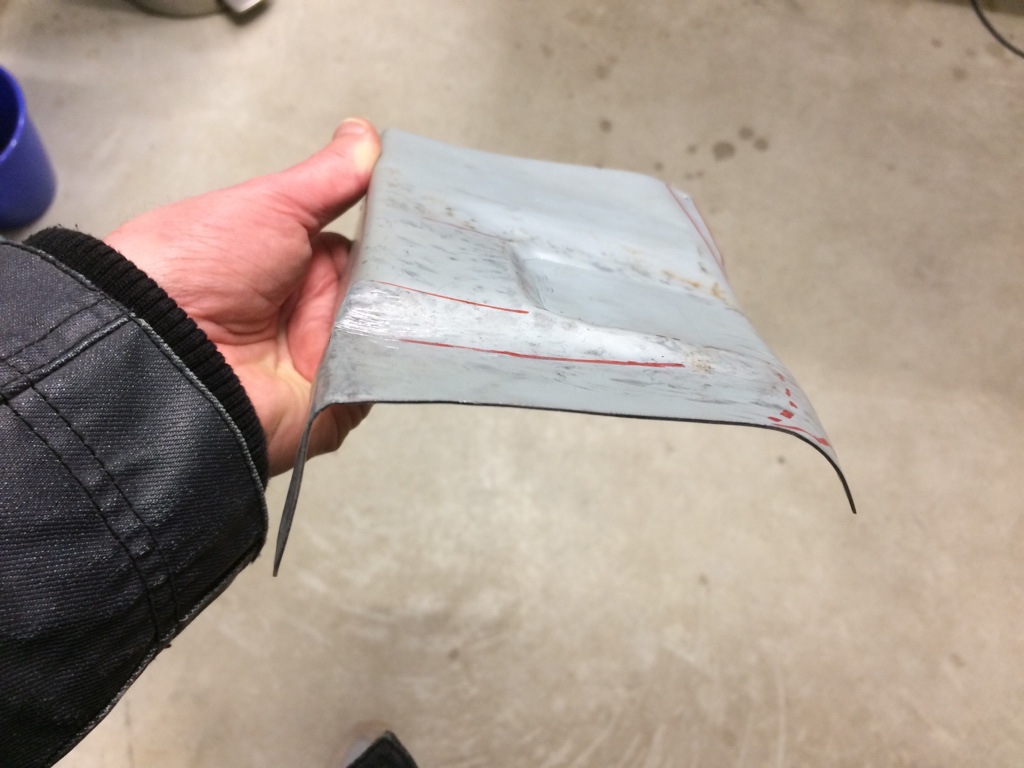
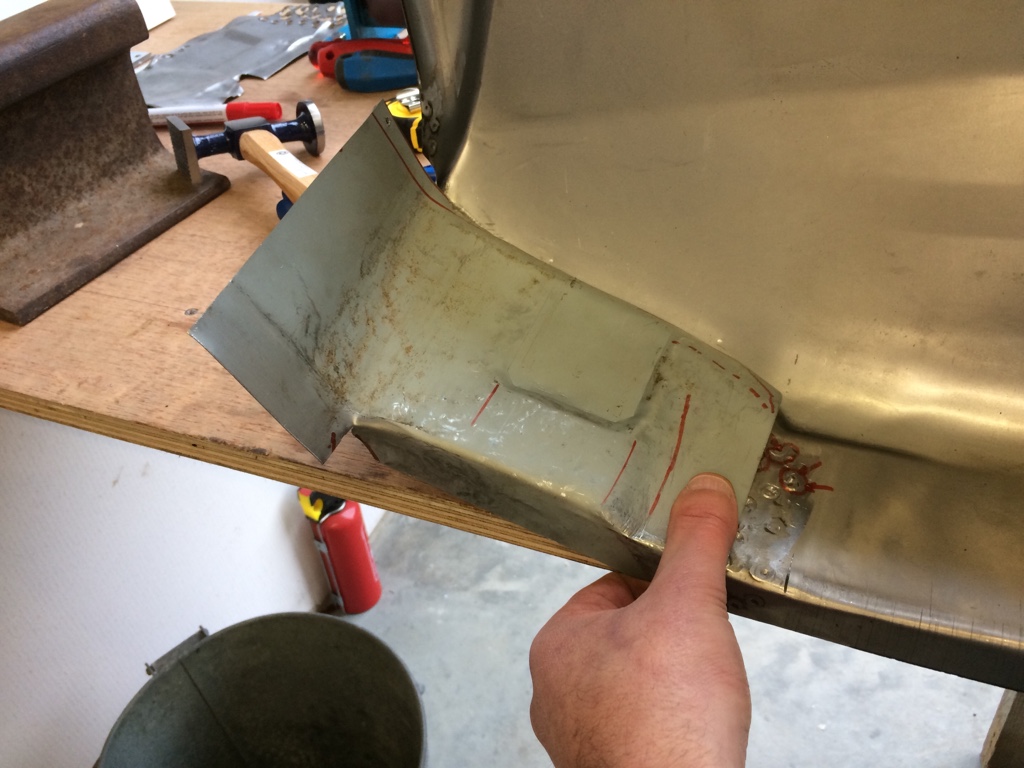
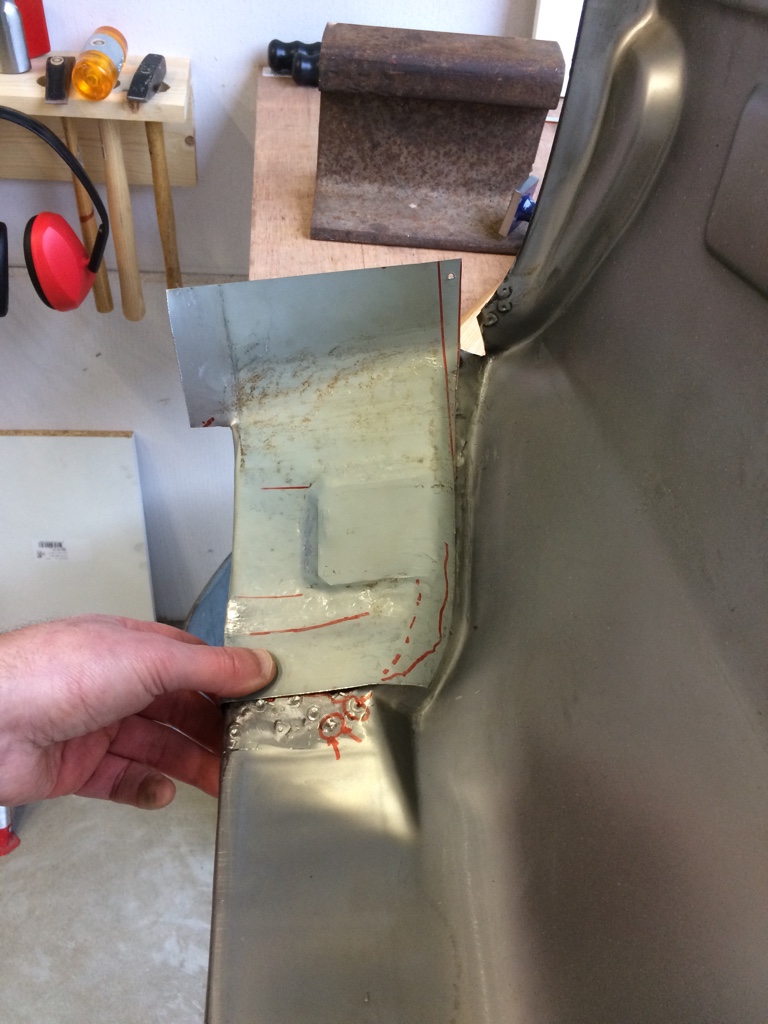
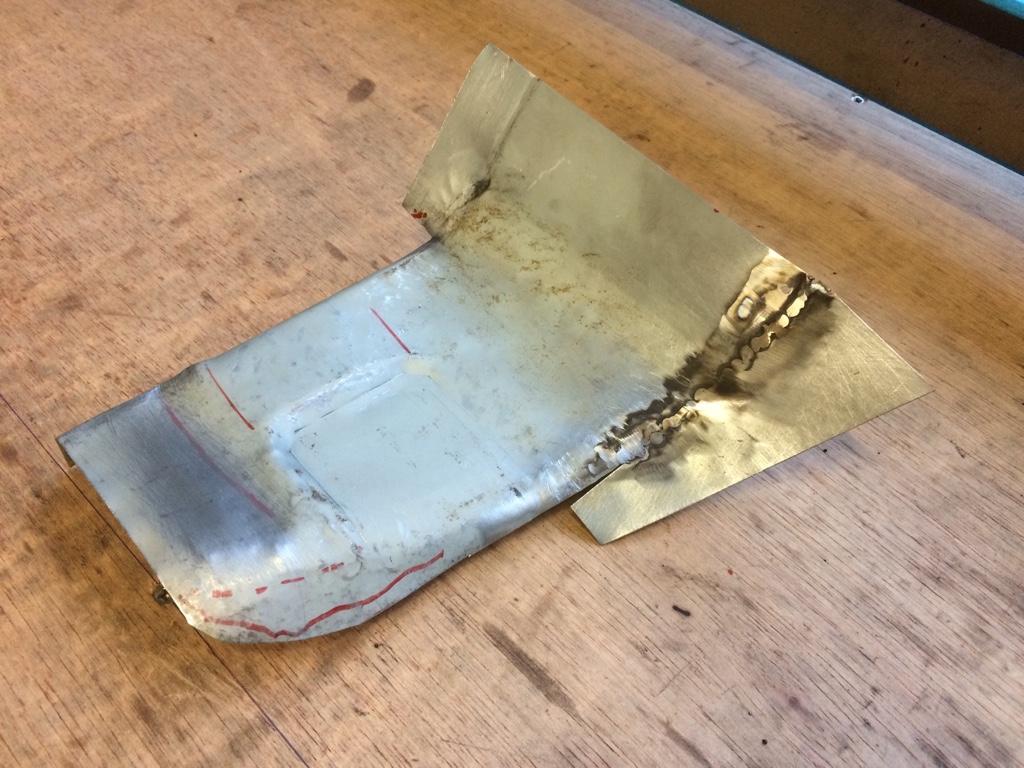
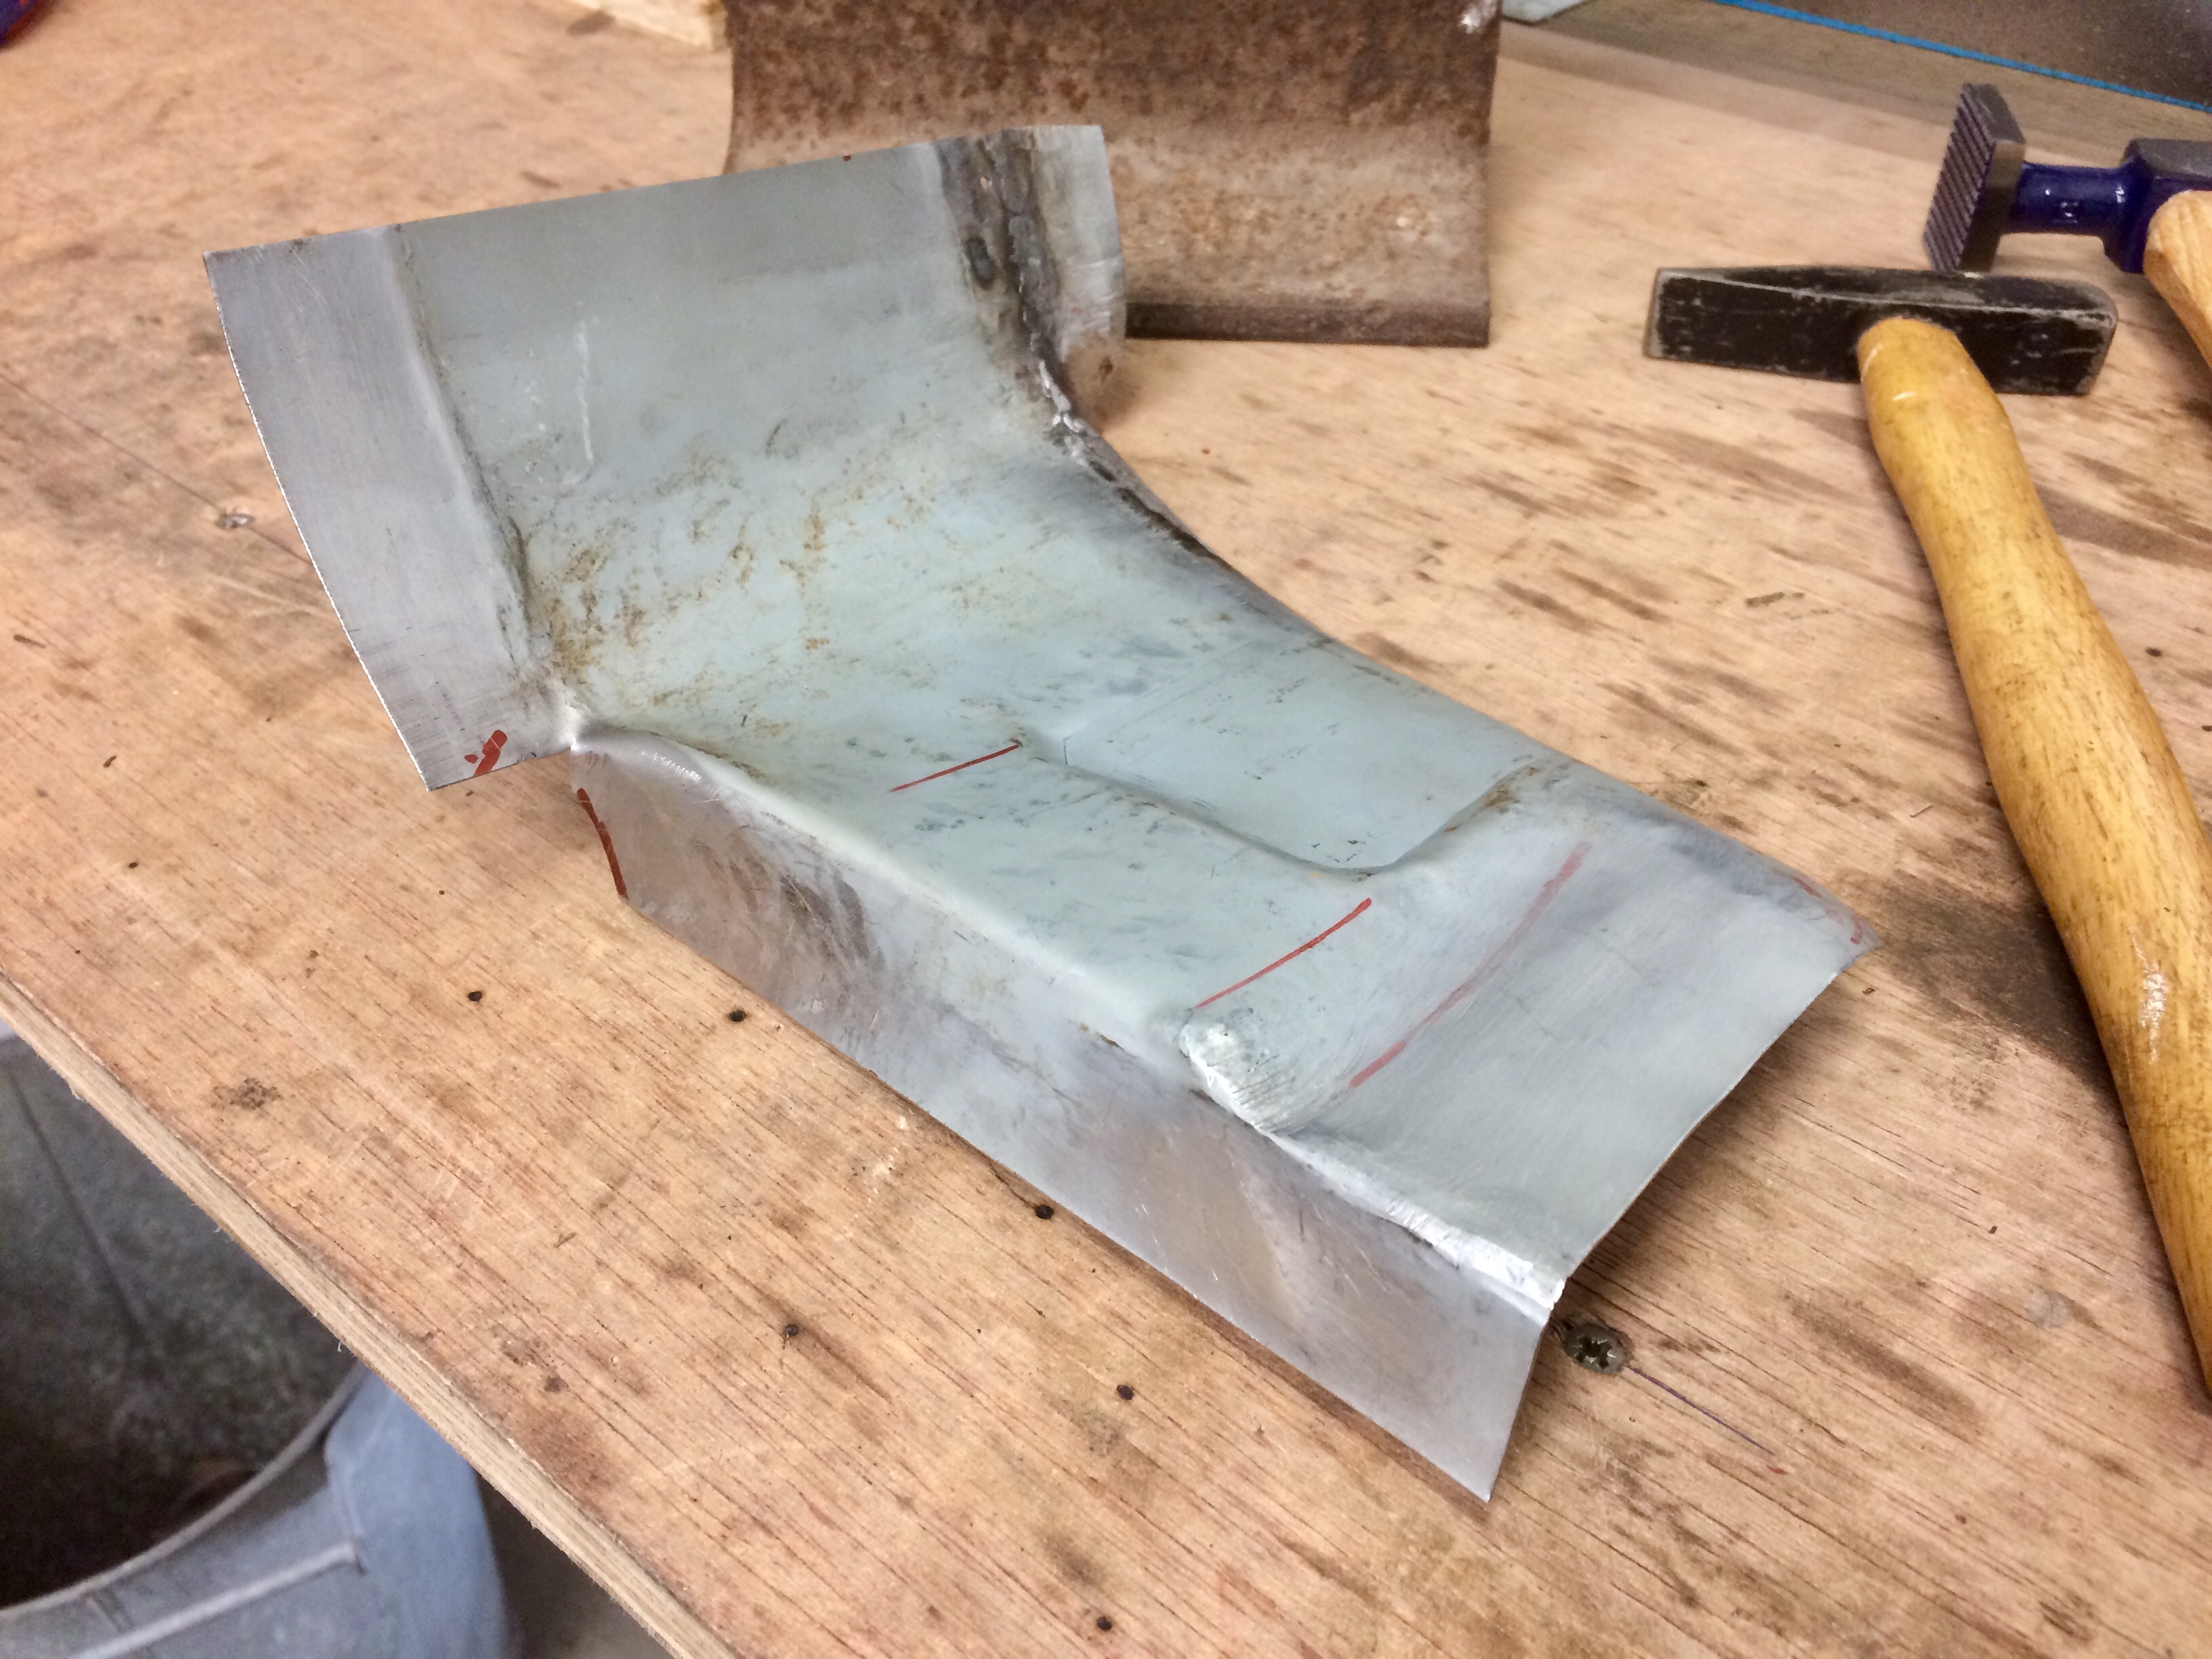
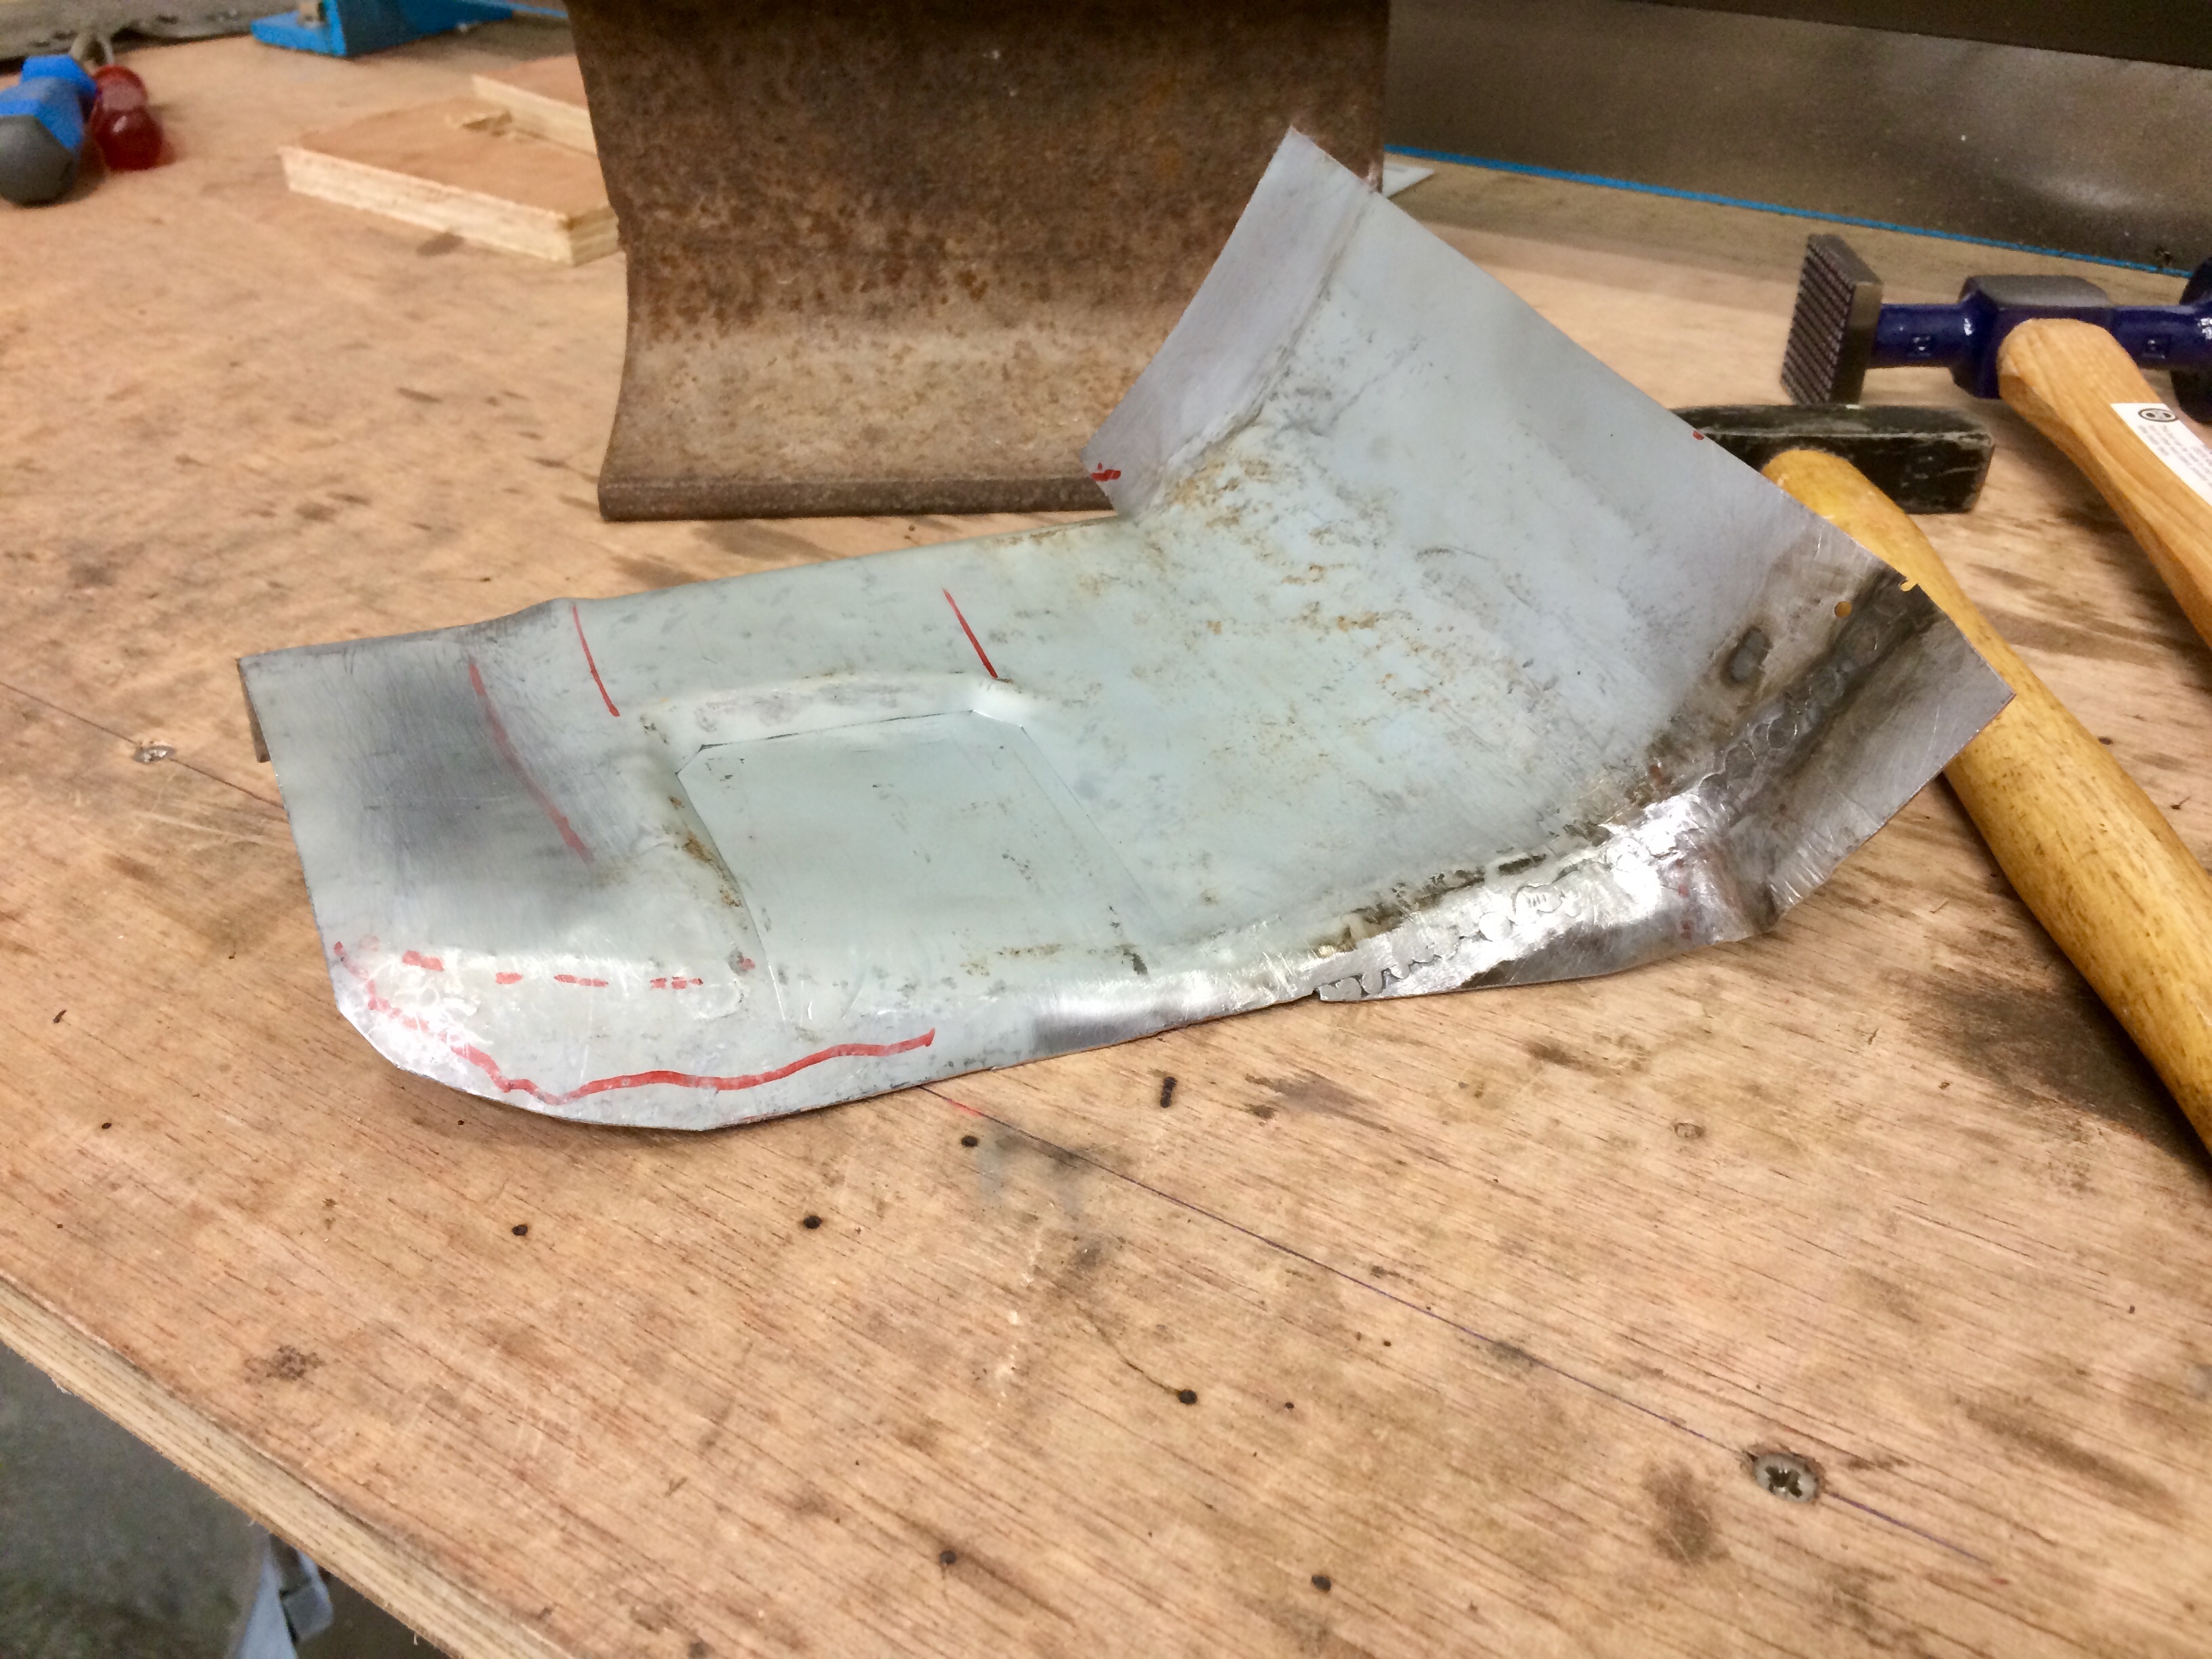
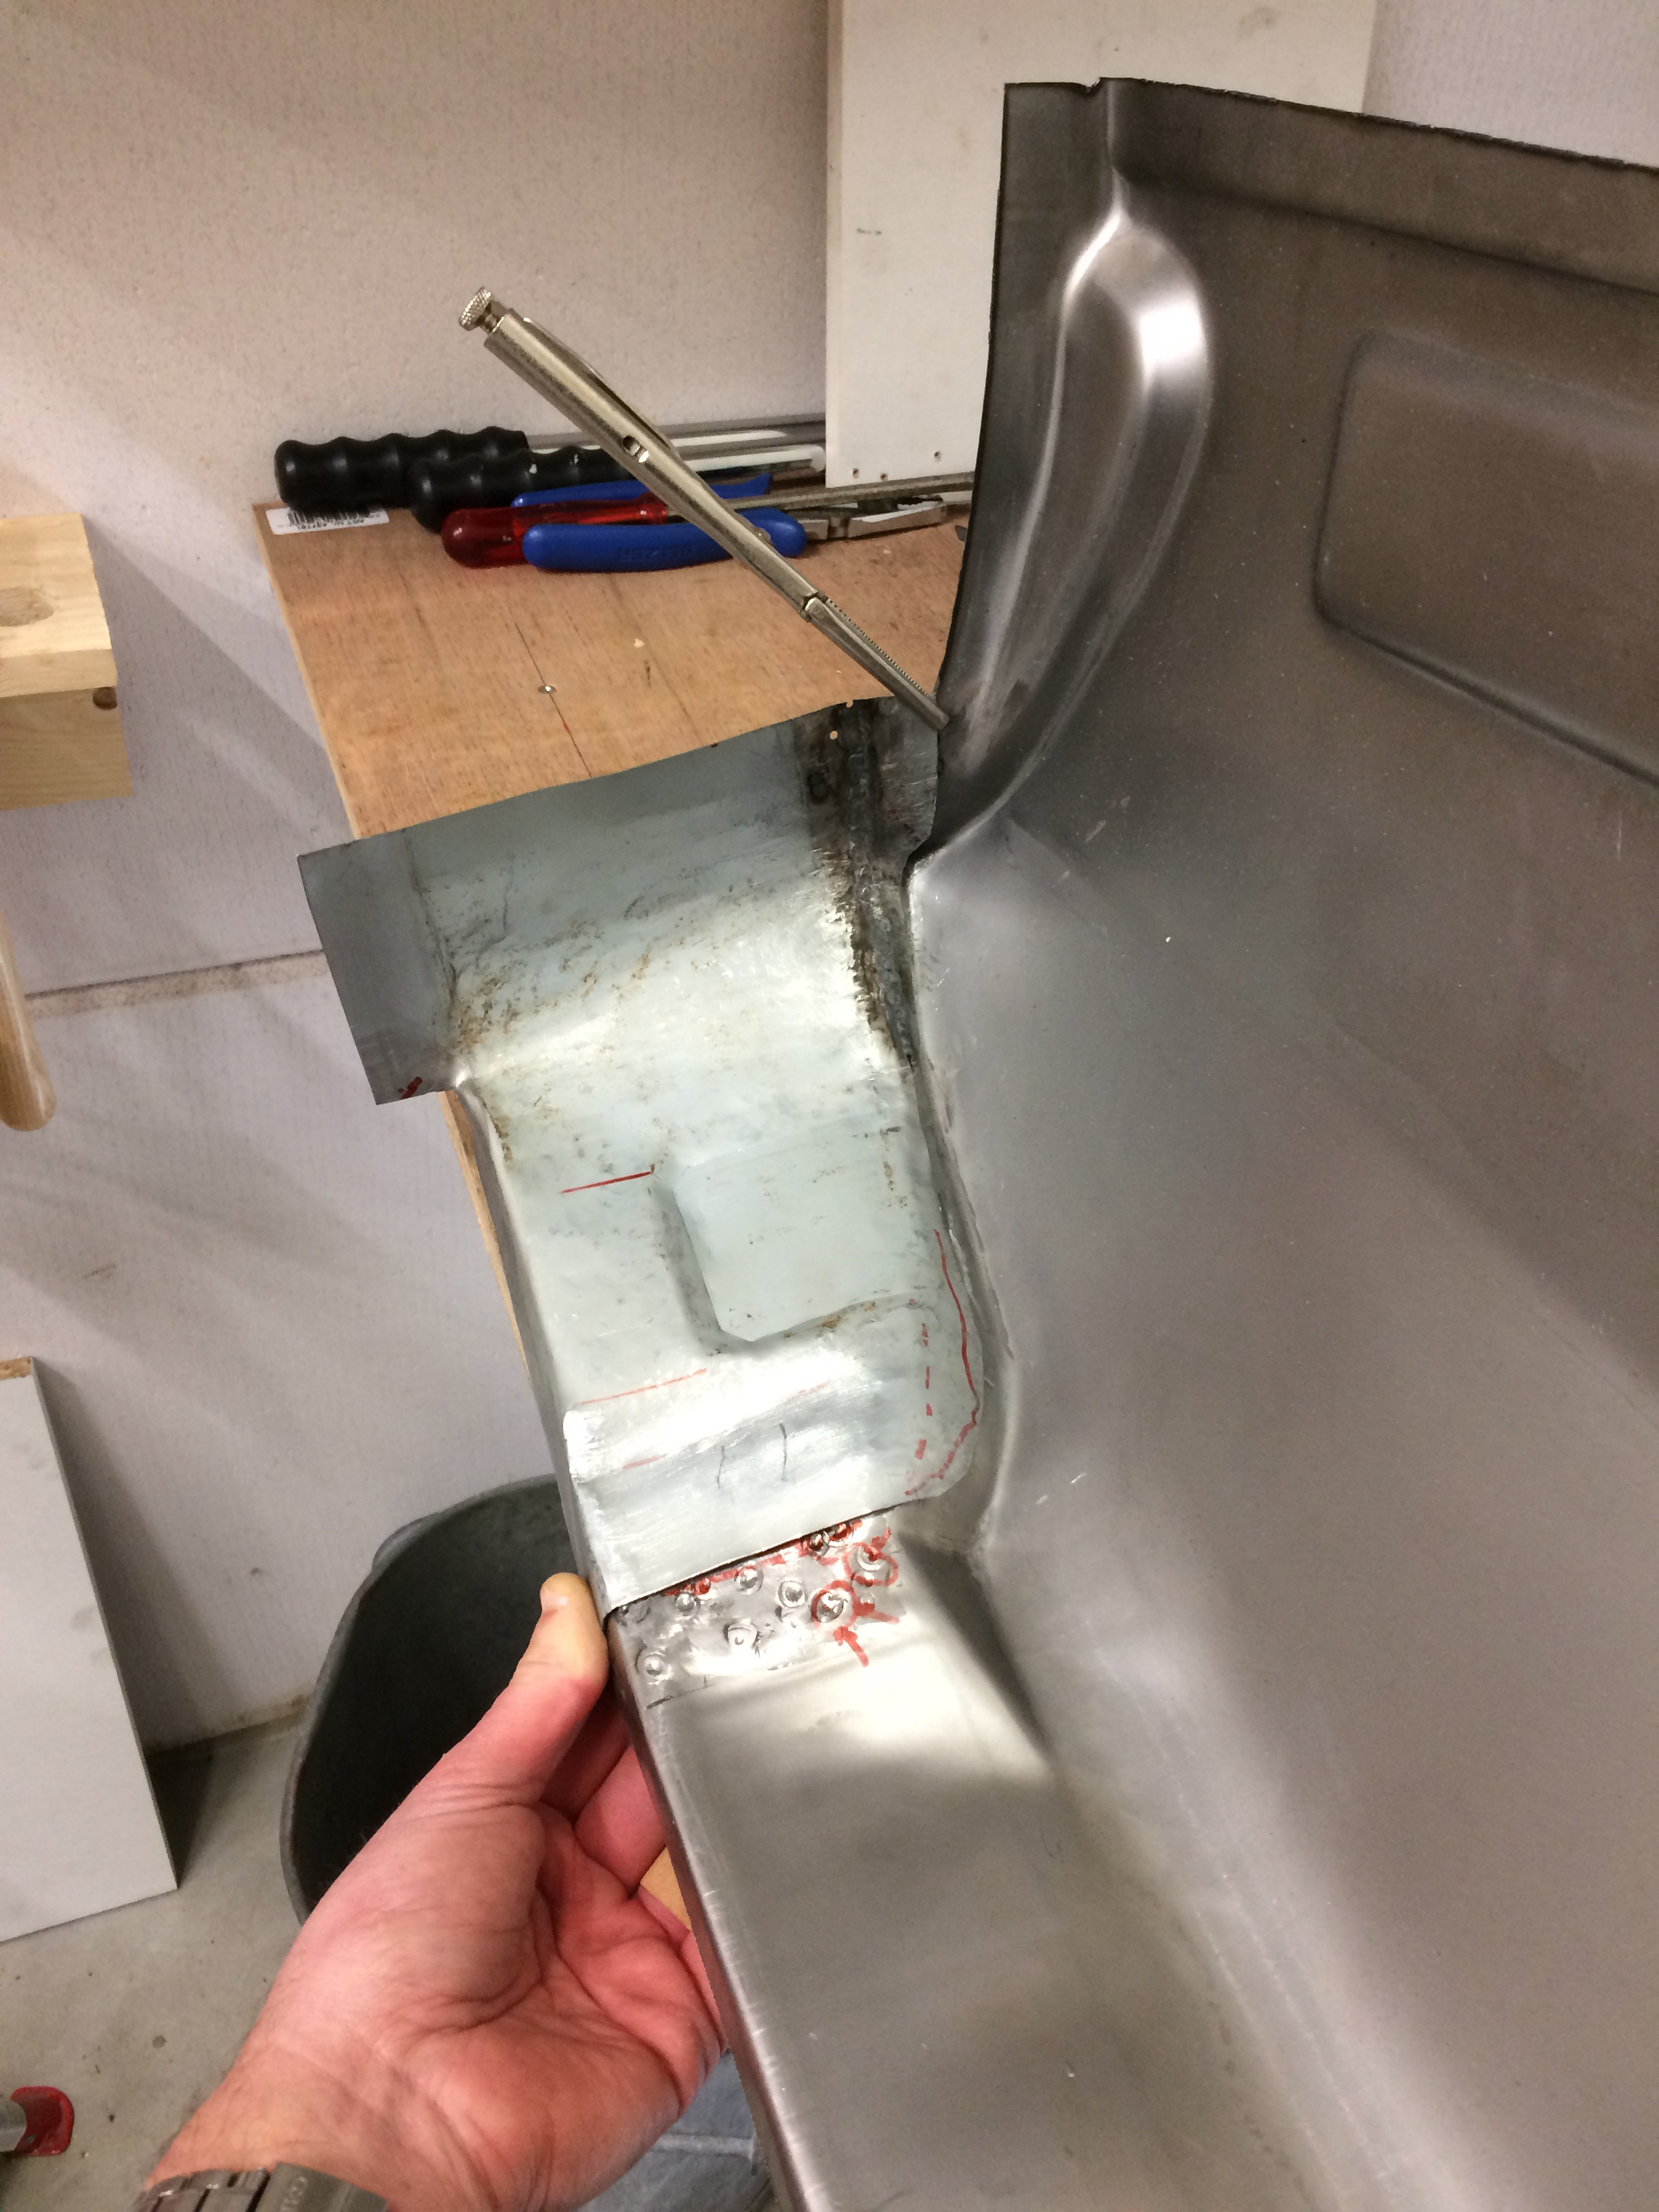
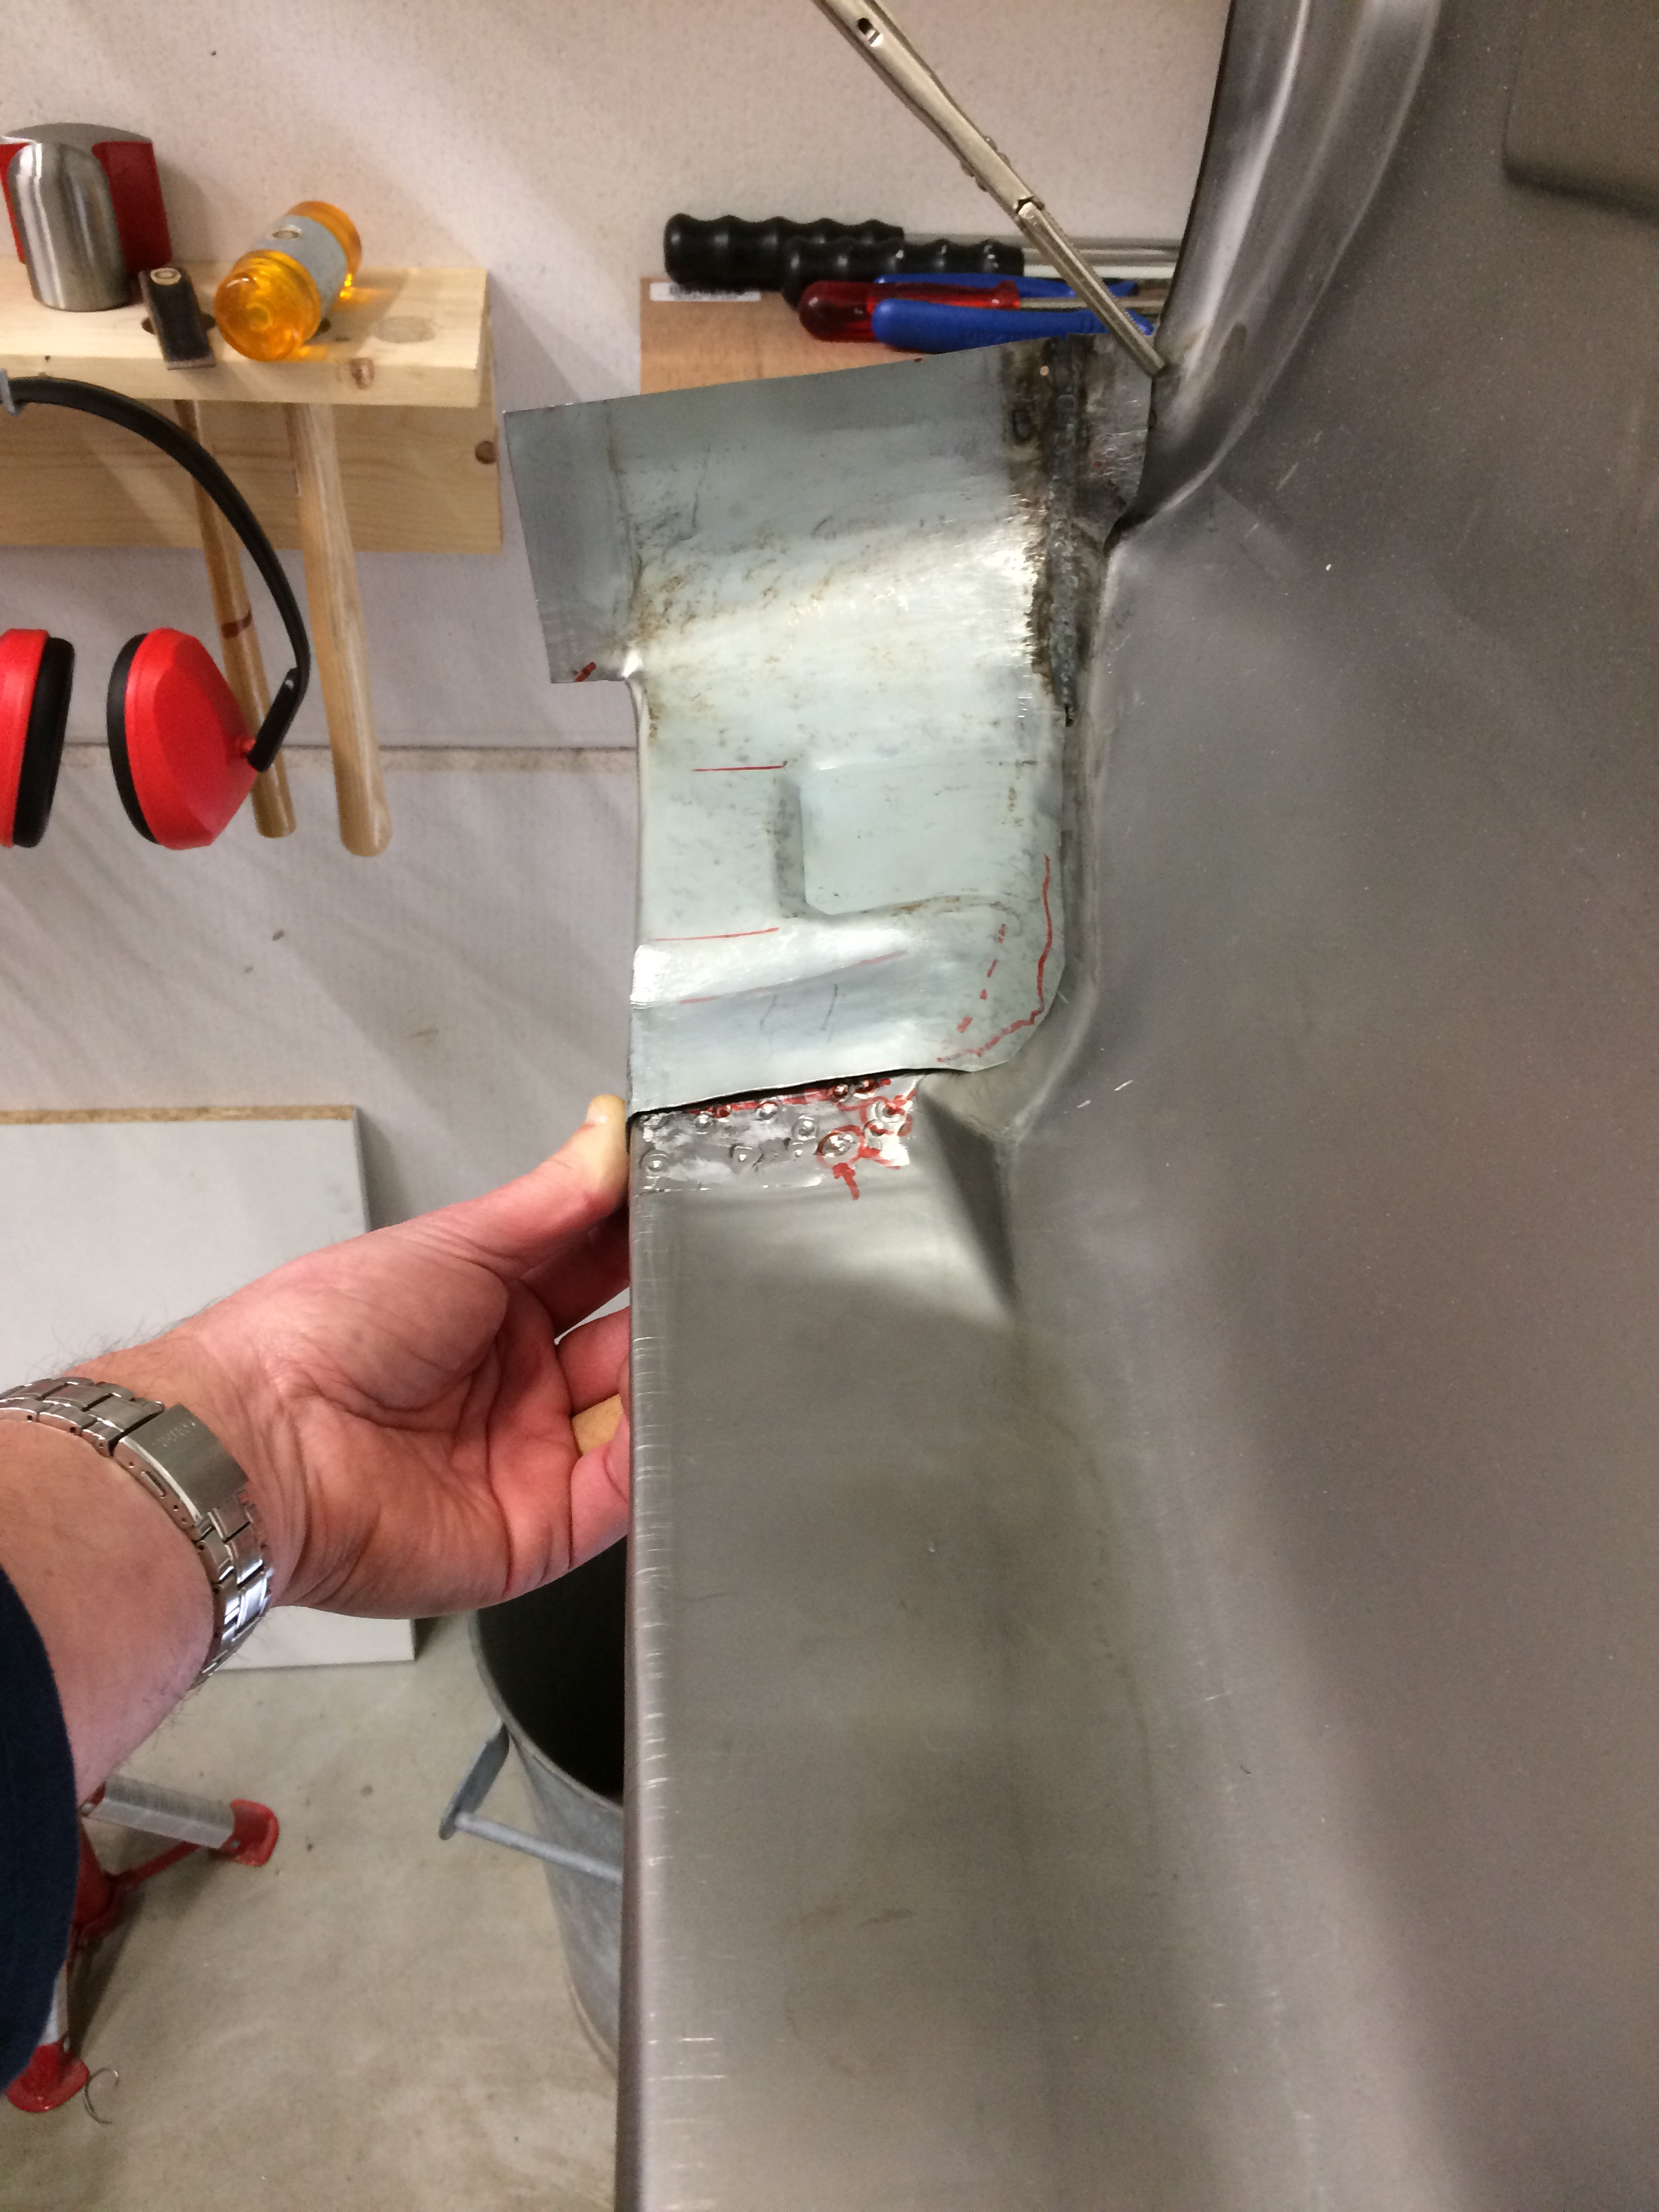
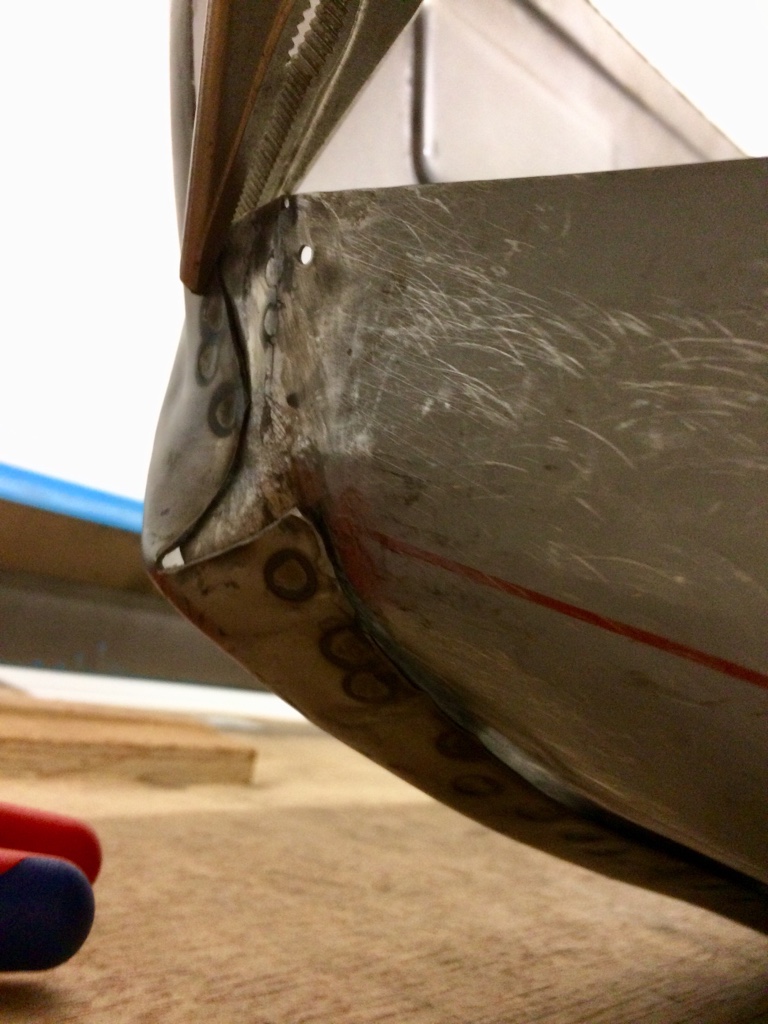
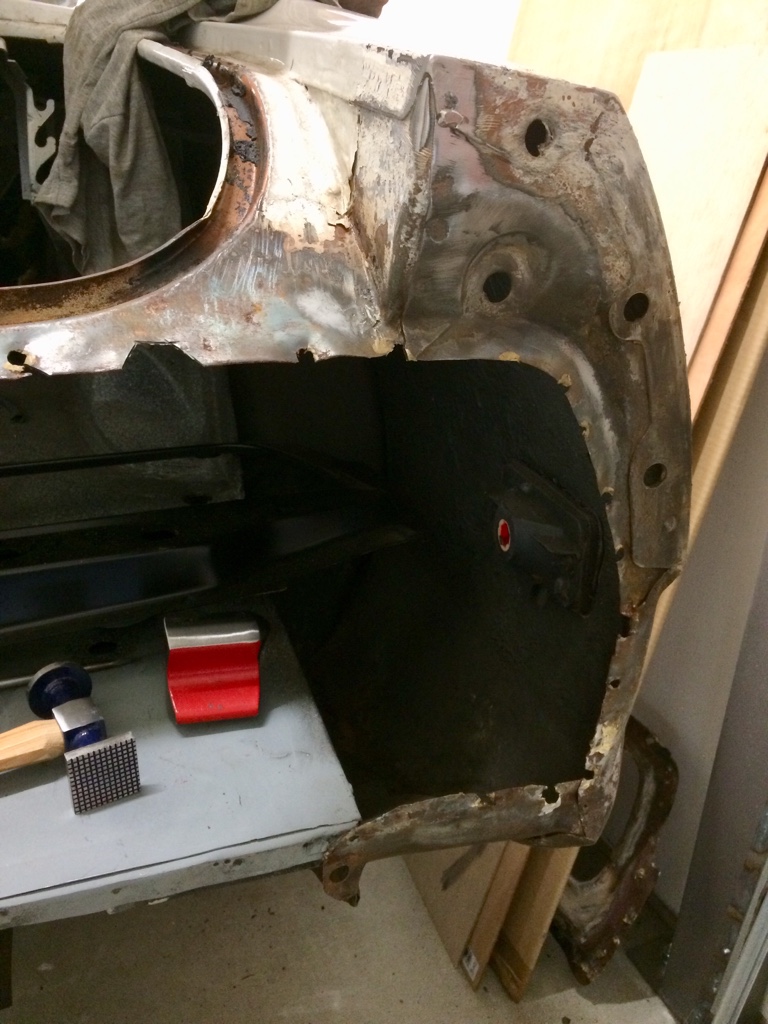
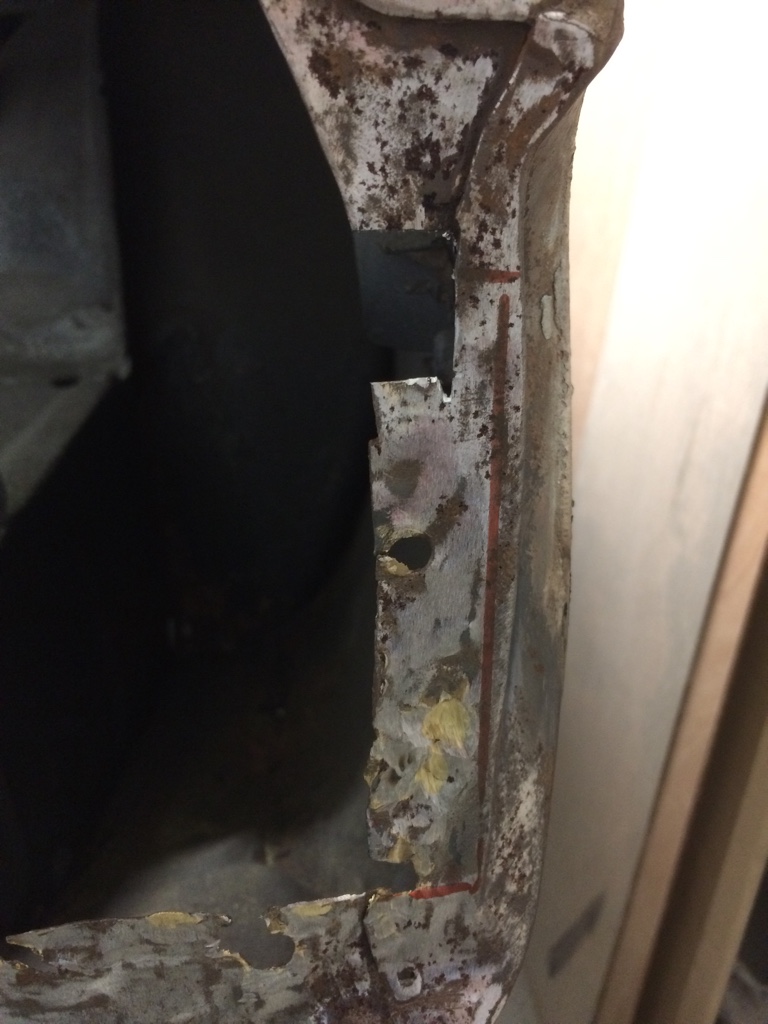
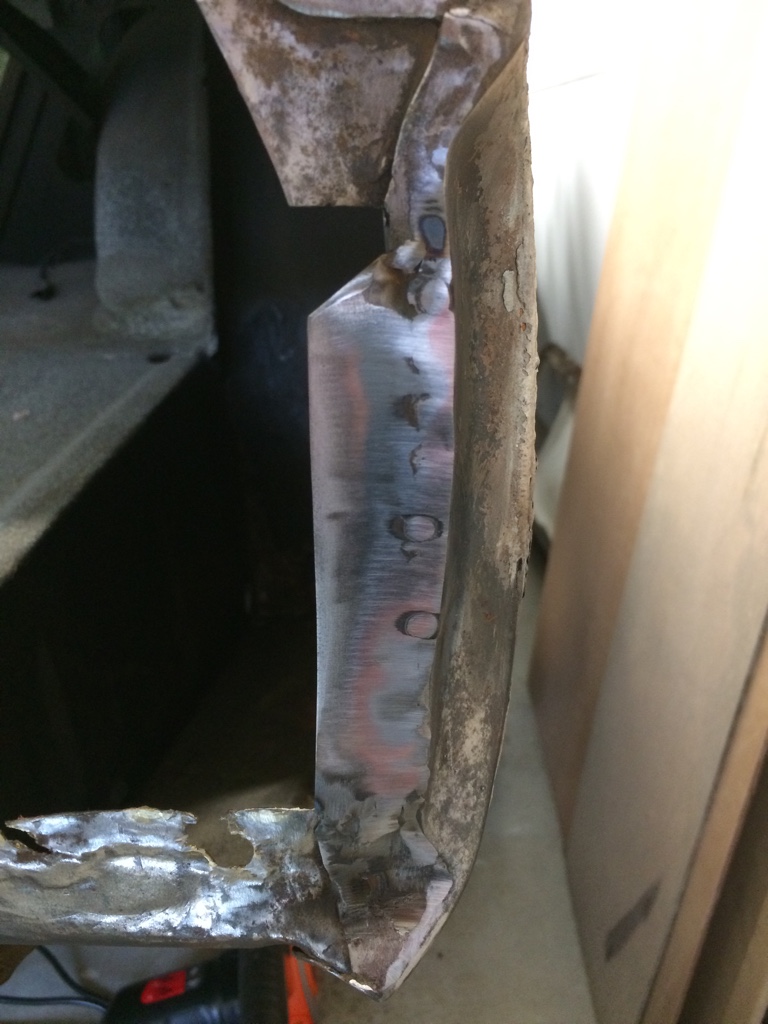
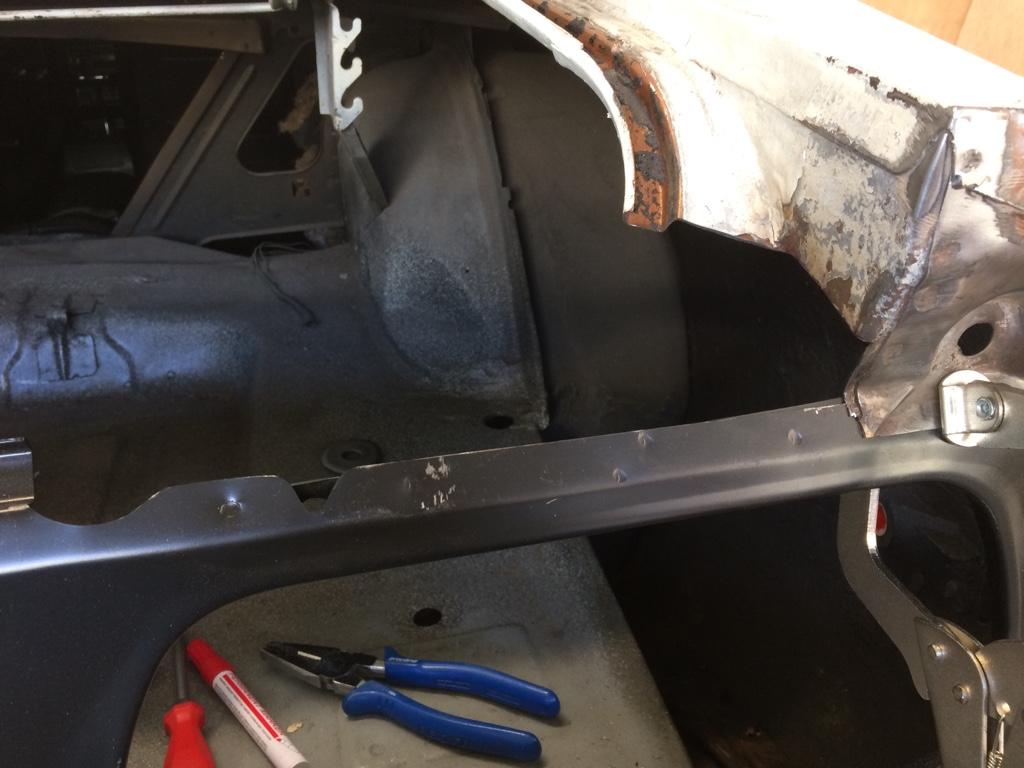
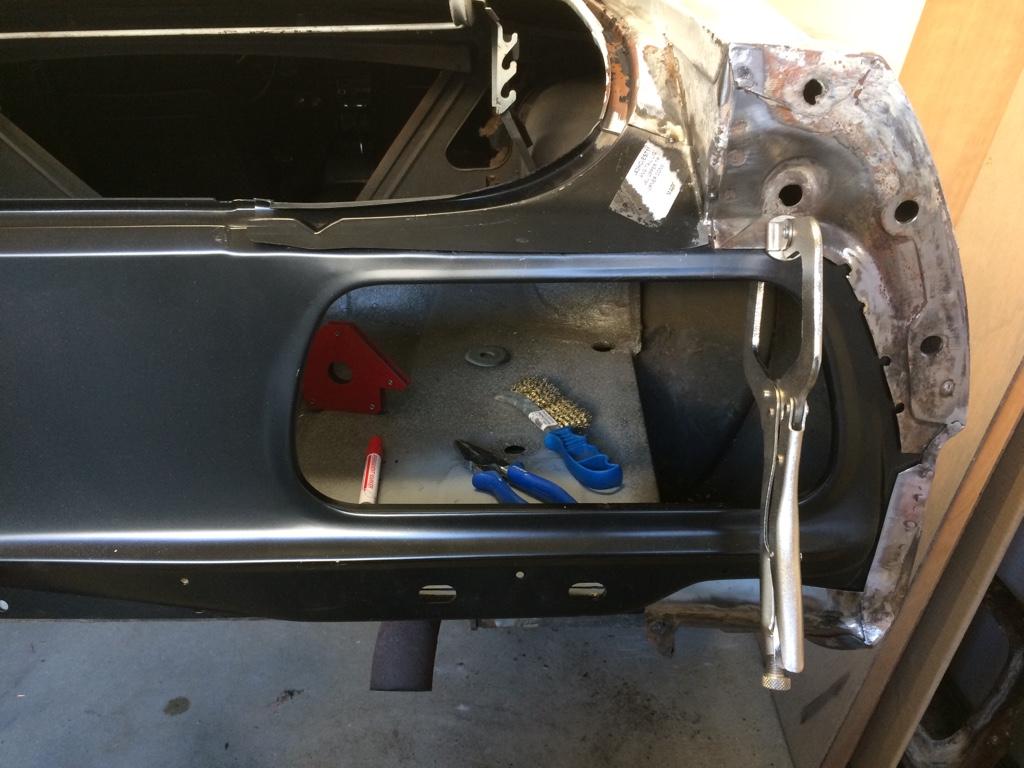
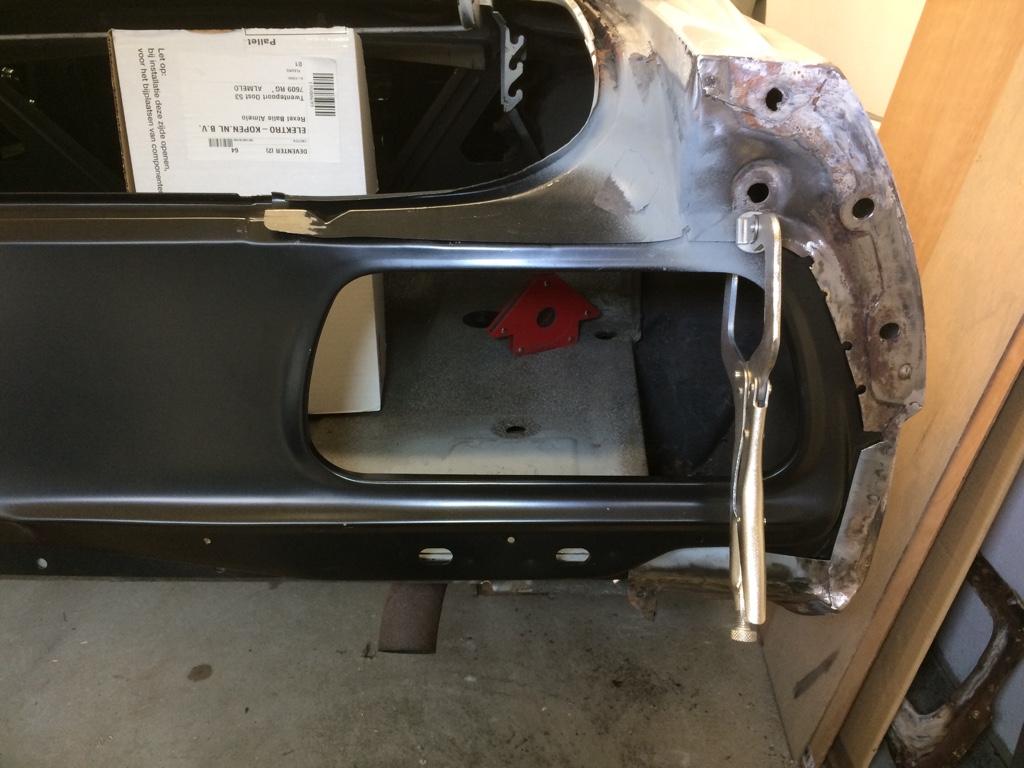
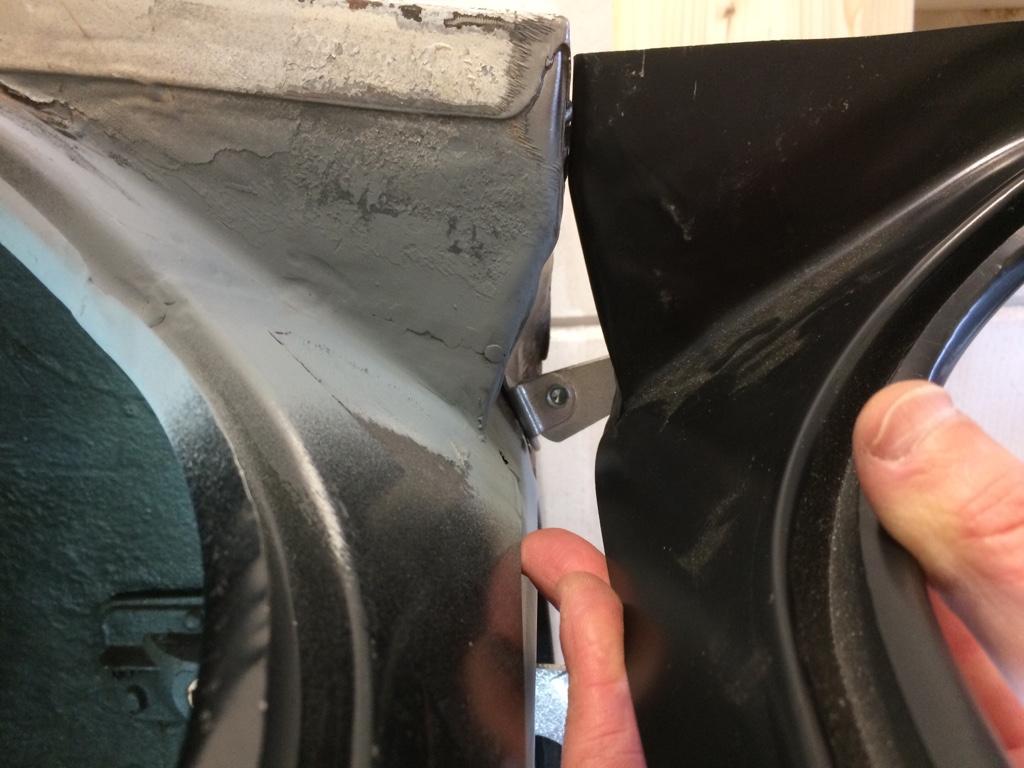
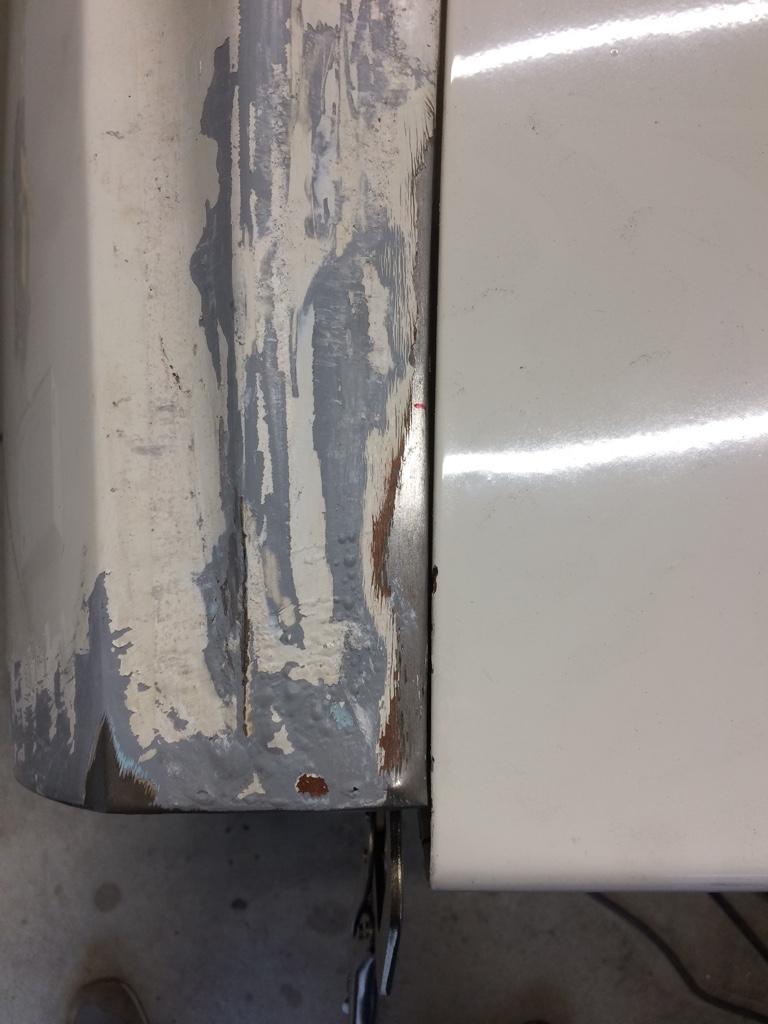
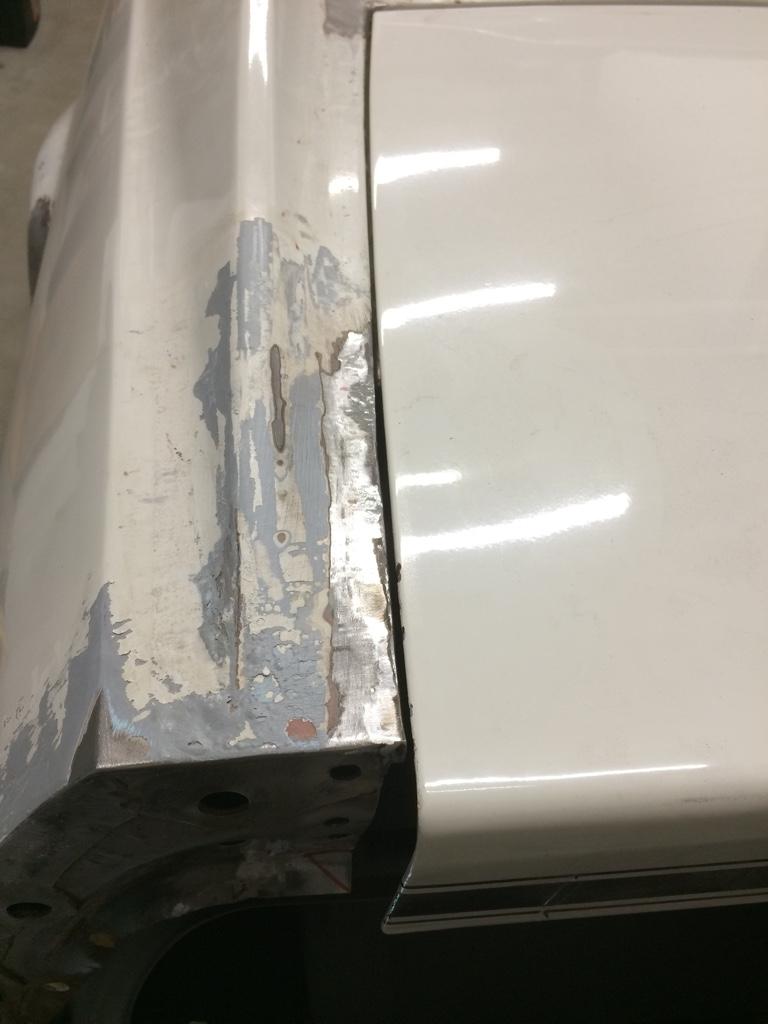
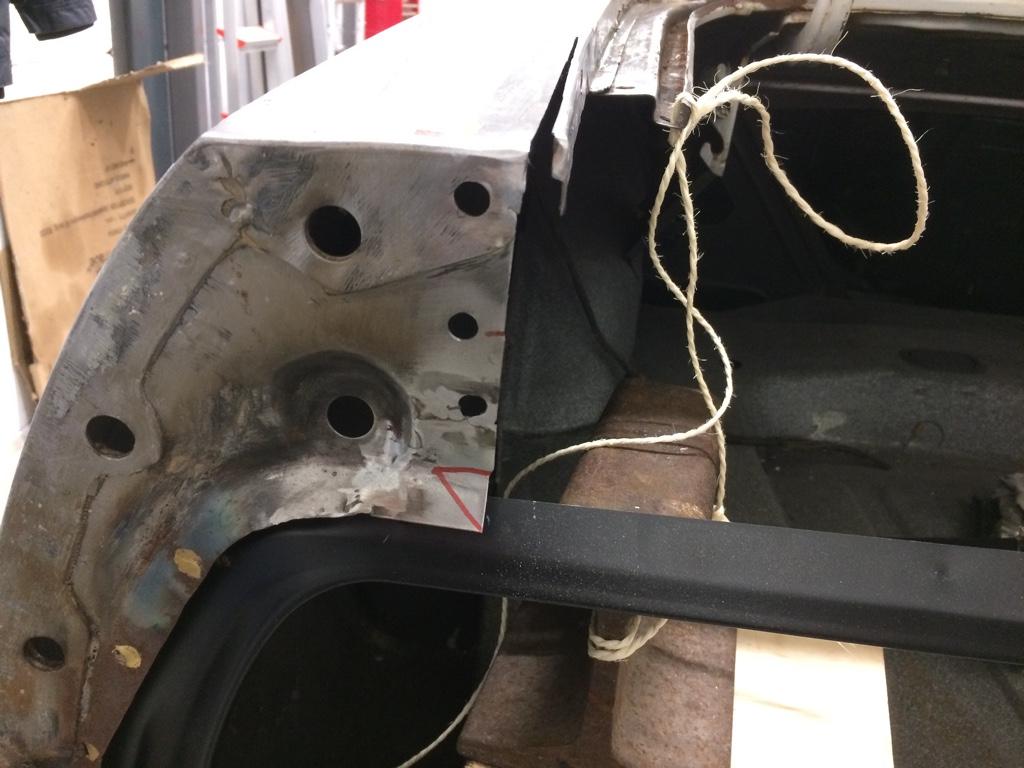
That was pretty bad. How about if you used the screwed up crooked piece, installed it straight and welded in a small piece to match to the rest of the panel. That way you won't have to try duplicating all of the complex bends.
")