SN71

7173Mustangs.com

Help Support 7173Mustangs.com:

This site may earn a commission from merchant affiliate links, including eBay, Amazon, and others.
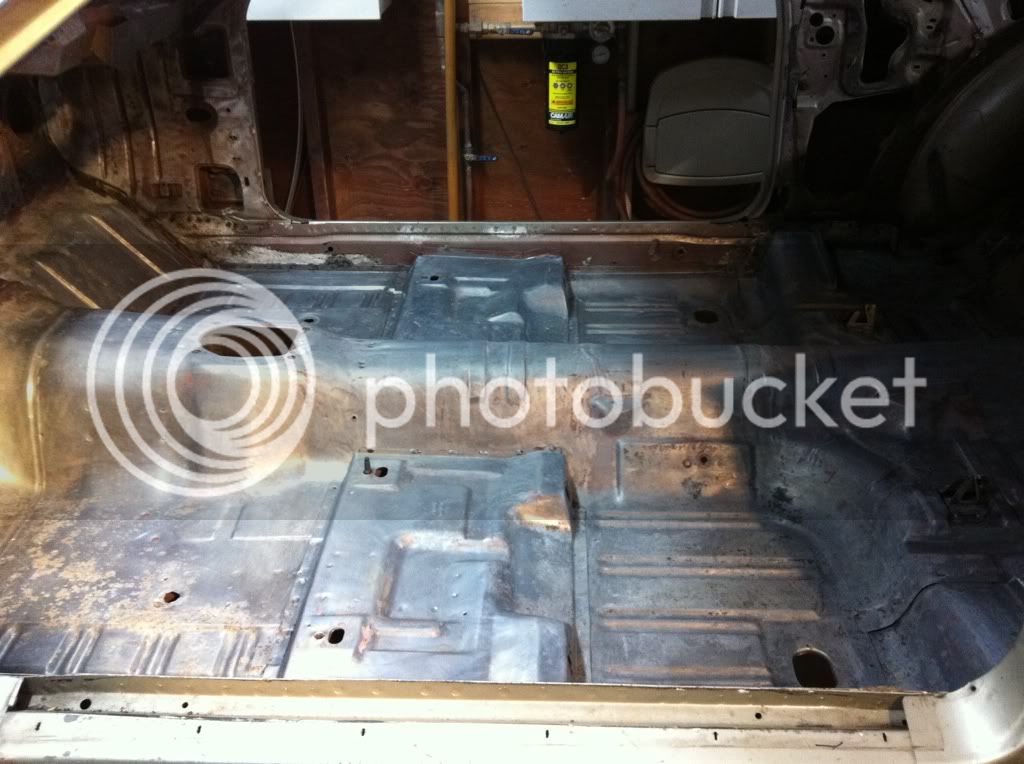
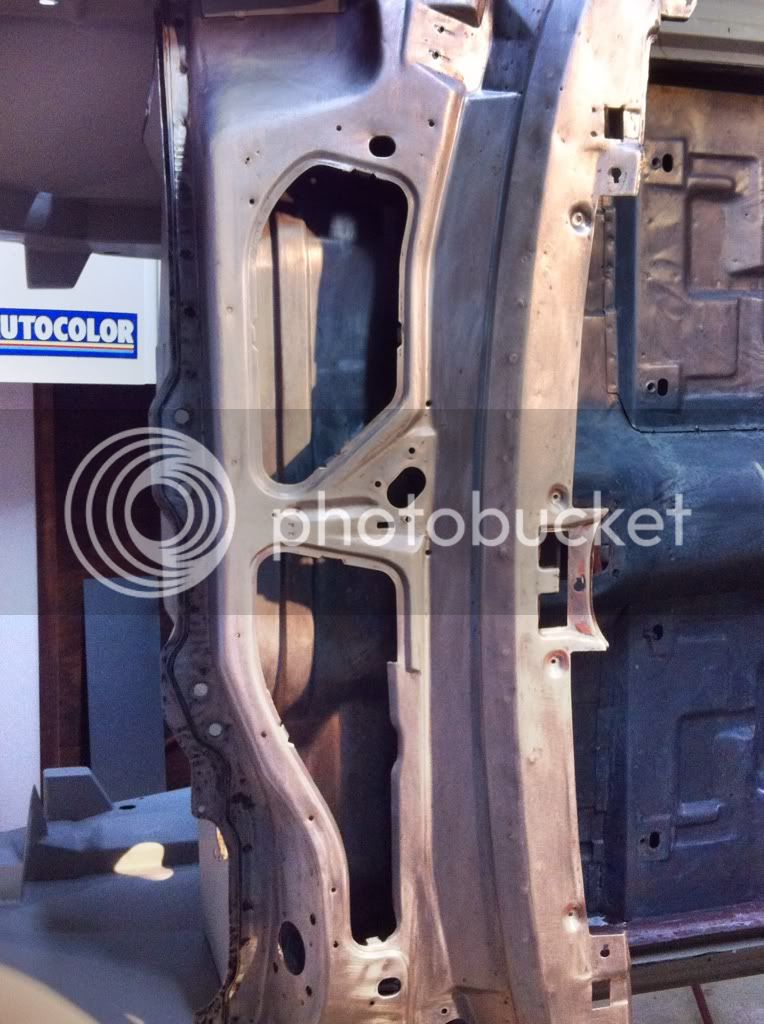
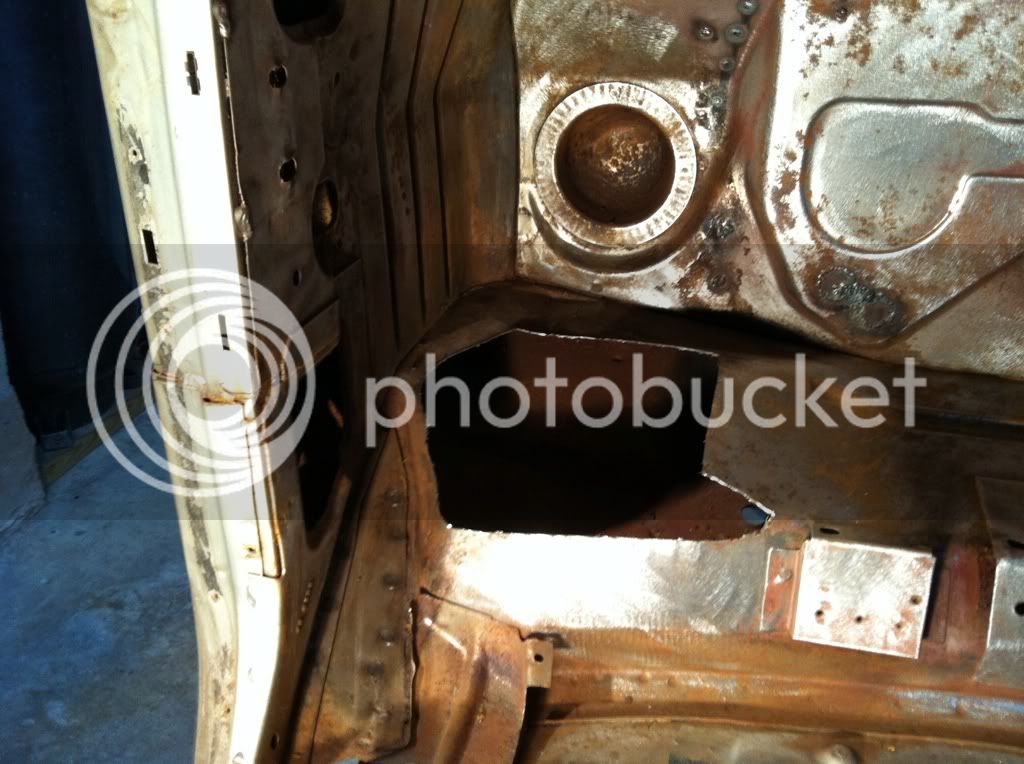
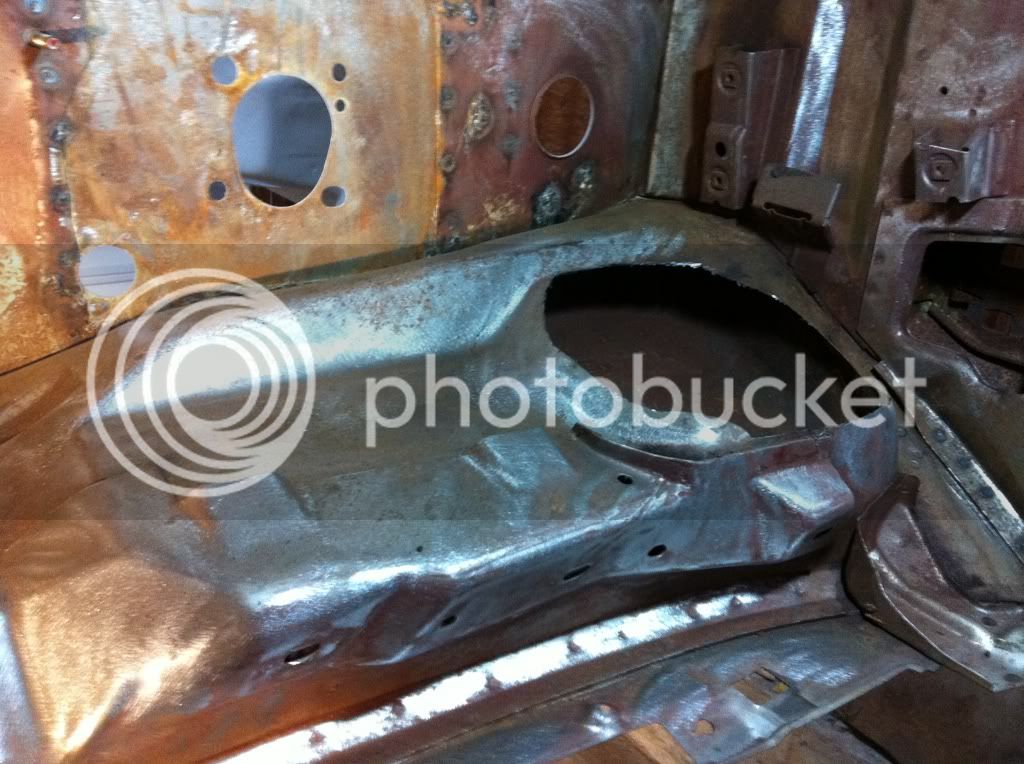
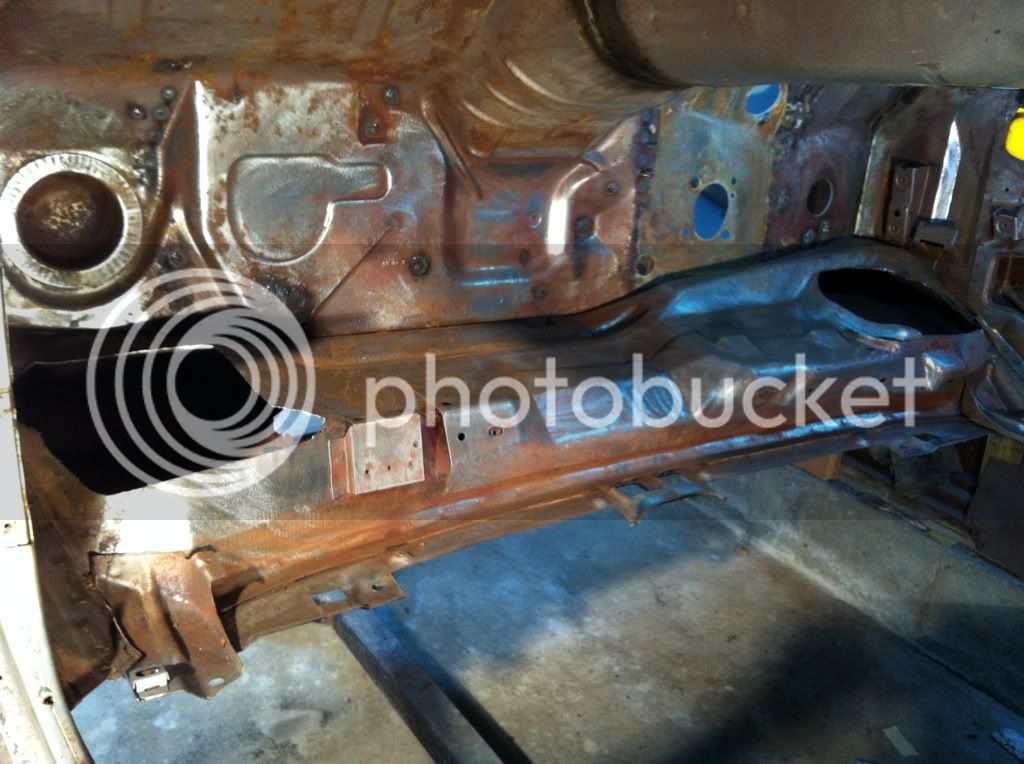
Started cleaning up the cowl last night. Got all the spray adhesive off, sanded it, and cut out the rot. Now I'm gonna clean up the sections I cut out, patch where needed and glue them back in with 3M's 8116 Panel Bonding Adhesive. I'm going the glue route here because esthetics is not critical, and I'm going to seam seal inside the cowl before I put the panels back on while I can get everywhere pretty easily. I don't want to melt the new seam sealer by welding around it. 8116 is used to glue full panels on like quarters, so I figure it'll be more than sufficiant for my needs. The stuff works awesome, I patched a crack in an aluminum oil pan on a VW Passat I had with it...about 20,000 miles ago and it's still holding strong with no issues. I know, because I sold it to my next door neighbor.

caaa253b.jpg


5145b02e.jpg


c9d0dc52.jpg


The cowl project will be coming up soon for me. I all ready cut the rust out and bought a parts car that had a solid cowl. Thats exactly how I'm going to install the panel is glue it with 3m 8116. I know all to well about back east cars hear is a pic of my 71 Grande that I built. I bought the car in 87 for 500.00 bucks. It took over 11k of 1987 money for New Milford autobody to fix all the rot and paint it. They did a great job. We used all ford parts. The only body parts that weren't replaced the doors and roof. The engine bay cowl and floors were ok. The hood and trunk are used from Mustangs unlimited. Mike

01 032.jpg

parts car doors 043.jpg

image0-2.jpg

 
Luckily the top of mine is good, I want to stop with the rot repar and move on with the fun stuff I have planned like shaving the drip rails and flush mounting the windshield. I got the patches for one side all fabricated and plan on working on the other side next week. Then I'll seam seal inside the cowl and then glue the pieces back on. I plan to use 3M's self leveling seam sealer so that I can put it in place and then spin the car around on the rotisserie to get it to seep into the seams real well.

4977782e.jpg


cf10f5a3.jpg


cd9b9f59.jpg


Both cowl patches are done and ready to be glued back in. I'm gonna hold off on gluing them in for now though because I want to prime and seam seal the inside of the cowl while I still have the big holes cut out. I probably won't be priming anything else until the spring at this point because it's getting pretty cold here in CT and bad things happen to automotive paint when it's too cold. So, I'll be putting the patches aside 'till then and moving on to other stuff. I think I'm going to tackle the drip rail shave next...stay tuned.

689dc88b.jpg


ebf30cef.jpg


I'm still stuck on the word glue. Never heard of such a thing but I bet my glue skills are better than my weld skills since I've been gluing stuff since before kindergarten. Lol

 
Lol! The stuff is awesome...I've glued full quarter panels on with it. For structural integrity and safety you need to still weld where the quarter meets the rear body panel and in the door jam. But everywhere else is ok to be glued. For the cowl patches it'll work out great because as I said, I'll prime and seem seal inside the cowl and around the intake holes on the patches I made, and them I won't have to worry about the seam sealer melting from welding when I put in the patches.

 
Most of you have probably already seen my thread on shaving my drip rails, but I thought I'd mention it here anyway to keep this thread up to date on where the project stands. For the sake of not posting the same pics all over the place, if you haven't seen the thread, check it out here: thread http://www.7173mustangs.com/thread-shaved-drip-rails

I'm possibly going to start the passenger side this weekend...

 
Drip rail shave is all done, started the mundane process of stripping the insides of the floor pans the other night...boring! But it's gotta get done right? I'm hoping to have this thing off the rotisserie by spring so I can start fiddling with body panel fitment, we'll see how it goes. My plan is to "re-design" my rotisserie into a dollie and use mounting points that will simulate the weight of the body on the suspension so I know the body panels will line up again correctly during final assembly.

Stay tuned...

 
Inside floors pretty much done. I'll touch them up a little when it comes time to prime them in the spring. Also got all the undercoating stripped from the rear wheelhouses, and cut out the factory rear shock crossmember...slowly but surely :)

Next I plan to clean up the IRS brackets because it wasn't on the rotisserie when I made them so they're a bit crude, and strip the rest of the underside.

46180460.jpg


32c0c3d0.jpg


772e0e9e.jpg


Still just too damn cold in my garage!!! Every time I convince myself that "tonight I'm gonna work on my car" I blow it off in exchange for staying warm inside. I'm itchin' bad to get some more done though so it might be time to just layer up and deal with it!

 
Still just too damn cold in my garage!!! Every time I convince myself that "tonight I'm gonna work on my car" I blow it off in exchange for staying warm inside. I'm itchin' bad to get some more done though so it might be time to just layer up and deal with it!
Dude,

Break down & get one of these

http://www.amazon.com/Mr-Heater-Propane-Convection-MH80CV/dp/B0000C6E2Z

I have one of these in the saturday morning garage..WORKS GREAT..once we knock the chill off I then use this

http://www.mrheater.com/product.aspx?catid=41&id=116

Which also works great !

 
Ok, finally back on this thing and I don't plan on stopping till its cold again, so I'll be updating this thread much more frequently. :) here's a few shots of the cowl as I finish stripping it to get ready to prime it inside & out, seam seal, and glue in my patches. Next up, subframe connectors and get it off the rotisserie. :D

5fe3a2cf-1.jpg


c20f9c08.jpg


Stay tuned...

 
Last edited by a moderator:
Lol! Nah...I've got other threads for that. Now I'll be focusing on the real thing more, although I do plan on making my rendering into a fastback and 'vert with a detailed interior, but I'll save that for my other threads ;)

 
Back
Top