Wolverine
As much I enjoy working on this car, ( it is far easier than some of the projects I have undertaken) , I prefer to not keep pulling the motor.
The rod picture, I was hoping they ground it for balance but wanted a second opinion,thanks. Also I think I heard some where it is not good practice to put stampings on the main flat on the cap. Can you correct me on this? They should be stamped as done by the factory, number on the side before the rod is final honed. However, I've seen lots of punch marked rods in use with no problem.
After hearing a brief story from the owner I purchased it from , it seems a 16 yo drove the car for about a month prior to its shipment to Florida.
So I would assume the valve spring broke during his exploits around the desert. So to answer your question " broke because it was bad, or over worked, or over played? ", I would say all of the above.

Just an opinion, the failure was caused by over revving and "floating the valves". Many valve train problems by using a spring that is too weak than one that is too strong.
I have peeked into the cylinders through the spark plug holes and can see lots of carbon on the pistons and a cross hatch pattern on the walls. But all looks well to my untrained eye. A thin layer of carbon is normal and being able to still see the cross hatch clearly is a good sign as long as the roughness average and cross hatch angle is compatible with the ring set used.
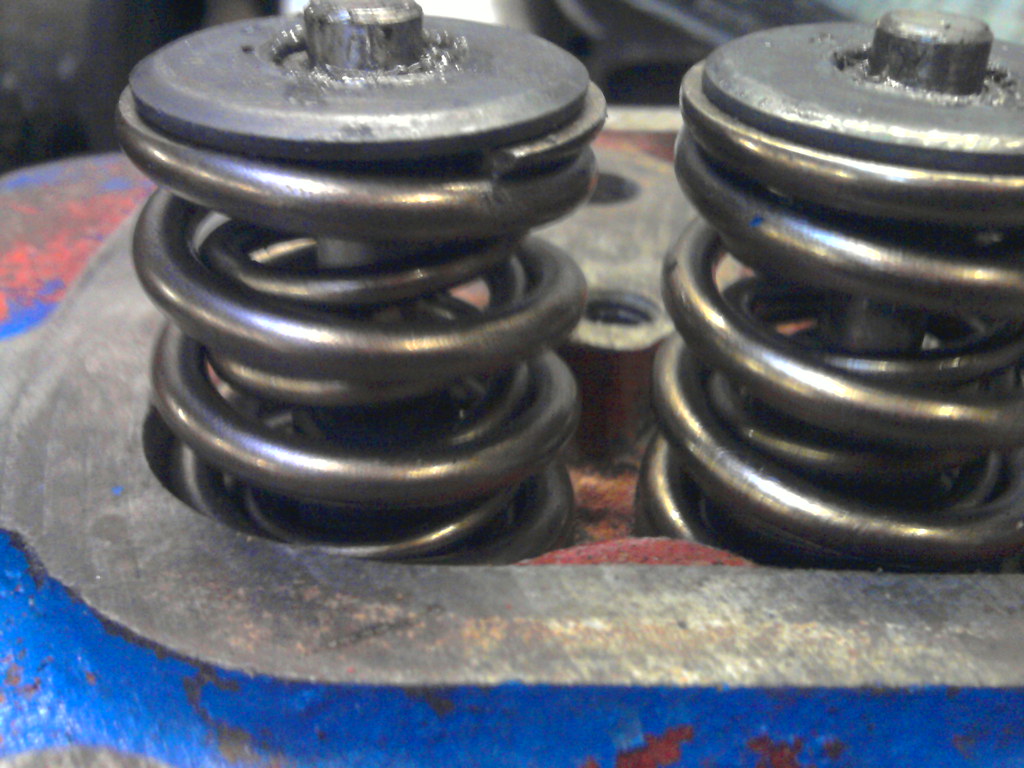
So how hard is it to break a valve spring?
I know high rpms will do it but, would it take ( to use time as a measurement) 5 minutes of full throttle to do it? Or an hour ? I know it is a open ended question but I am trying to decide if I should do the springs or the whole rebuild. I didn't plan a rebuild in the budget. If I do just the springs I will do them all. You could do a leak down check to get a read on how well the rings and valves are sealing (requires a leak down tester and an air compressor). And pull a couple of rod caps and a main cap to check bearing condition. If all looks good, re-torque every thing to specifications. It would be good if you could find out the specs for the cam so appropriate springs can be selected. New valve guide seals are cheap and it may be a good idea to change them "while you are there". Make note of the location of any shims you find under the individual springs and check/correct installed spring heights per the manufacturer's specification.
I know it sounds like a lot but, given what you've already done yo can handle it. Chuck
Jeff