What did you do to your car today?

7173Mustangs.com

Help Support 7173Mustangs.com:

This site may earn a commission from merchant affiliate links, including eBay, Amazon, and others.
I removed my front sway bar and got the strut rods installed on my Street or Track coil over conversion.

 
Took my car out for it's weekend spin today. Parked it up in town and 4 people seperately came up to me ask if they could take photos of it. Then as I drove into the supermarket people were videoing it. Amazing how much attention it gets, it's really not for the shy.
Maybe coz we see 7123's on here all day long we forget but I reckon our 'stangs are a pretty rare sight really. Everybody knows the 64-69 and there are so many of those around still.

I do enjoy people looking at my car I must honestly admit. And your 'stang is definately very nice to look at! :)

 
Yes, they're rare but people seem to instantly know it's a Mustang. When I have the window down stationary at traffic lights in town I can hear them all saying look at that Mustang / it's a Mustang etc.

There seems to be a lot of love / admiration for our cars these days and the older generation who said 71-73s were to big are probably pushing up the daisy's now.

 
Last edited by a moderator:
Well, I guess I technically haven't "done" anything to the coupe today, but I did just order a new PMGR starter, Optima Red Top, and accelerator pump seal. I'm super stoked to get the ol' girl running again in the next week!

 
so pretty!

I feel like i am looking at porn!
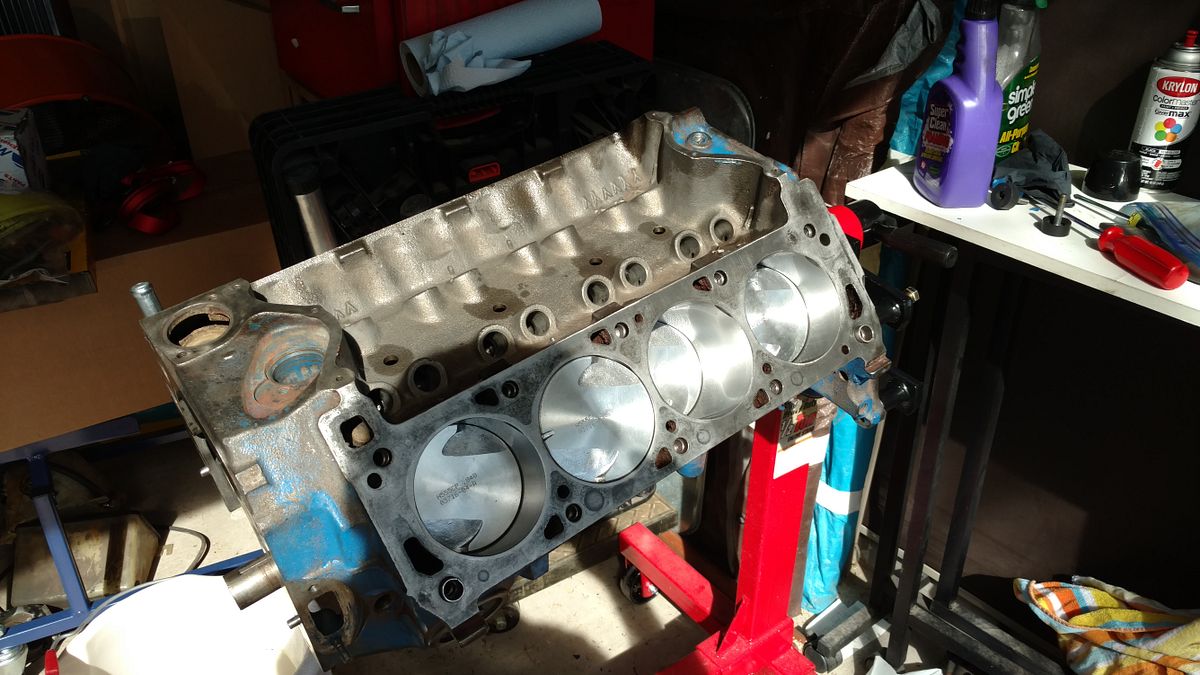
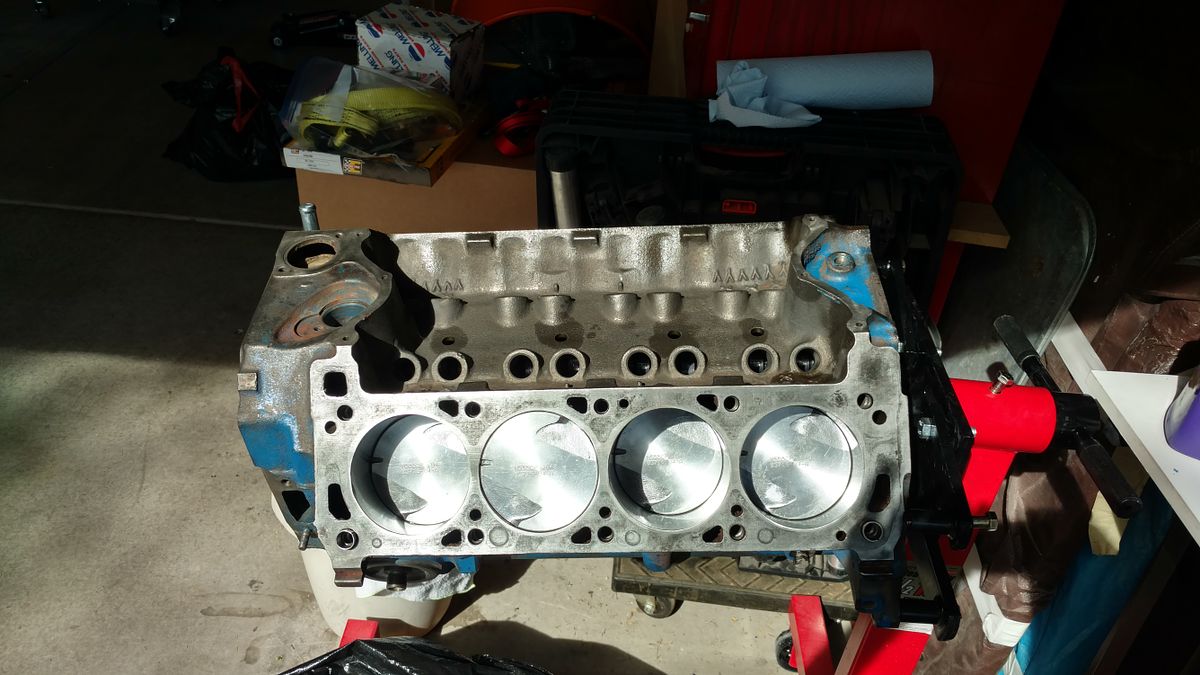
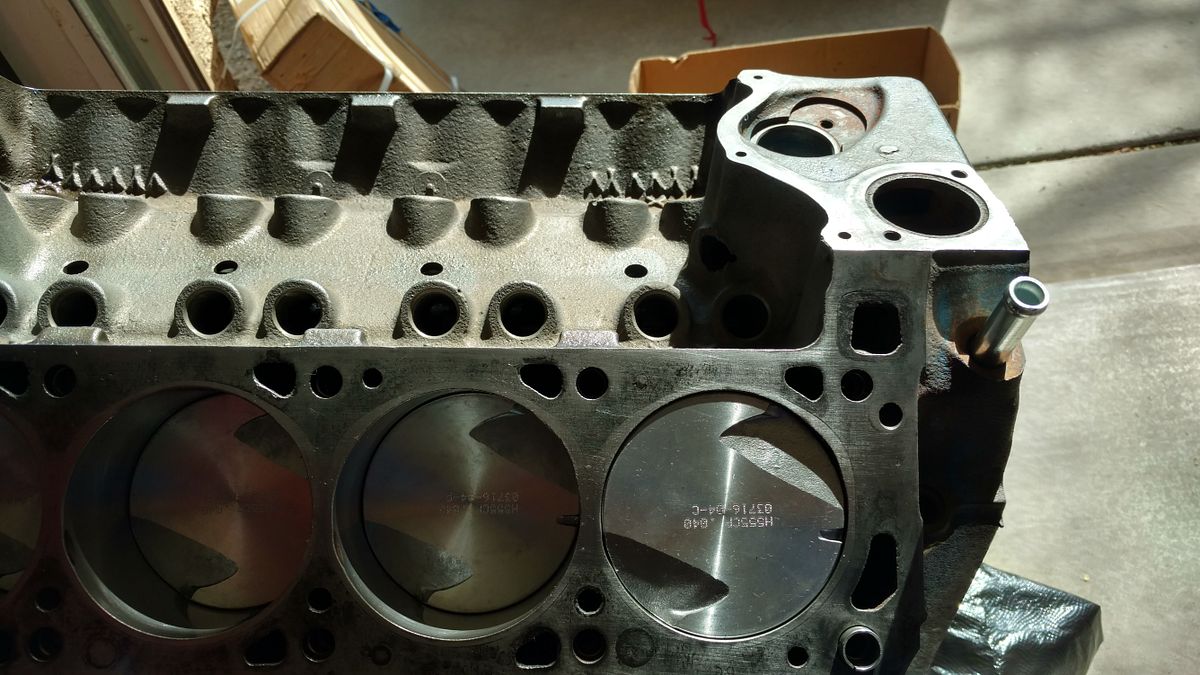
I will get some better pics for you later. Got the roller rockers, timing set and some other items this past week. Unfortunately I can't assemble my engine in the house so I will be doing so in the garage. (glad I got a heater!)

 
Last edited by a moderator:
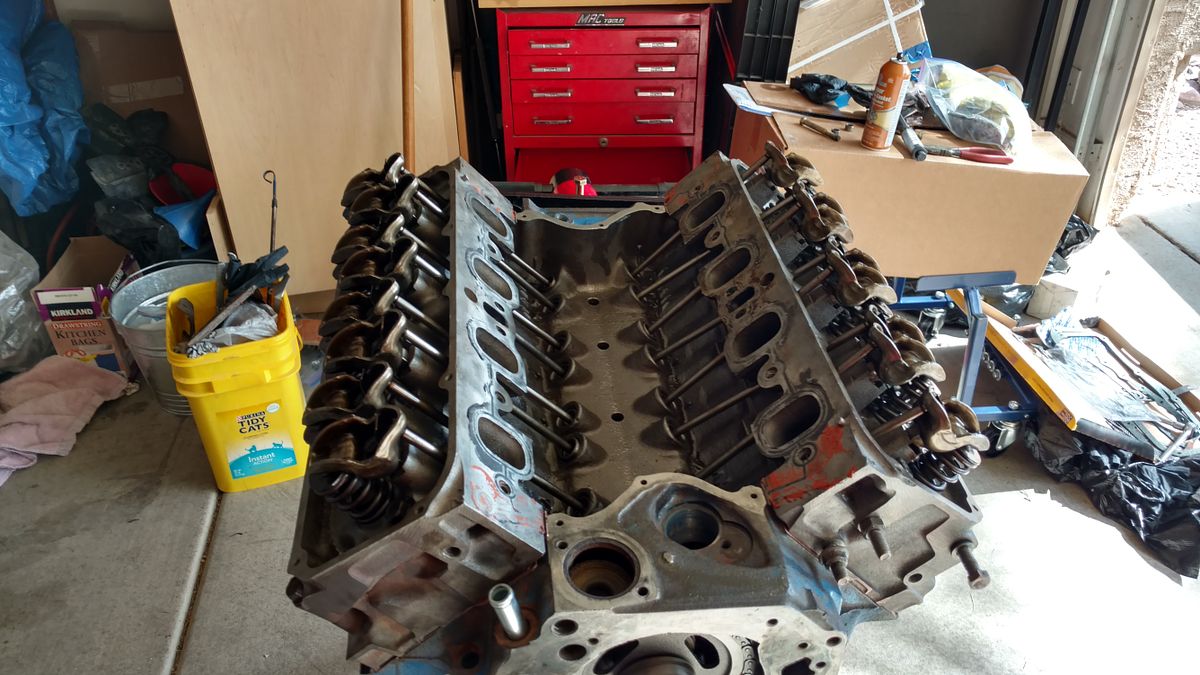
Got the heads on the block today. Just need to adjust the rockers.

I used the Permatex Copper Spray-a-GAsket Hi-Temp Sealant on the head gaskets.

What head gaskets did you use? I got a set of Fel-Pro 1013 and they state that no additional sealant should be used.

 
I used Engine Pro for the heads.

Got the heads on the block today. Just need to adjust the rockers.

I used the Permatex Copper Spray-a-GAsket Hi-Temp Sealant on the head gaskets.

What head gaskets did you use? I got a set of Fel-Pro 1013 and they state that no additional sealant should be used.
 
Today I decided to pull the dashboard apart to replaced the clock in the dashboard with a tachometer conversion from RCCI, replace the bulbs with LEDs, connect the speedometer cable, and swap the center gauge ammeter with a voltmeter (and replace those lights with LEDs as well). Lots of fun!

Last look at the factory clock/speedometer cluster. Nothing currently works here except the fuel gauge, turn signal indicators, high-beam light, and the cool aesthetics of a '71-'73 Mustang dashboard.

dashrehab1.jpg

Here we are after getting everything taken apart.

dashrehab2.jpg

Like a bonehead though, I didn't disconnect the battery before I started... so the constant power to the clock terminal grounded against the dashboard for a few seconds and smoked the run on the printed circuit itself. :shootself:

I caught it in time before anything really bad happened (tested the circuits across the board with an ohmmeter, and everything still checks out), but now I'm just wondering if I shouldn't just get a new PCB anyway. There was already some separation of the plastic laminate on a few edges, but I'm thinking I can just seal and reinsulate... maybe. I'm thinking of just getting a new cluster voltage regulator, and I need a couple of new dash light sockets for the 3-gauge cluster anyway (since they obviously got hot, and the redneck previous owners just super-glued the damaged bulb sockets back on).

I put the car back in the garage for the time being, and am now starting on swapping the clock for the RCCI tach, and performaing the voltmeter conversion using a Bosch voltmeter. http://www.7173mustangs.com/thread-amps-to-volts-bolt-in-gauge

I'm hoping to have everything back together in time for a Veteran's Day parade on Nov. 11th. Shouldn't be a big deal to meet that goal.

 
I had two orders from my best customer (35 orders in 8 years!) for 1973 headlight, tail-light, and underdash harnesses: one standard dash and the other tach dash. That took up all of my time Saturday and Sunday. I've jet to come across a 1973 with two good original sportslamps...had to replace 3 of the four.

Saturday, I heard what sounded like a car crash, then screeching tires, followed by the lights flickering, going on, and came back on after a few seconds. Went outside to see what was going on, and found an SUV in a ditch on its side with a towed boat upside down and a power pole broken at the base and wires nearly reaching the ground. A one car accident: the boat apparently was swerving side to side and then hit a brick mailbox; the SUV crossed the road, into the ditch, hit the pole, spun 180* and went on its side. The driver was uninjured. About an hour later, the power went out as the repair crew arrived and didn't come back on until 4 hours later. After 3 hours, I got out the generator, and tried to start the damn thing and it wouldn't catch. It was well past dusk, and I was sweating like a pig. I finally got a flashlight out and saw a little switch that said "On/Off". Once the switch was on, it started right up. Of course, 20 minutes later, the power came back for good.

 
OK - so, I ordered a new PCB and hopefully it'll be here by Friday.

Now the question I have is: does anybody have any ideas on how to score a couple of the dash light sockets for the 3-gauge center cluster harness? The conductors themselves seem to be OK, but the plastic tabs that hold them into the gauge housing are messed up on mine.

Here is a picture of the harness I found (belonging to one of the guys on our site), with the light sockets holding what looks to be blue LEDs.

Gauge%20wiring%20harness.jpg


I know I've asked this question before, but but the answer referred to the sockets for the back of the instrument cluster itself - I'm still looking for the two wired sockets for the center gauge cluster.

I'll be checking the 'HELP!' section at O'Reilly Auto Parts this evening on the way home from work.
Eric, what PCB did you order ?

As far as I remember they don't make one for the clock dash unit

Don

 
The non-tach (warning light gauge) PCB appears to be the same as the clock PCB, according to this illustration:

attachment.php


I also visually checked the illustration against my clock cluster and verified the same. The diagram is correct in calling out the 'empty' light sockets on the clock cluster - mine has nothing in those locations.

BTW - the circuit that fried is the open pin next to the #6 pin on the connector (to the right), which traces all the way across to the bottom eyelet in the middle of the warning gauge indicator side (the one almost directly above the bottom light socket). Those open eyelets have the power & ground for the clock poked through and bolted down. It only touched the metal dash for about 5 or 6 seconds, but that's all it needed. It smoked the plastic, but the run kept its integrity - I ohmed it out all the way across and despite getting cooked, it still seems fine. Not taking any chances, though. Plus, the plastic layers were separating (peeling apart) in the area above the main harness connector.

 
OK - so, I ordered a new PCB and hopefully it'll be here by Friday.

Now the question I have is: does anybody have any ideas on how to score a couple of the dash light sockets for the 3-gauge center cluster harness? The conductors themselves seem to be OK, but the plastic tabs that hold them into the gauge housing are messed up on mine.

Here is a picture of the harness I found (belonging to one of the guys on our site), with the light sockets holding what looks to be blue LEDs.

Gauge%20wiring%20harness.jpg


I know I've asked this question before, but but the answer referred to the sockets for the back of the instrument cluster itself - I'm still looking for the two wired sockets for the center gauge cluster.

I'll be checking the 'HELP!' section at O'Reilly Auto Parts this evening on the way home from work.
I've spent 2-3 years searching high and low for these sockets and haven't found them yet. When manufacturing my 3 gauge cluster harnesses or repairing them, I switch out to 2-wire push-in sockets which will stay in the cluster. This changes the bulbs from 194's to 1895s, but they are the same in terms of lumens.

If anyone has a source for these sockets, please let me know!

 
Back
Top