- Joined
- Jan 17, 2015
- Messages
- 1,856
- Reaction score
- 697
- Location
- California
- My Car
- 71' Grande project.
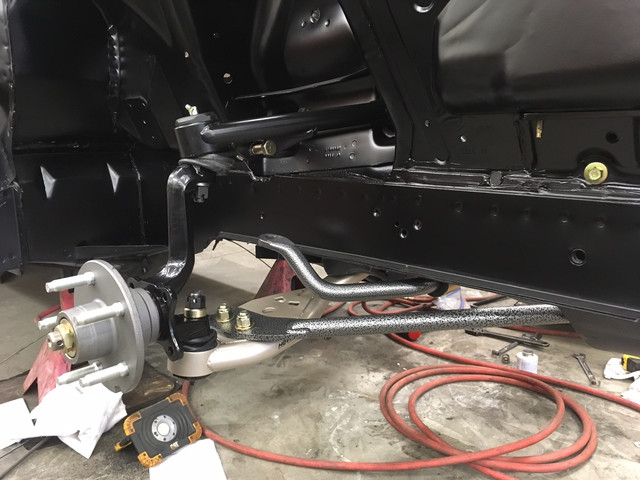
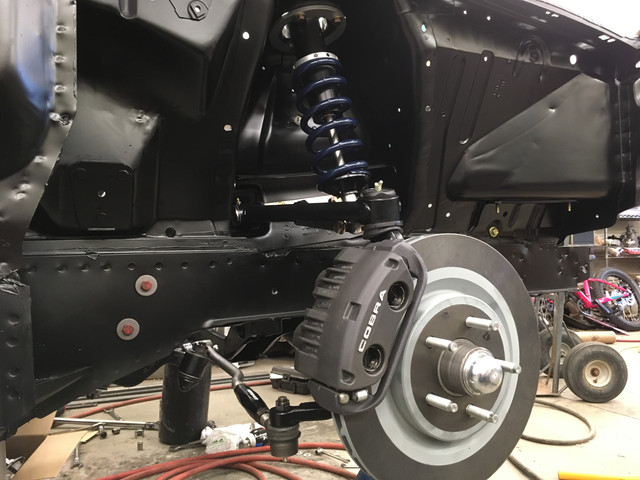
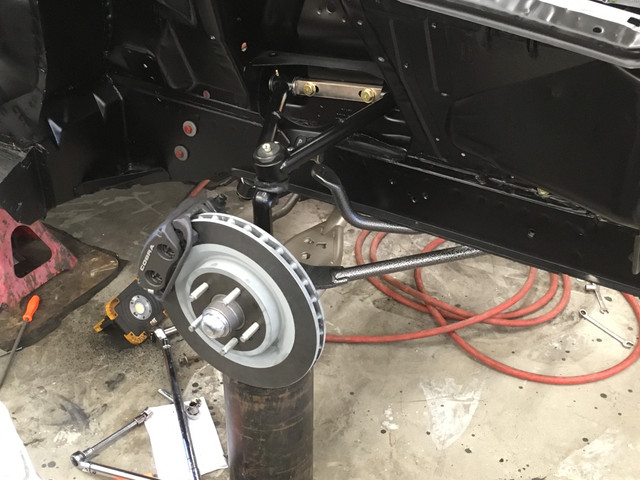
I shortened up the strut rods 1/8".
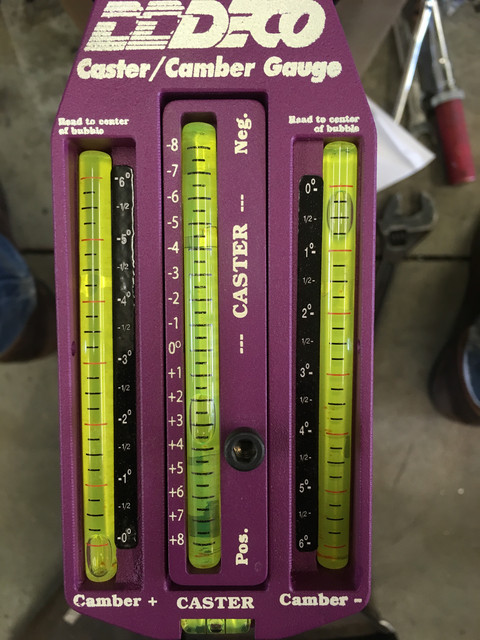
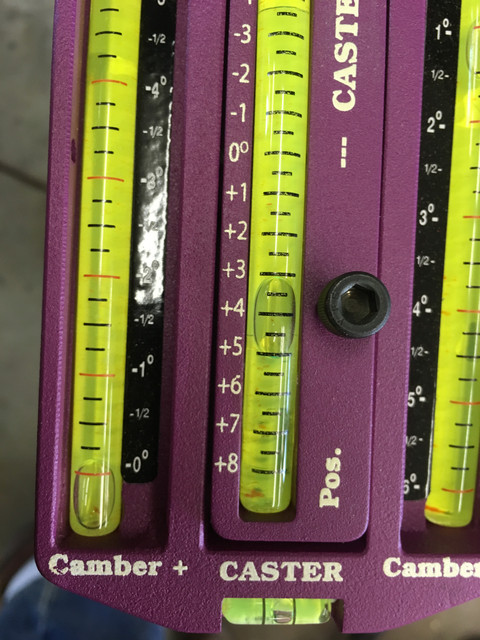
Now I am almost 1/2 degree negative camber, and about 4 degrees positive caster at a total guesstimate of ride height. Should be close enough for now.
Now I am almost 1/2 degree negative camber, and about 4 degrees positive caster at a total guesstimate of ride height. Should be close enough for now.
Last edited by a moderator:


")