WIDE-BODY KIT FROM SCRATCH

7173Mustangs.com

Help Support 7173Mustangs.com:

This site may earn a commission from merchant affiliate links, including eBay, Amazon, and others.
Mounting holes are great but the steal pan needs some cleaning up around the new bezels for it to sit all the way back. Stepping away for today since it’s already bit me and drew blood lol.


Got everything lined up. Done from the outside. Now the inside needs addressing with the inner light buckets and led light board. I’m thinking I may black chrome the gas cap to knock it down a tad. A little too bright for the ready of the rest of the back


Exhaust tips, reverse lights and lower grills still need to be completed before I can call this side done.

 
Ya. When I send the wheels out for sandblast and powdercoat I think I will do the cap to match. I have to get everything together and hash out what gets what treatment.

 
Was looking at your pict send 2 hours ago bigger, and wondered why your lines/letters were double...

I bet its cold in your garage! :)

On the pict with lights on, the red/burned reflections look like snake teeth! How awesome is that?!!

+1 on the gas cap.

 
Funny. Those reflections had me thinking I should consider taking the lettering off the trunk and putting it on the angled piece of the bumper instead. The benefits of taking photos. As well the benefits of decals vs. painted stripes v

 
will the custom exhaust tips be wide? if aluminum like colour or same warm silver as the stickers, plus your badge added (its having yellow if I recall correctly),

and the number plate, then the balance that seams to bug you now (too much focus on letters) might be restored when installed...

 
will the custom exhaust tips be wide? if aluminum like colour or same warm silver as the stickers, plus your badge added (its having yellow if I recall correctly),

and the number plate, then the balance that seams to bug you now (too much focus on letters) might be restored when installed...
Yes it will be a wide mouth on the exhaust tips. Either charcoal or black. Regardless I do think you have a point. There is time. Still lots to be done.

 
I am in awe of your car with every picture. Three things come to mind. Damn!, That car is sick!, and I want some of that. Love the build and all the pics. I like where you put the lettering on the back, imho. Keep it coming.

Scott

 
I wonder what the decal on the fender extension would look like if it followed the pointed upper corner of the extension instead of the stock looking curved line...

I'm sure you want it to look like the stock shape but it makes me curious what it would look like.

Looks so f'ing good brutha! Excited every time I get to see more!

 
Last edited by a moderator:
The first version of that stripe we layed down was that curved shape. I felt it didn’t work because it didn’t have a consistent thickness like all the rest of the stripes on the car. That’s why we went this direction. I wasn’t even going to go with the curve of the duck tail because it really should be one thickness across in my opinion but after we tried that version it looked nice and beefy so it stayed.

 
Last edited by a moderator:


Ok. I’m sure we’ve seen enough of the rear of the car. So another first for me. I’ve been trying to figure out how to go about making a front spoiler for the car that would feel right and what material to make it out of. It’s inspired by the 18 Shelby 350 GTR. So far I’ve cut the base tray out of aluminum to give me a base. Then I’ve taken foam that will accept fibreglass resin without melting and contact cemented it to the tray. Once it was set I took dental floss and cut the shapes. Far as I got today. I need to finish up with the foam and the shaping so I can harden the whole thing with resin. Then body fill it smooth and prime it. Go from there. Need to get back to work or I won’t have money to fund this thing.

 
Last edited by a moderator:
[without melting and contact cemented it to the tray]

All depends how you want the resulting product to be.

I've worked many years ago in a small polyester boats and canoe factory and did over the years many parts.

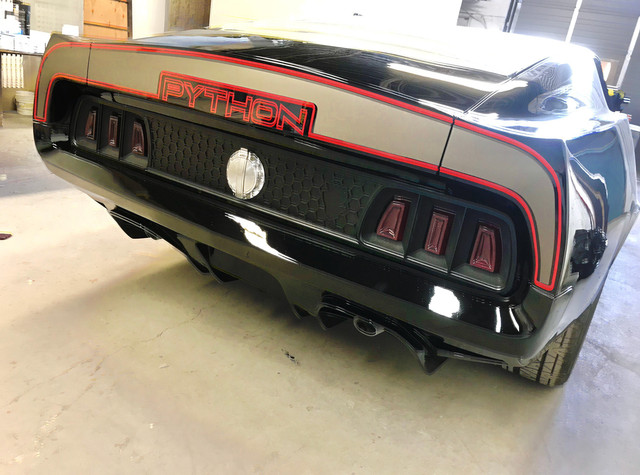
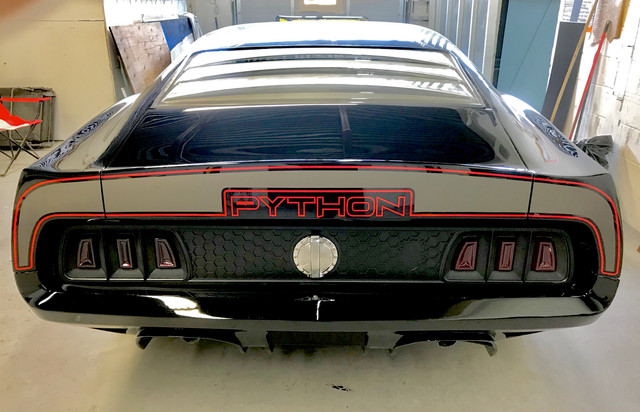
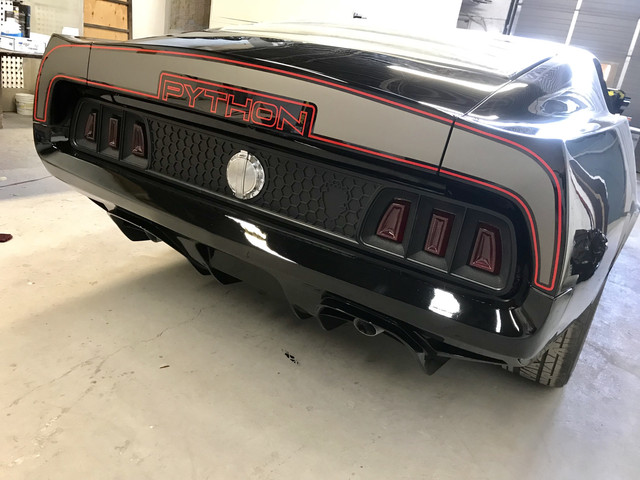
for my Mustang did a custom ram air, front valance...

What you see often on you tube is to shape with foam or clay, then lay some resin/fibers and sand this.

So far so goed, but at this point the question is how good you want it?

Most will then sand the construction, cover with some aluminum, roll some resin and consider work done. You see this also used for interior parts.

You end up with a product that isn't very strong and likely to bend overtime.

That's literally 1/2 work to me and your project can't use something like this! And its a spoiler, it doesn't take much speed to break it if its not a strong piece.

Looking at the design you want, it may take the valance with it too.

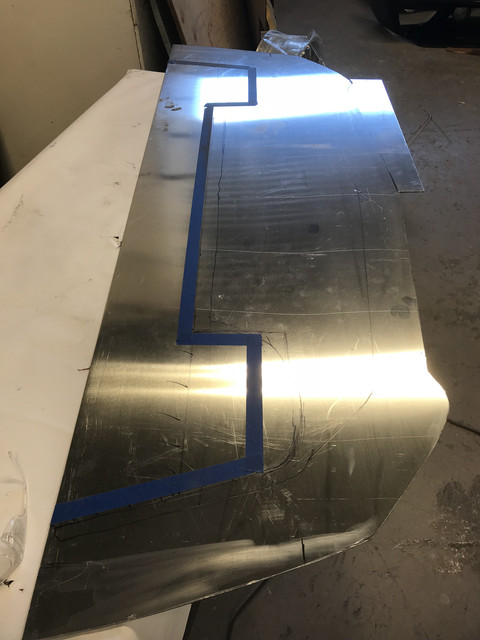
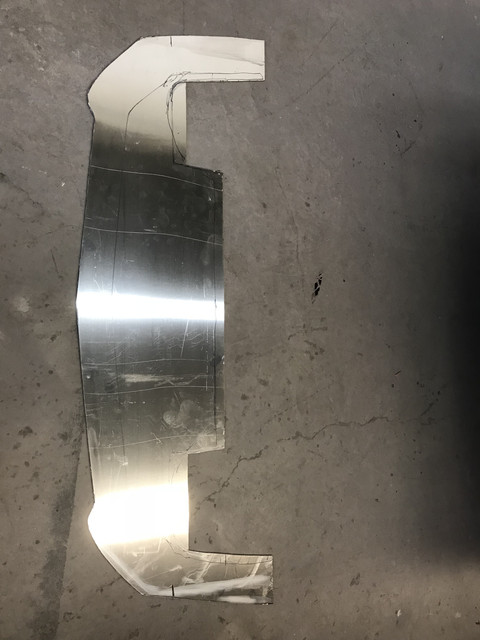
On the shape/skin itself, here's a few things that may help you:

Once you have your shape done (checked the sides are symmetrical with cutouts along the shape at regular intervals) and sanded it,

You actually have nothing but the negative print that will define your mould. This because you prolly want a light and robust spoiler, where you can define the thickness

where the stress is likely to be the strongest.

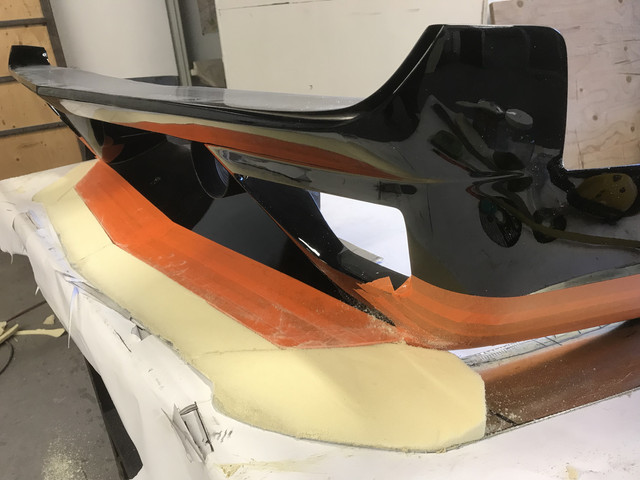
So instead of painting, just cover it with loosing wax, let it dry and reapply a few times until the cotton cloth "flies" over the surface.

Then add a layer gelcoat, of say 3 mm. When dry apply a thick layer of resin + polyester cloth. in between add some metal tubes or whatever so that it doesn't twist

later on. When dry disconnect it from the original shape, you do not need it anymore.

Then its time to redo; you put loads of wax in there, black coat probably as you may it the road/something at some point, Add the resin + mat inside, and define the thickness the most regularly as you can. If you have no vacuum pump, its better to add the resin in layers in 2 or 3 passes vs a thick layering that will likely have bubbles.

Its dry and time to separate the shapes. If you have thought your shape right, compressed air or a small lever will suffice to do so.

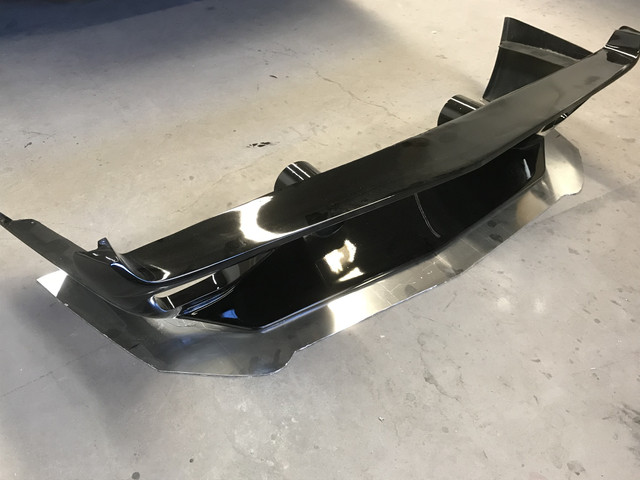
However this technic requires convex shapes and also assumes the entire shape can be disconnected from the mould going one direction.

As per your design, as you plan sides, if the base near road is 1/2 round, you can do this in one go. otherwise, you will need to make two moulds and assemble

the two positive parts together.

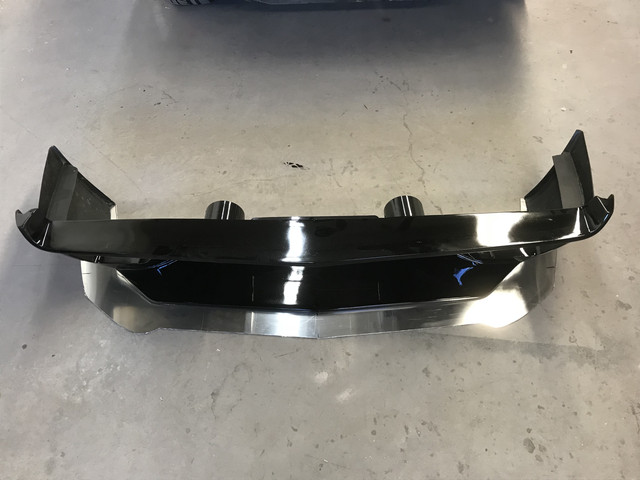
That's just the skin. What matters more is how this skin is actually hold onto the car. You need to have a construction, a bit similar to the bumper, where at least 3 very strong ankers. Looking at your pict, I'd say you need you have a tubing construction that goes under and behind the valance. Then just like the bumper, you need

a way to bolt it. Once you have that defined, you will then have to add these connectors to the backside of the skin so they become one.

It is also likely to me, that you will have to add a flat surface that will allow you to connect it on the valance without gaps.

There are many ways to go to Rome, so I will not extend more as the shape/structure behind will likely define the way you will proceed.

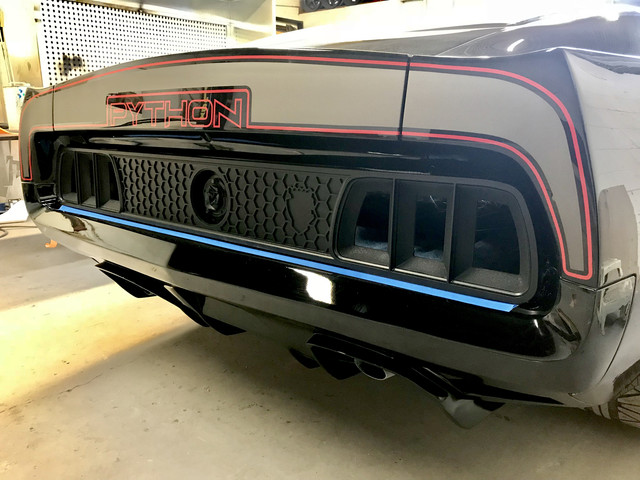
Just wanted to give you few hints that may (or not) help you make the front as kickass as the back!

 
Last edited by a moderator:
Back
Top