"Red - Duraspark I (California cars 1977, California 302 V8 only, 1978-1979)
higher output, considered the module to use back in the '70s and '80s. Does
not employ a balast resistor. Senses current flow through the coil & adjusts
dwell for maximum spark intensity.
Green - early solid state ignition (pre-1977) similar to Duraspark II, but
never popular for retrofitting, probably because the Duraspark I was
superior.
Blue - Duraspark II (49 state 1977, 50 state 1978 and later)
Yellow - Duraspark II with "dual mode" (except 1981)
White - Duraspark II with "cranking retard"
Brown - Duraspark III for computer controlled cars.
Yellow - durapsark III (1981) has an extra connector for altitude compensation on early computer models.
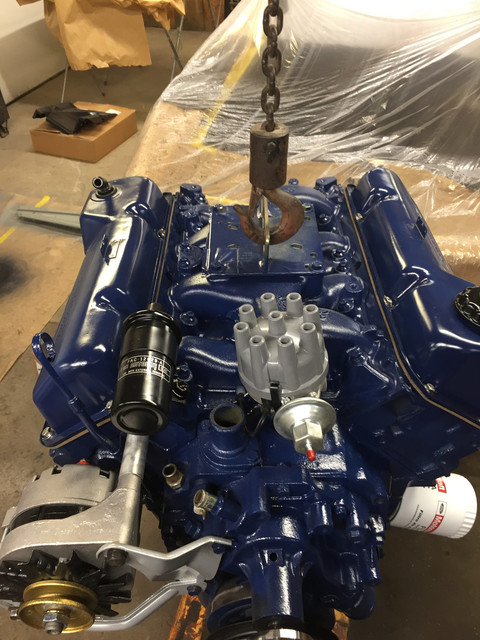
In 1974, Ford/Mercury began to use breakerless ignition systems. The first of these electronic ignition systems was originally just referred to as the breakerless ignition system, but later, in 1977, it became known as Duraspark. The Duraspark I system, and the next version, Duraspark II were nearly identical in operation, and virtually identical in appearance. The Duraspark I uses a special control module which senses current flow through the ignition coil and adjusts the coil for maximum spark intensity. If the Duraspark I module senses that the ignition is ON, but the distributor shaft is not turning, the current to the coil is turned OFF by the module.
The Duraspark II system does not have this feature. The coil is energized for the full amount of time that the ignition switch is ON. Keep this in mind when servicing the Duraspark II system, as the ignition system could inadvertently fire while performing ignition system services (such as distributor cap removal) while the ignition is ON. All Duraspark II systems are easily identified by having a two-piece, flat topped distributor cap.
Duraspark I was discontinued after the 1981 model year.
In 1980, the new Duraspark III system was introduced. This version is based on the previous systems, but the input signal is controlled by the EEC system, rather than as function of engine timing and distributor armature position. The distributor, rotor, cap, and control module are unique to this system; the spark plugs and plug wires are the same as those used with the Duraspark II system. Although the Duraspark II and III control modules are similar in appearance, they cannot be interchanged.
Some 1978 and later engines use a special Duraspark Dual Mode ignition control module. This module is equipped with an altitude sensor, and an economy modulator. This module, when combined with the additional switches and sensor, varies the base engine timing according to altitude and engine load conditions. Duraspark Dual Mode ignition control modules can be identified by the three wiring harnesses emerging from the control module.
Some 1981 and later Duraspark II systems used with the 5.0L engine are quipped with a Universal Ignition Module (UIM) which includes a run/retard function. The operation of the module is basically the same as the Duraspark Dual Mode module.