- Joined
- Aug 7, 2010
- Messages
- 5,074
- Reaction score
- 10
- Location
- McDermitt, NV
- My Car
- 1973 Convertible H Code, 351C 2V FMX


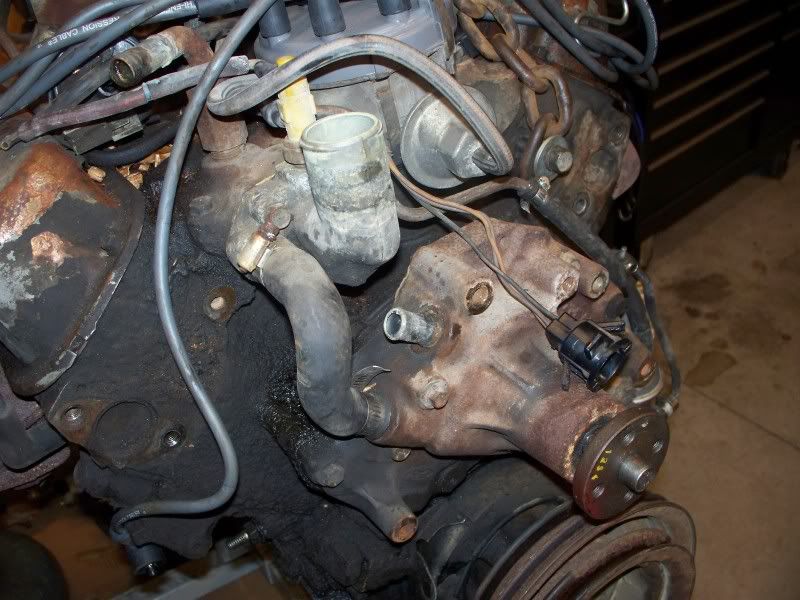

So I just run the distributor advance off of carb vacuum? It does have the holes for the smog tubes and I blocked them off. As for a thread sealer can I use teflon tape or do I have to use some sort of paste?The way the engine is now configured the short answer is no. The long answer is too long for me and my limited typing skills to put down. I don't remember exactly what year the heads are but, check to make sure there is not an open hole at the rear of the heads for smog tubes to bolt to. If they are there just block them off. You are making great progress. Your brother is a lucky guy. Chuck
Use the Yellow teflon tape it is much better than the white. It is used on gas pipe and suchSo I just run the distributor advance off of carb vacuum? It does have the holes for the smog tubes and I blocked them off. As for a thread sealer can I use teflon tape or do I have to use some sort of paste?The way the engine is now configured the short answer is no. The long answer is too long for me and my limited typing skills to put down. I don't remember exactly what year the heads are but, check to make sure there is not an open hole at the rear of the heads for smog tubes to bolt to. If they are there just block them off. You are making great progress. Your brother is a lucky guy. Chuck
I'm not sure what the carb is. It's a holley with 1850-2 on the choke horn.There will be a port on the carb that only has vacuum when the throttle is open so you will need to find that one...I'm sure if you give the info on the carb someone will tell you which port it is
Cool, thank you. Any tips or tricks on rebuilding this carb? I've only rebuilt 2V motorcraft carbs before.It's a standard 600cfm. Good all around carb, very popular, good choice for your application.
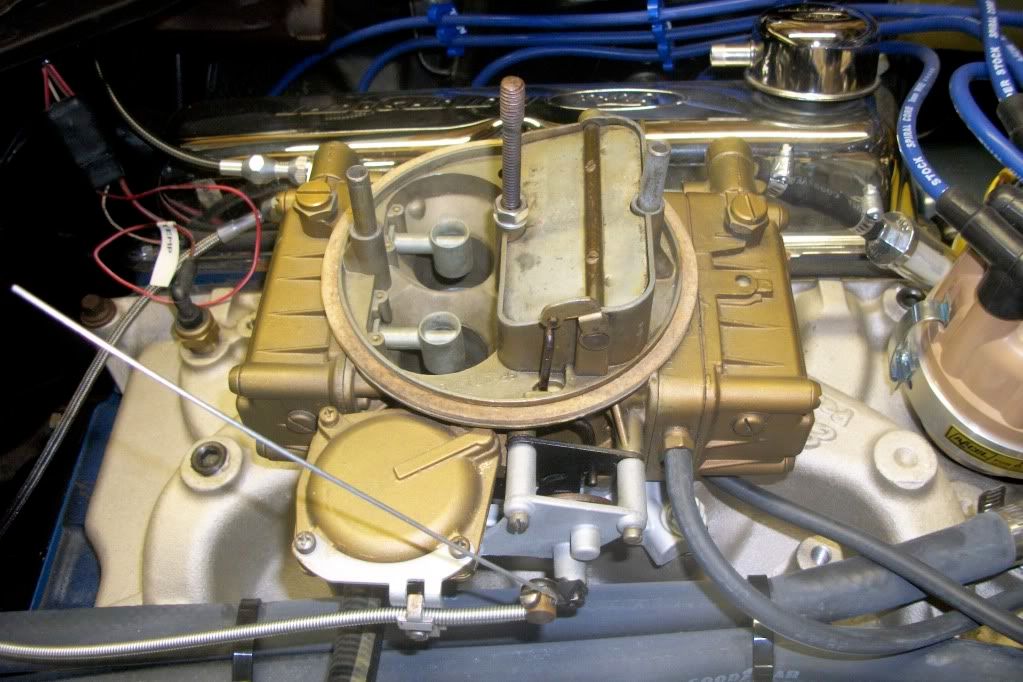
Venturi vacuum hose/port on right front of the metering block on carb (larger of the 2 vac lines shown).
Manifold vac is the smaller hose coming from the carb base, kinda below the venturi vac hose:
Use the Holley kit and check condition of secondary diaphragm before you order. Think VERY clean, carb cleaner and air pressure. I don't think the 1850-2 has a check ball in the diaphragm housing but just in case be careful when you take it apart. Don't over tighten the float level screws (only 2-3 threads holding things in place). Take your time and don't get distracted. http://www.holley.com/37-119.asp ChuckCool, thank you. Any tips or tricks on rebuilding this carb? I've only rebuilt 2V motorcraft carbs before.It's a standard 600cfm. Good all around carb, very popular, good choice for your application.
Venturi vacuum hose/port on right front of the metering block on carb (larger of the 2 vac lines shown).
Manifold vac is the smaller hose coming from the carb base, kinda below the venturi vac hose:
Thanks for the tip, I'll give that a if it needs it.A little tip that I read a long time ago was to check the carb body for flatness (if that's a word). Remove the bowls and both metering plates and lightly run a new(er) large fine flat file across the metering faces. The last one that I did had many high spots that could cause the body to not seal and/or meter correctly.
Something like this:
http://www.lowridermagazine.com/tech/1207_lrmp_750cfm_4160_series_carburetor_rebuild/photo_09.html
and this:
http://www.superchevy.com/technical/engines_drivetrain/accessories_electronics/sucp_1004_holley_4150_carb_rebuild/photo_14.html
And, like Chuck said... clean, clean, clean...
") . Fix one thing, then find 2 more that are broken... hehehe.
. Fix one thing, then find 2 more that are broken... hehehe.No this whole motor has been like this and I had a case of the "while we're in here"sOh-oh, you've lit the proverbial "fuse" of auto repair
The screws are expanded or "peened" on the end, by design, so they won't come out and swallowed by the intake. Kind of a one shot deal there. I've never had to replace one, but have seen them missing. I'd maybe source one from a parts carb before using a hardware store piece.
Floats... Shake the hollow plastic and/or brass ones. If compromised, you'll be able to hear the fuel splashing inside.
As for the black Nitrophil floats... never had a bad one personally, but I understand that they do "gain weight" over time.
Enter your email address to join: