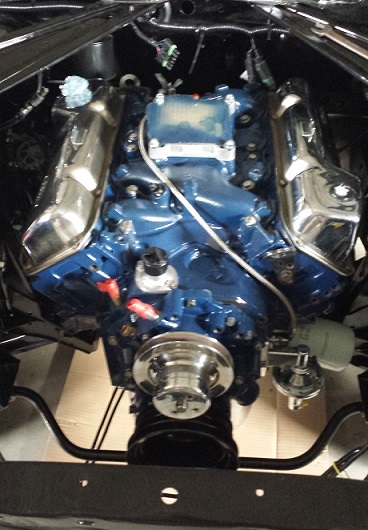
Looking good and always a good feeling to get your engine in
Hopefully unlike me you don't need to remove it for a long time!
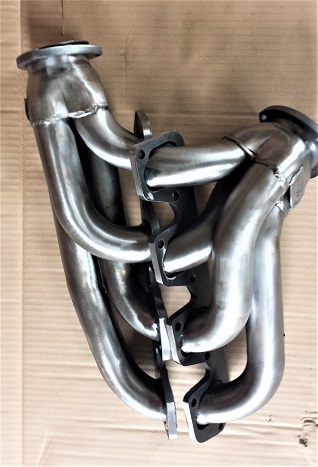
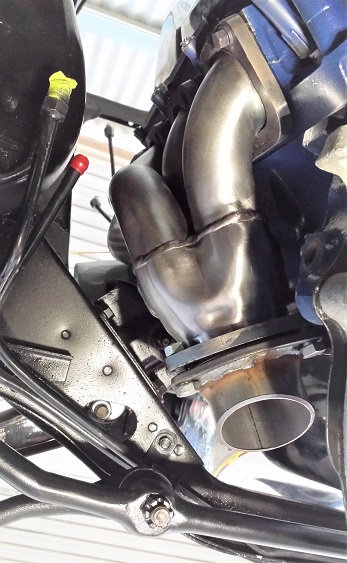
Will be interesting to see how your new headers fit, I used the Proflow stainless headers for our local Falcons and surprisingly even with a steering rack they actually fit well but need to install the right side one after install
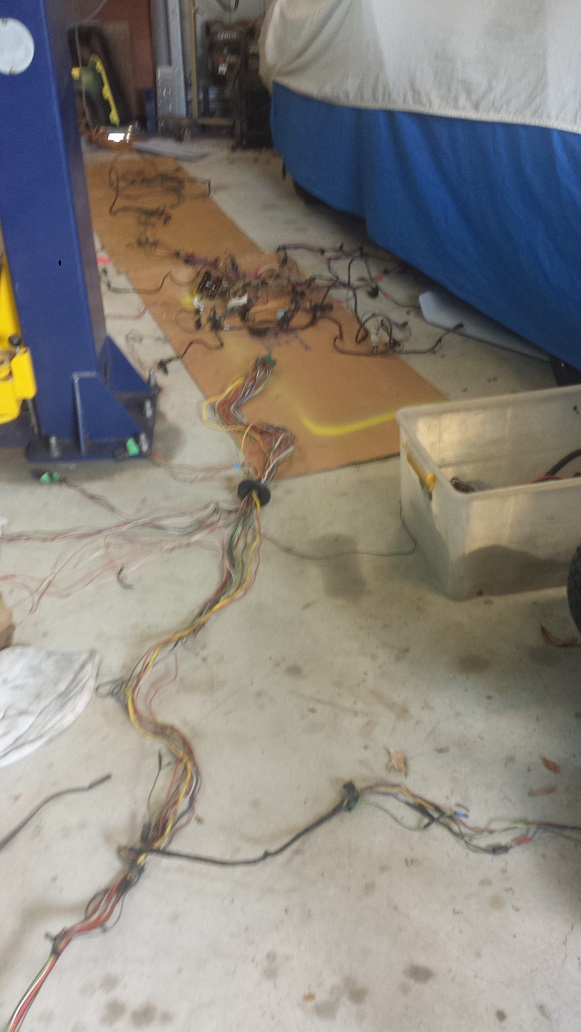
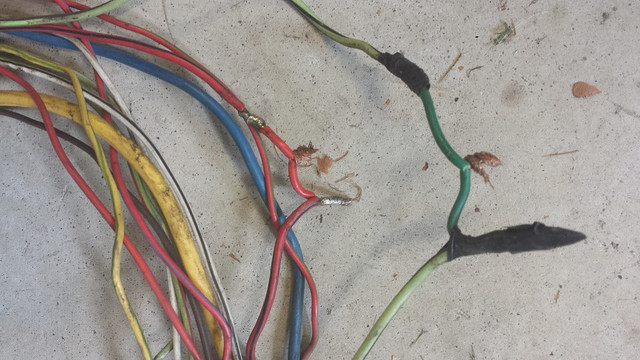
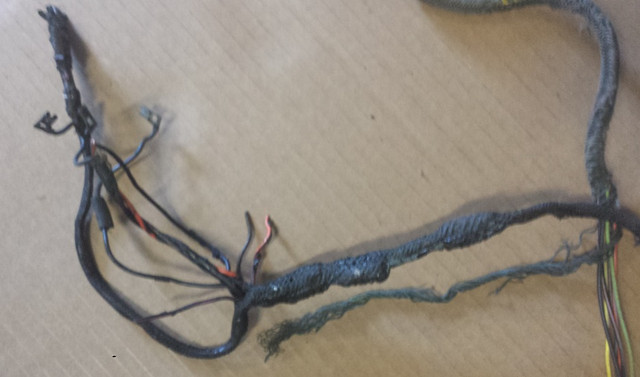
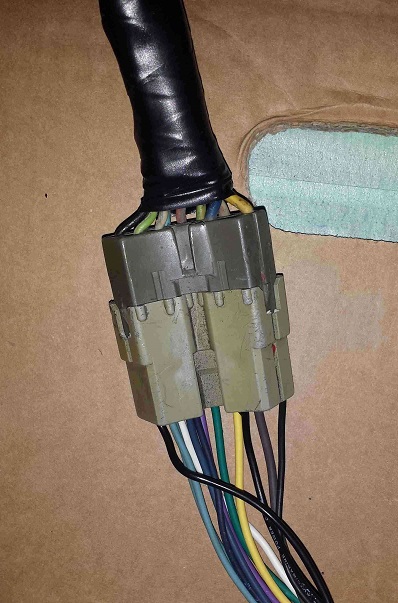
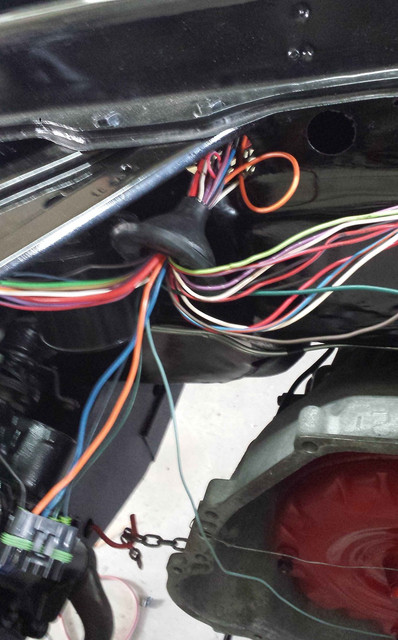
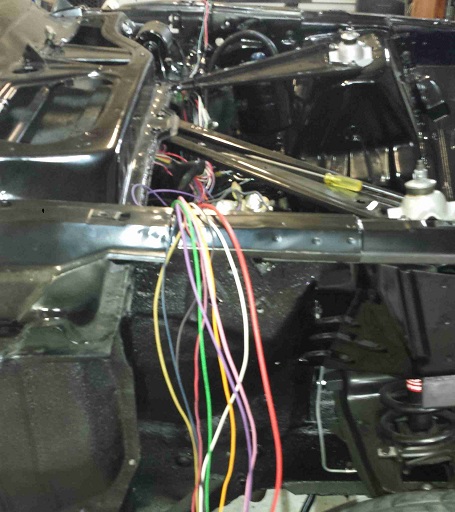
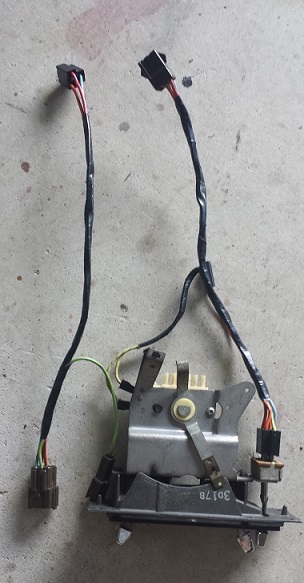
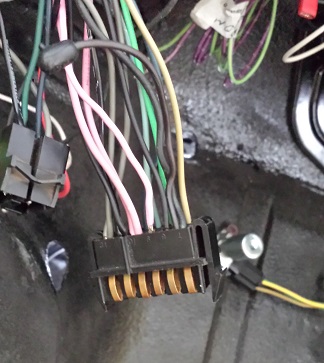
Wiring can be a pain in the neck but with a good kit it helps. I gather you used the American Auto Wire 22 circuit kit?
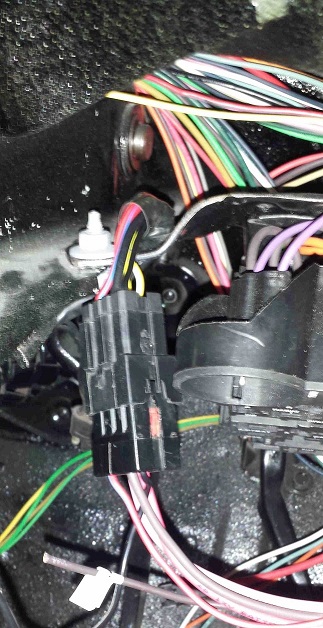
Where did you end up mounting the fuse box? I found a good spot was above the right side kick panel
Your making good progress