- Joined
- Mar 30, 2017
- Messages
- 2,412
- Reaction score
- 917
- Location
- The Netherlands
- My Car
- 73 Grande 351C
71 Mach 1 429CJ
@72Mach168Cam
Thx, tho, what I publish is more "HOW I DO IT's" vs claiming I know how to!
So today, while @Vinnie 200km away was doing fantastic metal shaping in his garage probably as cold as mine,
I went back to thinner air. Literraly!
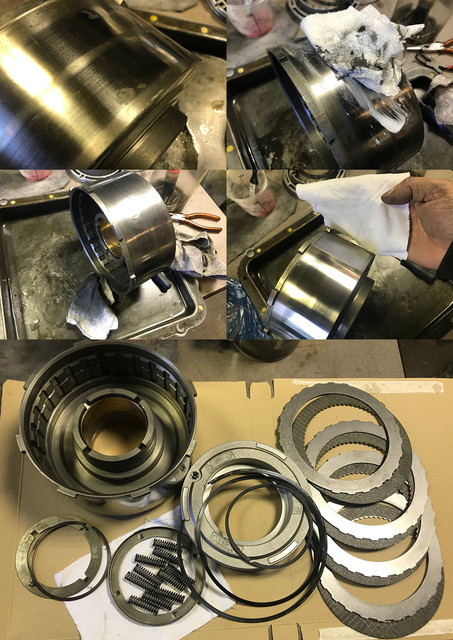
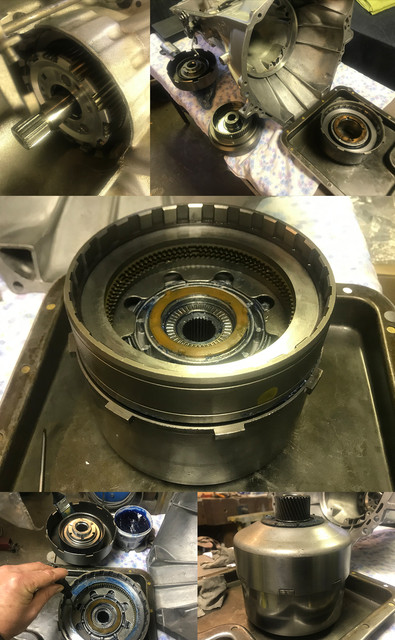
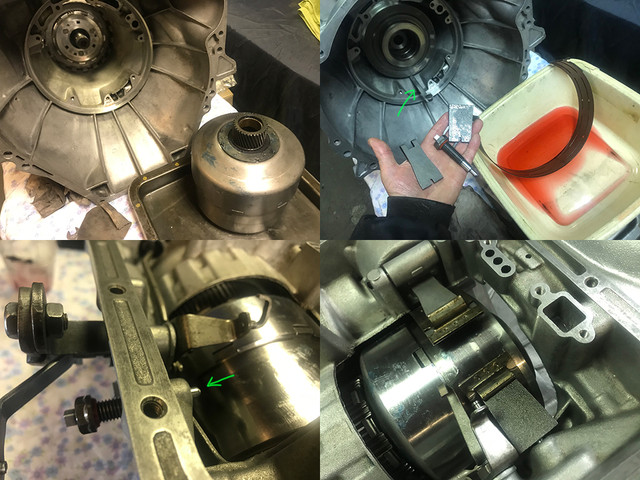
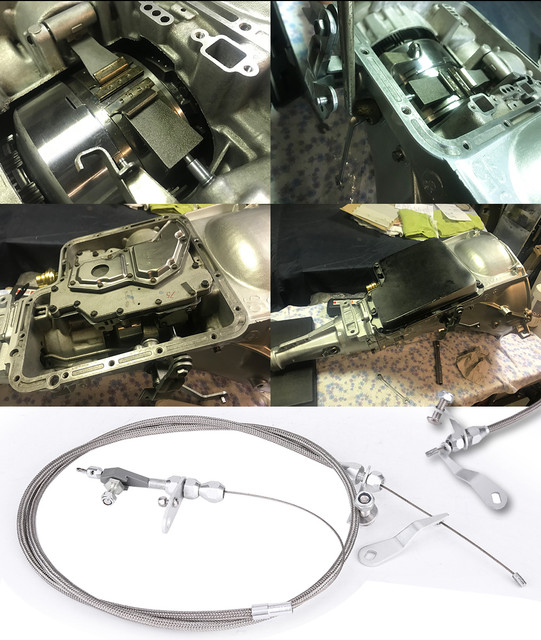
The direct clutch open yesterday was on the menu. One of the surprisingly few damages caused to the trans that stayed 25+ years open exposed to the reknown dry air of the Netherlands, was to be seen on the outter direct drum. Few spots of corrosions. Nothing alarming, but as the tension band, is in direct contact with it, separated with a tiny film of oil. The picky old monkey that I am, would not let that potentially become a source of abrasion. So after a good cleaning, gave some polishing love to the surface and as the idea is to not be abrasive, removed and cleaned the polishing paste till I'd get no contamination on a clean cotton rag.
Few elbow oil drops later, got all my parts pristine and shiny where they needed to be.
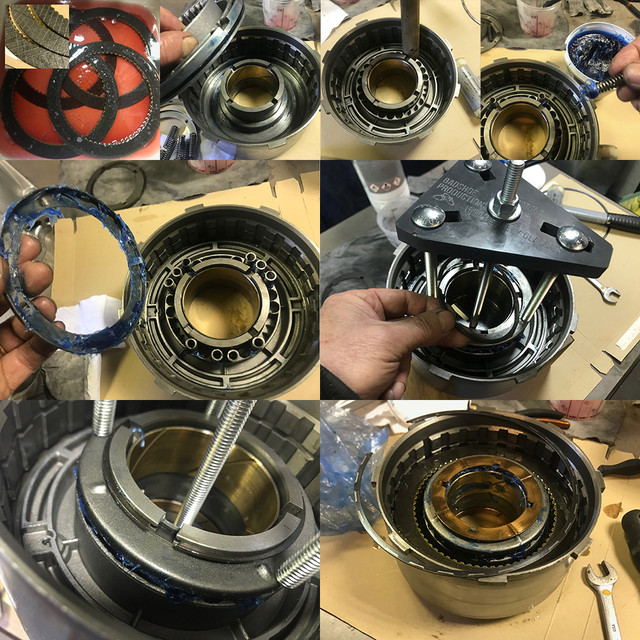
Time to put it back together. Same as for the other clutches, as you really don't want to ruin the friction plates on the first rotations dry. Letted them soak all the oil they wanted till I would need them. Then once all was cleaned up, the piston and its free floating vent ball, needed get back in first. Now that the O-rings were new, it wasn't that easy, so Mr Wood helped to tap it gently into its deepest location.
Then applied the Goo trick, that was so handy for the reverse clutch, dipped each spring and placed them back in the expected patern. With the cover also filled with goo, it was then easy to set the compressor in place without any problems. Note here that if you do so, its a good idea to already have the snap-ring around the compressor axle, because it also shows you right away how to dispatch space onto the cover to allow the snap ring to fit. Once compressed and the ring groove exposed, the snap ring goes in it without any efforts.
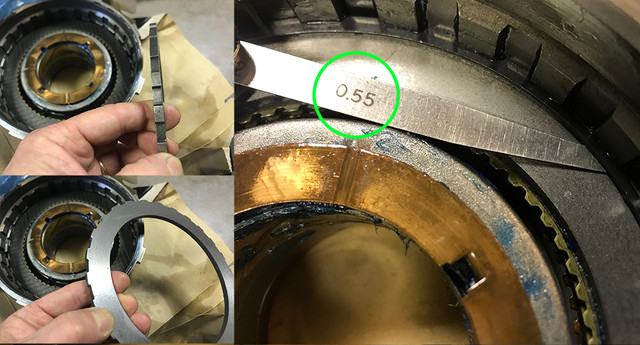
Reassembled alternating steals and my desired 4 frictions plates.
I'll let the pressure plate machined this week and if the expected gap is as I plan it to be, next weekend, I should then mark the direct clutch done.
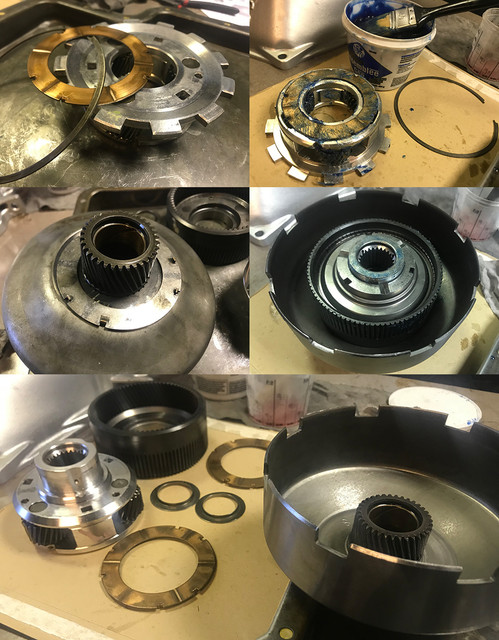
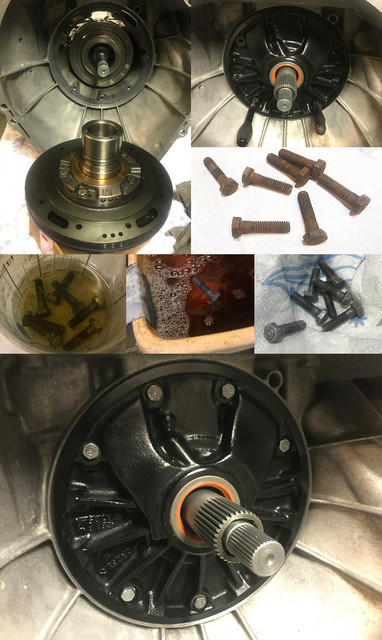
Next were the rear planets, where aside checking very well to detect any sidewards play into the gears bearings, it was all about cleaning. Same for the sun gear assembly where lots of time goes into removing all the ancient deposits from each and every tooth. There are quite a few teeth and of course that's where all the ancient deposits are!
Once all was degreased with love, it was time to make it greasy again!
At this point the entire transmission guts are now ready to go back in (once I'll have the pressure plate machined)
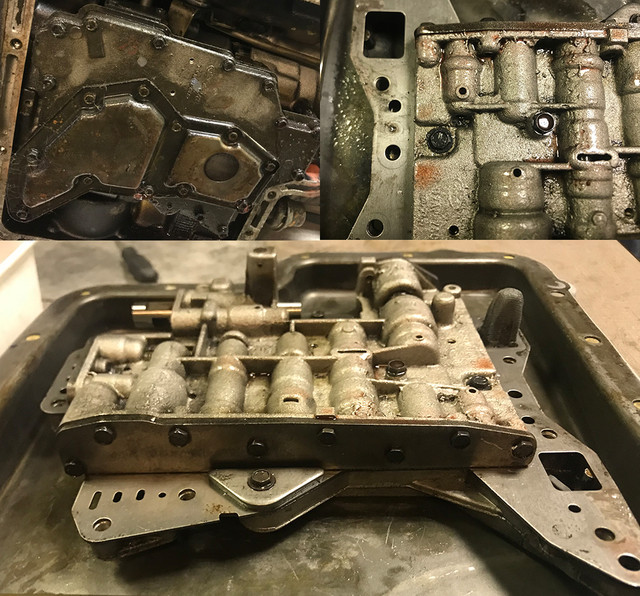
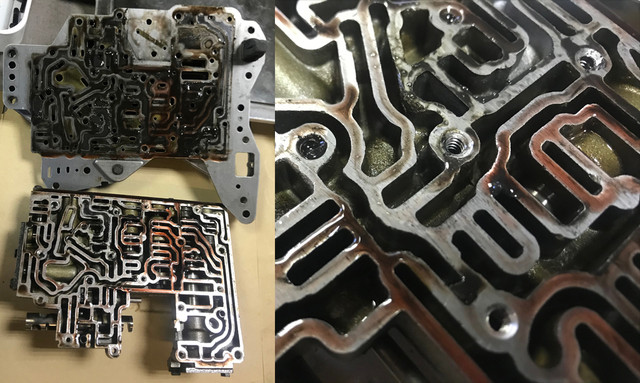
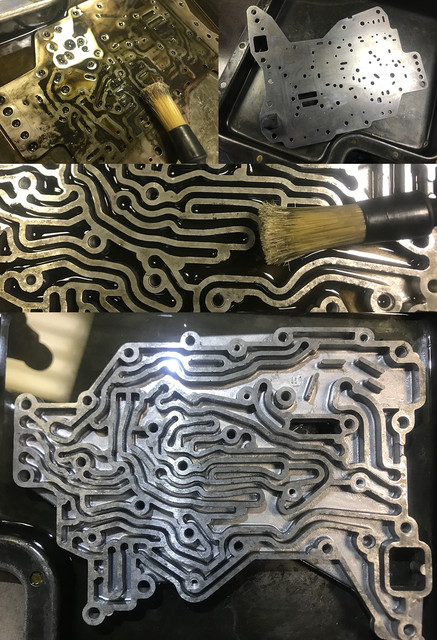
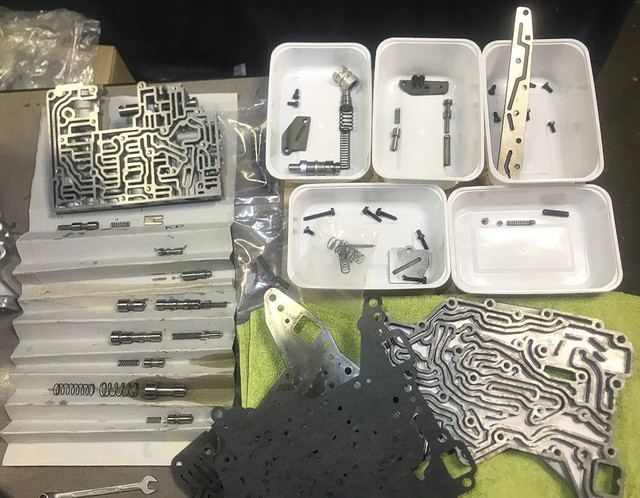
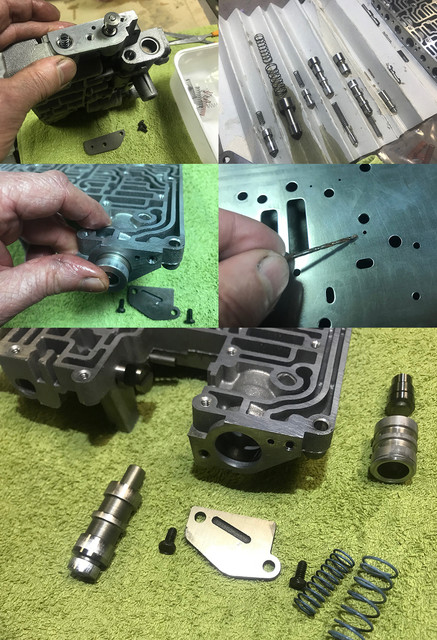
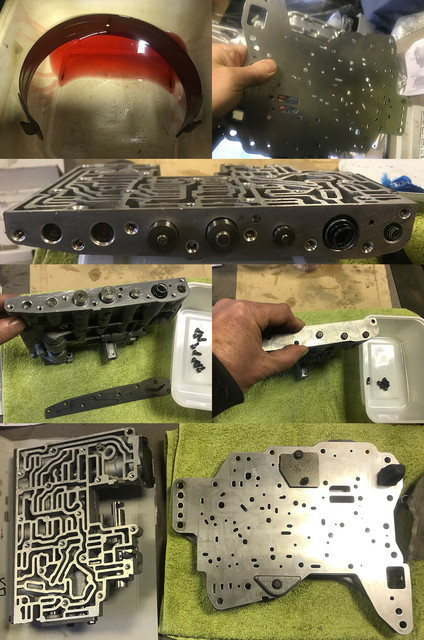
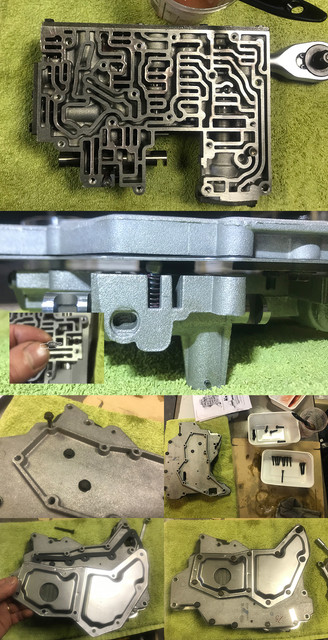
(sad music with violins playing while camera pans over the poor super dirty valve body )
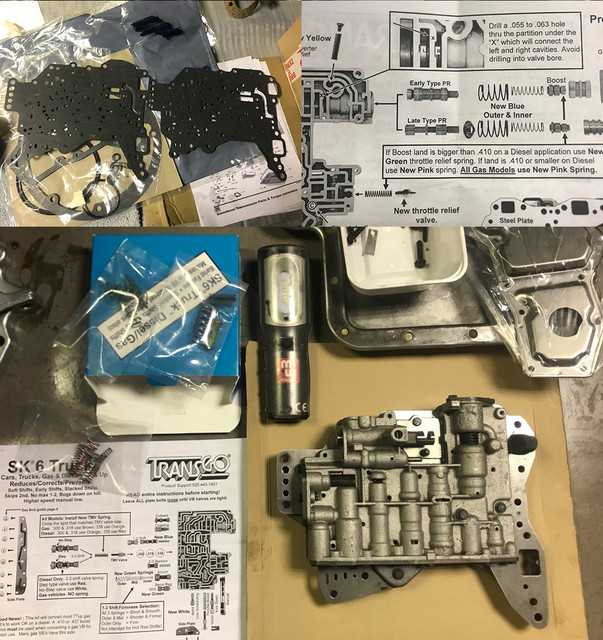
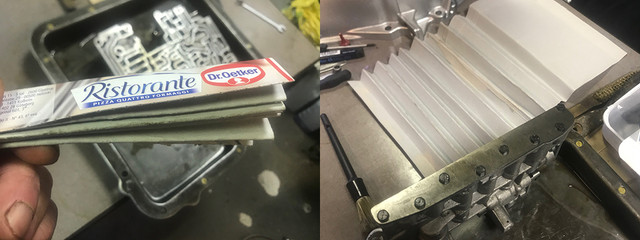
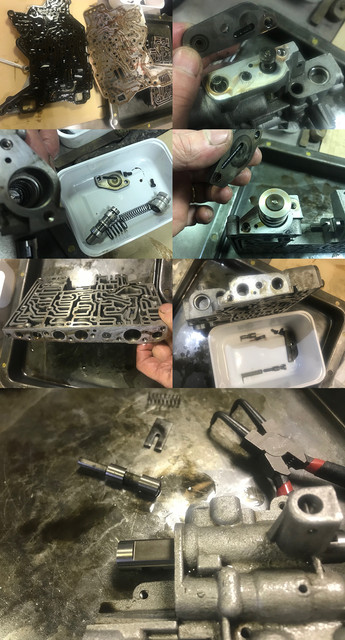
After a good but superficial cleaning prepped the "work station" for next weekend where all will be about giving a second life to the valve body, and implement this SK6 reprogramming kit, aka shift kit.
I plan to study more on this during the week before do anything, as there are few instructions already in conflict with some videos that I've seen on the subject using this kit on this manual. I also can't get why they can't provide the few pages of this manual with specific targets (diesel, trucks, (race/towing) cars) vs pushing if and else and or's all over the place to save 1 or 2 piece of paper... Also got 2 gaskets with tiny diffs, but none marked as "Hi, I'm the one you need"...
There are also terms I can't make cheese of. Like to pick the springs combo for shiftings: "shorter and smooth, shorter and firm, firm but not for hotrods...".
No real data about what is really happening. How the old French monkey me is supposed to pick the right combo???
Anyway, started be really cold and totally high from thinner air, called it a day.
To be continued...
Thx, tho, what I publish is more "HOW I DO IT's" vs claiming I know how to!
So today, while @Vinnie 200km away was doing fantastic metal shaping in his garage probably as cold as mine,
I went back to thinner air. Literraly!

The direct clutch open yesterday was on the menu. One of the surprisingly few damages caused to the trans that stayed 25+ years open exposed to the reknown dry air of the Netherlands, was to be seen on the outter direct drum. Few spots of corrosions. Nothing alarming, but as the tension band, is in direct contact with it, separated with a tiny film of oil. The picky old monkey that I am, would not let that potentially become a source of abrasion. So after a good cleaning, gave some polishing love to the surface and as the idea is to not be abrasive, removed and cleaned the polishing paste till I'd get no contamination on a clean cotton rag.
Few elbow oil drops later, got all my parts pristine and shiny where they needed to be.

Time to put it back together. Same as for the other clutches, as you really don't want to ruin the friction plates on the first rotations dry. Letted them soak all the oil they wanted till I would need them. Then once all was cleaned up, the piston and its free floating vent ball, needed get back in first. Now that the O-rings were new, it wasn't that easy, so Mr Wood helped to tap it gently into its deepest location.
Then applied the Goo trick, that was so handy for the reverse clutch, dipped each spring and placed them back in the expected patern. With the cover also filled with goo, it was then easy to set the compressor in place without any problems. Note here that if you do so, its a good idea to already have the snap-ring around the compressor axle, because it also shows you right away how to dispatch space onto the cover to allow the snap ring to fit. Once compressed and the ring groove exposed, the snap ring goes in it without any efforts.
Reassembled alternating steals and my desired 4 frictions plates.
I'll let the pressure plate machined this week and if the expected gap is as I plan it to be, next weekend, I should then mark the direct clutch done.

Next were the rear planets, where aside checking very well to detect any sidewards play into the gears bearings, it was all about cleaning. Same for the sun gear assembly where lots of time goes into removing all the ancient deposits from each and every tooth. There are quite a few teeth and of course that's where all the ancient deposits are!
Once all was degreased with love, it was time to make it greasy again!
At this point the entire transmission guts are now ready to go back in (once I'll have the pressure plate machined)

(sad music with violins playing while camera pans over the poor super dirty valve body )

After a good but superficial cleaning prepped the "work station" for next weekend where all will be about giving a second life to the valve body, and implement this SK6 reprogramming kit, aka shift kit.
I plan to study more on this during the week before do anything, as there are few instructions already in conflict with some videos that I've seen on the subject using this kit on this manual. I also can't get why they can't provide the few pages of this manual with specific targets (diesel, trucks, (race/towing) cars) vs pushing if and else and or's all over the place to save 1 or 2 piece of paper... Also got 2 gaskets with tiny diffs, but none marked as "Hi, I'm the one you need"...
There are also terms I can't make cheese of. Like to pick the springs combo for shiftings: "shorter and smooth, shorter and firm, firm but not for hotrods...".
No real data about what is really happening. How the old French monkey me is supposed to pick the right combo???
Anyway, started be really cold and totally high from thinner air, called it a day.
To be continued...
Last edited by a moderator:


