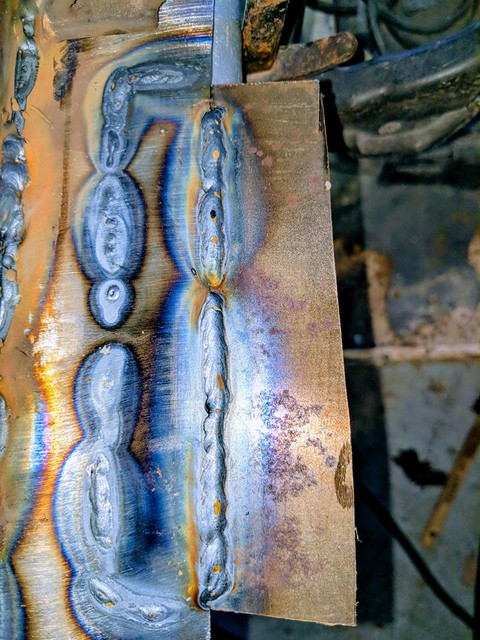
Just make sure that the drive roller tension, and the spool brake work well together, if you have too much tension it will flatten the wire and cause unsteady feeding, and premature wear on the liner for the wire, not enough tension and you will have intermittent wire feeding problems. If the spool tensioner is too tight, same thing, you will have spotty wire feeding, or it will over-spool causing a rat nest around your spool. The biggest rookie mistake I see are these issues. Other than that, try to keep your tip about 1/8" above the work and keep your movement steady. With sheet metal you have to do a lot of stitch welding, meaning zap-hold-zap-hold-zap-hold and so on. If you try to run a continuous bead you will likely blow through. Most rookies will not move fast enough to not burn through. This is not an insult, just an experience thing. If your welds start to bubble and spit, it means the metal is not clean enough. Welders hate rust!! Use 12-15cfh on your regulator/flow meter. That should be enough to shield your weld zone. Good luck and have fun!!!


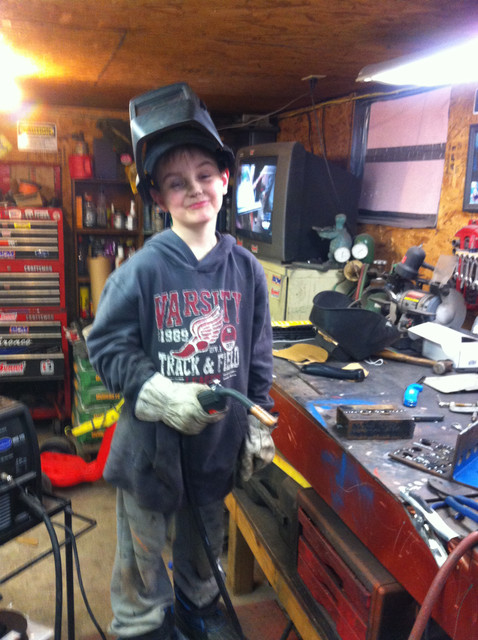
") So that settles it...I guess I'm learning how to weld.
So that settles it...I guess I'm learning how to weld.