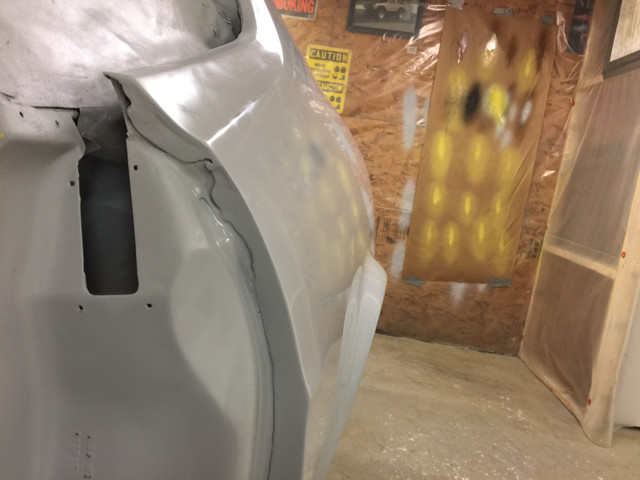
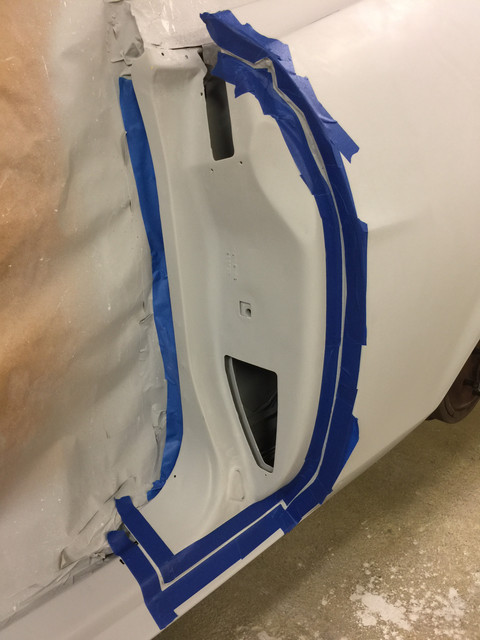
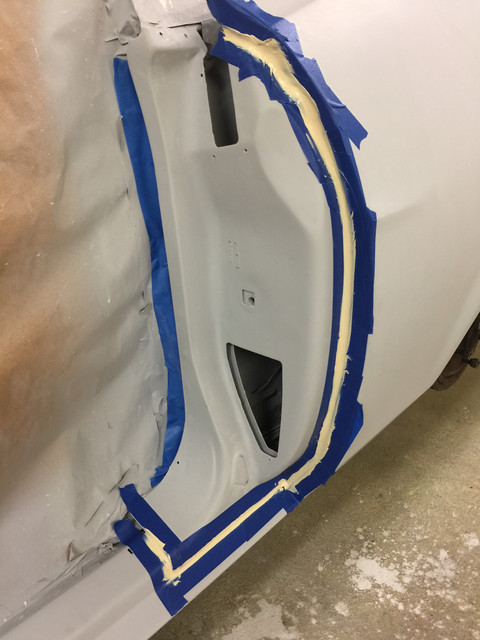
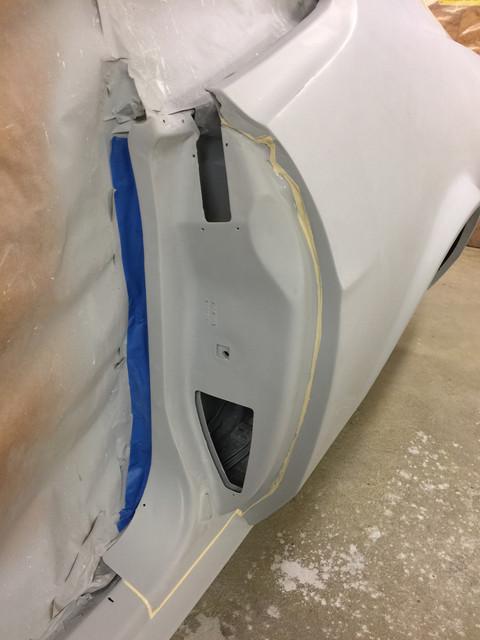
Quarter panel difference 71/72 and 73 and fastback/coupe

7173Mustangs.com

Help Support 7173Mustangs.com:

This site may earn a commission from merchant affiliate links, including eBay, Amazon, and others.

Vinnie

Project manager "Project AmsterFoose"
7173 Mustang Supporter Member
Joined
Nov 7, 2013
Messages
1,623
Reaction score
339
Location
Amsterdam, The Netherlands
My Car
1973 Mustang Grande 351C 2V, built on the very last production day (July 6, 1973) for Grande's.
Hey folks,

I'm going to replace the LH quarter panel skin on my 73 grande. Most advertised skins I find are listed for 71/72, not 73. What is the difference? Anything that can be worked around? I'm going to check out a 71/72 listed panel tomorrow, any pointers before then would be much appreciated!

Thanks,

Vincent.

 
Last edited by a moderator:
Hi Vinnie aka Amsterfoose...My body guy just replaced both quarter panels on my 71 Convertible. Too late I realized the vendor had sent me one 71/72 full panel and 1 full panel what seems to be a 73 which has 2 holes stamped out for the bumper filler piece, both panels are Dynacorn. They fit okay but threw off my quarter to door gaps and perhaps I'd like to mention that the little spear I call it on the quarter panel doesn't line up with the door(s). Years ago there was a NOS pair for sale but 5 grand seemed a little too much!

 
Last edited by a moderator:
Talking about the rear. On the front they're called fenders. I used to call quarters "rear fenders"... :)

OK, so I guess the size of the wheel well is the same, any folds are the same? and the indentation for the bumper is also the same? Really all I need them for the is wheel well edge and lower quarter behind the wheel. I already got a separate lower quarter but now that I found out there was some hidden crap around the wheel well's edge I'd prefer to get a replacement skin out of one piece.

So you got a body guy. I wish I had one haha, have to do it all myself. I'm praying my car doesn't turn out as a "Frankenstang".

Thanks!

V.

 
Just some info. My friend that does restorations always tries to leave the weld flange and about 1" - 2" or 25 - 50 mm of the original quarter panel at the door opening. He also does not remove all the way to the sail panel or roof and trunk opening. He does always do butt welds and grinds and finishes both sides of the weld so you do not see the repair. 

To get everything to align he has split panels and moved them around to get feature lines to be correct.

Leaving the pinch weld flange at the door also makes it look more original showing the spot welds.

The only difference in the quarter panel should be the two holes already mentioned for the rubber filler to attach on the 73.
Thank you very much for that info! I was actually thinking of cutting it like your friend does but wasn't sure if it was the way to go.

What do you mean with split panels? Cut the skin up?
Vinnie,

Check out this thread.....  https://www.7173mustangs.com/thread-quarter-skin-replacement-advise?highlight=quarter+panel    It has a ton of good info for you and lots of pics. If you have any more questions let me know.

 
Just some info. My friend that does restorations always tries to leave the weld flange and about 1" - 2" or 25 - 50 mm of the original quarter panel at the door opening. He also does not remove all the way to the sail panel or roof and trunk opening. He does always do butt welds and grinds and finishes both sides of the weld so you do not see the repair. 

To get everything to align he has split panels and moved them around to get feature lines to be correct.

Leaving the pinch weld flange at the door also makes it look more original showing the spot welds.

The only difference in the quarter panel should be the two holes already mentioned for the rubber filler to attach on the 73.
Thank you very much for that info! I was actually thinking of cutting it like your friend does but wasn't sure if it was the way to go.

What do you mean with split panels? Cut the skin up?
If the body lines up near the door do not align he will cut length wise and either take out material or add and weld back together. The steel they use in the repo parts is usually much softer and bends easily if you lean on the car.

 
Awesome thread, thanks! Will look at it again when i get home. One thing confuses me though: If I understand David correctly, his friend welds vertically along the door opening as to not remove the flange, but in these photos it looks like everybody is removing the flange going into the door opening?

 
I always remove the factory flange and go into the door jam. A lot less likely to warp the panel when welding. You punch holes in the flange on the panel and plug weld the holes. Once ground down they look very similar to the factory spot welds in the jam area. Heres a few pics of the jam when done.


If you look at the door jamb flange on the repop vs factory, the repop is a lot larger radius and looks odd. You can hammer and dolly, ise the old flange, or weld and grind to get the factory radius.

 
The reason he does this is cars he does are entered in shows to try to be the best in the nation not just a driver. The Firebird HO he did will be entered into the national show for Firebirds this year if the virus gets gone. Any panels that had factory stamped numbers in them had those also cut out and put back in the replacement panels. Clay has had cars entered at the Pontiac nationals with over 800 cars and not get a single point deduction for the car. They considered a 66 GTO perfect that he did in the first show out. The car did get deductions for having radial tires instead of belted and deduction for an Interstate battery the car itself got no deductions. 

He leaves the factory end there because there would be deductions if he did not. He also feels he can get better alignment of the body lines by leaving it. I posted pics of the Firebird in the past if you go back and search. 

He did a 1968 428 fastback mustang for the same person it wins best paint at every show it is in. He also did a black GTO judge for the same person. 

Clay has never advertised and has a waiting list but is about done due to health. His back and knees are going fast. 35 years has worn him out.

If you are not going to want it perfect then you would remove the whole panel. If you want it to look factory correct you want the factory trim lines and spot welds.

 
There was also a lot of surface rust under/between the old panels, that was major reason for me wanting to replace full panels completely! Glad I did! Additionally, the "B" pillar/door jamb on the driver side had to be replaced due to previous hack jobs/repairs by PO. Don @ OMS hooked me up with an almost rust free "B" pillar. Thanks again Don!!

 
Like Terry said ... you don't want to leave all that rust under the quarter / B pillar area.

Most guys drill and weld though the drilled hole to simulate a spot weld

If you do restorations for a living invest in a good spot welder

You measure and document the distances of the factory spot welds before removing the panel.

Then you spot weld the new panel in the same exact place

You stamp date codes .... who would cut out date codes and weld them into a repro panel ... buy a set of dies

 
Last edited by a moderator:
Hey folks, I was also wondering about the differences between quarters for fastbacks and coupes. They are advertised different often but I have the feeling the only differences are near the top of the panel. I only really need the lower part around the wheel well and the rear.

Are there any differences in those areas?

Thanks!

Vincent.

 
I am not sure about where the shape of the panels change between body styles. How you weld the panels on can be controlled by where you live. In North Carolina where I live it is not legal for a shop to do panel replacement and use on of the small hand held spot welders. They do not have a programmable controller to keep the weld perimeters correct. The small spot welders do not have water cooling so as the electrodes heat up the resistance in the copper goes up and the welds change. There are spot welders that you can buy that are legal but costs tens of thousands of dollars and most home builders cannot afford them.
I worked in a factory that stamped parts for Ford, Toyota, BMW, Mercedes, John Deere, Honda and others. We also did lots of welded assemblies. We built every econoline van front floor from 1969 until into the 1990's and we dropped all of the Ford work due to zero profit. The spot welding was done with either press welders, robots, and still some by hand for lower volume. We had to do weld tear downs all the time to see that the spot welds were pulling a nugget of material showing it was a good weld. All of the welders had water cooled tooling and all of the robots had automatic tip dressers to clean the tips at scheduled intervals.
I have one of the Miller hand held spot welders but you do have to constantly dip the spot weld tips and arms in a bucket of water to cool them and you have to do tear down samples often to make sure the welds are good. There is no timer you have to count how long to hold the trigger a big guessing game. The clamping force that the home units have is not enough to correctly clamp the metal before welding. The factory style clamp with hundreds of lbs. of force. The program does more than just send the current. You will pulse the current to burn any oil, galvanize and coating off the material then the current for the weld is applied. You cannot control that at home you just guess.
When you plug weld you can actually see the weld is there.
To get all the rust, sealer and paint off I prefer to have the chassis dip stripped. It removes everything and they phosphate coat the clean steel to prevent rust until you get your epoxy primer applied. It does cost around $2,100 USD depending on size of vehicle. I have contacted this company and they are willing to allow me to take a few pics of the process but they would not allow video to keep some of the process propitiatory. My friend that restores cars has used them for years and is way better than media blasting that does distort the metal no matter wet or dry. It gets rid of all the old sealer so the rust under the sealer is also gone. https://chem-strip.com/portfolio/
Just a reminder about the seam sealer and undercoating Ford used back then. They used asbestos as a filler in both so a really good N-100 mask needs to be worn when removing it at home. I think Australia is cracking down on importing cars with asbestos even in brakes and clutches. Crazy but they are. Link to some info on the subject. https://oldtimerdaily.com/asbestos-law-blocks-import-of-classic-cars-in-australia/

 
I did not end up buying a spot welder, still using mig.

The RH quarter will need to be replaced around the wheel well and. shop in Germany has a RH 73 quarter but it’s for a fastback. The RH coupe version is out of stock so I’m wondering if I could use the fastback quarter...

 
Back
Top