SN71

7173Mustangs.com

Help Support 7173Mustangs.com:

This site may earn a commission from merchant affiliate links, including eBay, Amazon, and others.
Joined
Mar 12, 2011
Messages
657
Reaction score
7
Location
Connecticut
My Car
2011 Mustang GT
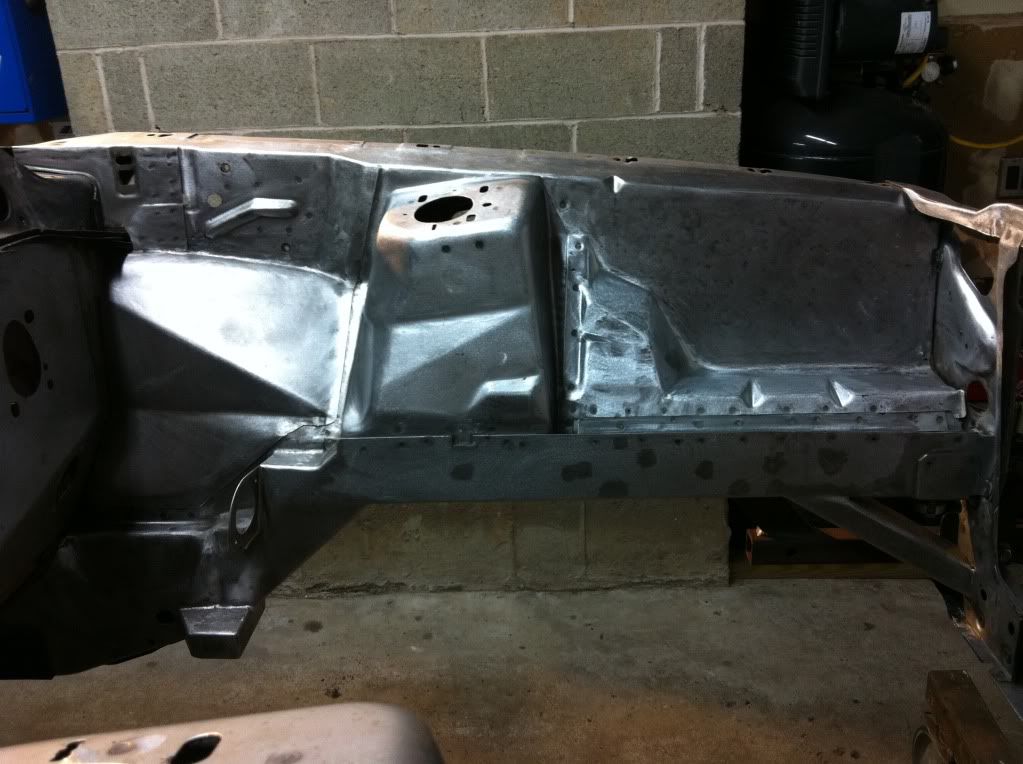
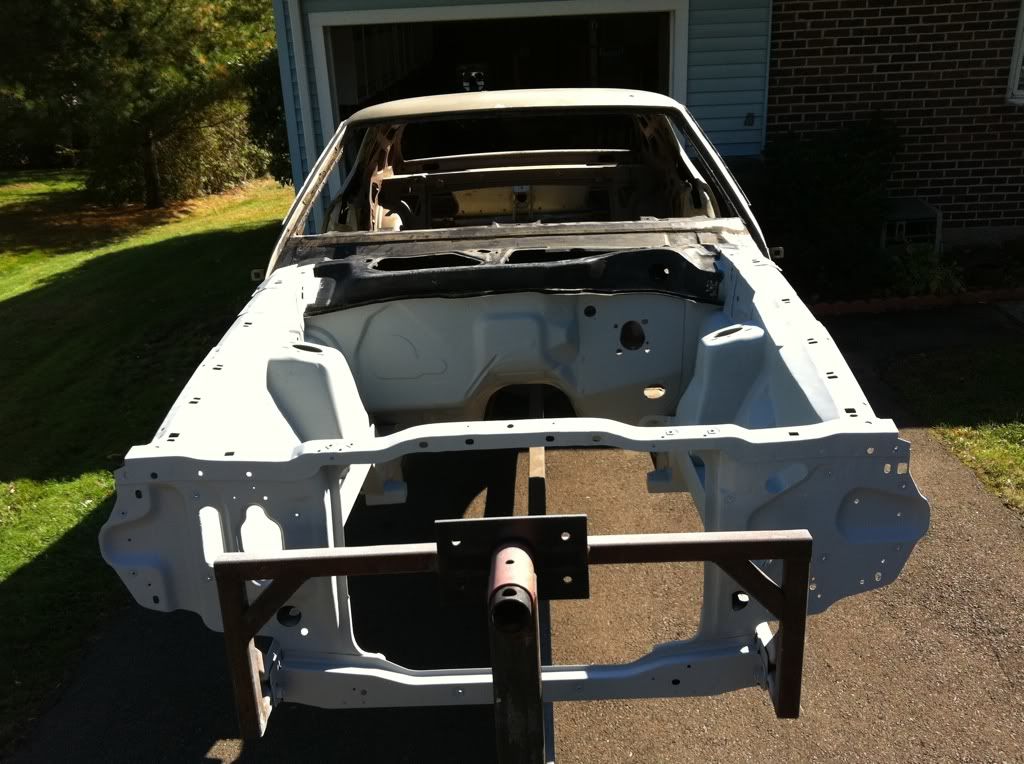
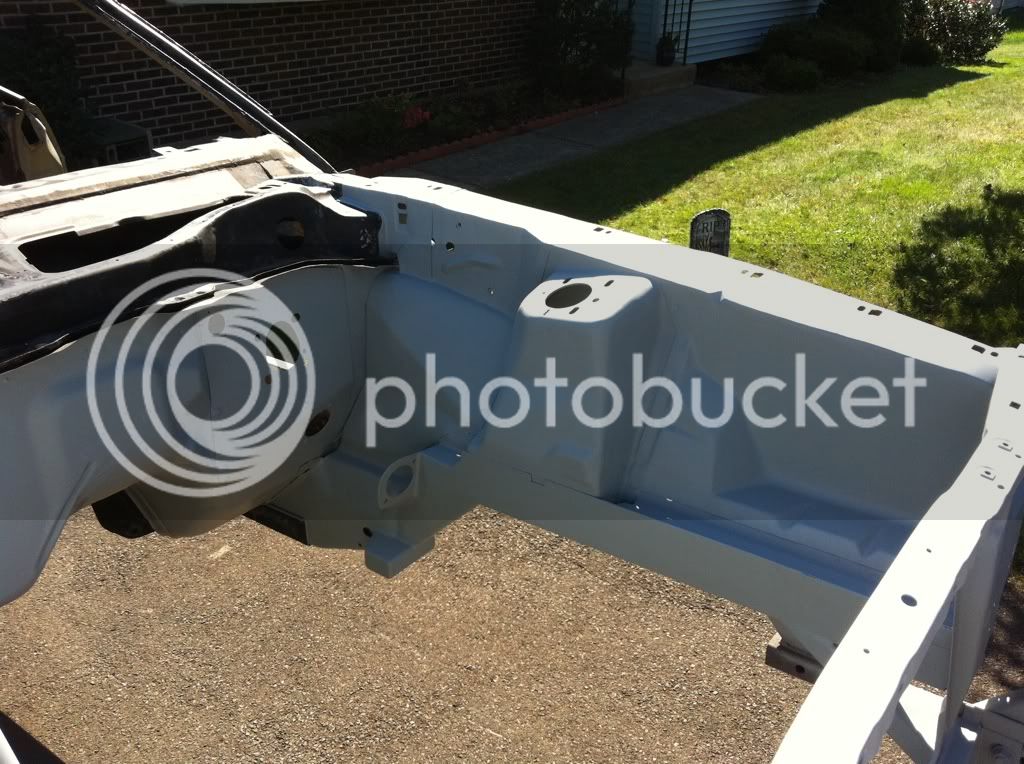
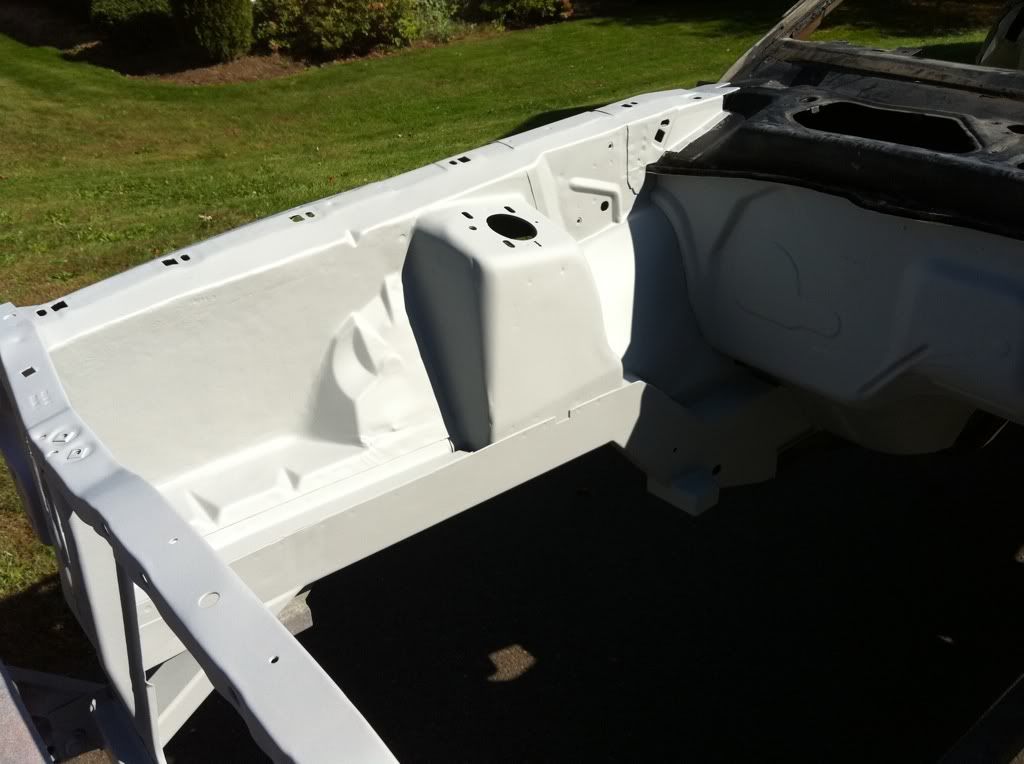
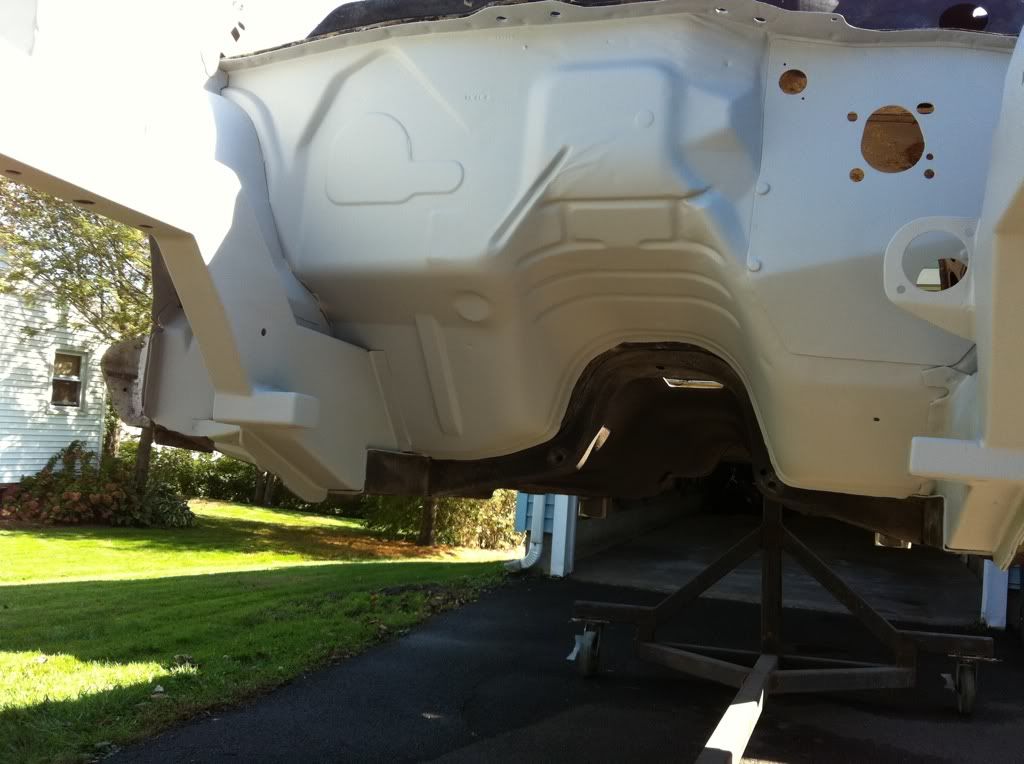
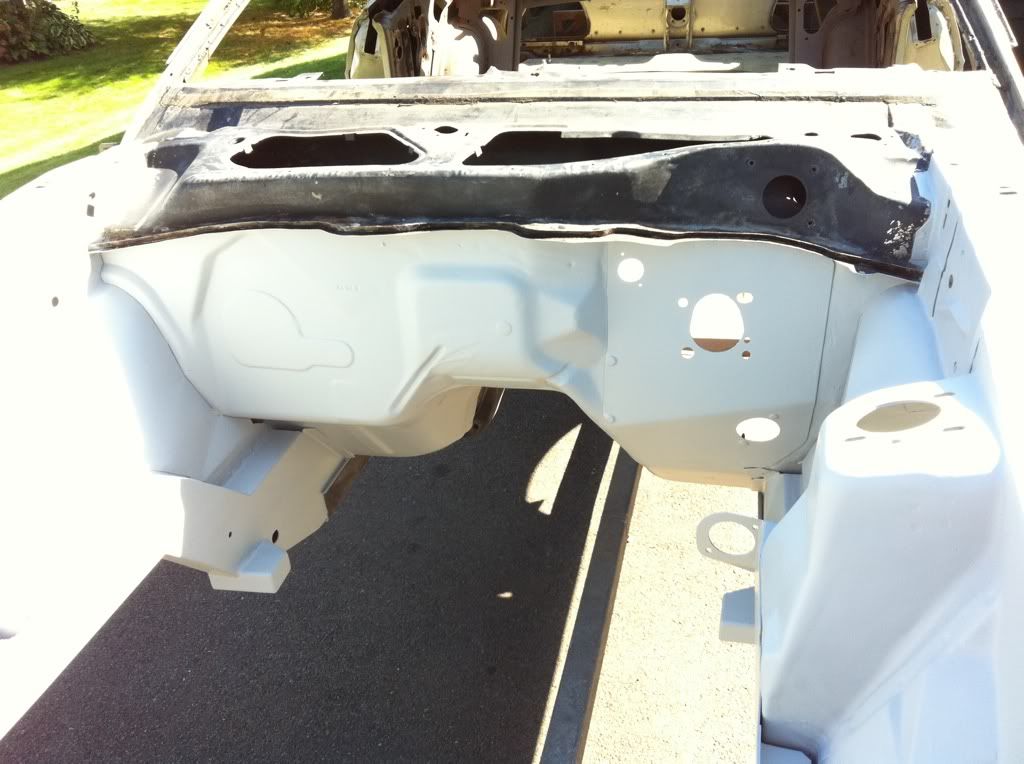
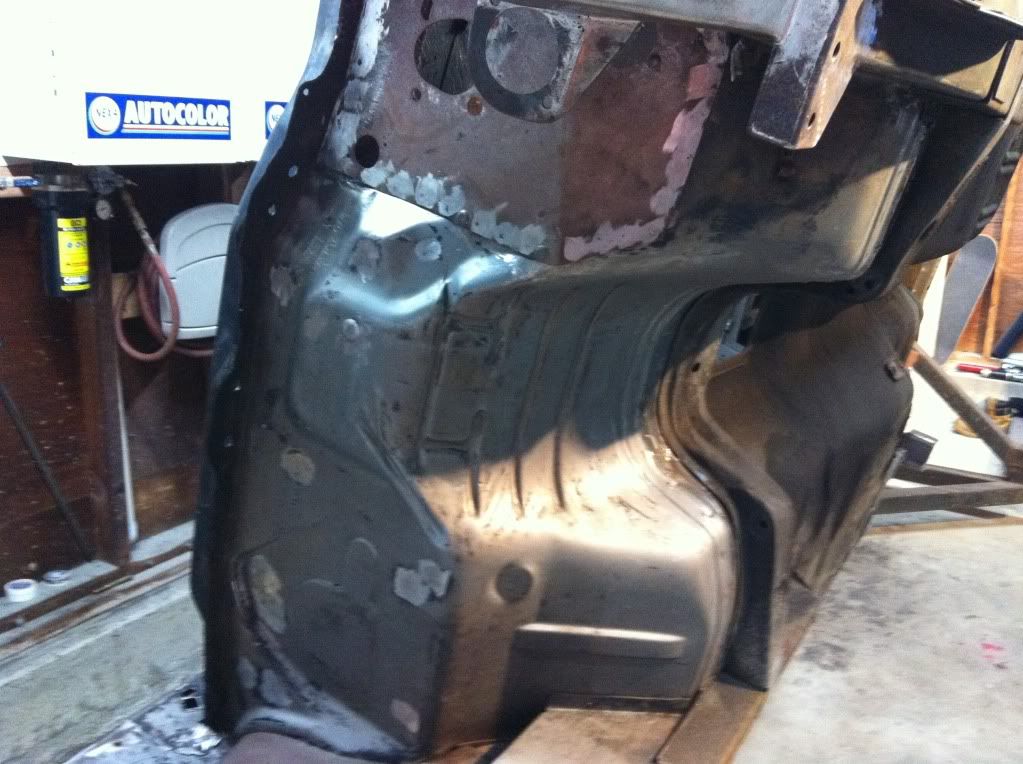
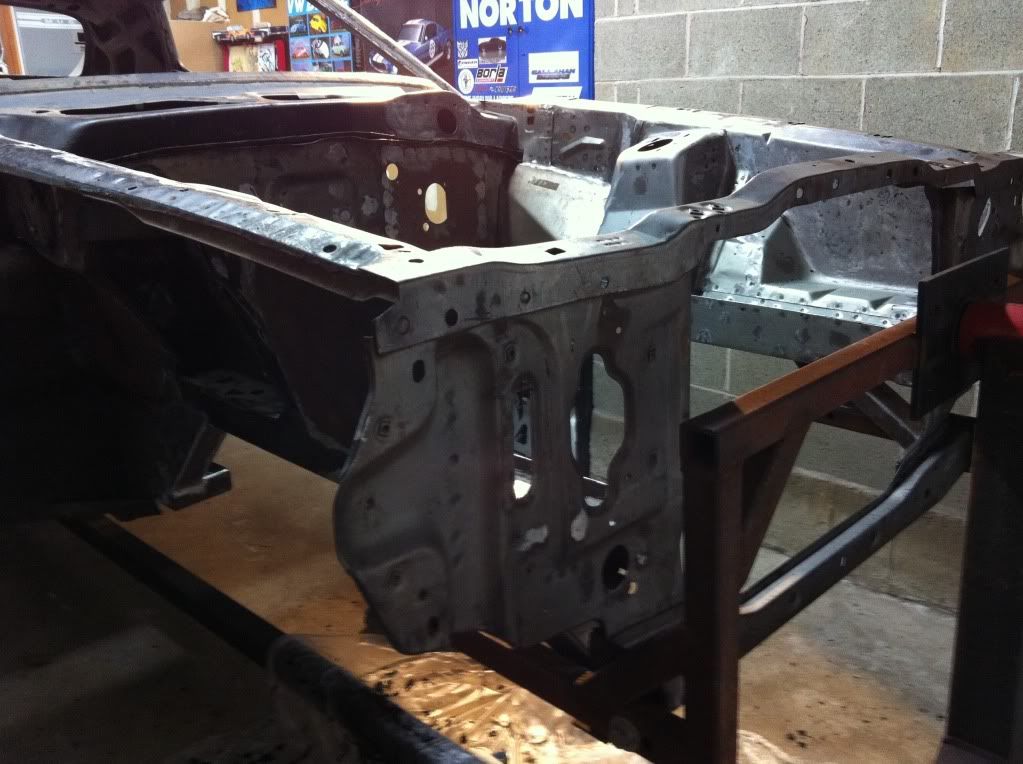
I'm moving along on my car finally! It's been about 2-1/2 years since I touched it. Here are some of the latest pics of where I am at the moment, the engine bay is finally ready for primer which has been a very long tedious process of measuring, cutting, welding, and grinding...lots of grinding! If you'd like to check out earlier pics of this project visit my website here and click on the Obsidian71 tab.

IMG_0614.jpg


IMG_0607.jpg


IMG_0627.jpg


I hope to update as often as possible...

Sometimes I get a little lazy with uploading pics. Tonight I plan to finish phosphate etching (started last night) the engine bay and prime it tomorrow, we'll see how it goes...

 
Yeah...those welds will all be smoothed out later! Some of the factory '71 welds are better looking then the late model ones. I already cleaned up all the slag around them from when they were done at the factory, and I'll fill the rest before final primer.

 
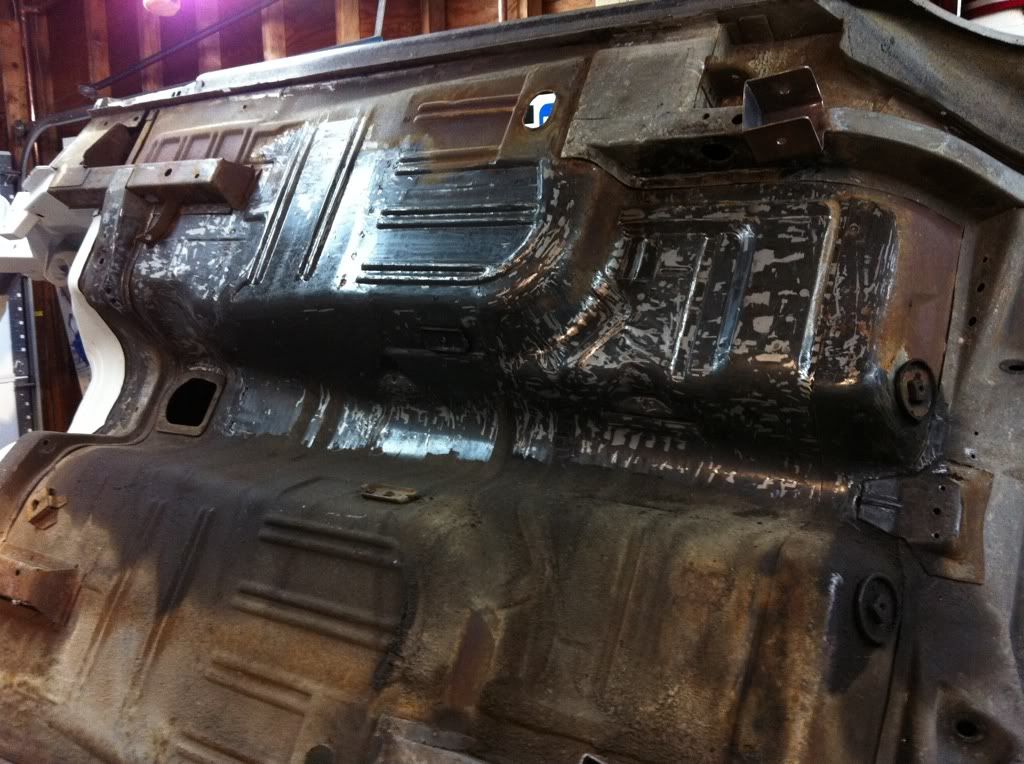
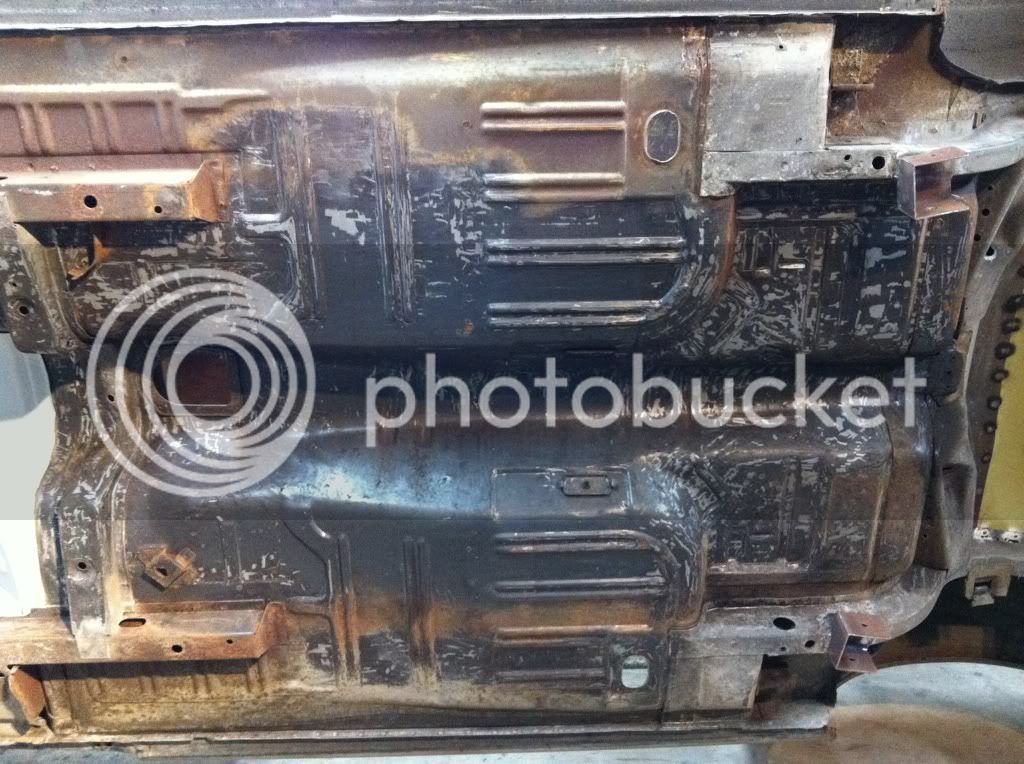
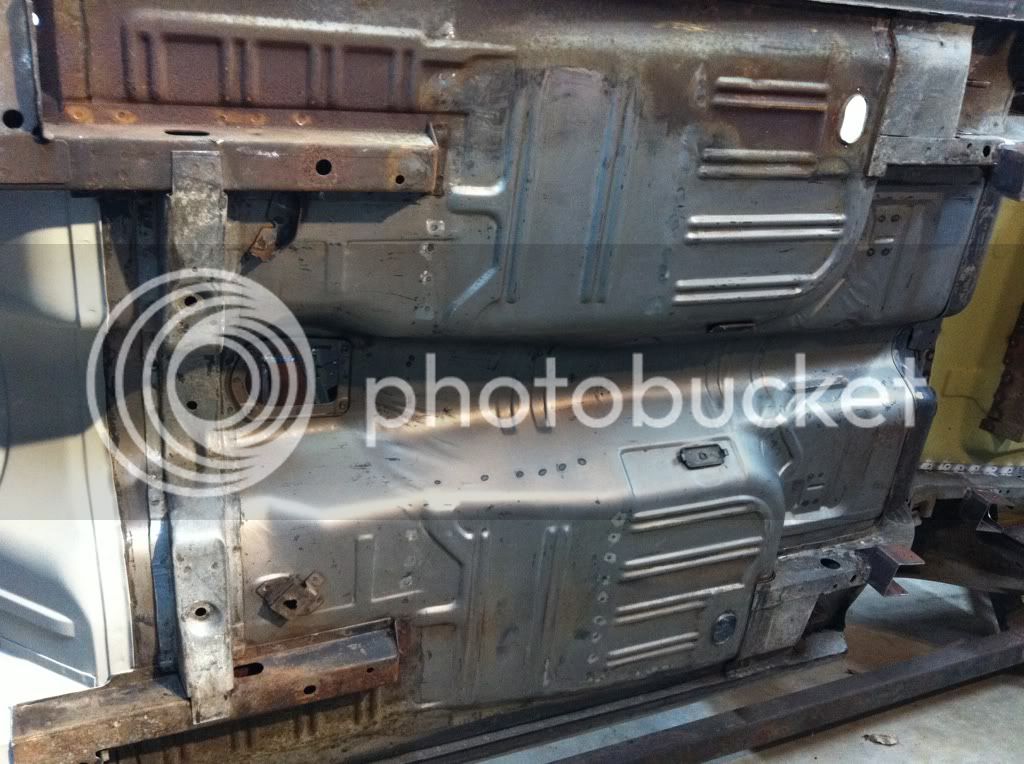
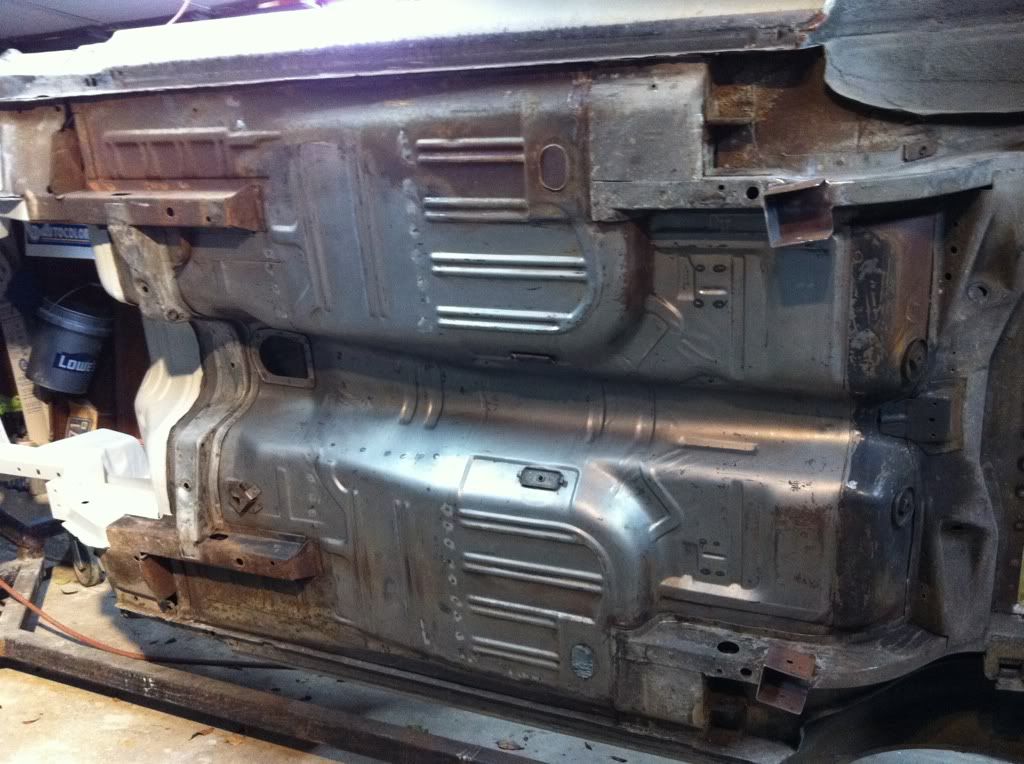
Started on the bottom of the floor...scraped, and stripped to bare metal, going to do the inside of the firewall and floor next and prime inside and out of the floors. I plan to get the whole underside primed except the trunk floor, rear rails, and wheel wells because I still have a little fabrication work to do for the IRS after it's off the rotisserie.

f0062e23.jpg


96a135b2.jpg


9b099555.jpg


19184059.jpg


Started on the bottom of the floor...scraped, and stripped to bare metal, going to do the inside of the firewall and floor next and prime inside and out of the floors. I plan to get the whole underside primed except the trunk floor, rear rails, and wheel wells because I still have a little fabrication work to do for the IRS after it's off the rotisserie.
Looking good man!! I've done the whole spin the car round and round activity on my 65. The kids thought it was amazing. I thought the results were amazing...so much easier to do it this way!

Be careful with IRS fabrications, I hear they frown upon such activities. :p


Question: Did you notice if your VIN # (or partial VIN) is stamped on the firewall on the inside? Reportedly it is stamped near where the cowl & firewall meet in the area behind the heater box. I couldn't locate mine but other users have located theirs.

Thanks.

.

 
Last edited by a moderator:
Just checked... no VIN on the firewall, all I found was what I believe to be the firewall part# D1ZBxx couldn't read the whole thing, we'll see when I strip the inside of the car next week.

I completely agree, there is nothing better than being able to spin the car around and do the bottom at eye level standing up! It'll definitely make for a much nicer job, scraping the undercoating and chem stripping would have really sucked with crap falling in my face! Especially the aircraft stripper...that stuff burns like hell when you get it on you!

 
scraping the undercoating and chem stripping would have really sucked with crap falling in my face! Especially the aircraft stripper...that stuff burns like hell when you get it on you!

Been there done that ruined the T-shirt:dodgy:

 
Nice job. Looks like a solid car to start with.
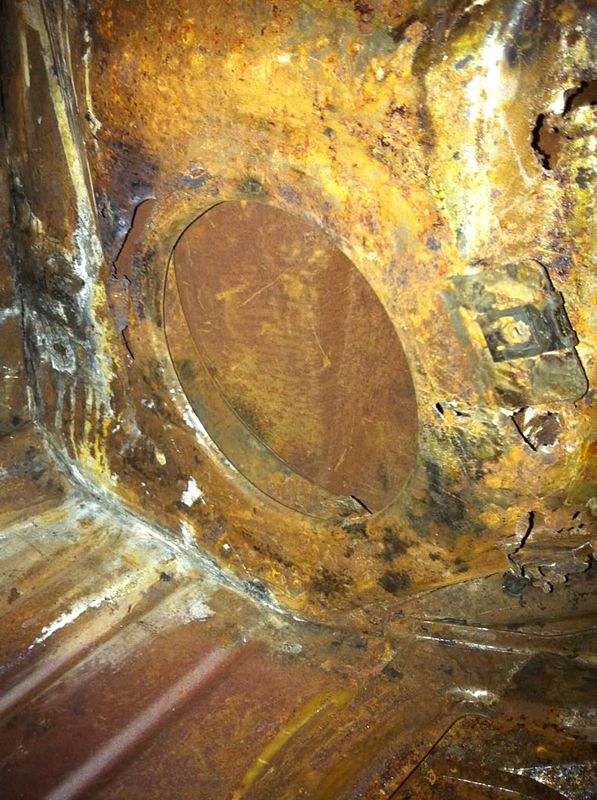
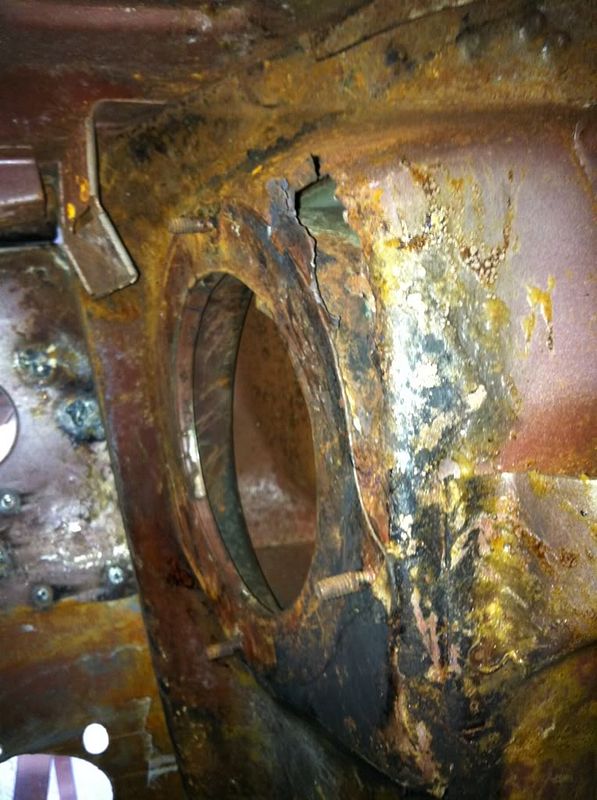
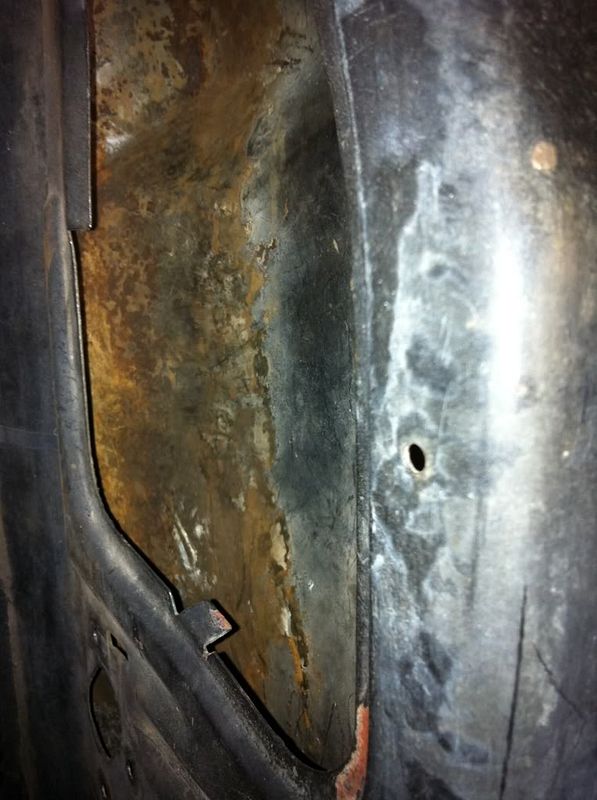
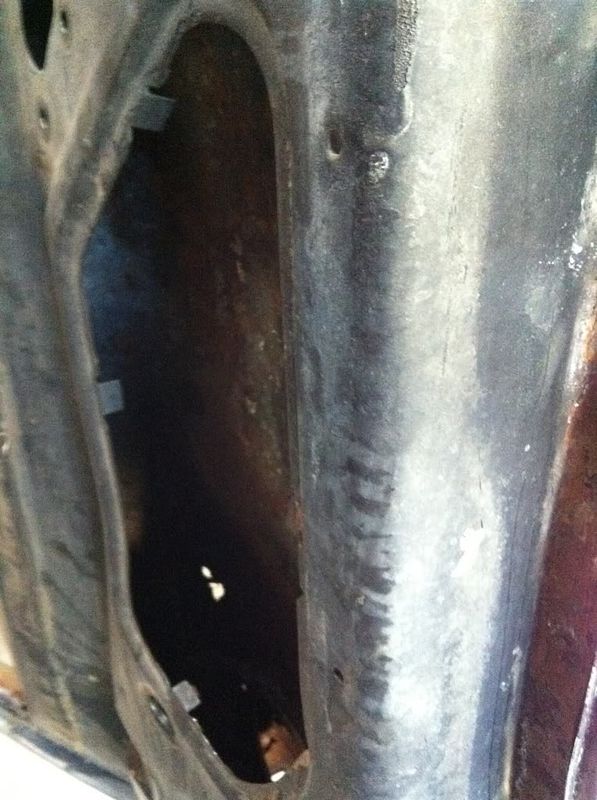
Funny you said that...I actually found more than I thought there was last night when I started really poking around under the cowl. Overall it is a pretty clean car though, all the rot consisted of was a few small spots in the trunk floor, the cowl, a few small spots under the rear glass & taillight panel, and the battery tray (which didn't matter because of what I did to the engine bay). This body was acually out of Arizona, the body I started with (which was my 1st car when I got my license) was unfortunately too far gone to do much with. It needed wheelhouses, quarters, full cowl, both full length floors, rad support, taillight panel, door bottoms, the list goes on... I felt bad getting rid of my first body for sentimental reasons, but by the time I was done with it, it would have all been pretty much new sheet metal anyway except for the roof. So I figured it was best suited to dump it in favor of a rust free shell and keep whatever I could from the first one. A handfull of parts will carry over, sometimes you just gotta know when to hold 'em, and when to fold'em. I still consider it my first car, because it was identical in every way except for the rot. In fact, beleive it or not, the ignition keys were even identical! Each one worked in the other car, and when held up to each other the cut was exactly the same, talk about meant to be! I checked through the VIN's, one started in CA, and the other in NJ, so apparently Ford only had so many key cut cominations, but they were smart enough to send the twins to different sides of the country. I consider them seperated at birth...

Anyway, here's some pics of the cowl.

736e6122.jpg


83be58fe.jpg


11292e5f.jpg


a4ae1173.jpg


BTW...anyone ever try to scrape the seam sealer out from inside the cowl? What a friggin' PITA!!! had to use a mirror to see some spots to make sure I got it all and kept getting screwed up working in the mirror because every move I made was backwards! Don't know how the dentist does it!
 
Those are the best photos of a rusty cowl I've seen, pretty much tells me that I'll need the rotisserie whenever I can get to mine. I also have rust spots around the front windshield pillars... mine is bad enough that I'll need to remove the top of the cowl panel I'm sure. Thanks for posting and keeping us up to date!

 
Yeah... Like I've mentioned previously, the rotisserie is awesome! IMHO I just don't think you can do a truly thorough job without one...at least not very easily! I built mine myself for about 85 bucks worth of used steel and scored the castors for free. Oh yeah, I also sacrificed 2 engine stands for the tops... Can't beat it!

 
Back
Top