- Joined
- Aug 12, 2010
- Messages
- 8,347
- Reaction score
- 740
- Location
- San Angelo, Texas
- My Car
- 1971 Mustang Mach 1
After chasing down the missing parts, and chasing my tail on a few things, it’s finally done and ready to go back in.
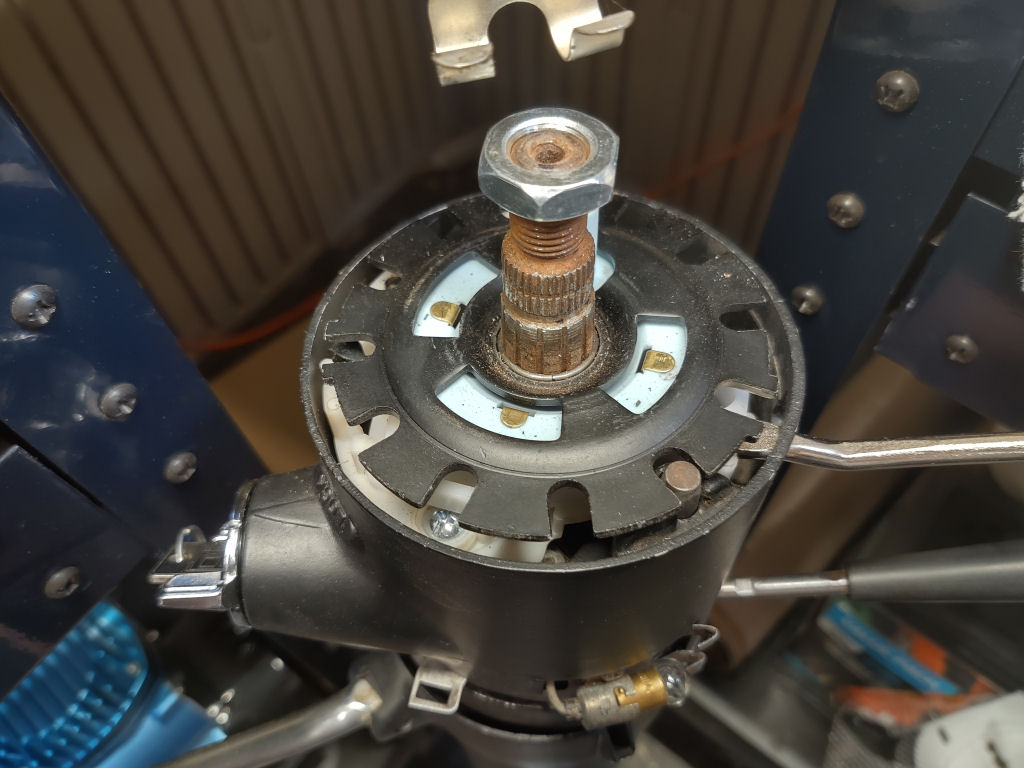
That steering wheel nut (top) acted like it didn’t want to go on, but after chasing down alternatives for the past few weeks, I finally just threaded it on and used a set of Vise Grips to run it down. It resisted (like I was cross threading it) for a few turns, but then ran down smoothly. When I pulled it back off, there was no damage to the threads. That rusty dust on the locking plate must be the stuff that had built-up and fought me through it all. Glad THAT’S done.
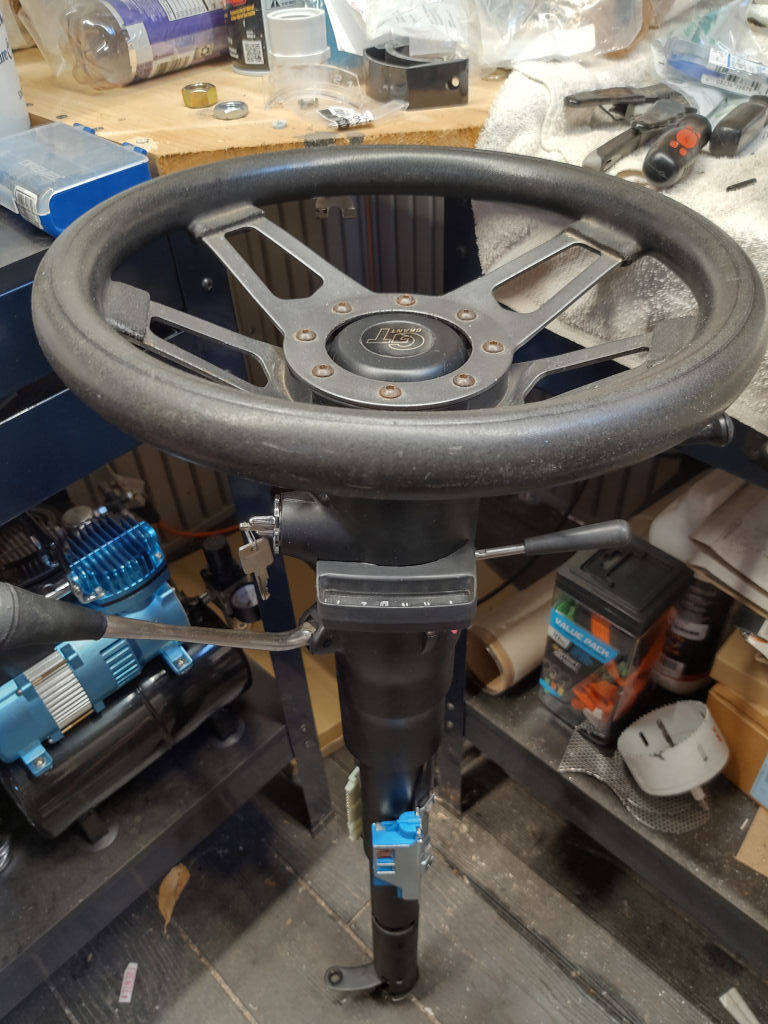
Got the wheel on! I had to ‘customize’ the Grant adapter kit to make it all work, but then again that seems to be the norm (I just hope the horn’s not blaring when I connect up the power – LOL!). Also epoxied the shifter knob on and made a new indicator needle. The indicator housing was missing a small plastic bit that locks it into place, but apparently a 3/4″ sheet rock screws works just fine (and will never be seen, anyway).
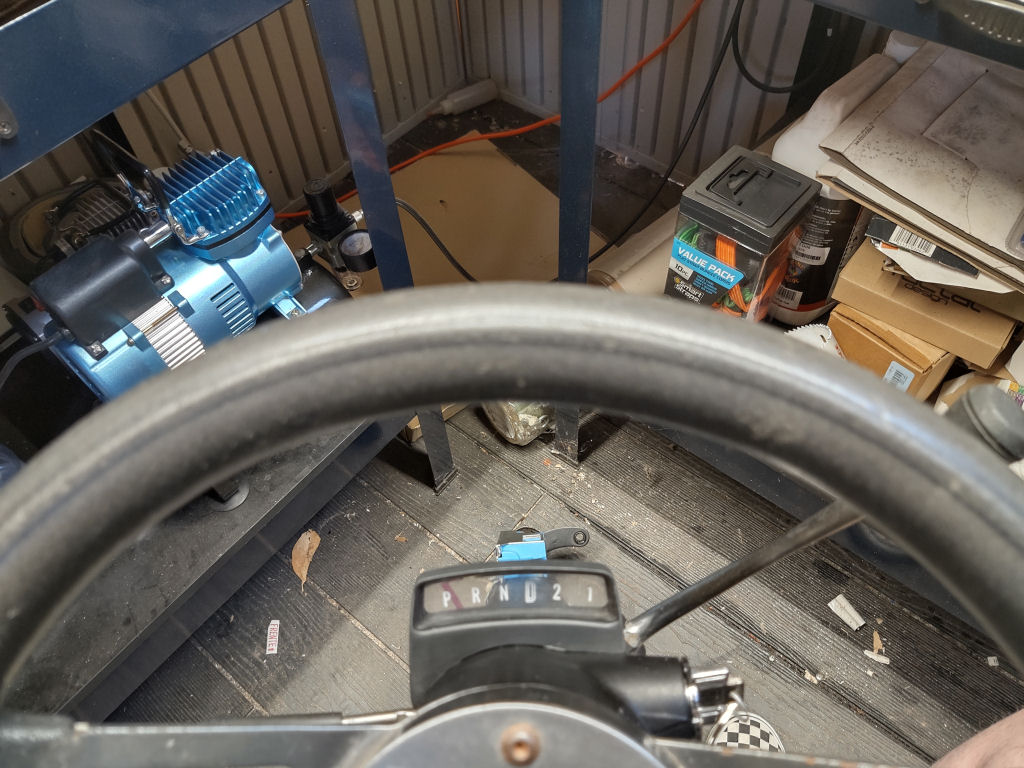
I made an indicator needle out of a piece of 3Doodler stock. I drilled a hole through the stock needle piece where its needle extension had broken off, and stuffed the 3Doodler stock into it, then cut to length. Hopefully, it’ll last awhile. It’s translucent so it might even light up with the dash lights… we’ll see, I guess.
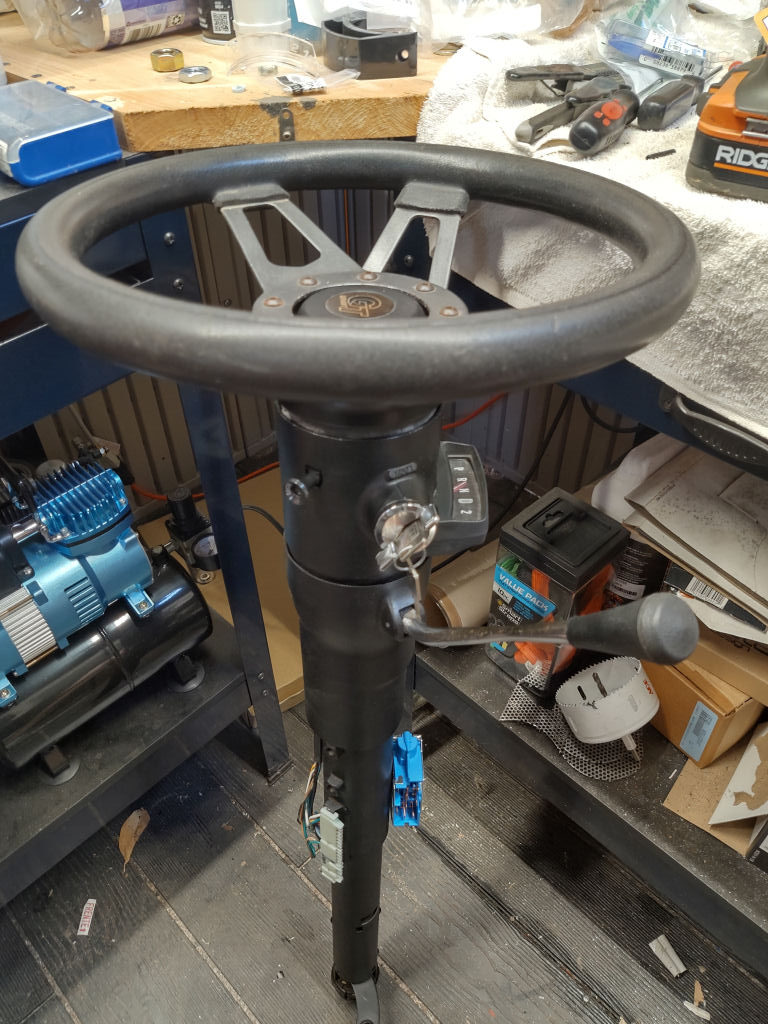
All done! Ready to go back in – Yay!
Next up: install and wire a Holley Mighty Mite electric 'lift' fuel pump and start working on the Lokar shifter & kick down cables, ATF cooling lines, service the transmission & T-Case, install the T-Case shifter along with the floor plate & boot, then I should almost be done underneath to get ready for the exhaust.

That steering wheel nut (top) acted like it didn’t want to go on, but after chasing down alternatives for the past few weeks, I finally just threaded it on and used a set of Vise Grips to run it down. It resisted (like I was cross threading it) for a few turns, but then ran down smoothly. When I pulled it back off, there was no damage to the threads. That rusty dust on the locking plate must be the stuff that had built-up and fought me through it all. Glad THAT’S done.

Got the wheel on! I had to ‘customize’ the Grant adapter kit to make it all work, but then again that seems to be the norm (I just hope the horn’s not blaring when I connect up the power – LOL!). Also epoxied the shifter knob on and made a new indicator needle. The indicator housing was missing a small plastic bit that locks it into place, but apparently a 3/4″ sheet rock screws works just fine (and will never be seen, anyway).

I made an indicator needle out of a piece of 3Doodler stock. I drilled a hole through the stock needle piece where its needle extension had broken off, and stuffed the 3Doodler stock into it, then cut to length. Hopefully, it’ll last awhile. It’s translucent so it might even light up with the dash lights… we’ll see, I guess.

All done! Ready to go back in – Yay!
Next up: install and wire a Holley Mighty Mite electric 'lift' fuel pump and start working on the Lokar shifter & kick down cables, ATF cooling lines, service the transmission & T-Case, install the T-Case shifter along with the floor plate & boot, then I should almost be done underneath to get ready for the exhaust.


