- Joined
- Feb 14, 2016
- Messages
- 524
- Reaction score
- 2
- Location
- Clover
- My Car
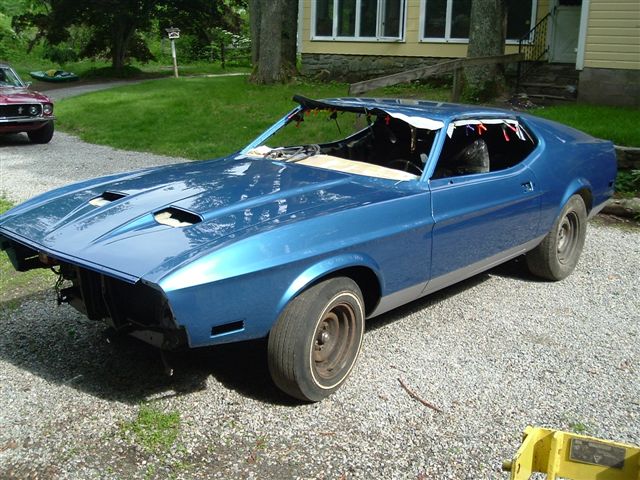
- 72 Mach 1, Q code 351CJ, 4 speed.
I am stuck in a rut and trying to figure my way out. I don't know where to start so I am just procrastinating at doing anything to it!!! Here are the major areas that need attention but in what order???? :shootself: :shootself:

So where do I start? rofl rofl rofl
- Engine runs but needs carb rebuilt and new headers. PO dropped the car or bottomed out on something and crushed it.
- Interior is all out but the drivers seat. I have to replace most of it as it was missing
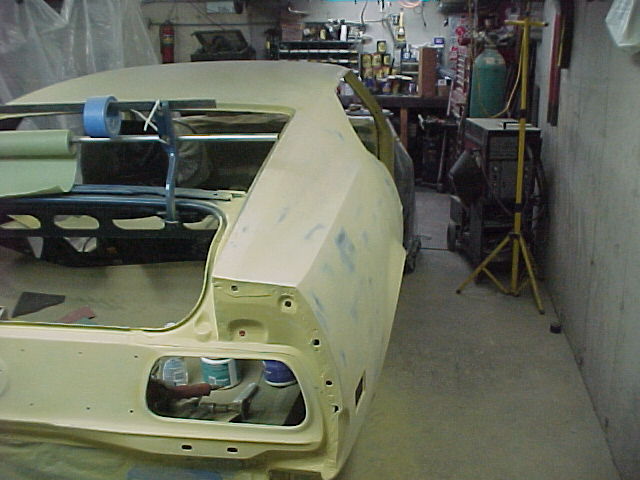
- The floor pan needs some welding to finish the PO's R&R.
- Needs tires
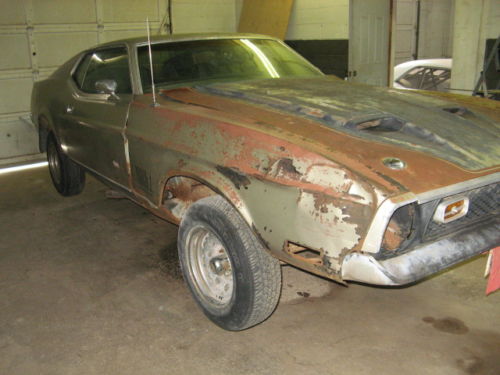
- Needs some dent repair
- needs painting
- Parts of the AC are missing.
- Heater controls not working.
- Suspension is in decent shape so I was going to save that till later and do an upgrade instead of OEM rebuild.
- Brakes are done.
So where do I start? rofl rofl rofl