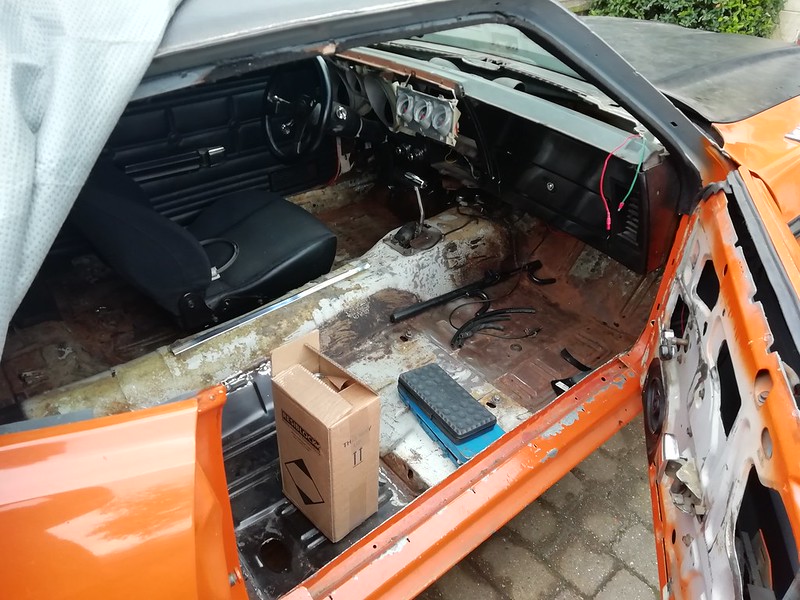
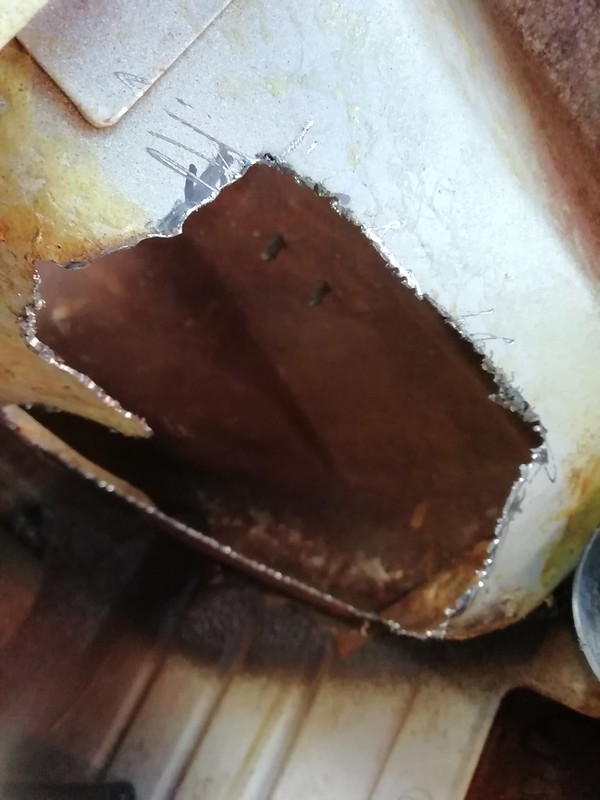
New whole floor pan is about $600; remove all combustibles from car before any welding... basically once this is done, the foundations for a great car are there.
Last edited by a moderator:


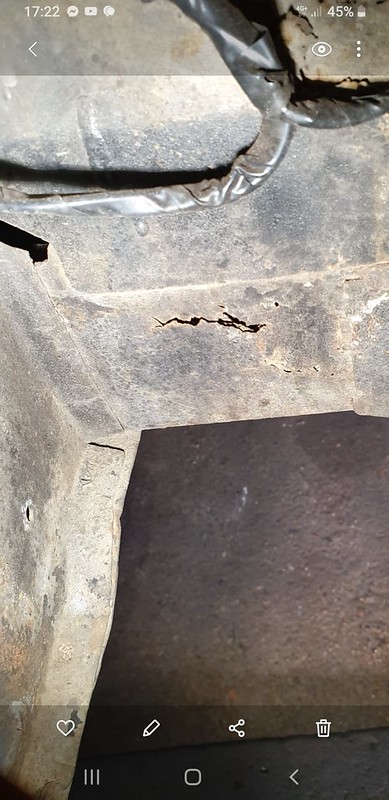


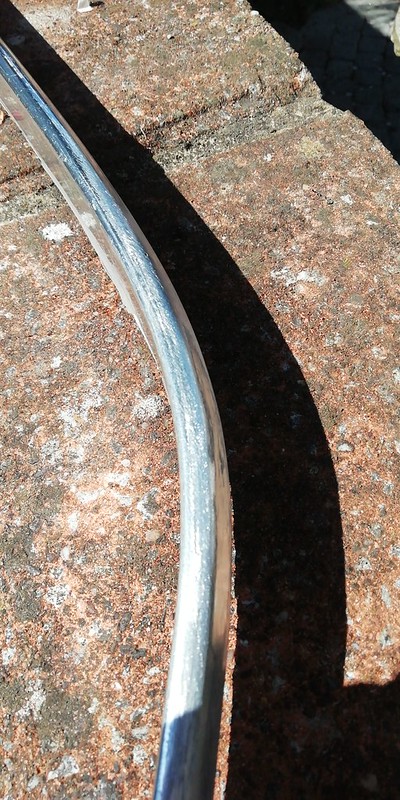
 RHS Rear floor pan by Fatboy 18, on Flickr
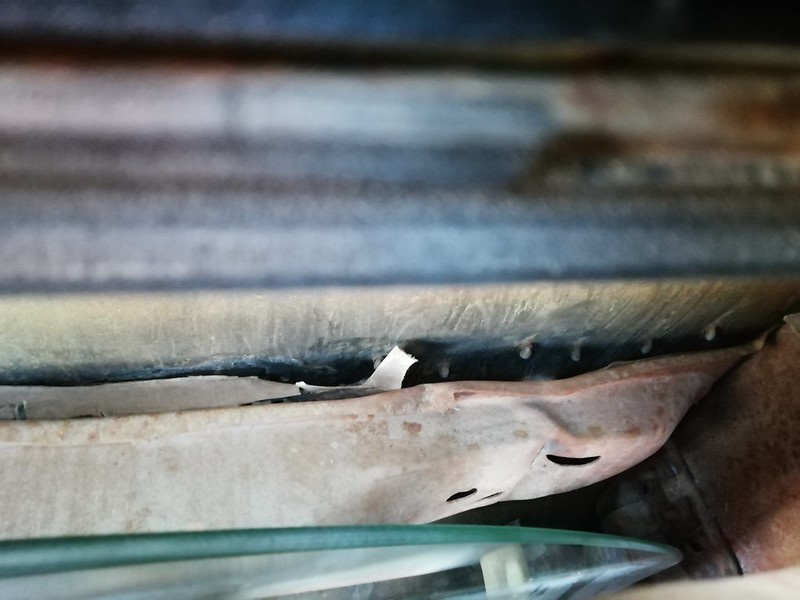
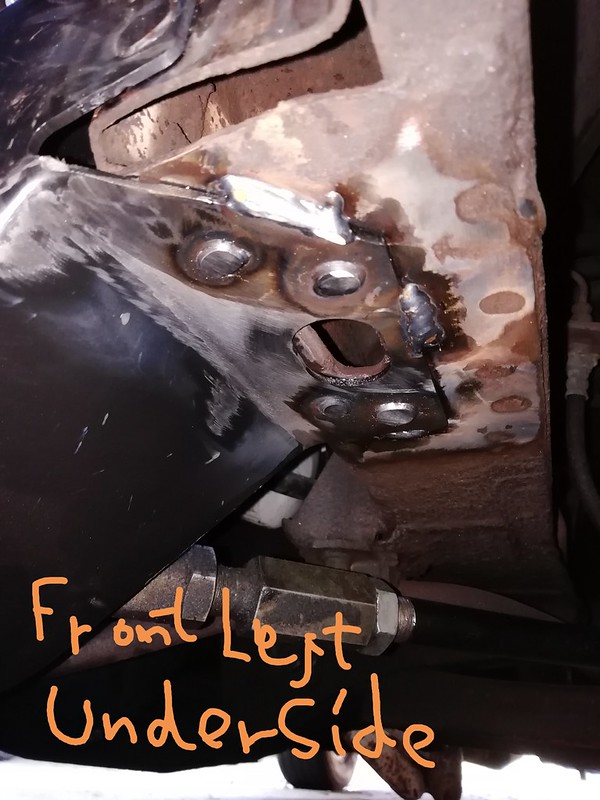 IMG_20200415_143210 by Fatboy 18, on Flickr
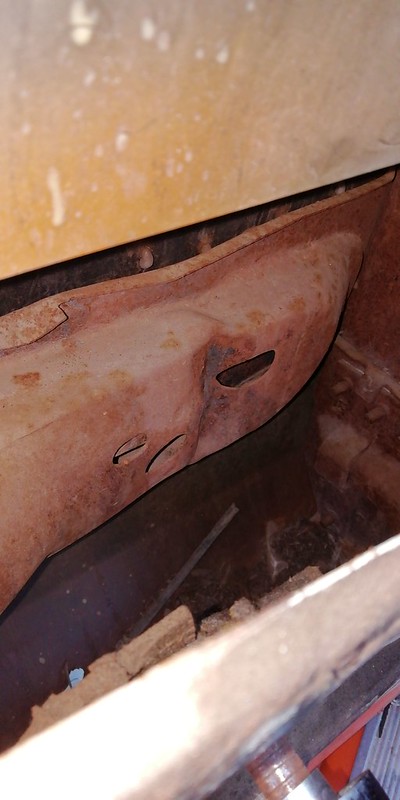
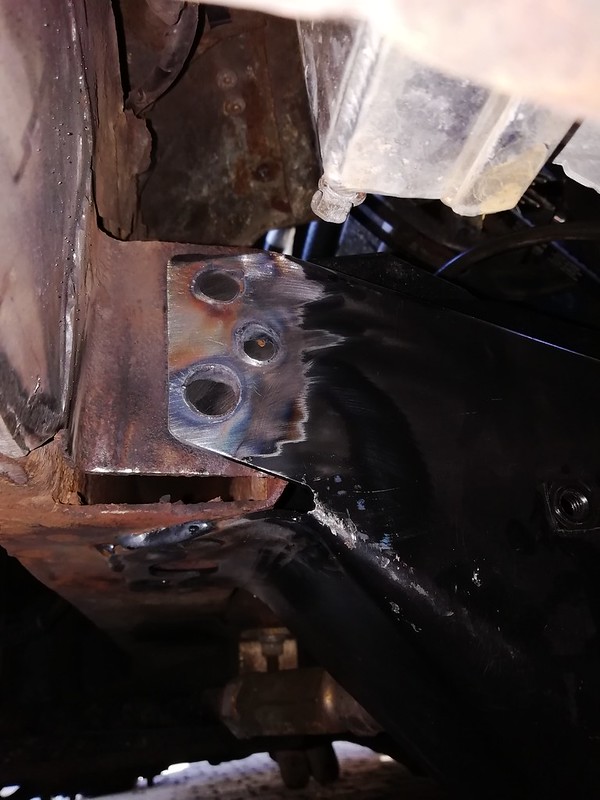 IMG_20200414_162509 by Fatboy 18, on Flickr
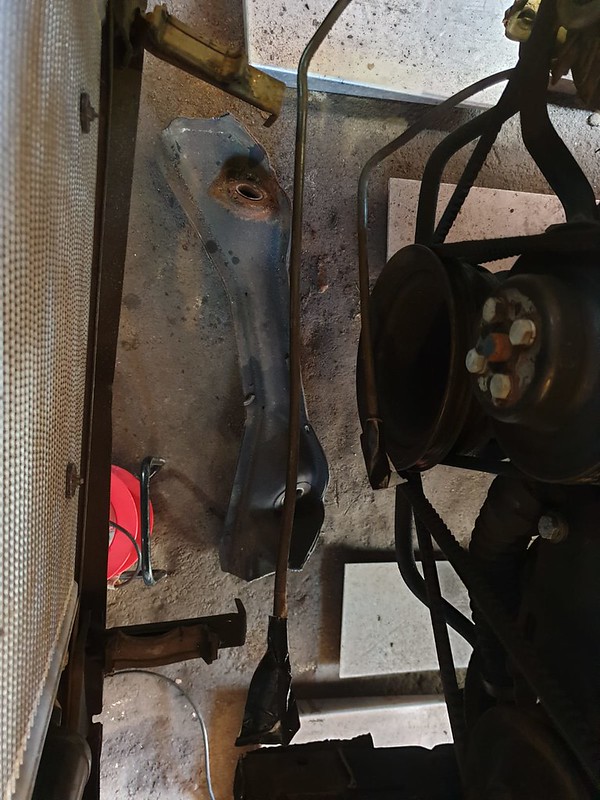
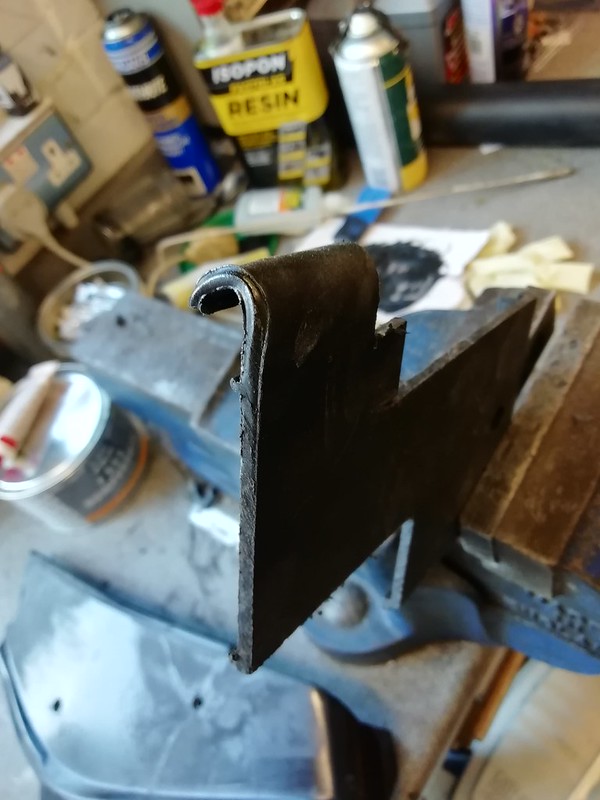
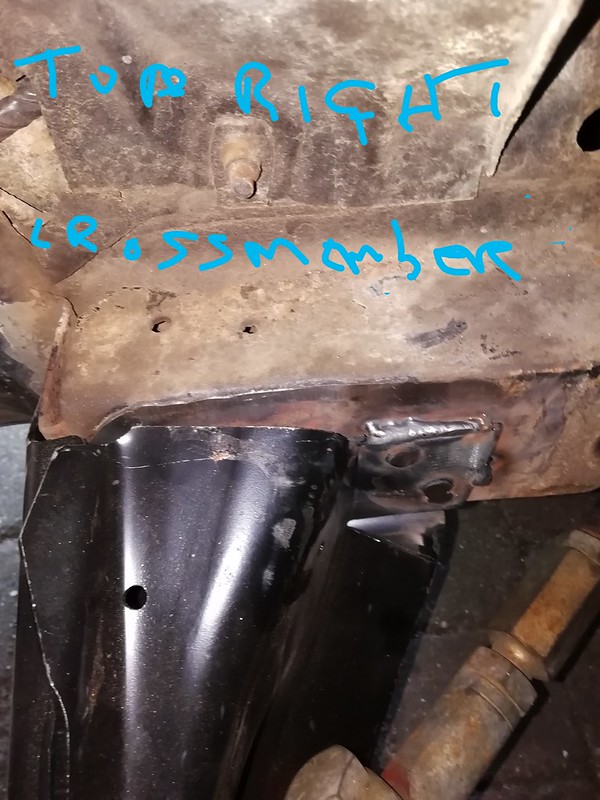 RHS Front Crossmember welding by Fatboy 18, on Flickr
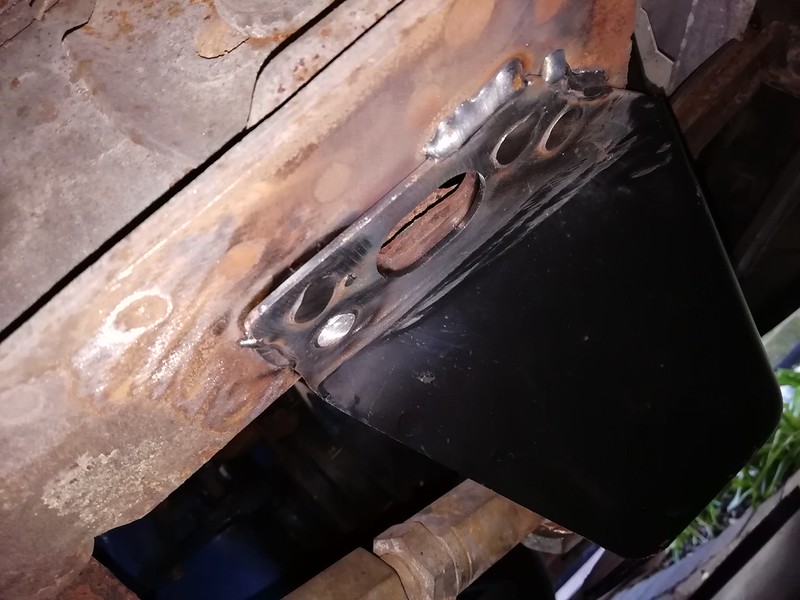 IMG_20200414_162532 by Fatboy 18, on Flickr
 IMG-20200412-WA0070 by Fatboy 18, on Flickr
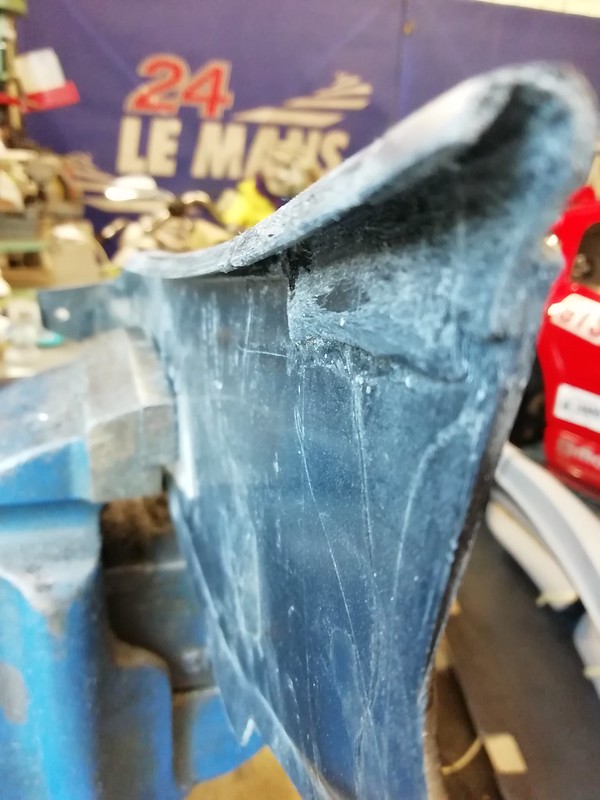
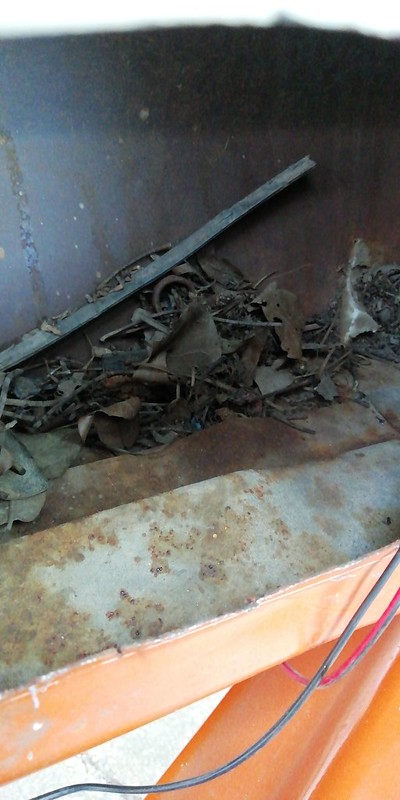
 IMG_20200415_144513 by Fatboy 18, on Flickr
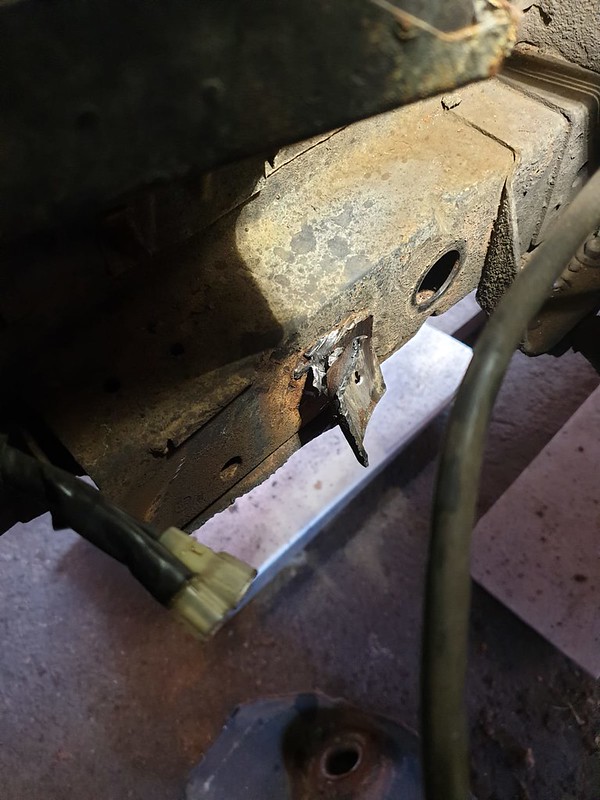
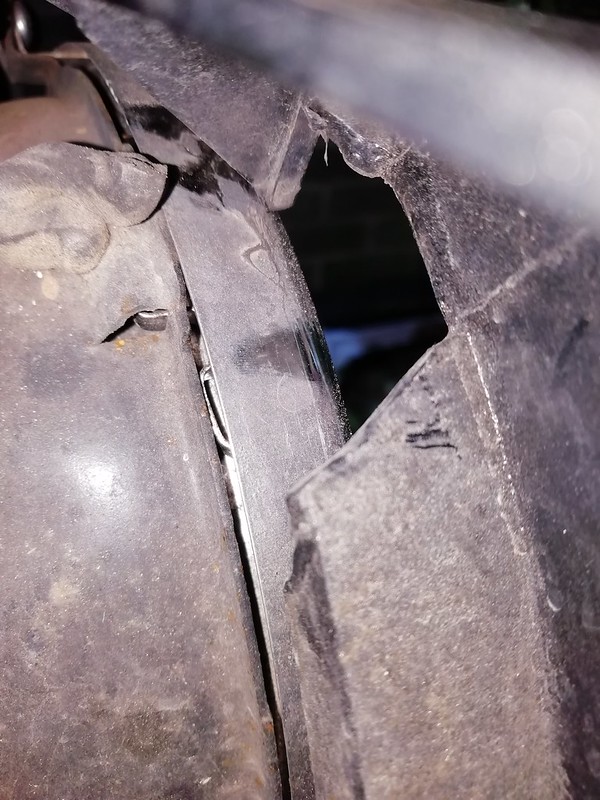 Missing rear grille tab RHS by Fatboy 18, on Flickr
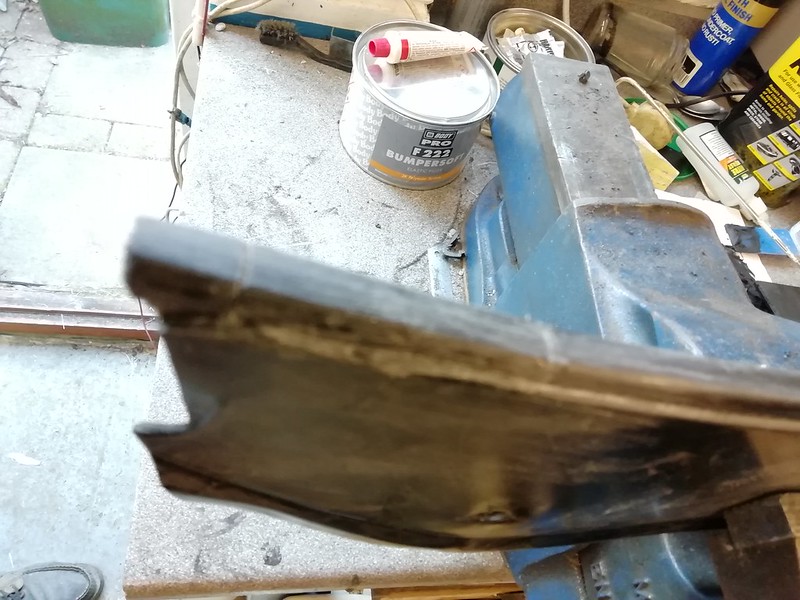
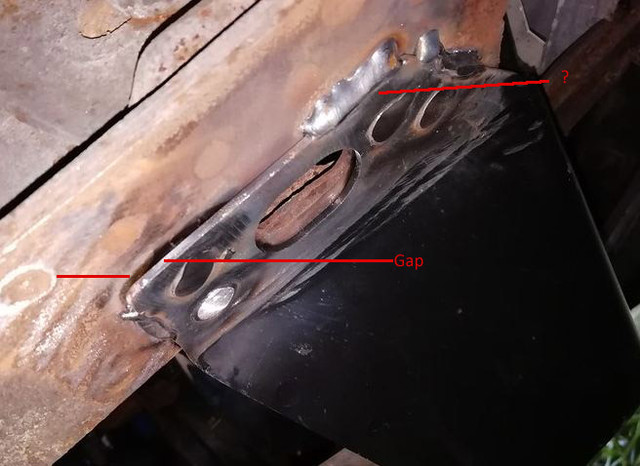
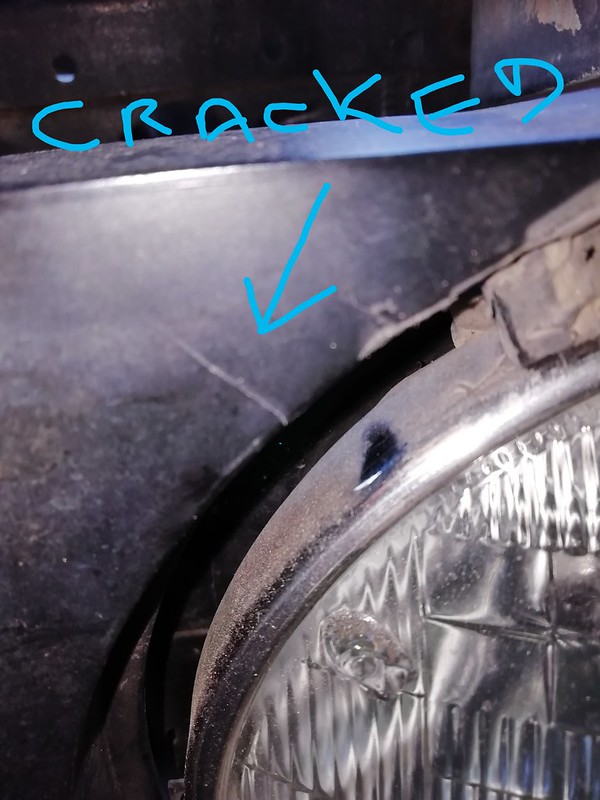 IMG_20200415_145301 by Fatboy 18, on Flickr
 IMG_20200414_162142 by Fatboy 18, on Flickr
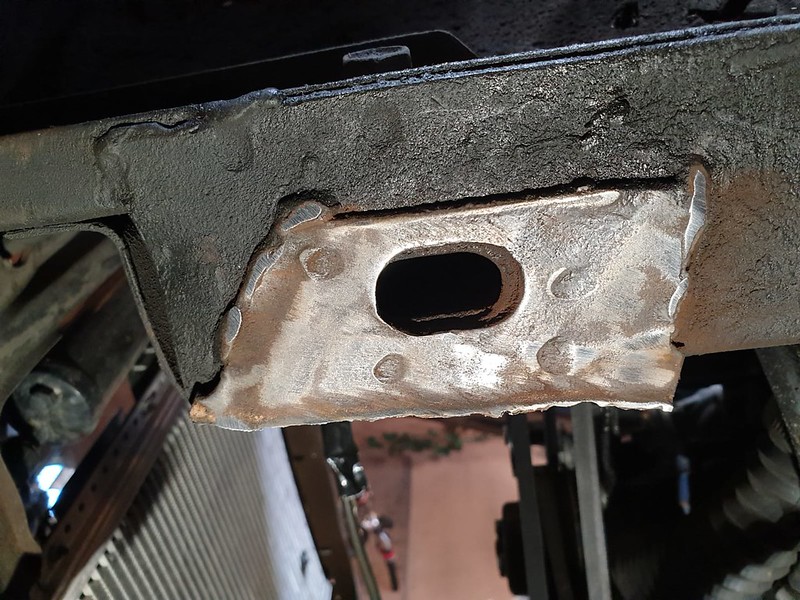
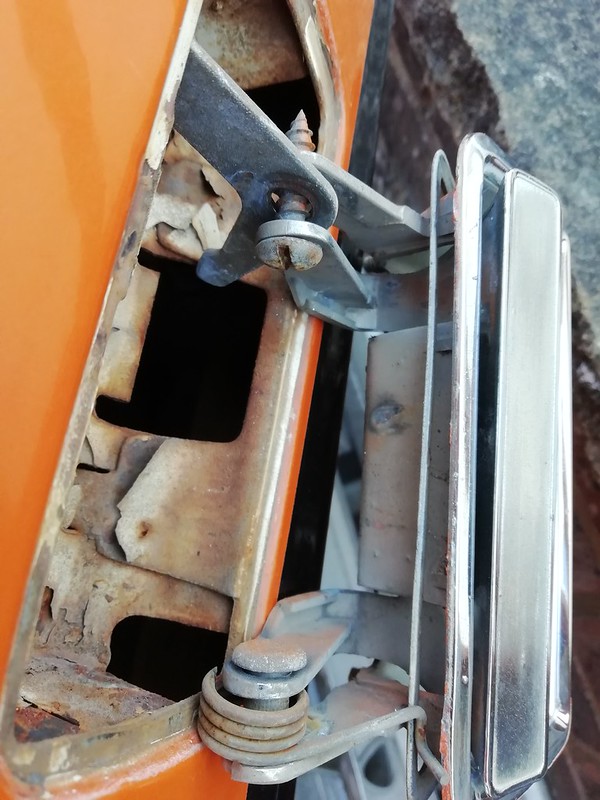
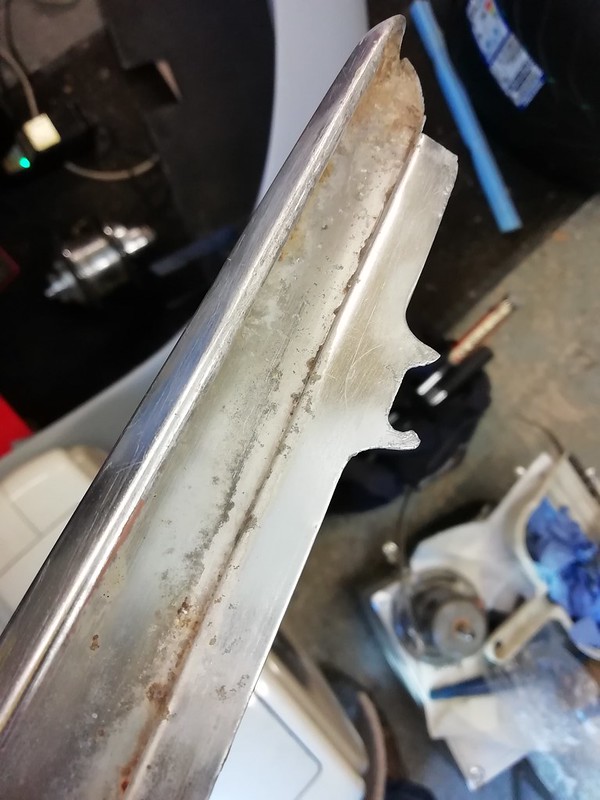
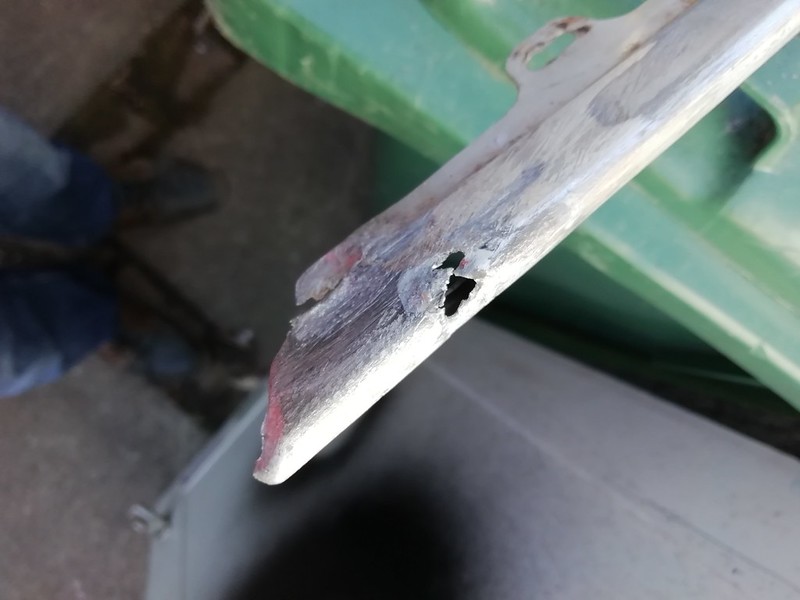
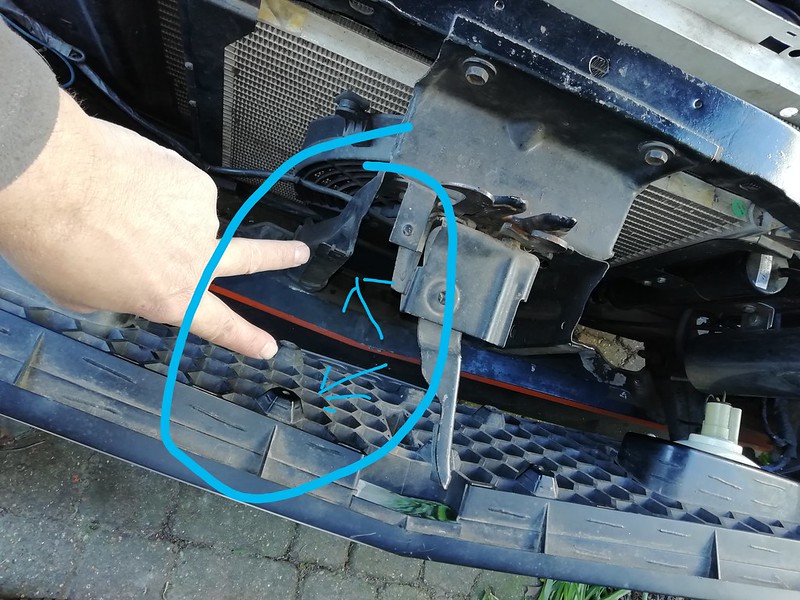 Mach 1 Grille missing fixings by Fatboy 18, on Flickr


 :shootself:
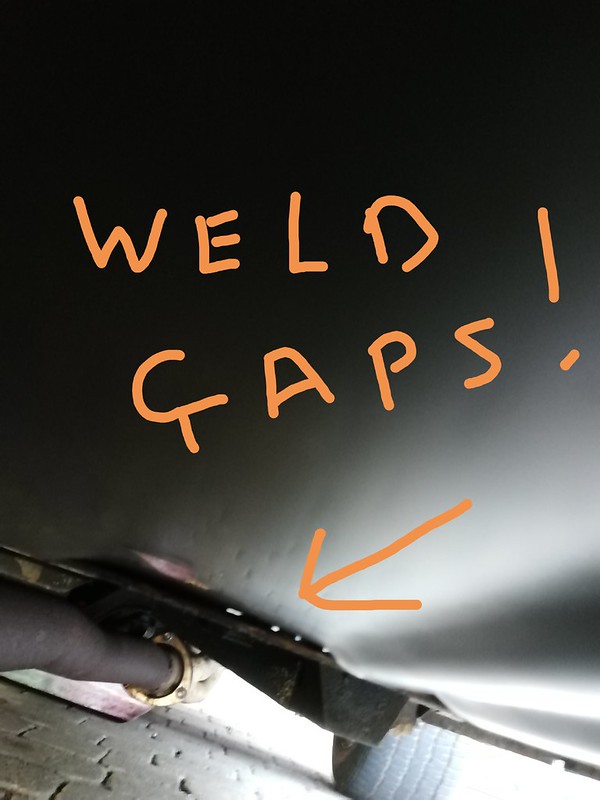
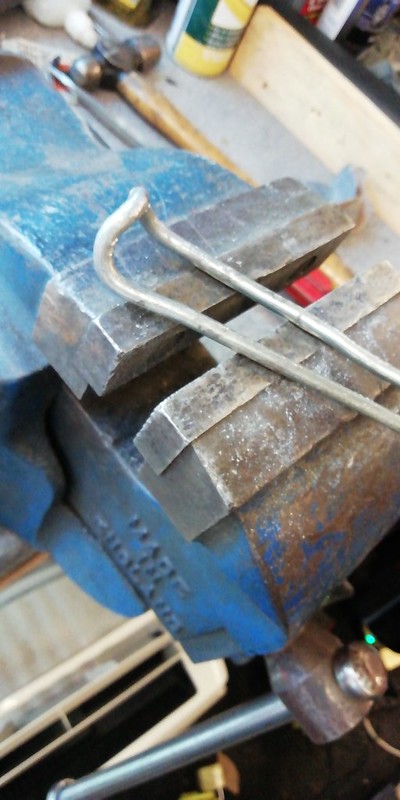
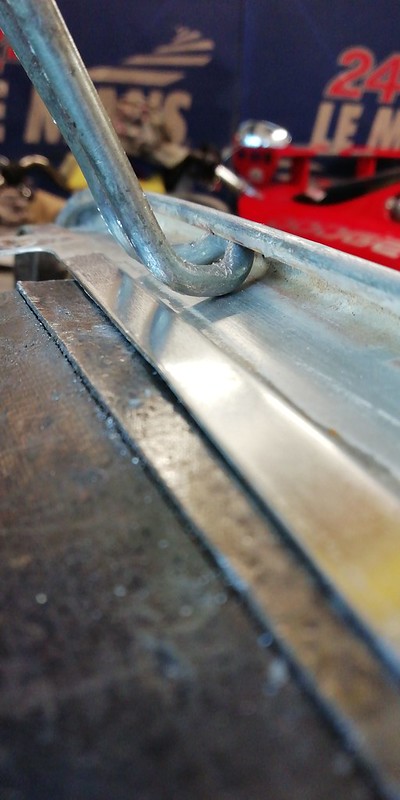
 You're welcome. If there are other pictures you need, let us know. As for finding those, perhaps Don at OMS might be your best bet for the bracket supports.Thank's guys, Kind of what I figured on the welding
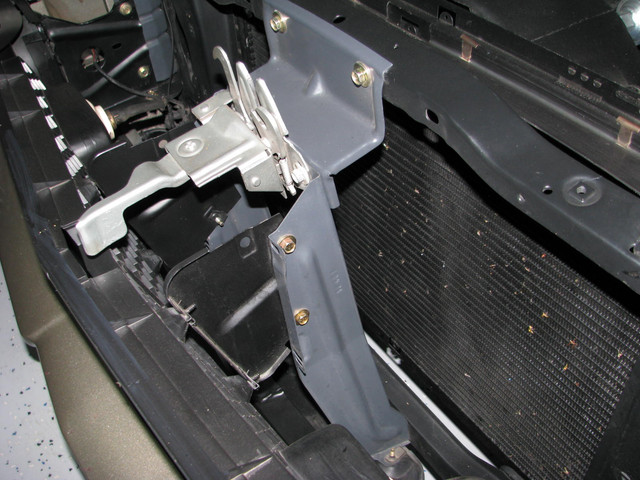
Thanks for the pictures of the Grille support brackets, I have the long Grey ones fitted its the shorter black brackets that I need.

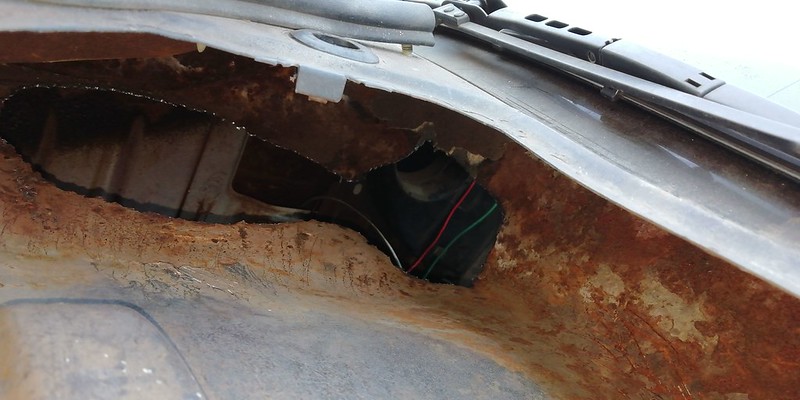

Holy F*** Bat Man!! Sorry to say the seller of that car really misrepresented it. I'm sure you'll get it back to where it should be in due time. We're all here to help, just ask if you need anything..... except money!Thank you StangLover for the extra pics :coolphotos: 100% I will be replacing the fuel lines.
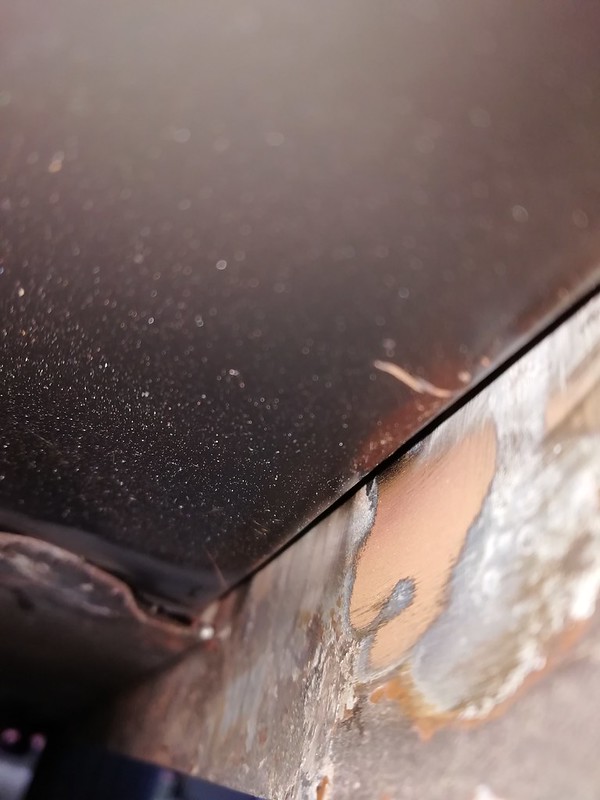
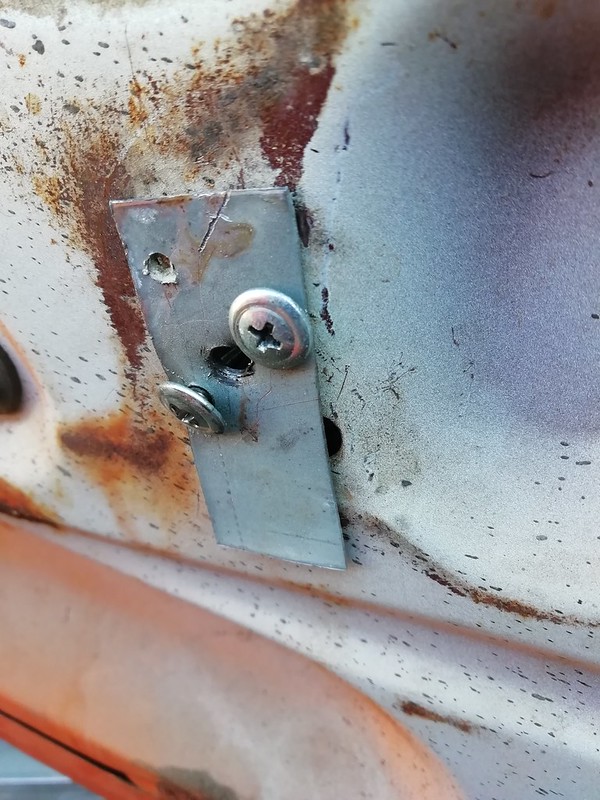
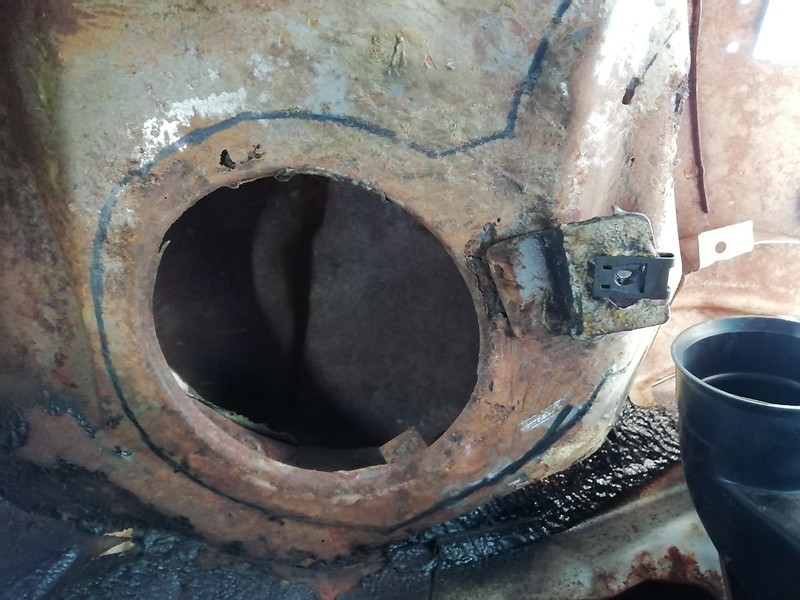
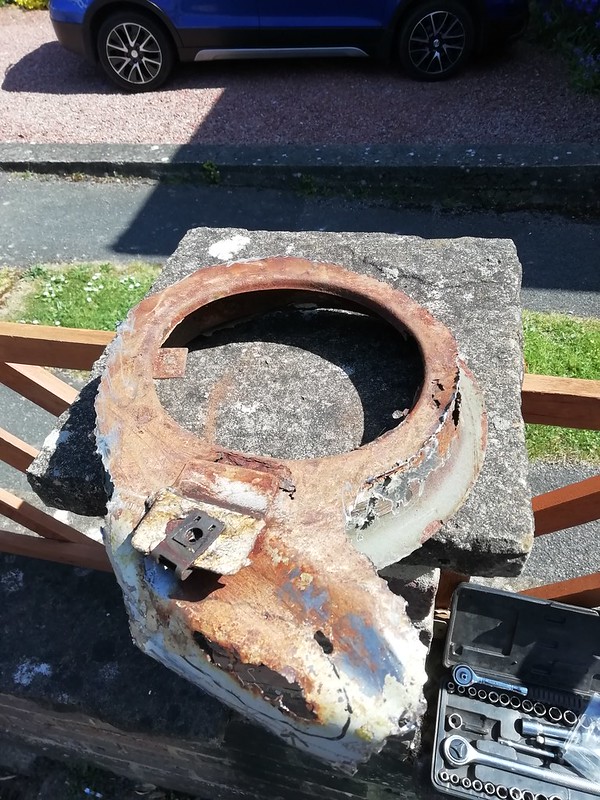
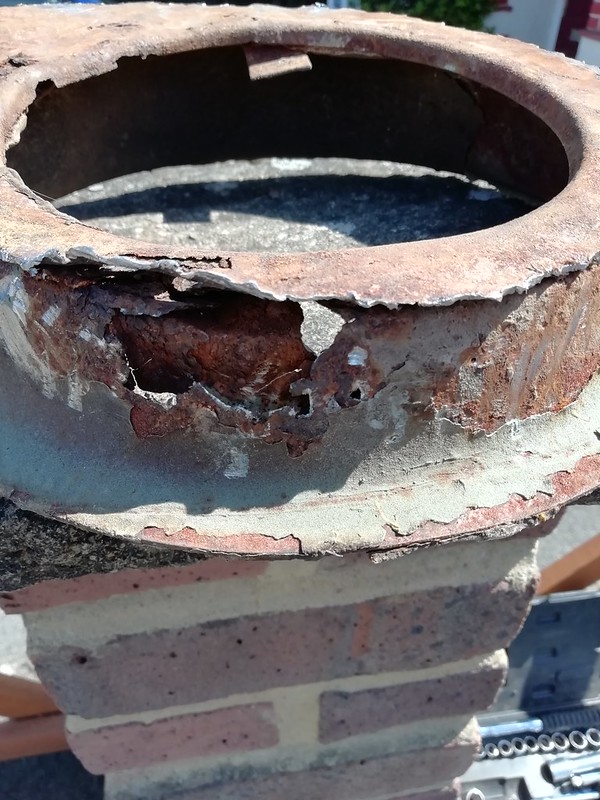
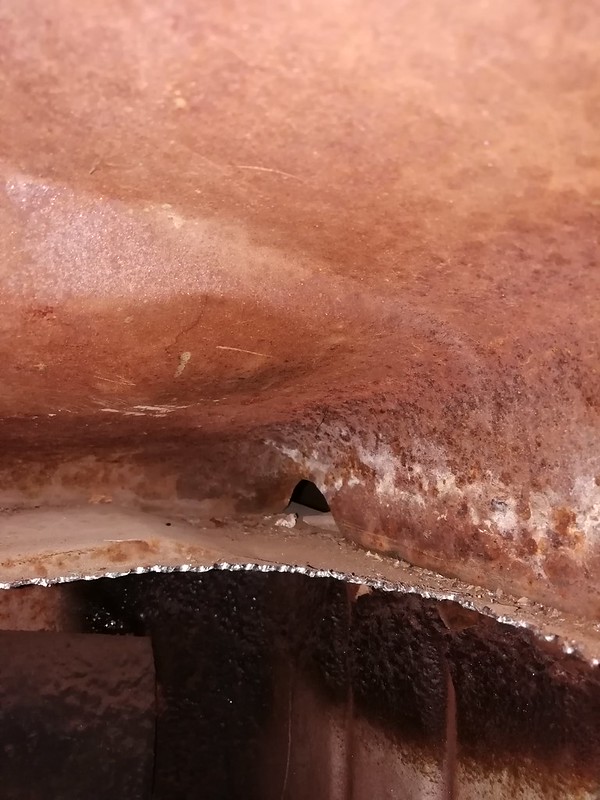
This is also another reason it requires replacement!
:shootself:
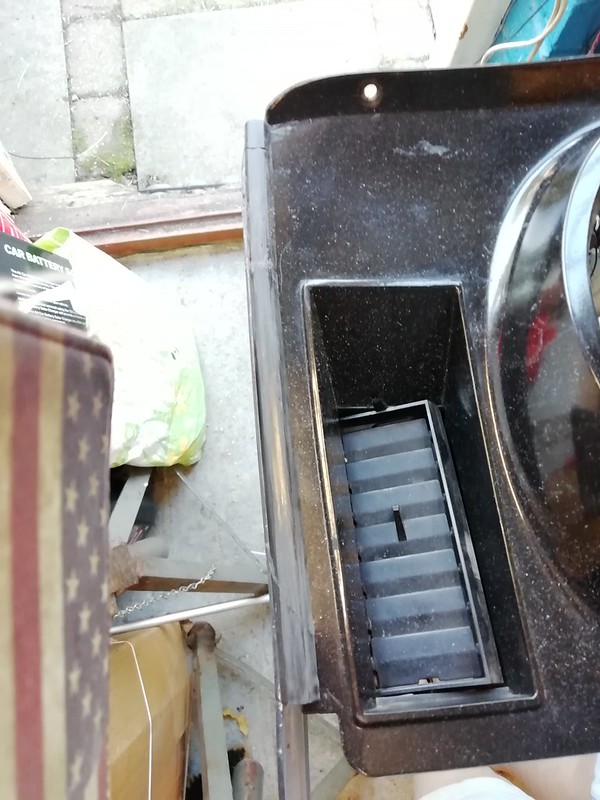
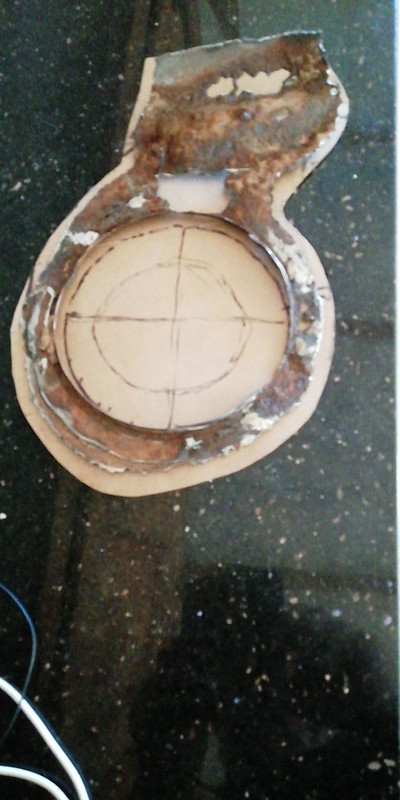
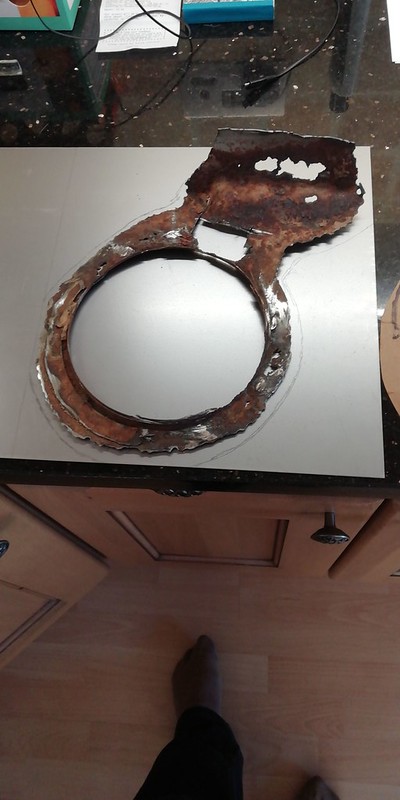
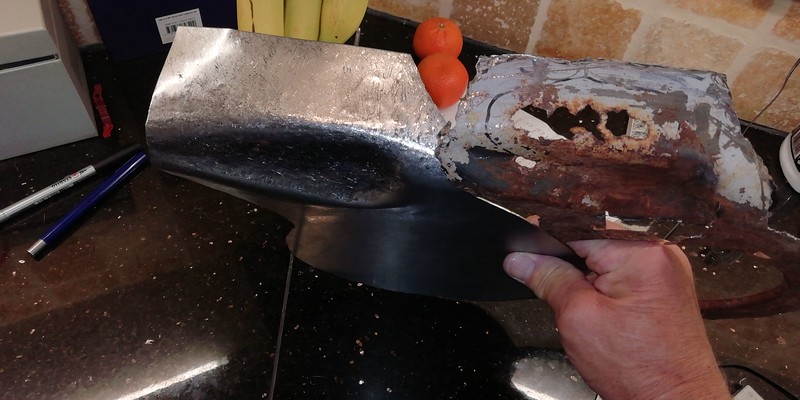
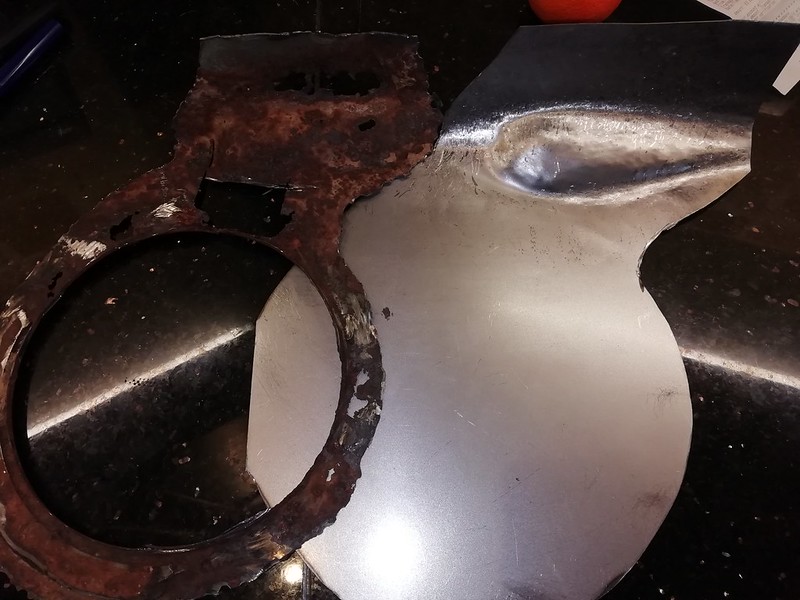
That's pretty much what I was thinkingHow are you going to tackle the missing "bowl" inlet? You could cut out the bottom and weld in a steel pet food dish.
I think the dog bowls are all stainless steel. You would have to weld stainless to non stainless :whistling:Holy F*** Bat Man!! Sorry to say the seller of that car really misrepresented it. I'm sure you'll get it back to where it should be in due time. We're all here to help, just ask if you need anything..... except money!Thank you StangLover for the extra pics :coolphotos: 100% I will be replacing the fuel lines.
This is also another reason it requires replacement!
:shootself:
That's pretty much what I was thinkingHow are you going to tackle the missing "bowl" inlet? You could cut out the bottom and weld in a steel pet food dish.
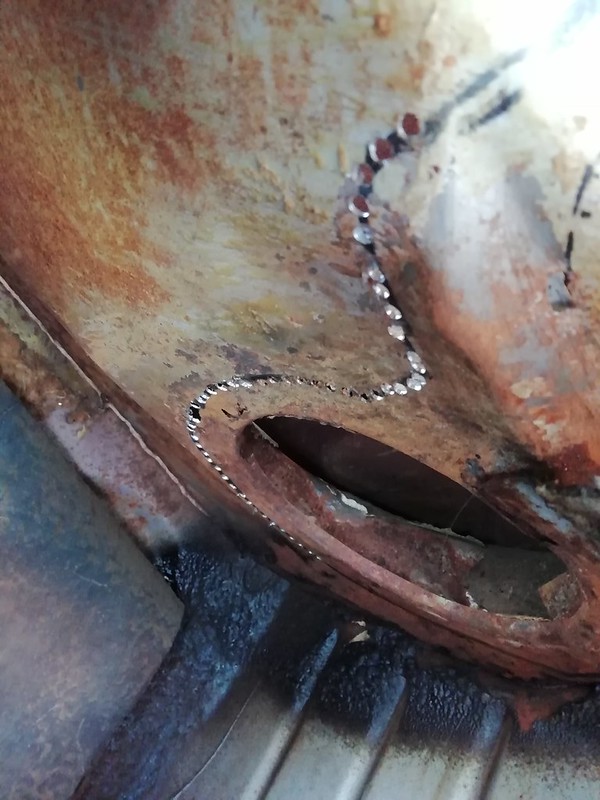
Cut the hole, butt weld around new to old metal, make good the welds, weatherproof and paint then make a gasket and fit fidos bowl
The problem might be getting the bowl into the new plated cowl area?
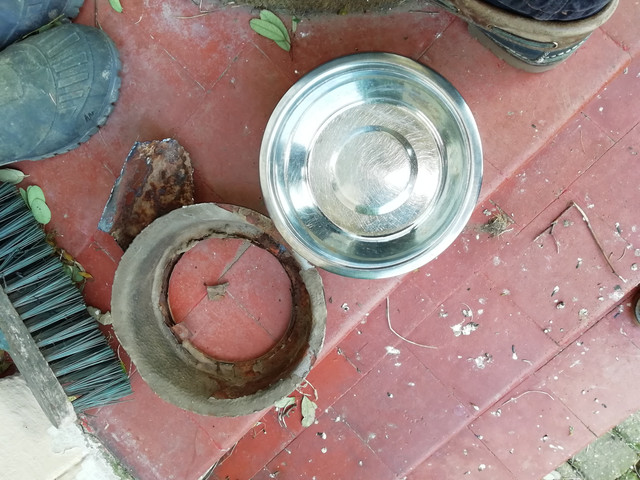
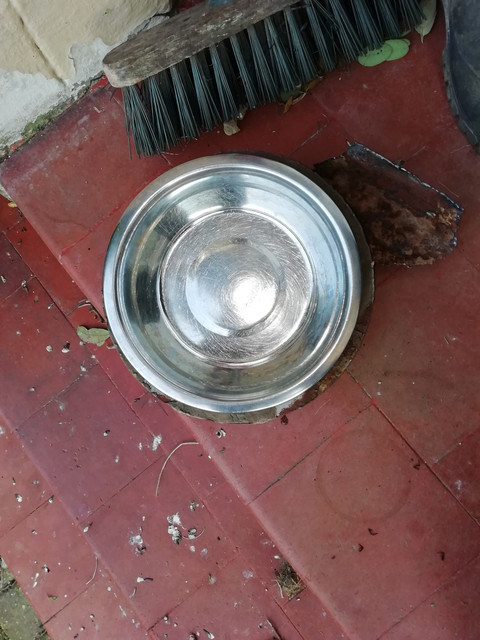
Use R.V window and door mastic Sandwiched between the 2 steels. It will never harden and always seals well.I was thinking of using a gasket and either rivets or self tapping screws, I would not dream of welding the stainless to the mild steel, Galvanic corrosion would set in fast!
Dog bowl is a good fit


