92 GTS-Rs Project Thread

7173Mustangs.com

Help Support 7173Mustangs.com:

This site may earn a commission from merchant affiliate links, including eBay, Amazon, and others.
New whole floor pan is about $600; remove all combustibles from car before any welding... basically once this is done, the foundations for a great car are there.

 
Last edited by a moderator:
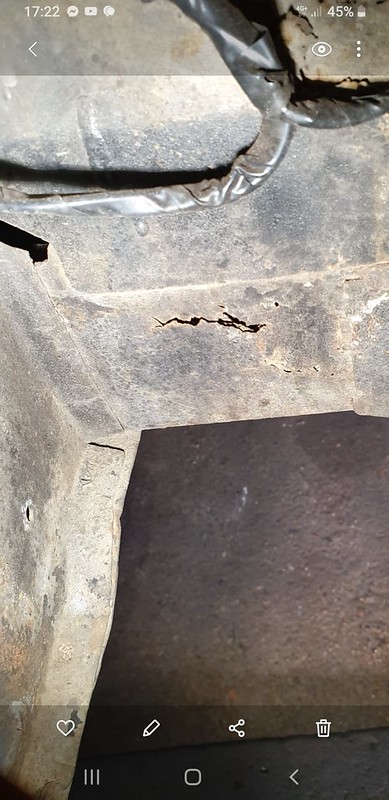
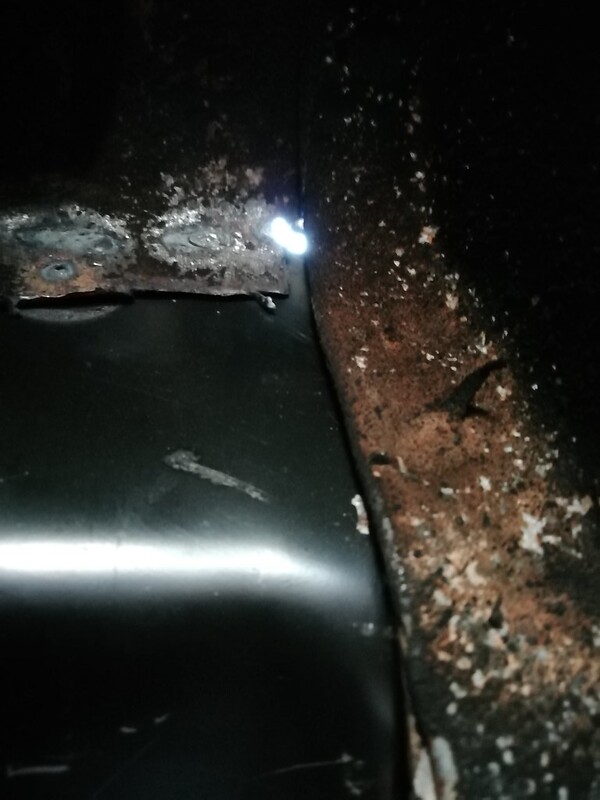
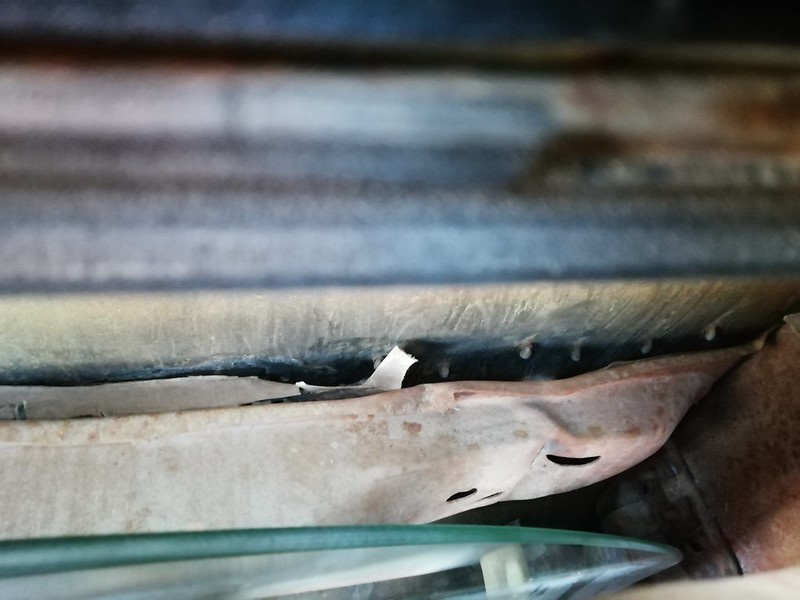
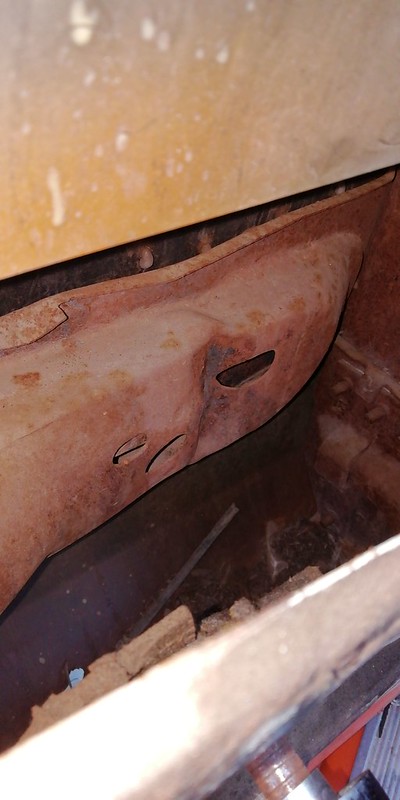
Well got another picture from the welder, he has found some fracture cracking on the chassis rail under the battery area.

49763962012_9a855ccb8e_c.jpg


His advice is to weld on a patch plate.

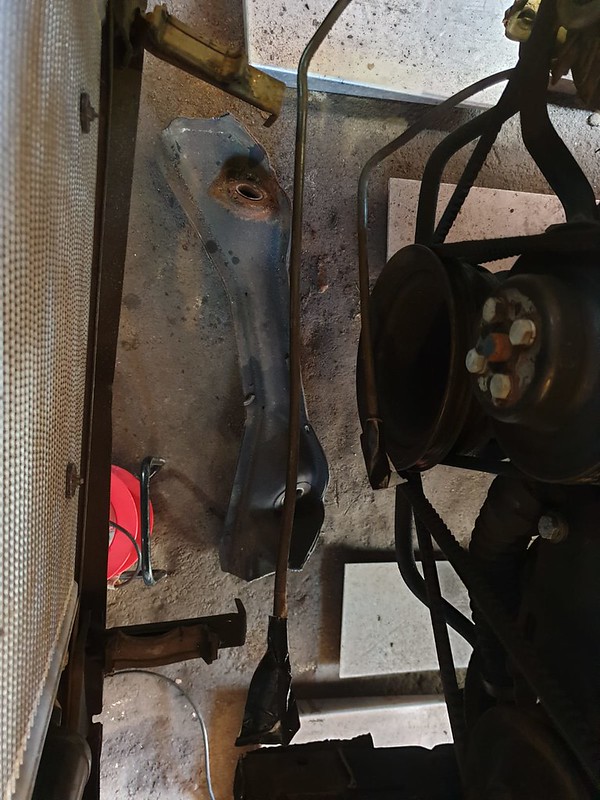
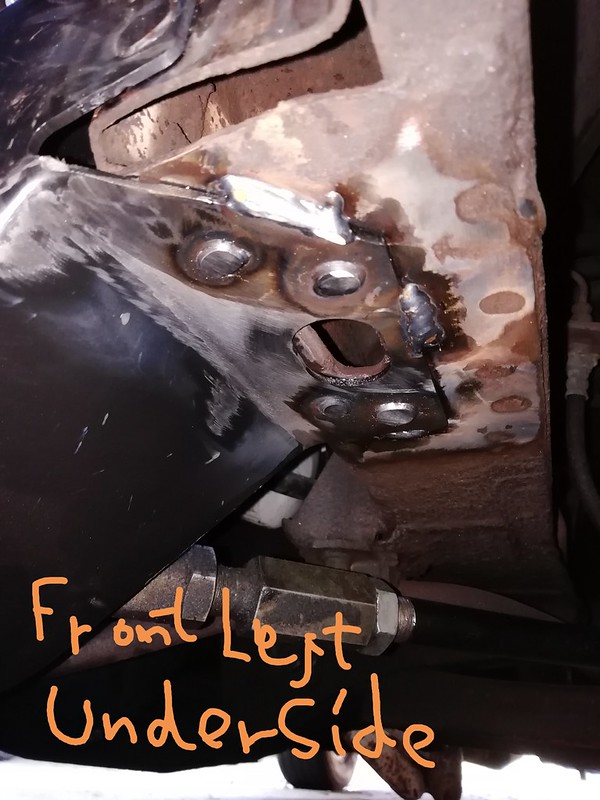
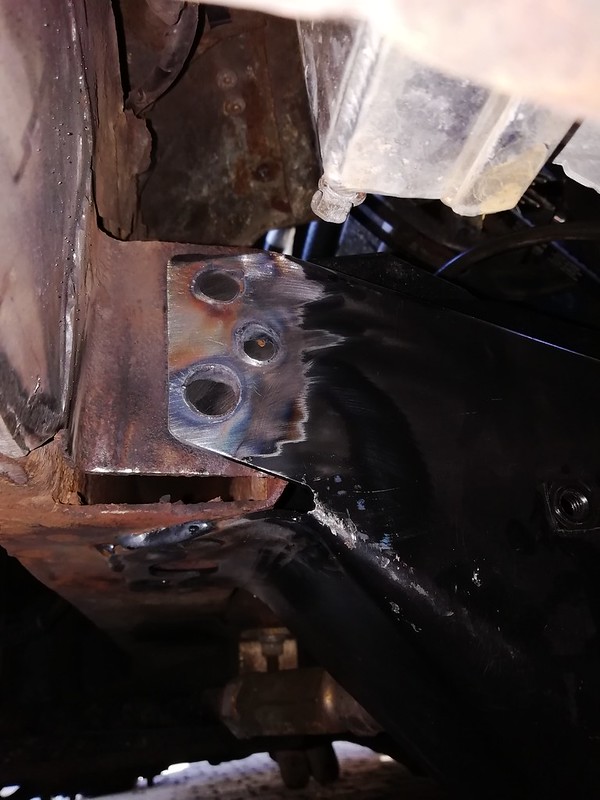
The front Crossmember has now been removed and he started the welding.

49763091593_8ee1d46ec0_c.jpg


49763091613_47fb0e8a93_c.jpg


49763621406_845167c171_c.jpg


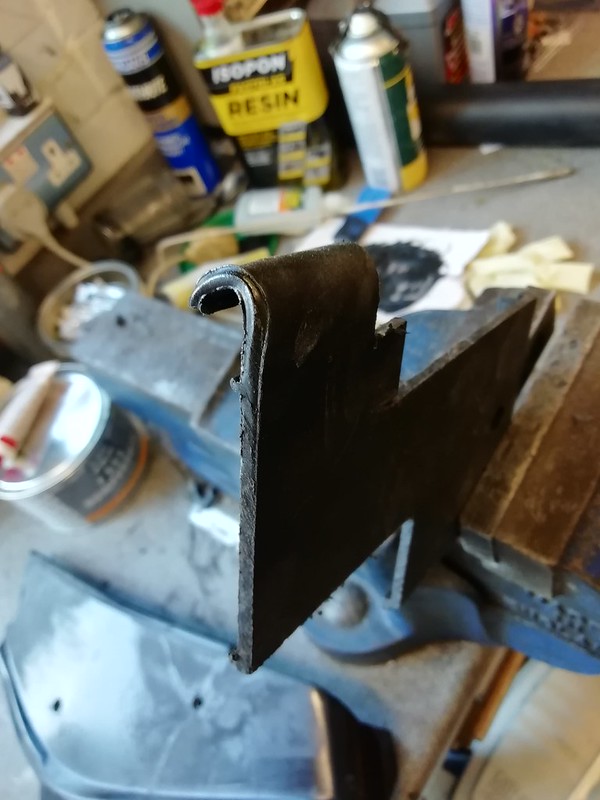
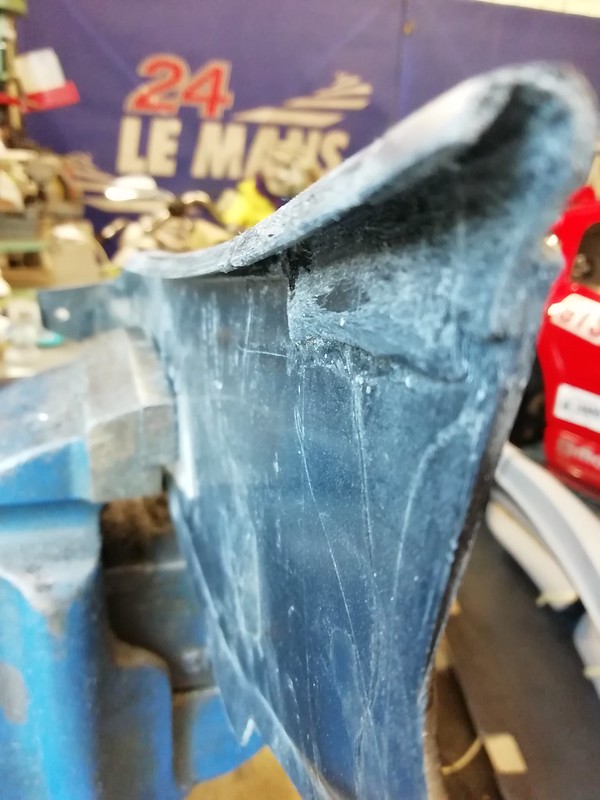
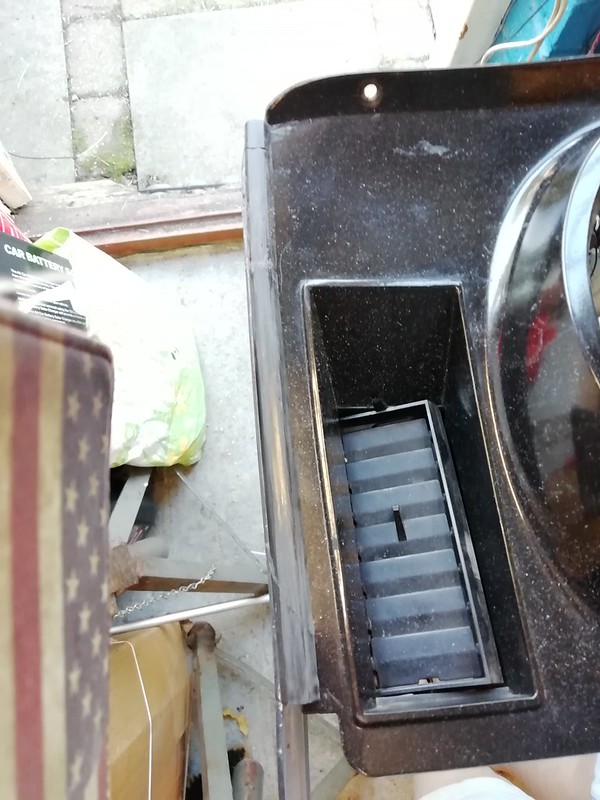
Other jobs I have done while the car is away, is to attempt to repair the Instrument  dash close out plastic side panel.  Mine was a series of fractured bits!

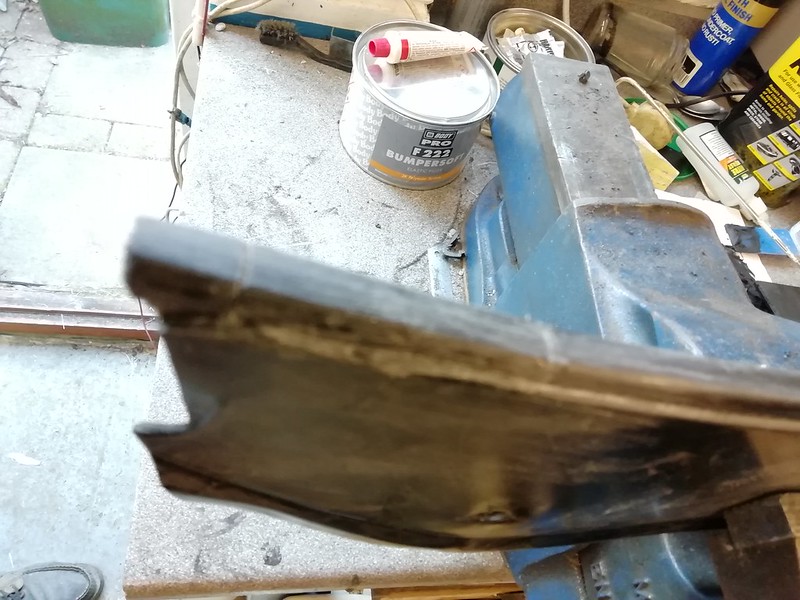
I needed to add some plastic and shape it to the correct profile then file and sand to get it to match.

This was a side of an old plastic radio, I heated it up using a gas flame (my heat gun was broken)  and using my hand and a pair of long nose pliers started bending the plastic to shape

49763953502_3e0ca13f29_c.jpg


For the plastic panel I found superglue wa the perfect bonding agent  ::thumb::

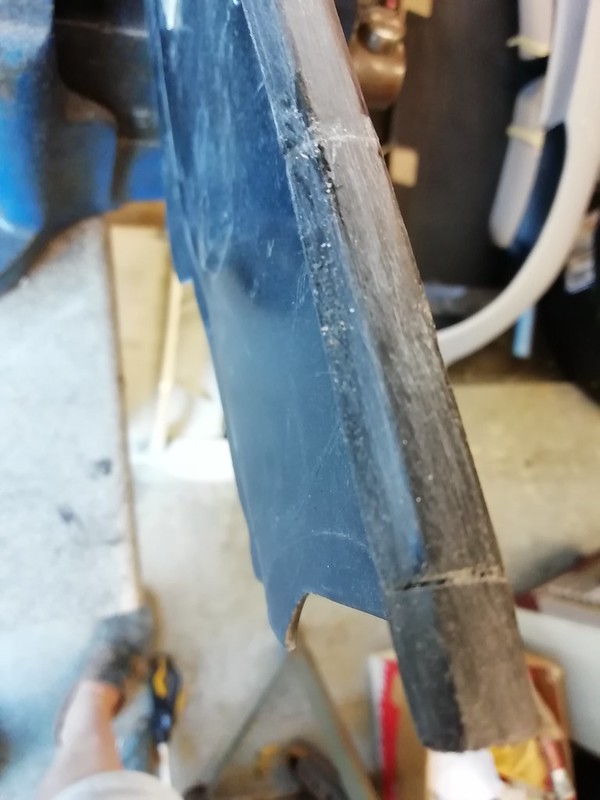
Once I got the piece near the shape I needed I then cut the piece out and bonded it to the close out panel.

After a lot of filing and sanding I got the profile right and It looks good.


I still have to prime and and then respray the panel but you can see that it looks much better. ::thumb::

 
Last edited by a moderator:
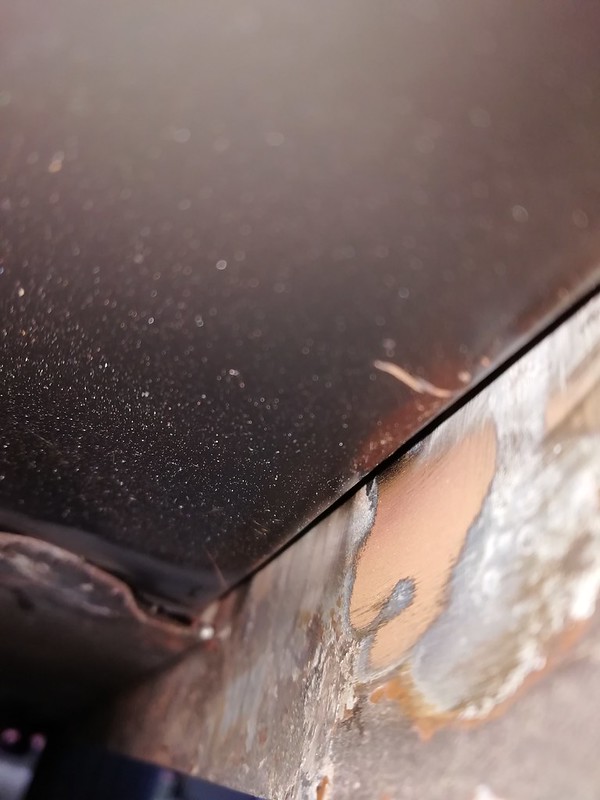
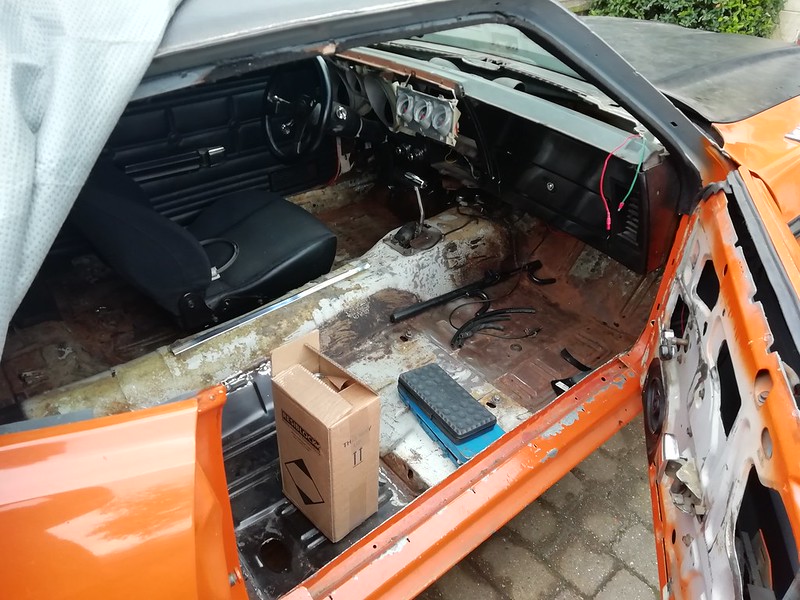
So after getting the car back from the Arse**le Welder here is a few more pics of his quality work on the floor pan,

This Picture shows the underside of the car looking up at the rear corner of the floor pan where it meets the rear box chassis rail  for the rear springs.

49787109968_c95150aaee_c.jpg


I need to know if that lip of the chassis box section should be welded to the floor pan?

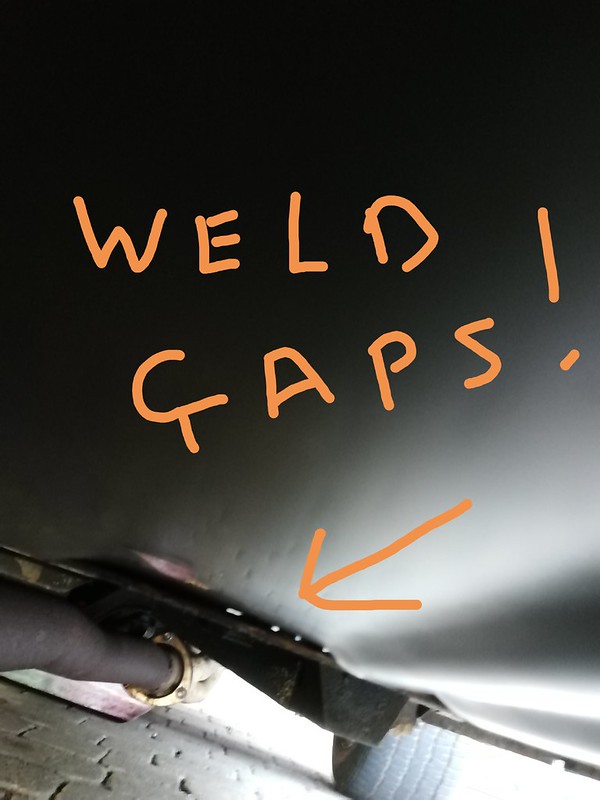
This pic shows where the edge of the floor pan meets the rocker,side sill (from the underside)  He has spot welded the panel inside the car but I am not sure if this is just a case of now adding seam sealer?

49787968322_2e1c8e0fbc_c.jpg


Here you can see the light holes clearly showing where the front of the rear quarter pan joins the original floor.

RHS Rear floor pan by Fatboy 18, on Flickr

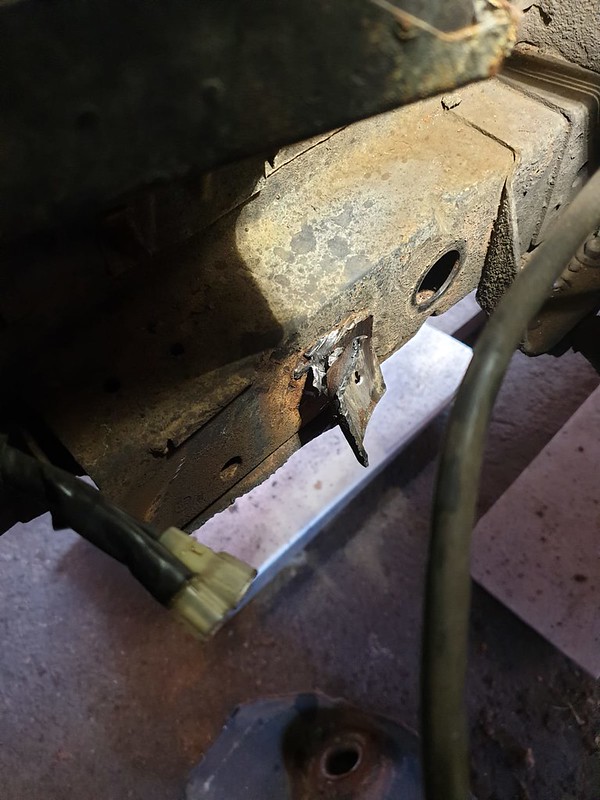
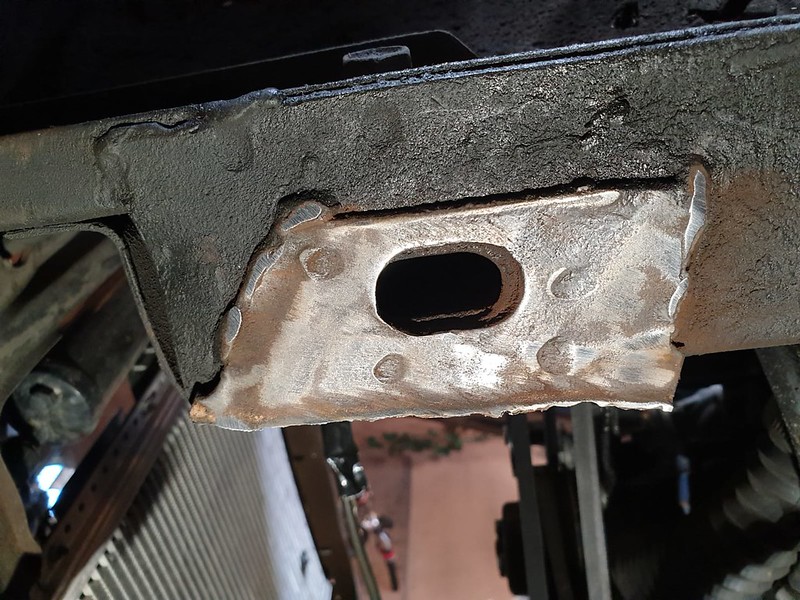
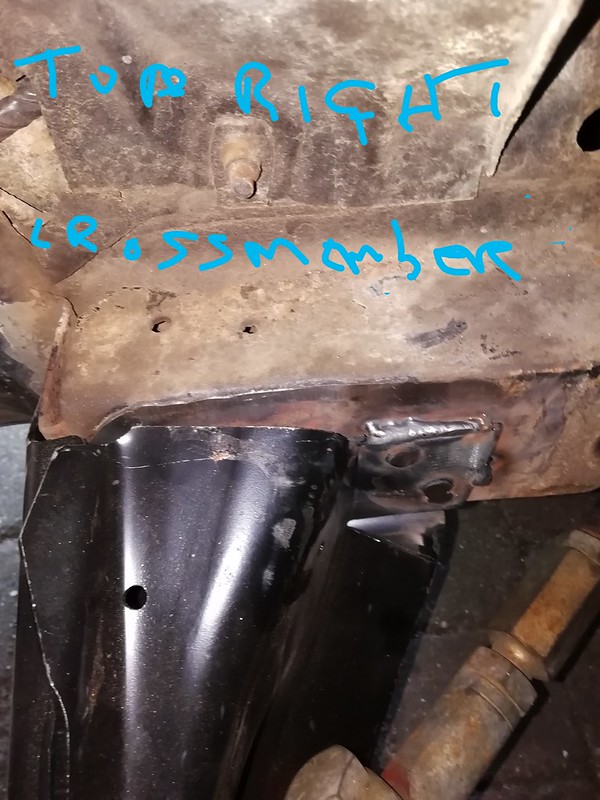
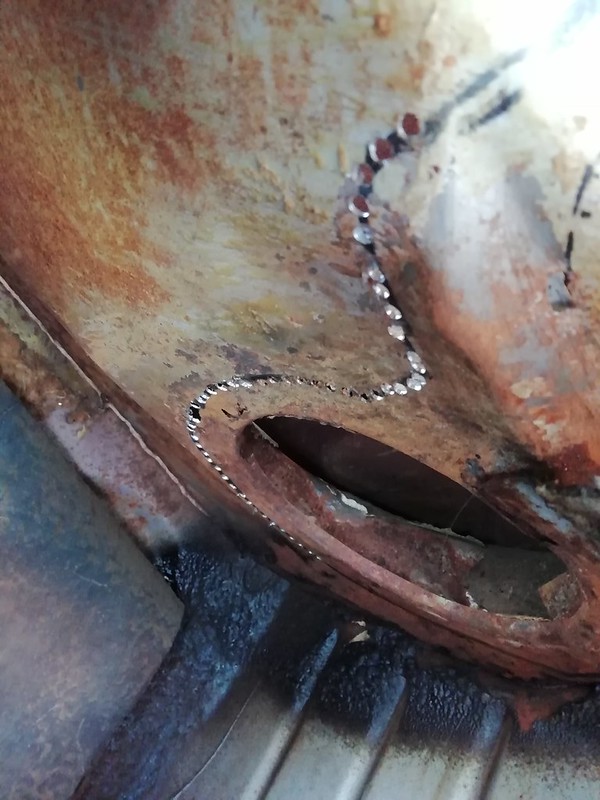
Now onto the front crossmember......

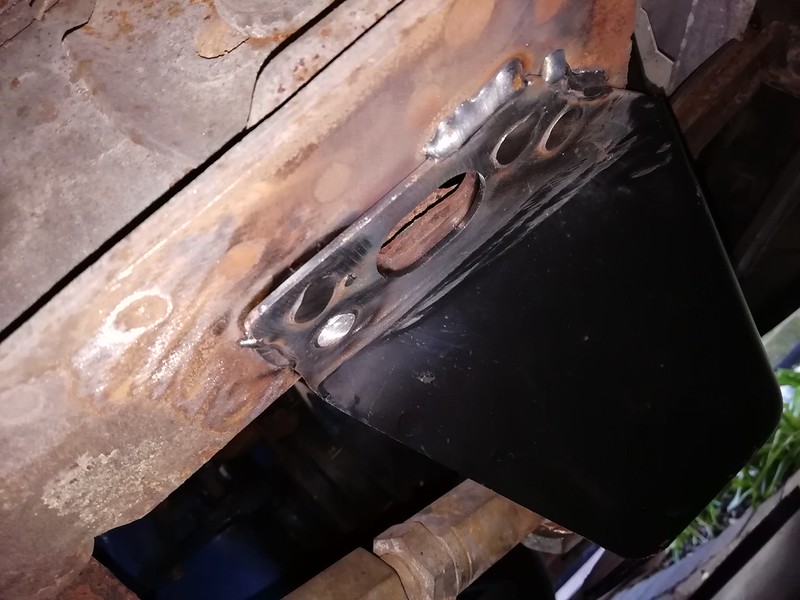
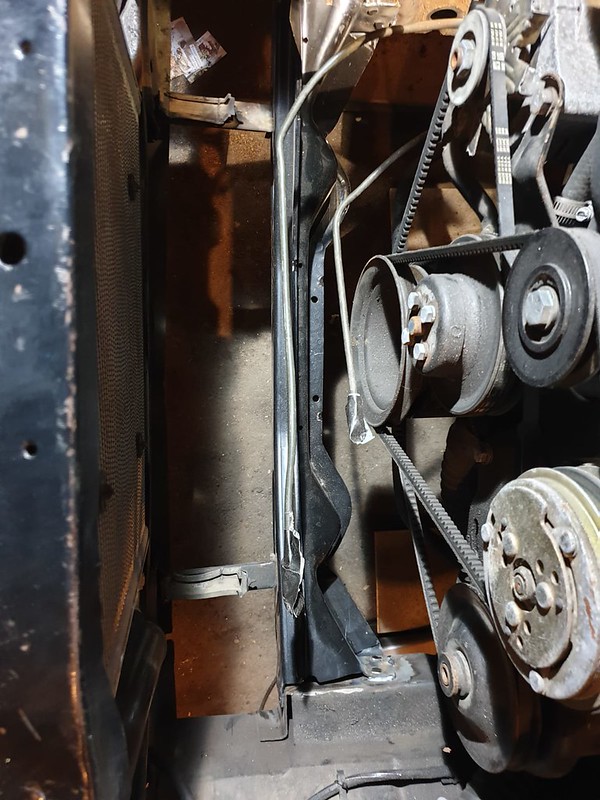
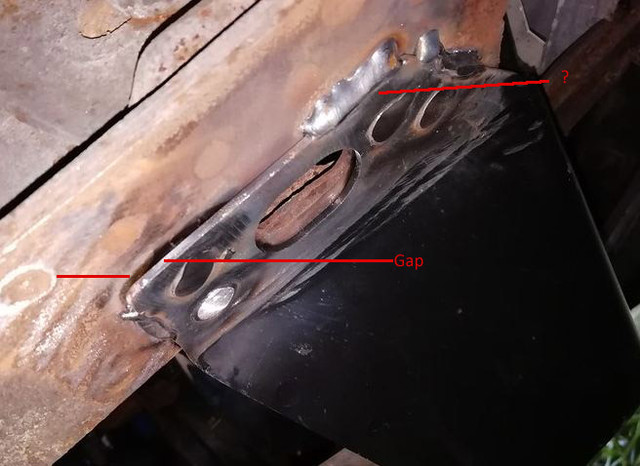
This might be OK, but I want your honest opinions?

IMG_20200415_143210 by Fatboy 18, on Flickr

Front Right, (End on)

  IMG_20200414_162509 by Fatboy 18, on Flickr

RHS Front Crossmember welding by Fatboy 18, on Flickr

Front Right (Underside)

IMG_20200414_162532 by Fatboy 18, on Flickr

Looking down

  IMG-20200412-WA0070 by Fatboy 18, on Flickr

I think its OK, but whats your thoughts?

 
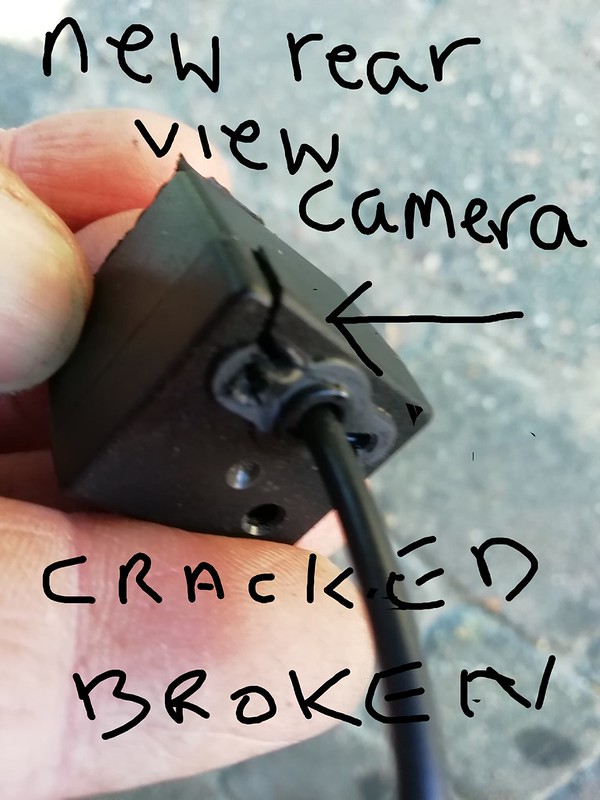
Now in the process of him having the car he has damaged parts

This was my newly fitted rear View camera :mad:

IMG_20200415_144513 by Fatboy 18, on Flickr

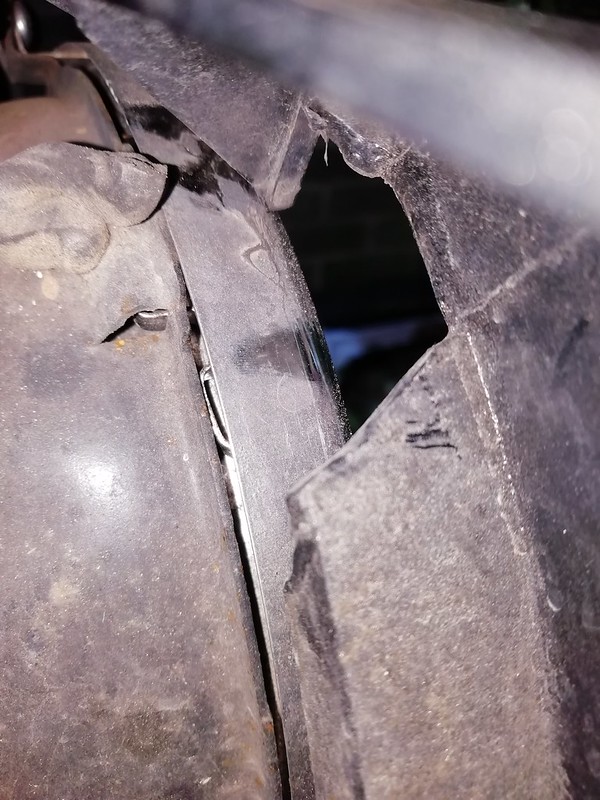
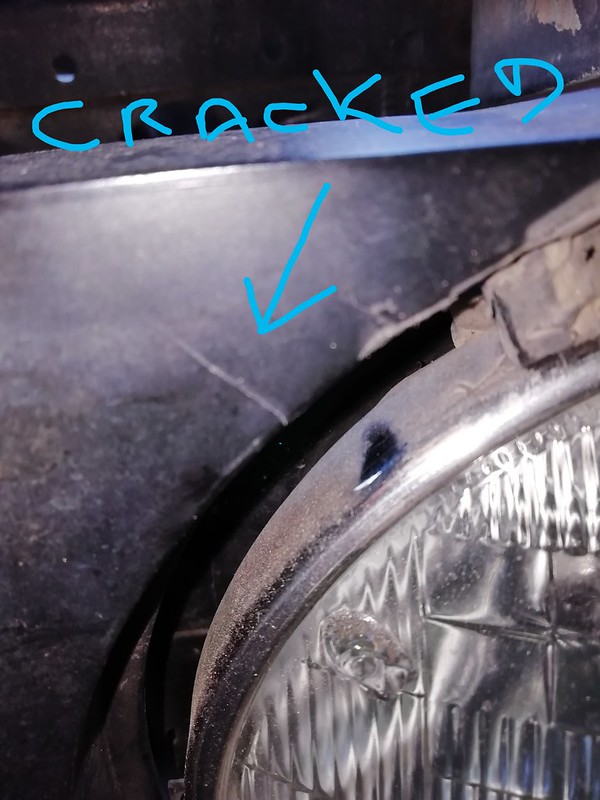
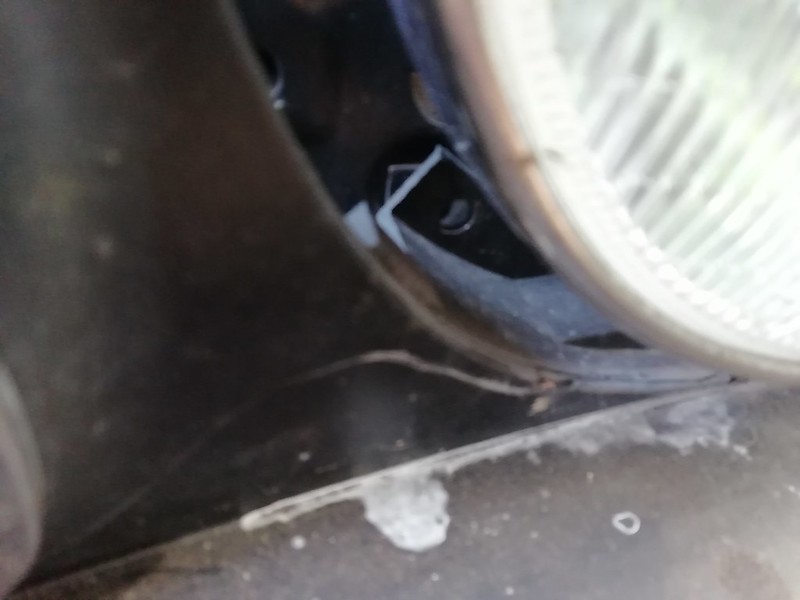
He also broke my Mach 1 front grille!  :mad:

I know how he's done it, he has grabbed ahold of the grille while under the car to pull himself up! 

Of course there was no mention of any of this when I picked up the car, apart from him telling me the headlamp rim fell off!

Pic of upper back of the grille where there should be a mounting tab (now missing).

Missing rear grille tab RHS by Fatboy 18, on Flickr

IMG_20200415_145301 by Fatboy 18, on Flickr

IMG_20200414_162142 by Fatboy 18, on Flickr

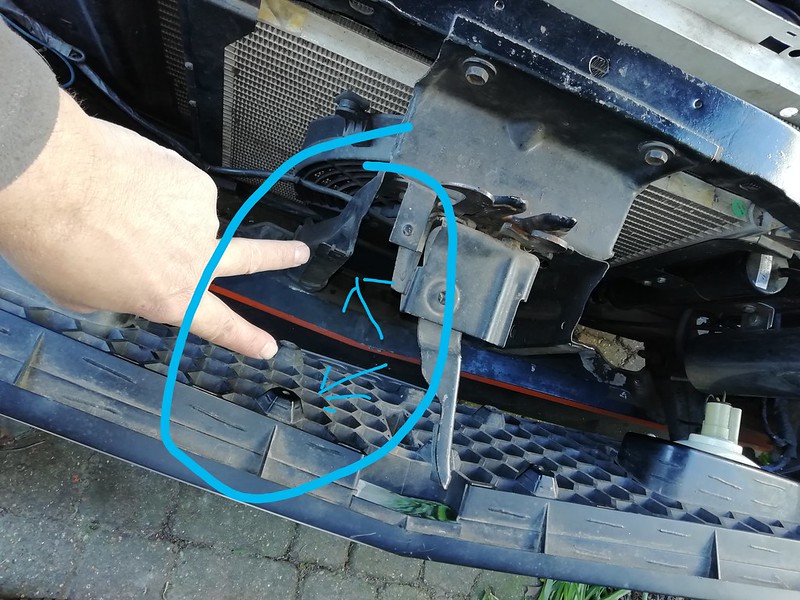
The grille was a weak point on the car because I do not have the centre support brackets fitted. (They did not come with the car).

  Mach 1 Grille missing fixings by Fatboy 18, on Flickr

Now if someone can tell me where to find the brackets  and a picture of what they are supposed to look like that would be very helpful :)

 
First off, I'm not a welder, but to me, that looks like sh1t. I can't comment on what should or need not be welded as I haven't had to do any of that, but I have seen better on friends cars that did need new floor pans. When all said and done, it's structural!!

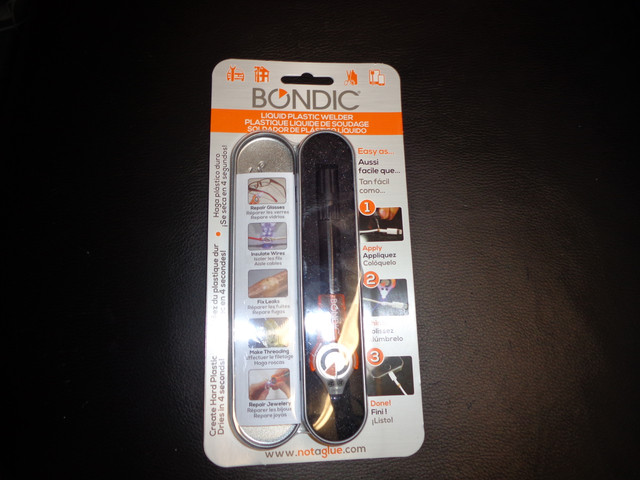
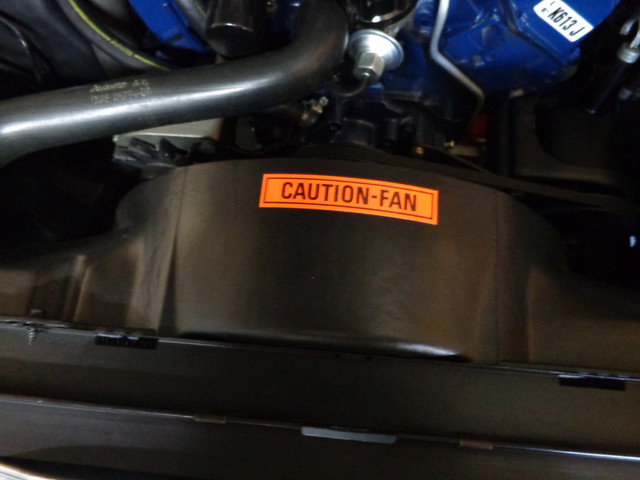
I'm not sure if you can buy this product in the UK, but I have had great success with this stuff called BONDIC liquid plastic welder. Basically you clean the joint, apply the product and set it with an ultra-violet light in the handle. I fixed my rad shroud with it when a fiber glass repair failed. I has been about 3 years now and has not cracked again.

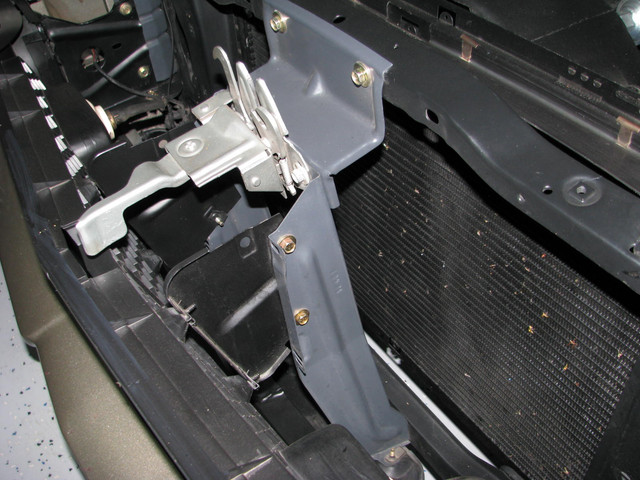
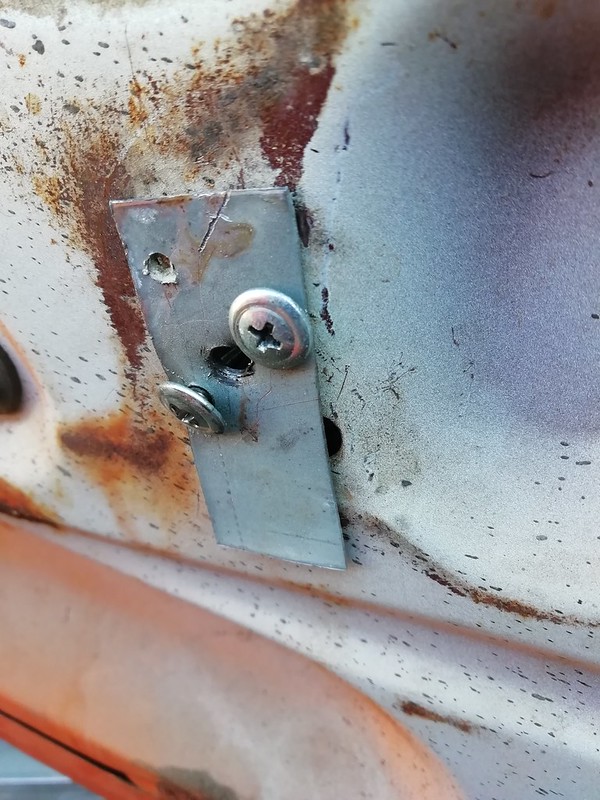
For the grill brackets, as your's is a 71 like mine, here are a couple of pics. On the 71 (and maybe early 72's, I'm not sure), there are two brackets. Late 72 and 73 just had one in the center.


The "crack" is just to the left of the sticker, barely noticeable.


There are two parts to each bracket, grey and black pieces.

 
Sorry to say -- I'm a bit concerned for safety over the long term. 

How much lateral force, vibration and stress would this joint take 

there is a gap that could attract structural movement and a joint that doesn't look like its excited the cross-member material into enough of a molten state 

to make a perfect joint  :chin:

at what point would metal fatigue cause this section to fail?


Someone should set up a "Royal Society for the Prevention of Cruelty to Mustang owners.  :whistling:

 
Last edited by a moderator:
Thank's guys,  Kind of what I figured  on the welding :mad: :shootself: 

Thanks for the pictures of the Grille support brackets, I have the long Grey ones fitted its the shorter black brackets that I need.
 
Thank's guys,  Kind of what I figured  on the welding :mad: :shootself: 

Thanks for the pictures of the Grille support brackets, I have the long Grey ones fitted its the shorter black brackets that I need.
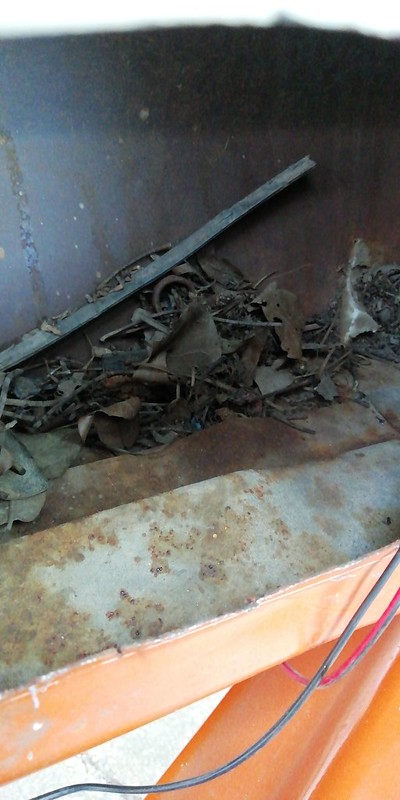
You're welcome. If there are other pictures you need, let us know. As for finding those, perhaps Don at OMS might be your best bet for the bracket supports.

As for the welding, find someone who knows what he's doing, like a real body man. 

It is very unfortunate you got screwed on this car. Did you say it was an Arizona car? It might have been there once, but I doubt the DSO on the door data sticker or a Marti report would show it as such. 75 for instance would be Phoenix Ar.

A very useful book to buy is Kevin Marti's The Mustang and Cougar Tagbook, 1965-73. It has most if not all the tag codes you need.

Anyway not to beat you up too much, this sort of thing happens to the best out there.

Geoff.

 
So more.....I think progress on the car, or perhaps I should say unveiling  jubious history!

I removed the drivers door armrest and door card, this was how the armrest had been attached, it was to be expected because the passenger door armrest had been attached the same way!

49802151168_5e445bbb81_c.jpg


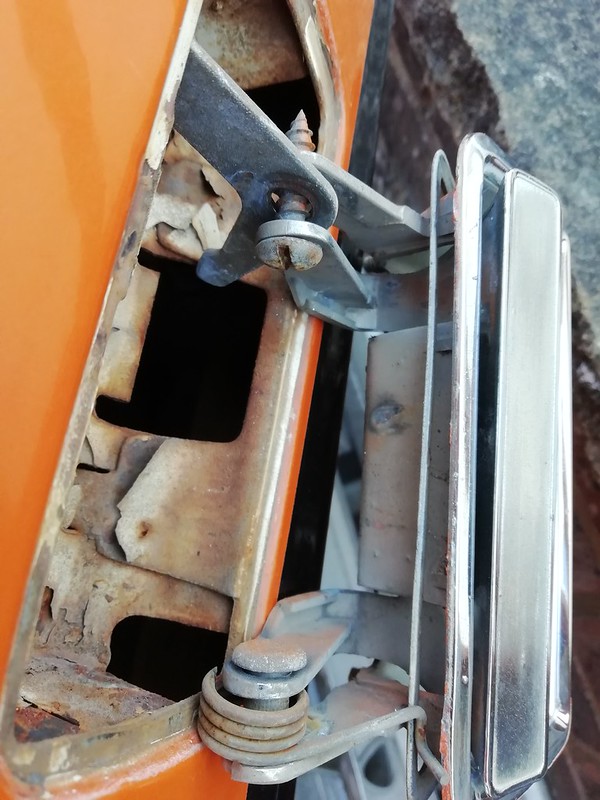
The Door handle springs had broken and the handle was only held on by one nut.

This is how someone had put the door handle together!

That Handle pretty much Sums up THE WHOLE CAR :mad:

49808953473_5a6edf4c97_c.jpg


I found one good handle spring in the bottom of the door along with the original handle rivet.

Spot the spring :p

49802166313_004cbb3107_c.jpg


I was wondering why there were fit issues with the LH Door, I found this!

49803006482_8fc3d75e3e_c.jpg


This confirmed my suspicions that the car had been in an accident, the outer door skin has a series of holes in it where someone had pulled out the skin, bondo had then been spread over the door skin to (attempt) to make good, but the bad news is the inner strengthening bar had been creased and damaged.

49802166283_3c0bbd14ff_c.jpg


The door touches (brushes) the rear quarter when closing but it is almost touching the A pillar at the front of the door?

Upon careful inspection the rear edge of the door skin has clearly been pried away at some point.

When the door skin lip was hammered back, whoever did it did not hammer the skin back to the correct position, meaning the door is longer than the passenger door!  :shootself:

This is where I am at at the moment.

49793933956_410471e1bb_c.jpg


Other jobs.....Inner Cowl

Well we have seen there are a lot of threads / Posts on this issue.

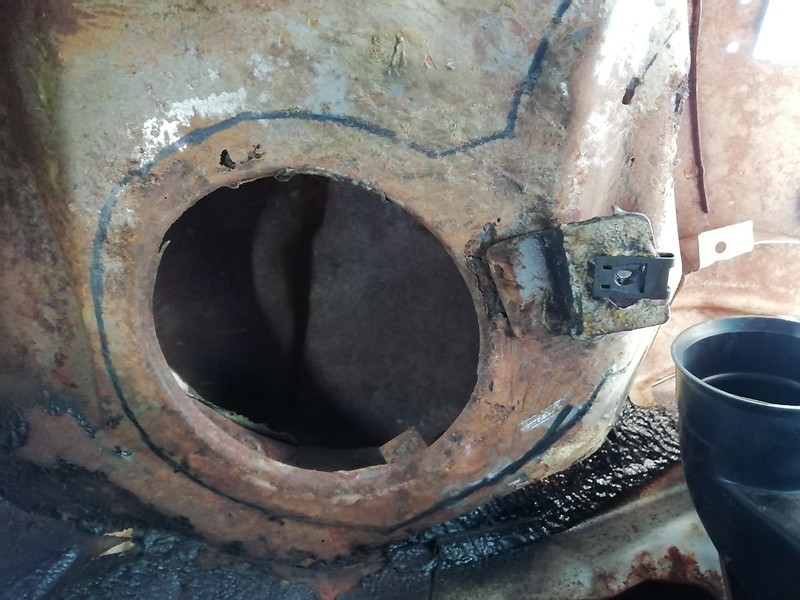
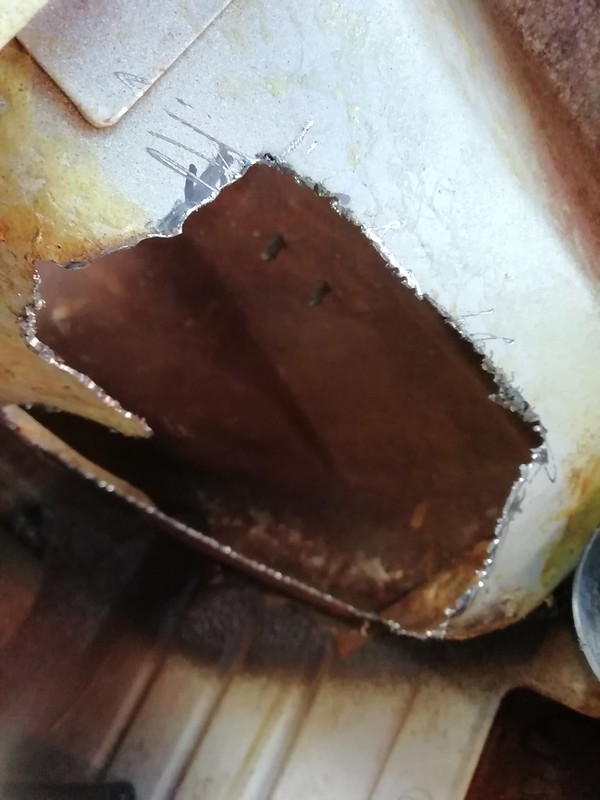
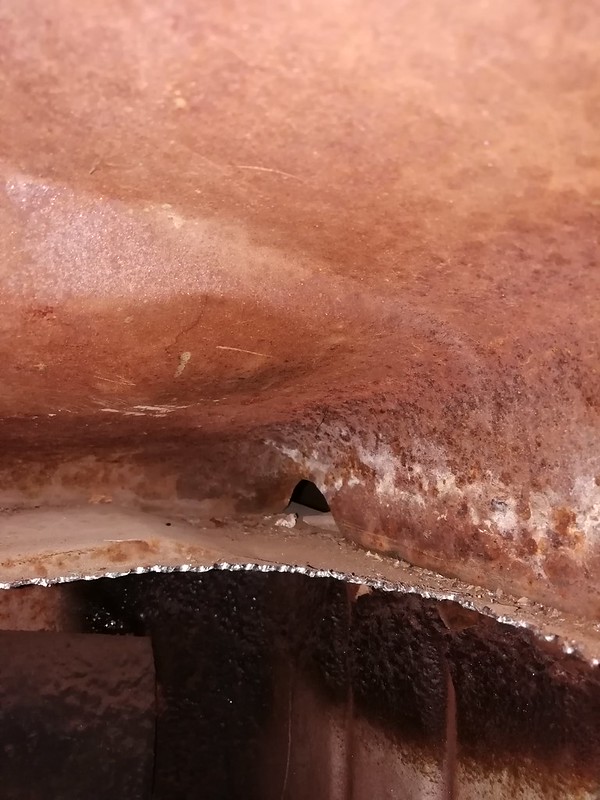
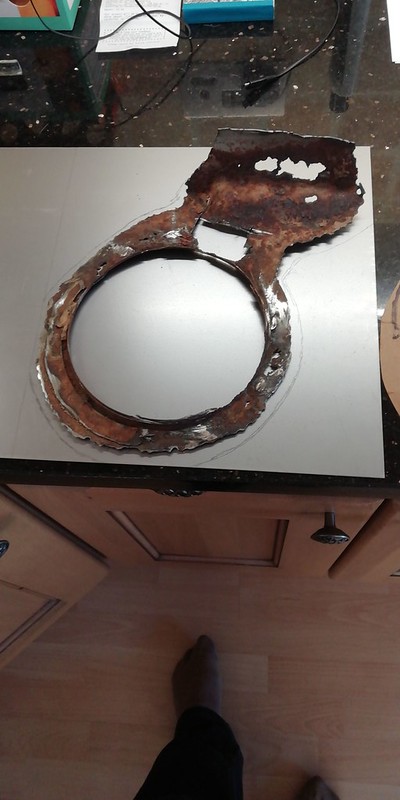
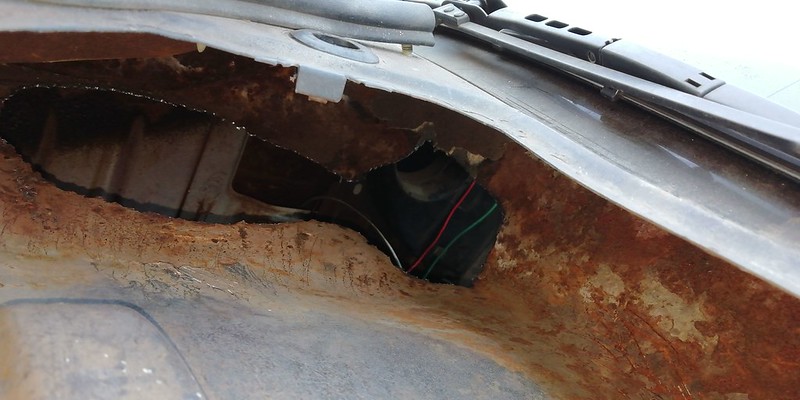
I bit the bullet and thought I would drill out the RHS collar and rust area, Looking at the rest of the inner cowl its actually not in too bad of a shape.

I marked out the area I wanted to cut,

49808950853_3c94a8b7ef_c.jpg


Then, taking my time, I drilled a series of holes and then used a larger size drill bit to join all the holes together enableing me to remove the collar.


49809505696_80a63cace6_c.jpg


I then cleaned up the edges using a Dremel ready for the next step.

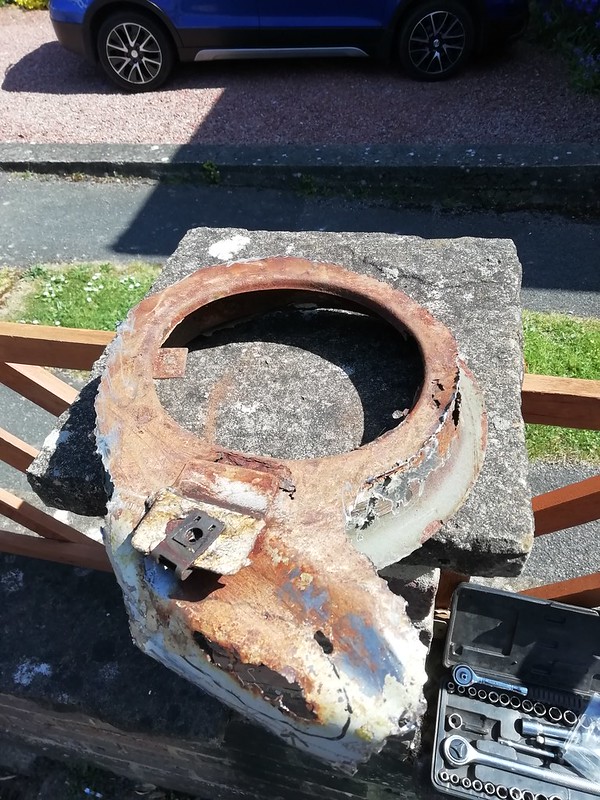
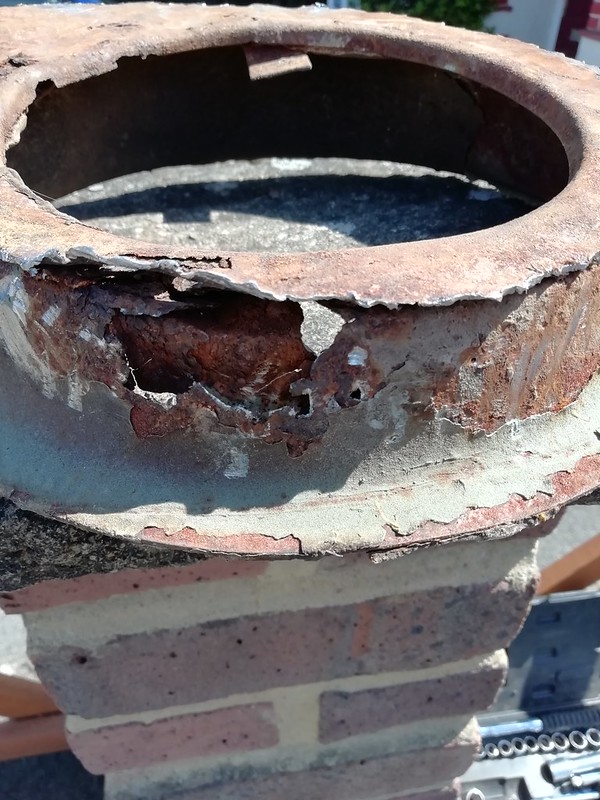
This is what I cut out

49808952603_a16c4a61ac_c.jpg


49809806592_20eaac0a33_c.jpg


As you can see its not good.

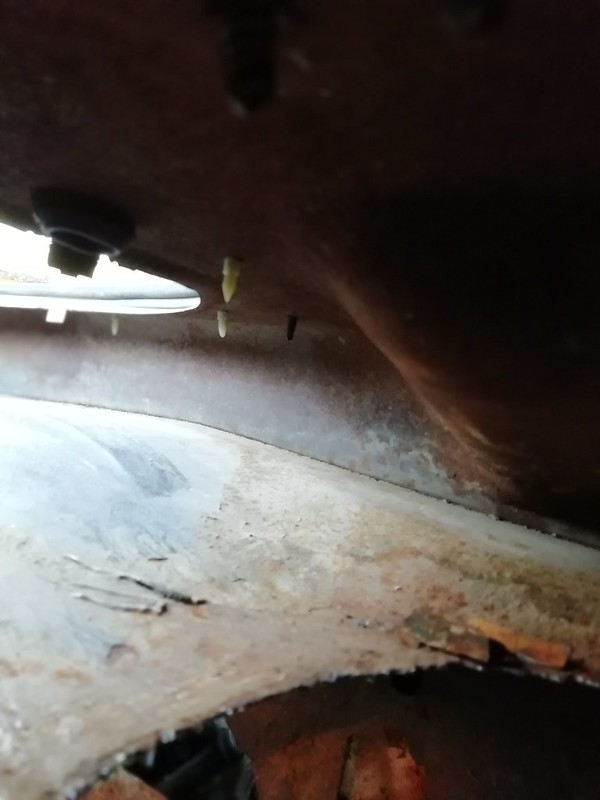
Now if you are wondering where the inner rainwater drain holes are (apart from the rusty ones) here is a pic of the drain hole.

There is one each side of the inner cowl.

49809805467_ffea1f42c7_c.jpg


As I said, looking into other parts of the inner cowl, it looks OK, Phew   :D

49808951588_4a0283d09a_c.jpg


Last edited by a moderator:
Im jumping about on this car, when I get stuck on one thing I have a go at tackling at another

So.....The roof Drip rail

49802154083_152bfe7144_c.jpg


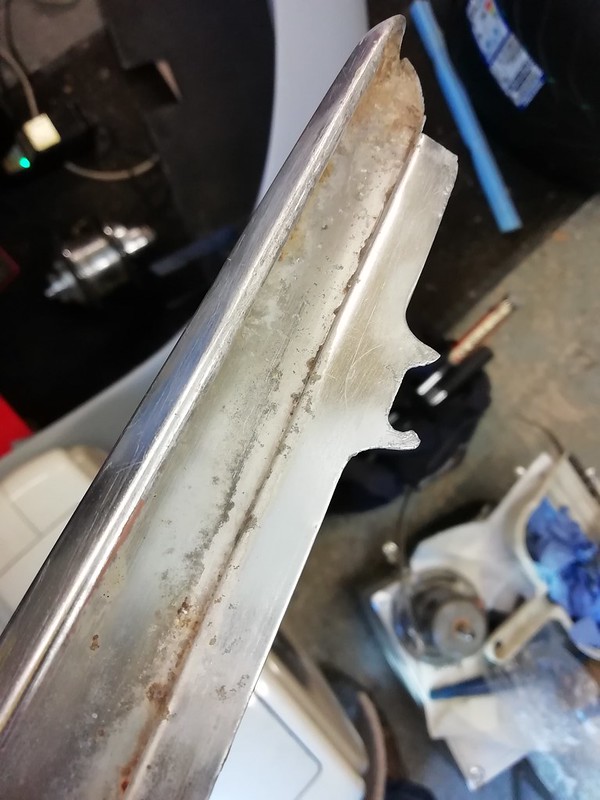
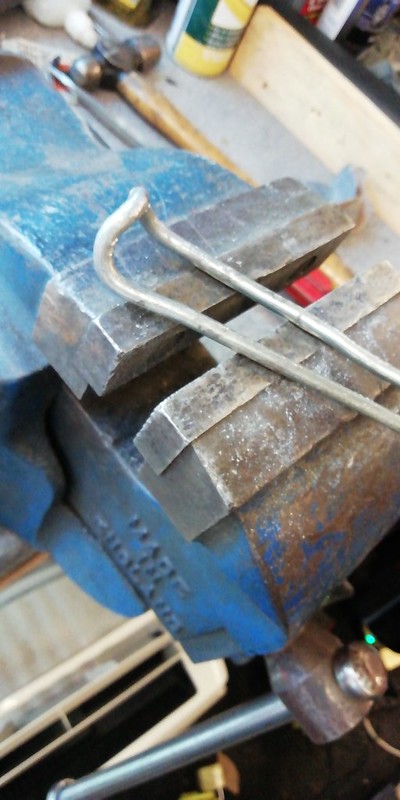
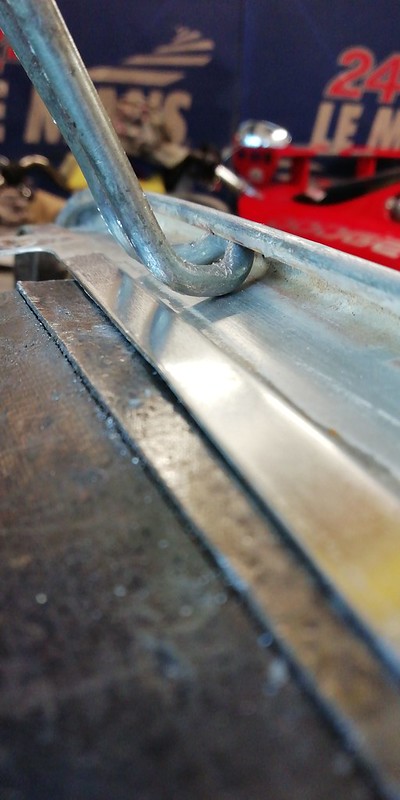
Having removed the roof drip rail I thought I would see if I could remove the various dents,  thing was the dents were in hard to reach areas so I had to come up with a way to get at them.


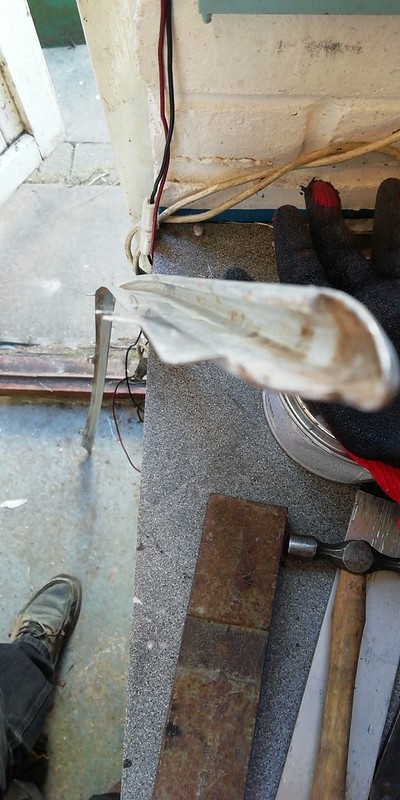
A you can see the profile is a little tricky to work with,  So I made a custom tool.

49802725151_60a9c2bc93_c.jpg


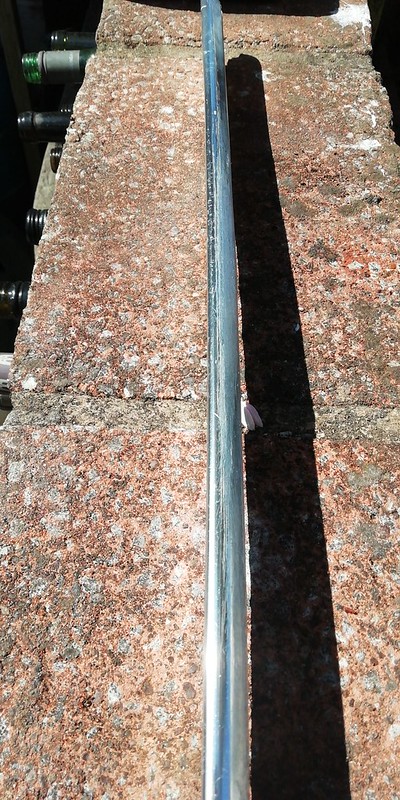
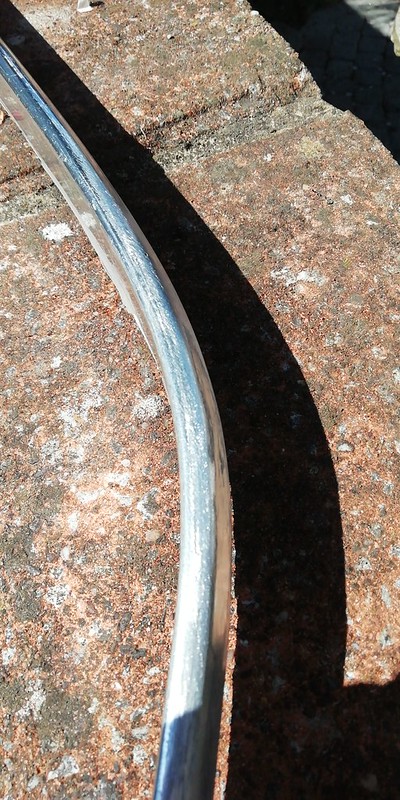
This was formed from an old tent peg, you need a rounded edge so that you do not put more dents into the aluminum trim.

49802169333_5cdd066417_c.jpg


Well after a couple of hours sliding the tool back and forth and a little hand pressure I actually had success and got the dents out!

49803026877_735bbe9fc5_c.jpg


49802171733_e6a7568531_c.jpg


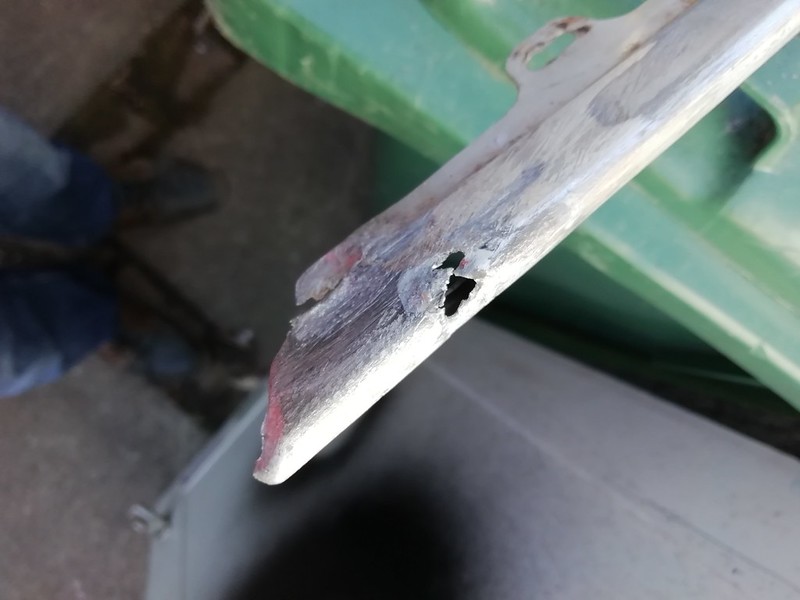
All was going well until the last part, the trim had been punchered by a sharp object possibly a screwdriver?

I had watched a couple of videos on youtube about thin aluminum welding rods, soI ordered some thin rods and attempted to fill the hole.

Now in the videos they say having clean aluminum is key, so I cleaned it up really well but sadly even though the soldering rods are supposed to contain flux, the aluminum would not stick to the trim, then the trim started distorting due to the heat and the hole got slightly bigger.

49802707146_84d93a8431_c.jpg


I have currently called it a day on this and have ordered some additional aluminum flux to see if I can rescue the trim.

 
Back to working on the inner cowl today,

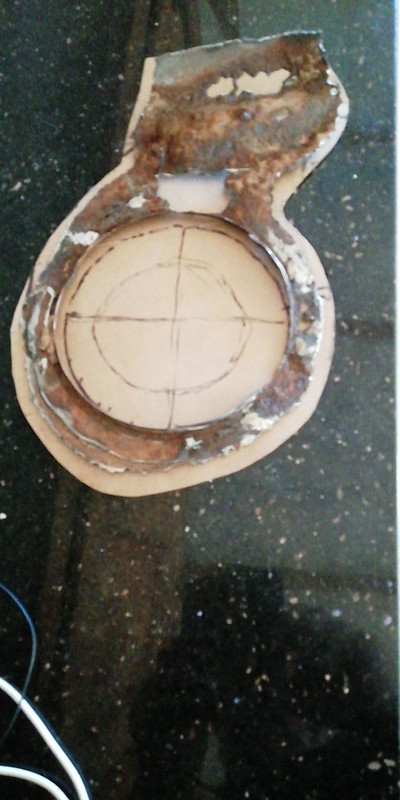
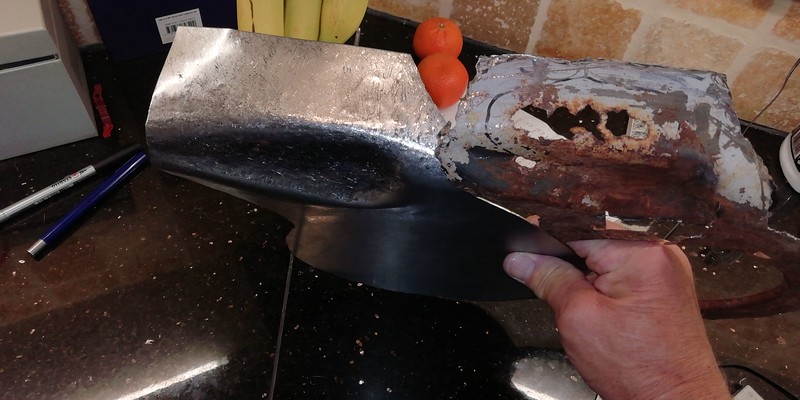
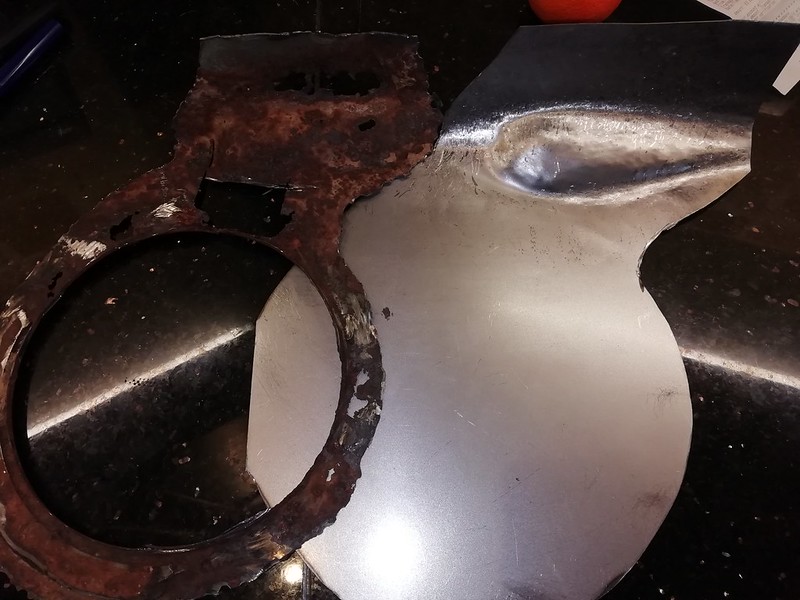
I ordered some 1mm sheet metal and then set about trying to replicate the cut out shape. 

I grinded the collar off the part to give me a better idea on what im working with.

49846801741_e527e3d4ec_c.jpg


49847099957_0cd25ab7b3_c.jpg


After a couple of hours with a 2,1/2 lb hammer and a ball end hammer, I ended up with this

49846266883_6846befafb_c.jpg


Sadly I don't have a welder, so I'm working out what to do on that front with not much progress at the moment :(

49847103782_628fa8d66a_c.jpg


The centre hole in the OEM piece is 6" inches Dia,  I am going to cut a hole but will likely make it 4,1/2 to 5" Dia.

 
Thank you StangLover for the extra pics  :coolphotos: 100% I will be replacing the fuel lines.

This is also another reason it requires replacement! 


:shootself:
 Holy F*** Bat Man!! Sorry to say the seller of that car really misrepresented it. I'm sure you'll get it back to where it should be in due time. We're all here to help, just ask if you need anything..... except money!

How are you going to tackle the missing "bowl" inlet? You could cut out the bottom and weld in a steel pet food dish. 

van-ness-pureness-stainless-steel-cat-dish-8oz-sslw1-21.gif
That's pretty much what I was thinking  :D

Cut the hole, butt weld around new to old metal, make good the welds, weatherproof and paint then make a gasket and fit fidos bowl :D

The problem might be getting the bowl into the new plated cowl area?

 
Last edited by a moderator:
Thank you StangLover for the extra pics  :coolphotos: 100% I will be replacing the fuel lines.

This is also another reason it requires replacement! 


:shootself:
 Holy F*** Bat Man!! Sorry to say the seller of that car really misrepresented it. I'm sure you'll get it back to where it should be in due time. We're all here to help, just ask if you need anything..... except money!

How are you going to tackle the missing "bowl" inlet? You could cut out the bottom and weld in a steel pet food dish. 

van-ness-pureness-stainless-steel-cat-dish-8oz-sslw1-21.gif
That's pretty much what I was thinking  :D

Cut the hole, butt weld around new to old metal, make good the welds, weatherproof and paint then make a gasket and fit fidos bowl :D

The problem might be getting the bowl into the  new plated cowl area?
I think the dog bowls are all stainless steel. You would have to weld stainless to non stainless  :whistling:

 
Let me know if you need more details on fuel lines, but I think before you get that far, you have other "stuff" to fix first.

Just one word on the pet bowl idea, they're likely stainless, so welding may be more difficult, but should be doable. It looks like you are more than capable of figuring it out and fixing it.

All the best,

 
I was thinking of using a gasket and either rivets or self tapping screws, I would not dream of welding the stainless to the mild steel, Galvanic corrosion would set in fast!

Dog bowl is a good fit  :D


Last edited by a moderator:
I was thinking of using a gasket and either rivets or self tapping screws, I would not dream of welding the stainless to the mild steel, Galvanic corrosion would set in fast!

Dog bowl is a good fit  :D


Use R.V window and door mastic Sandwiched between the 2 steels. It will never harden and always seals well.

 
Back
Top