Timing frustrations

7173Mustangs.com

Help Support 7173Mustangs.com:

This site may earn a commission from merchant affiliate links, including eBay, Amazon, and others.
Wow, only 5 days difference. For heads that were "exchanged" they had to have come off the same engine. It would be too much a coincidence otherwise. If I have it correct it was 71 CC heads that had the 4* (dot), 70 CC was just the 4. Of course, there is another possibility and that is that this IS a complete 1970 engine . You could look at the block codes just above the starter that you would have to remove first I'm afraid, or find the partial VIN on the back of the block as described earlier.

I just love this stuff!

When I first got my car in 08, I really found all the code stuff very interesting and informative. I really enjoyed that part of the hobby, as I'm sure you will too.
You cannot go by the dot. I have two sets of heads that have the dot and are closed chamber. The dot came into play in the 71 model year.

I'll keep the oil pressure up with the drill also. Mine all bled down yesterday.
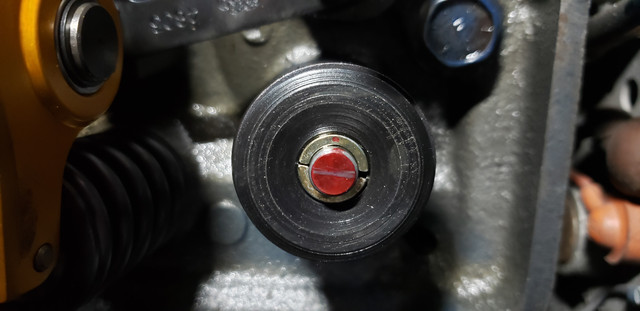
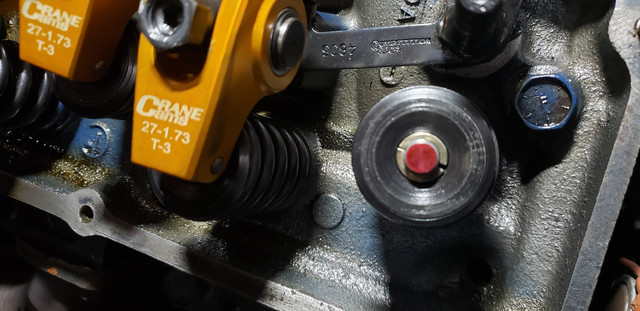
You don't need to do that if you replace a lifter with a solid as Lunati recommends. I have a couple I keep in bottle of oil for this purpose.
 
Last edited by a moderator:
Ok something wrong with the above post. I thought I deleted all but a reply to Hemikiller. It did not post my response which was;

I thought so, 4* 4V heads were 71. the set of N 4V heads I had only had a 4, not dot.

 
Yeah, the reply thing does not seem to be working well today. I had the same issue earlier replying to you. I tried to do so without all my old pics. Didn't work. I want to say the block and heads are from the same motor, but I will need to confirm that with Eddie.

 
Yeah, the reply thing does not seem to be working well today. I had the same issue earlier replying to you. I tried to do so without all my old pics. Didn't work. I want to say the block and heads are from the same motor, but I will need to confirm that with Eddie.
Yes it's strange for sure. Usually just click on the pic you want to delete and hit the delete button, or highlight the text and hit delete, but as you say it's not working that way today. 

Just as a tip, I try to delete all duplicate pictures and often unnecessary text when replying just to save space on the page. I don't do it all the time I'll admit, but we can all save a load of space if we do.

As for the block, it would make sense, but really there's no real difference in the blocks other than a lot of later 72 and I think all 73 blocks were 4 bolt mains. I have a theory on that which is; after the Boss and HO engines were discontinued (due to the so called fuel shortage or insurance hikes), Ford were left over with a ton of extra 4 bolt caps and as the blocks are all cast to take the 4 bolts, it made sense to just use up the stock. The drill and tap operation was already on line, so no problem there. That's my "theory" and I'm sticking to it!!

 
Feeling much better today.

Removed shroud and fan. Should have done that to begin with. Ordered a fan clutch yesterday. Happy about that.

Backed everything off, pulled the dizzy and pumped the lifters back up.

Made all my adjustments again, but doing eight 90* turns and using the wiggle up and down method, not the spinning method that I know I was too aggressive with.

Honestly, doing it the wiggle way made me far more comfortable. After setting my preload, when I turned down the locks, I also got a very different "reading" also in how far deep into the nuts those seated.

Very happy with everything. After I was done, I manually cranked the motor over a couple of times and it was much easier to spin than it was yesterday. Yesterday I was far too tight and it made the motor difficult to spin. Not today.

Also I went ahead and pulled one off of #1, and decided to do the same check Lunati recommends. At zero lash, and after turning the motor over a few more times, I pulled it back off, and I'm right down main street on the valve. I'll just go back and reset that one now.

Here's my before and after. (Or after and before depending upon which way these upload).


Sweet,

Smoke by 5pm ?

We could have a poll as to how much vacuum you will have when tuned.

Boilermaster

 
I like the idea of everyone taking a stab at where I will end up vacuum wise. I know where I want to be, but don't want to jinx myself, so I won't participate. ;-)

Probably no smoke by 5PM though. Will re-set the intake, this afternoon, but will give it overnight to fully cure.

 
In an earlier post Hemi recommended that you verify that the harmonic balancer hasn't slipped, I would also recommend that you make sure the timing pointer hasn't been bent. This will require establishing TDC on #1 cylinder, with a piston stop tool, to verify both.

With a stock cam you should be able to get 12 to 13 inches of vacuum, unless you live in the mountains.

 
It's a good thing I'm not in a rush. Thanks Corona Virus-NOT!! ;-)

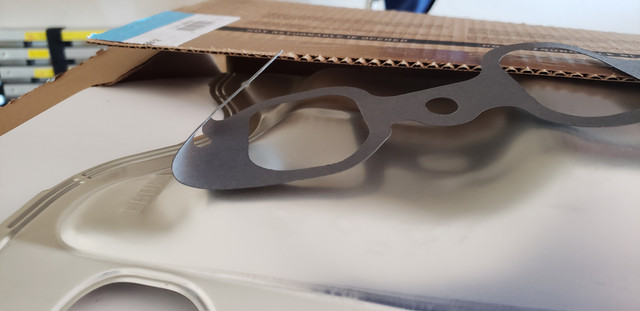
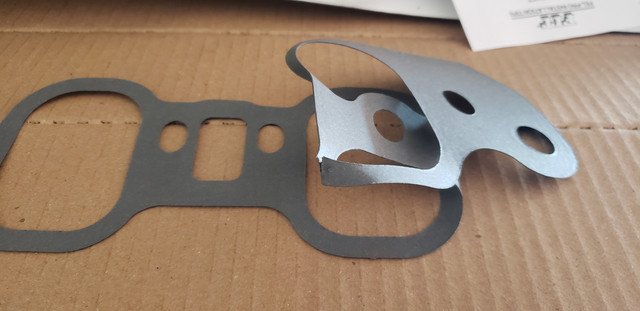
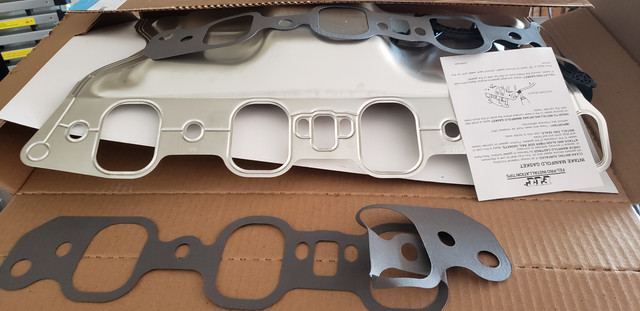
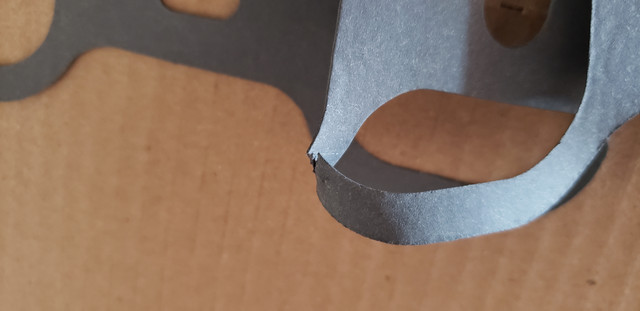
So my Offenhauser 360 intake does have the ports for the exhaust and I've been told that with this intake it is recommended to use the turkey pan. Fine. I have no problem with that. But I refuse to use these paper, and I do mean paper gaskets. Especially when they come in the box partially torn. Thanks Fel-Pro-NOT!

I understand that in using the pan, I don't want a super thick gasket, but there has to be a better alternative to these. The only way I've ever used a gasket this thin before is if I laid down a coating of Copper Spray Gasket before, let it tack for a minute, and then apply a gasket that is this thin.

Because I'm using "The Right Stuff" on the ends, and not those stock rubbers, I'd assume I could use something a tad thicker, no?


Big Red, I'm no expert by a long shot, however I have done the intake on my stock 351C 4V twice now. Last time it was after the second rebuild (long story) and because the engine builder chose to use the rubber end gaskets and of course they leaked oil. I used the Fel-Pro set and yes, the paper gaskets are thin, but what I do is use Permatex 2 non-setting gasket sealer on both the head side and the pan side, putting a small bead around the grooves. I have had zero leaks with mine, which pulls 17-18"Hg. at 800 rpm. I know others have different methods, just saying what worked both times I had to pull and reinstall the intake.

You're a mechanic, so I'm sure you know your stuff, however you're working on a different beast to what you're probably used to.

Good luck with it and I predict 15-16 "Hg. 

The next question will be setting the timing. Does your car still have the Ford factory distributor or something else?
Okay - Time for a side story.I should change my sig to say "Glorified parts changer" US Army. LOL. 

A 63B10 in the Army is wheel and tires, starters, batteries, power steering pumps, glow plugs and glow plug controllers, generators, simple $hit really. We were a "forward" unit. Field fixes. Front lines, "Get it rolling again fast, so we can get the hell outta here" type deal. If it was really broken it went to the next shop up "Rear support". That's where the fun heavy lifting stuff was. I probably did more than I mentioned above, but it's not the good tear down and rebuild stuff. Honestly anyone who learned engines from their dad as a kid is probably better off. 

When I got out in Dec. 95 I went to work at a Ford dealer until sometime in 1998. Got to do some engine replacements, timing chains, head gaskets, and all sorts of stuff. But there is a lot of BS in that job too. At the time Ford had a huge ignition switch recall that affected millions of vehicles. After that hit I think I probably did hundreds of those in a 6 month span. That got pretty boring too. Other times, you had to chase down silly warranty issues. Someone would buy a new Taurus for example, and they would bring it in, and say "When I'm driving 15 mph and turning left going over the railroad tracks my car makes a weird noise". And you would have to waste a bunch of time chasing it down if you were even lucky enough to replicate it. Between all the warranty stuff, recall stuff, brake jobs etc. there never really was much interesting work. If anything truly juicy came in the guys that had been in the shop 20 years with seniority got it. 

Again, anyone who's dad taught them how to rebuild engines knows far more than me. I didn't have that growing up. Wish I did.  

I've always worked on my own stuff though. I had a 1995 Cobra that I liked working on a lot. Last year for the 5.0 for a while. My boat has a 1995 351W in it, and I've done all sorts of things to it, and had to learn a lot about Volvo Penta stern drives. I love my 351W with EFI. Super straightforward. Thank goodness because Ford only did marine engines for a few years. 90% of pleasure boats are Chevy powered. This is my first Cleveland, and yeah, it's certainly got it's oddities. This motor for whatever reason makes me nervous and ask a lot of questions. Anyway, I'll learn those oddities thanks to you guys and all your help. Super appreciated. Seriously, you guys are fantastic! Thanks again all!!!

 
Last edited by a moderator:
Back to the ignition question, this is what I had sent previously via PM.

Here is absolutely everything I know about the ignition system;

Mallory Unilite Distributor Part number 4756701H (Rebuilt and Recurved by Mallory (Year Unknown)) https://www.summitracing.com/parts/maa-4756701

Procomp module inside dizzy. https://speedmaster79.com/Unilite-And-E-...ule?page=1

Mallory Pro Sidewinder 8mm wires. https://www.summitracing.com/search/part-type/spark-plug-wire-sets?fr=part-type&SortBy=BestKeywordMatch&SortOrder=Ascending&keyword=mallory%208mm%20sidewinder

Mallory Coil Part. No. 29216 https://www.summitracing.com/parts/maa-29216

Written on a note that had the UPS tracking number that said distributor rebuilt and recurved by Mallory, he has the note that says "16-18 initial. 18-20 mechanical".
 Big Red, that's an interesting back story. It's nice to learn about other's backgrounds. Thanks for sharing.

As for the ignition, my bad, i should have remembered (getting older is my excuse!!). However, re-posting serves to remind others without digging back through this thread.

Unfortunately, I can't offer a damn thing about Mallory ignitions, but that set-up should be pretty much right on where I have my Ford factory distributor curved to and it pulls like a train. It should run happily at 14-16 initial once everything else is fixed. What you've had to do to your motor is way beyond what I've done. I just know what I've learned from my own messing around and more importantly, from the knowledgeable guys here.

 
In an earlier post Hemi recommended that you verify that the harmonic balancer hasn't slipped, I would also recommend that you make sure the timing pointer hasn't been bent. This will require establishing TDC on #1 cylinder, with a piston stop tool, to verify both.

With a stock cam you should be able to get 12 to 13 inches of vacuum, unless you live in the mountains.
I will indeed verify that. I don't have a piston stop tool,  but I do have a really nice lighted endoscope. https://www.amazon.com/Endoscope-DEPSTECH-Inspection-Megapixels-Smartphone/dp/B01MYTI2HV

I can go in via the spark plug hole also, and literally watch the piston achieve TDC and then see where my timing marks are. Pointer is in excellent shape. 

I already know that I'm not 180* out as I had my thumb on the hole and felt really good pressure as the piston was coming up. I got my dizzy back in EXACTLY where I wanted it. I'm spot on my #1 position on the cap and have plenty of room to set my advance either direction without my vacuum advance hitting anything. 

All in all I am happy with the ignition system. (knock on wood).

 
Big red mach1,

A visual of TDC would only serve to get you into the ballpark , the piston stop method will get you a lot closer.

The best way is with the head off and a dial indicator.

That is why I suggested the spark knock method and then back it off 2 degrees from there.

Would only do this after you have dialed in the carb, even then you might have to back it down more as the weather warms up more.

if you choose to do this, I suggest you do it with the vacuum advance disconnected (as you don't know how many degrees your vacuum advance provides as of yet.

As previously stated you could set your initial timing @14- 16 btdc and set idle mixture and idle speed and hook up vacuum gauge and SEE what 2 more degrees of advance will give you as far as idle vacuum and idle speed.

Boilermaster

 
Piston stop tool, Hmmm, I just use a pencil with an eraser on it after making sure the damn rubber won't fall off! Works close enough for me to feel when it reached TDC. I'm sure a fancy tool would be a bit more accurate though.

The reason for using a pencil with an eraser is not to dislodge any carbon.

 
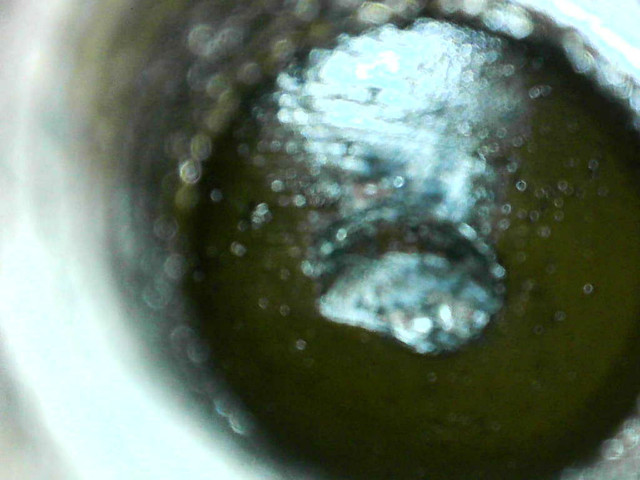
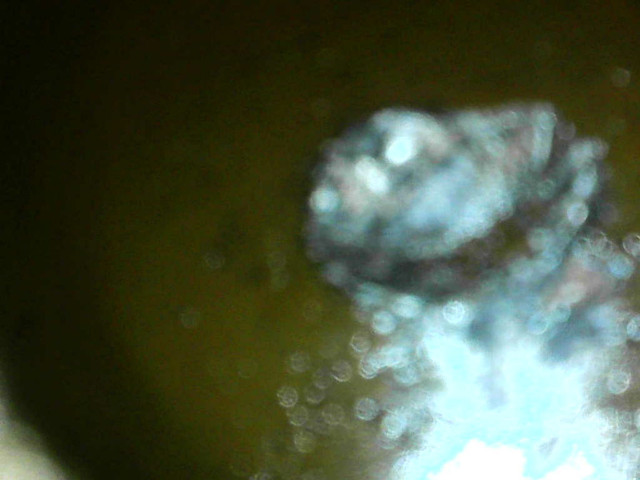
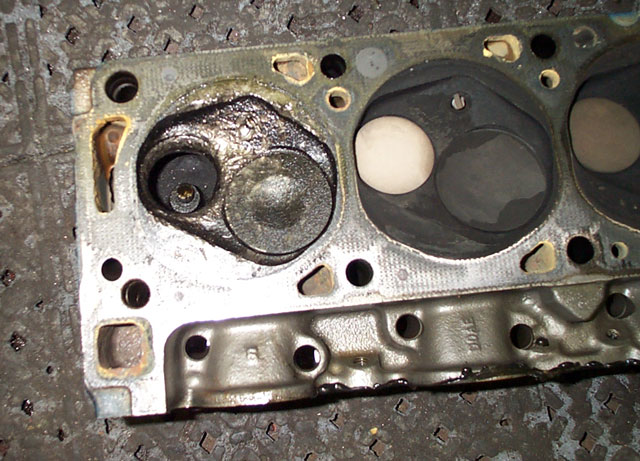
At first I thought it might have been detonation damage, but it looks like he dropped a valve at some point, made the repair and just kept rolling with the piston like that. I have not checked all 8, but 2-3-4 do not look like that. I don't know. Maybe it is detonation damage, but that half moon shape has me thinking valve. Also would think if it were detonation damage it would be more than just #1.

 
Last edited by a moderator:
I'll agree, some form of impact damage, but you won't really know until you get the endoscope to focus, or pull the head.

I doubt it happened on Eddie's watch. Probably the guy he sold it to dropped a valve, "fixed" it and sent it on it's way. If it did drop a valve, you're going to see some damage on the head as well. Also, if it did, those are forged pistons as the valve would have blown right through a cast unit.


Latest posts

Back
Top