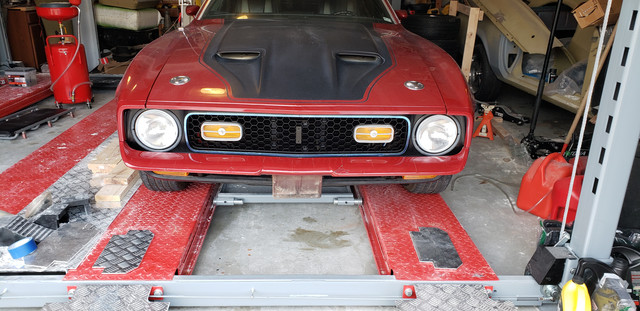
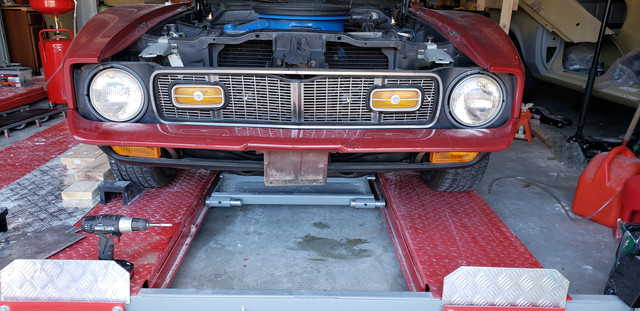
OK - no pictures, unfortunately. But, yesterday I went to the Auto Hobby Shop and got a lift. (Yay! They're working again!).
Nice day for a drive, cool outside, and only a couple folks at the AHS, so no worries getting a lift. Of course, the usual “everybody wants to talk about the Mustang in the parking lot” happened both at Stripes (a local convenience store) and O’Reilly Auto Parts. That went to a whole new level, though – there was a guy about my age (Anthony) with his Dad, Edgar. Edgar was a Vietnam Vet and we were all talking about the Mustang and how Edgar was planning on buying one when he returned from Vietnam, but unfortunately life got in the way and he never did. During the course of talking with them, Anthony asked if I wouldn’t mind doing a favor – take Edgar for a quick spin. I found out they were heading back to Sonora so Edgar and I hopped in and took off down South Bryant – stopping at the Stripes on the way out of town. Along the way, we saw a somewhat ragged-out ’05 ‘Vette making all sorts of ‘race me’ noises… I just waved at him. I did punch it off the line at South Jackson, which put a big ol’ grin on Edgar’s face. After pulling into the parking lot and exchanging a few more pleasantries, I took off and headed for the base. That was pretty fun – Edgar was a cool old guy.
I’ve been having some rattles and squeaks that had me concerned – Since I welded the new front clip on, I’ve been afraid of the possibility of the car folding up like a Swiss Army knife hitting a major bump, and the rattles and squeaks have not exactly been confidence-building. Granted, I added the sub-frame connectors, so I know it’s solid… it’s just one of those things, ya know?
So, that’s Task #1 – fix the squeaks and rattles. First thing, I swapped out the front upper shock bushings (the bottoms of the two ‘upper bushing sandwiches’ were pretty well squished and not the best – passenger side nut was only finger tight). Then did a walk-around above and underneath, and found a few things that had worked loose – the most significant was the export brace mount at the firewall (those triangular bits that go from the shock towers back)… it was loose. As in, ‘almost lost the nuts on the bottom side of the bolts,’ loose. Tightened them up, along with a few other things.
Then moved on to Task #2 – change all the lug nuts. Yeah… apparently, I didn’t pay attention to the ones I ordered. I’m on set #4 now. The first set was some actual Cragar nuts, but 7/16”-20 pitch… which my studs are ½”-20 pitch. Well – crap. Gave those to Gonzo, since they fit his Camaro just fine, and ordered another set of Cragar ½”-20 pitch. Those showed up… and I lost them in the garage somewhere (I thought I’d put them in the trunk so I’d have ‘em when I made a trip to the AHS sometime, but nope… apparently, not). I know… smack me the next time you see me. I finally gave up on trying to find them about a month ago and ordered some more from Summit Racing, ½”-20 pitch. Discovered yesterday that they require a 15/16” socket, which the sidewall is too thick to clear the ‘barely enough room for even the lug nuts to fit’ space – besides, the current lug nuts use a 7/8” thin wall socket (same size as the locking nuts, too). POO-DOO!! I ordered the correct ½”-20 longer lug nuts requiring 7/8” socket when I got home. Still shakin’ my damn head over that one.
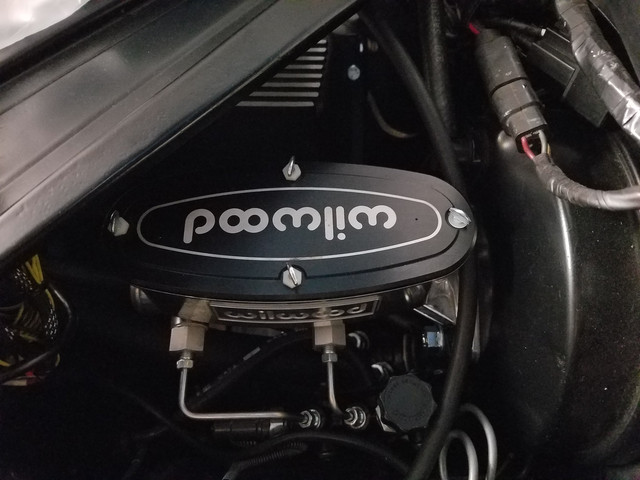
Task #3 was to replace the stud that got stripped out [i’m guessing] by Discount Tire when they did a warranty repair on the left rear. Unfortunately, that is one of the originals, and no matter what I did with the 6-lb sledge, there was zero effect on it wanting to come out. I did manage to mushroom the sh!t out of it, though. Yay! So, Task #3 was a wash. I’ll use my MAP Gas torch in the driveway once of these weekends after I get the new lug nuts and feel like working on those. If that doesn’t work, then I’ll look into pulling the axle and putting it in a press. Although, if I start pulling axles apart to that degree, I’m have to look into what I need to get the rear disc conversion installed (Jim gave me a set-up a few years ago, since he had a ‘small bearing’ set, which his Galaxie was a ‘large bearing’ set – I think I just need a new MC, proportioning valve, and the rotors & pads themselves).
Task #4 was to get the white letters cleaned. My last ditch effort before reversing to black walls was to sand the letters. I fired up my trusty hand-held orbital pad sander with 120-grit and had white raised white letters again in about 10 minutes. Didn’t take much effort at all. Should’ve done that 3 years ago. Oh well – now I know… if it gets like that again, just lightly sand ‘em down. No biggie.
Task #1 was apparently a big success, since I didn’t hear a single squeak or rattle on the way home. Apparently, those sheet metal export braces are a bit more important to the structural integrity than I would’ve thought. Keeping ‘em crossed that ‘that, is the end of that.’ At least if the squeaks or rattles come back, I’ll have a good place to start (those export braces). I might look into a meatier unit to replace ‘em – kinda like the older model ‘K-member’ export braces. I’ll try to hang onto them, since they are unique to the ’71-‘73s, but I’m not opposed to something that’s more function that form – could make all the difference for structural integrity, after all.


