92 GTS-Rs Project Thread

7173Mustangs.com

Help Support 7173Mustangs.com:

This site may earn a commission from merchant affiliate links, including eBay, Amazon, and others.
Joined
Aug 29, 2019
Messages
405
Reaction score
55
Location
North Surrey UK
My Car
1971 Mustang 302 V8
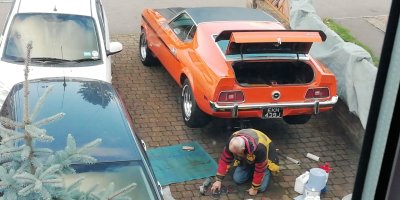
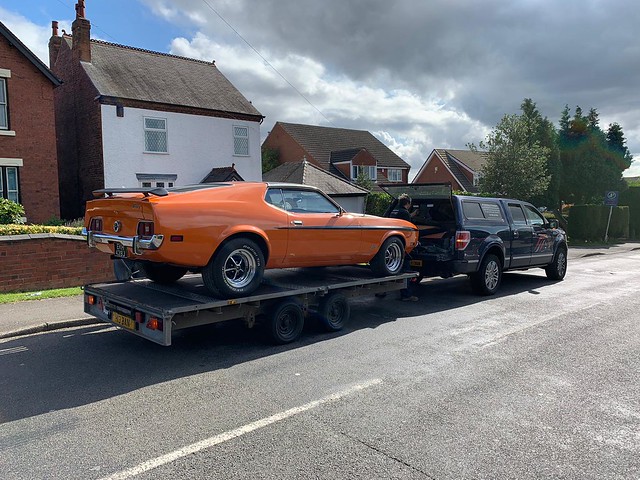
So I purchased this car in the UK and I think I paid over price for what I ended up with :(

That aside, I am trying to get the car watertight and importantly Safe to drive.

I have owned other American cars, but this 71 Mustang is the oldest one I have ever had.  Purchased in good faith (first one I looked at).

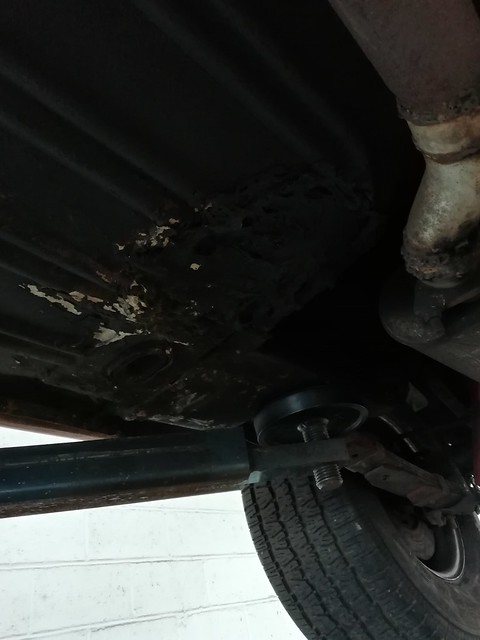
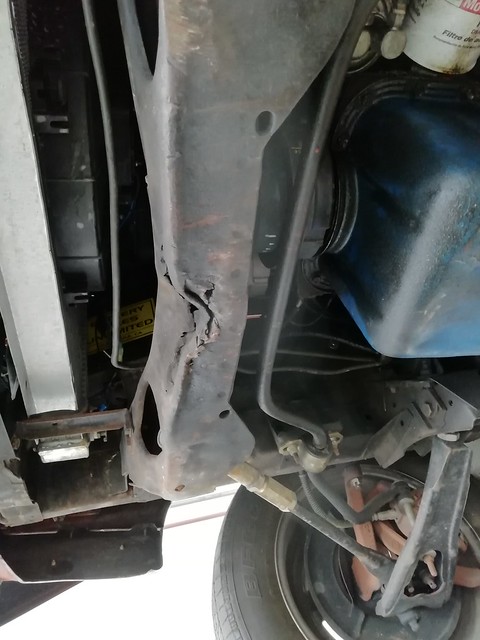
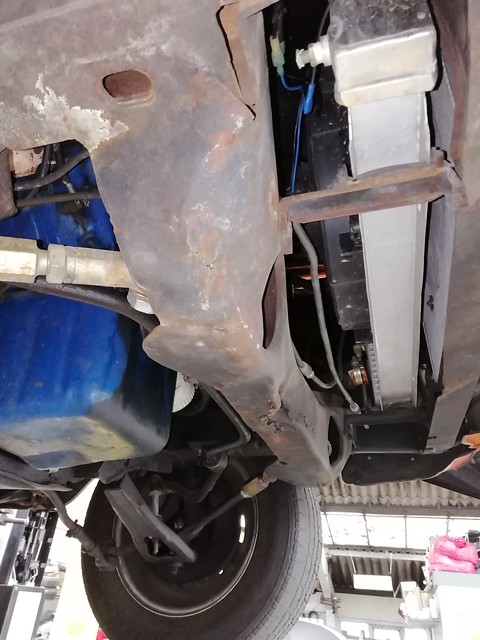
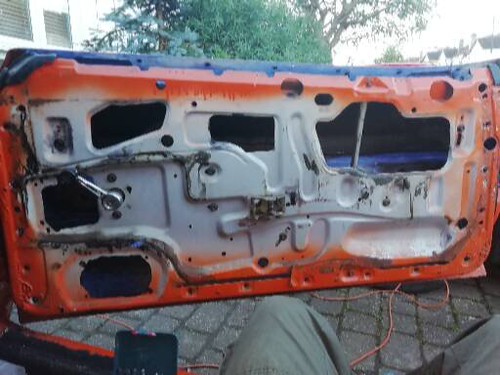
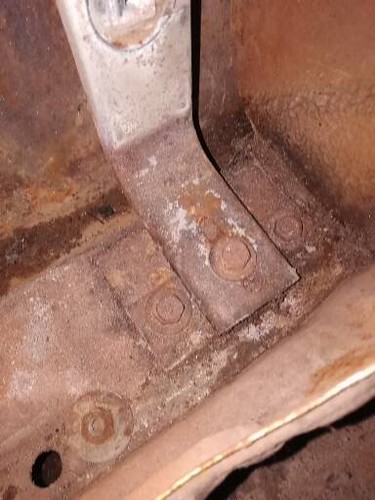
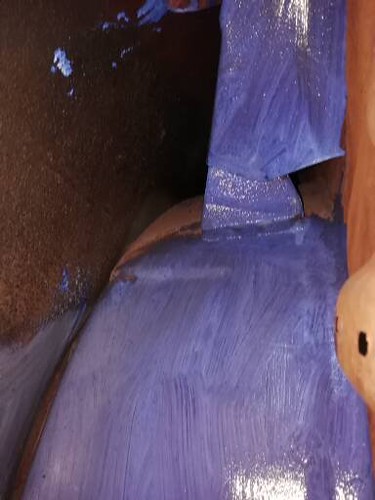
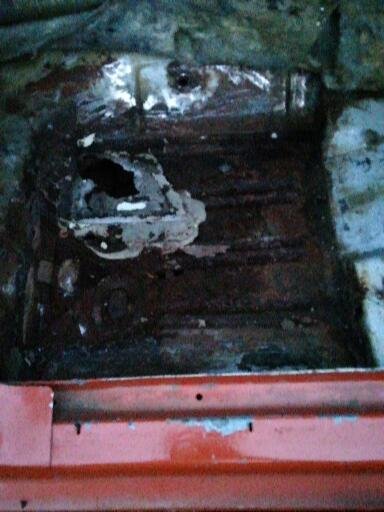
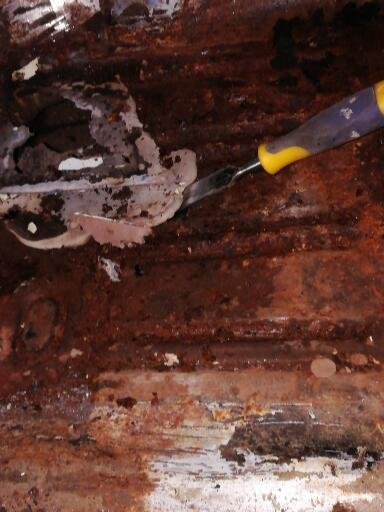
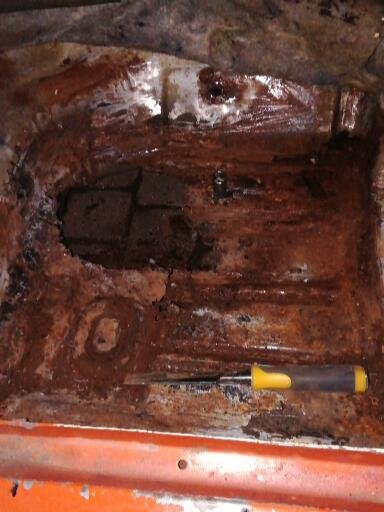
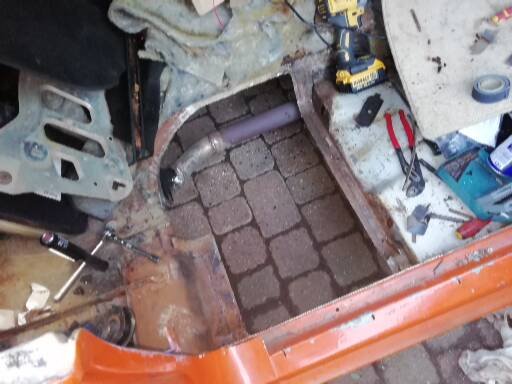
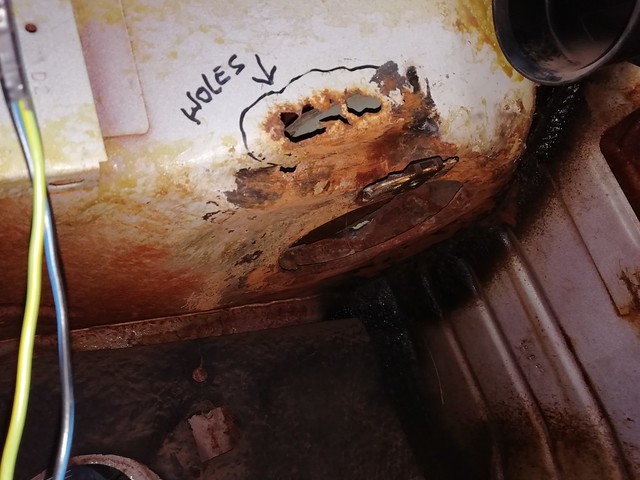
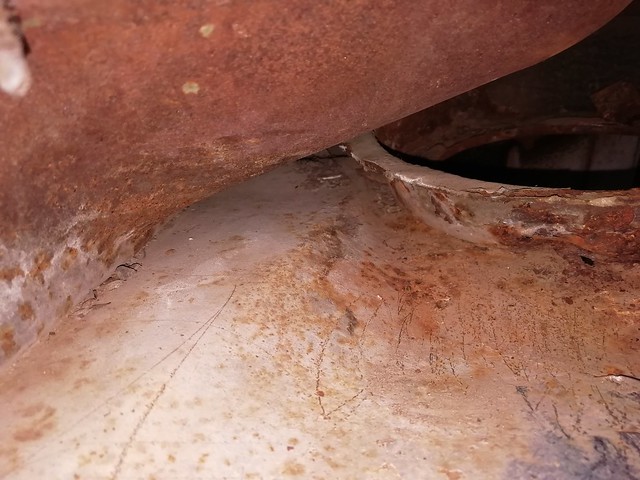
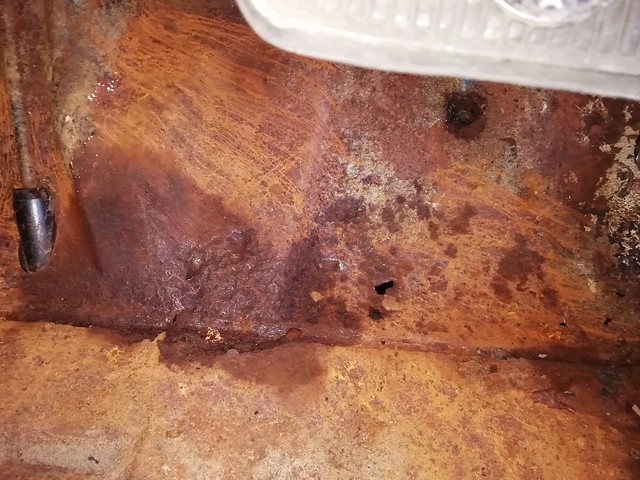
I took a gamble and sadly am uncovering a minefield of bodged repairs.


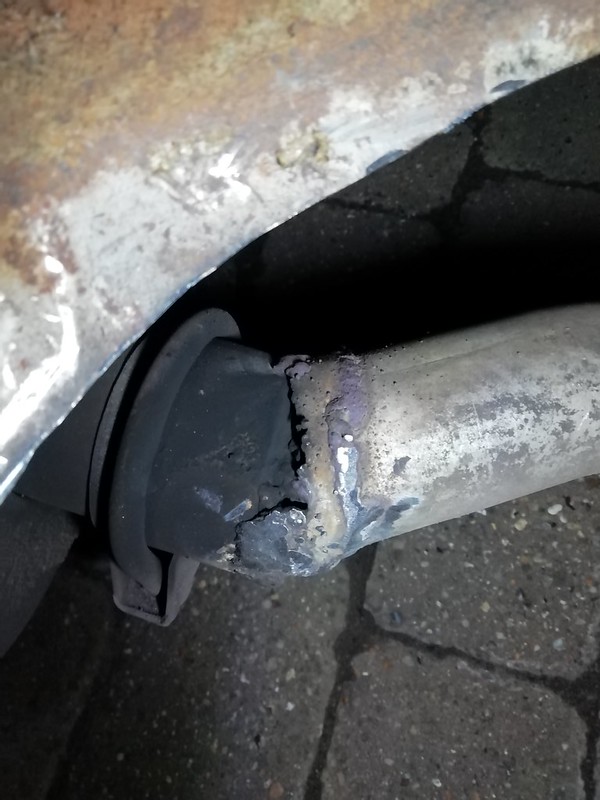
The car was delivered to me and arrived with hardly any gas in the tank, but you could smell fuel in the car.

I drove the car 1/2 mile to the local garage and started to fill the tank, next thing I found was fuel was flooding the garage forecourt and over my feet! :shootself: 

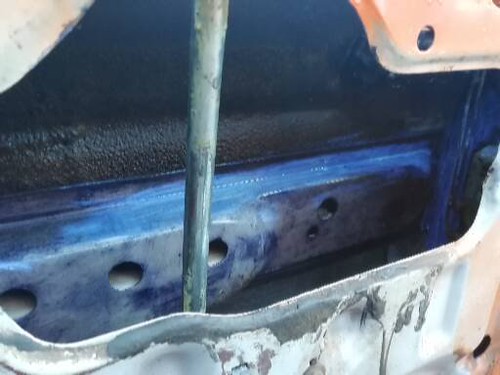
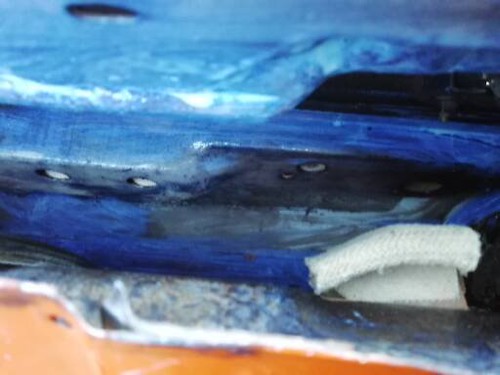
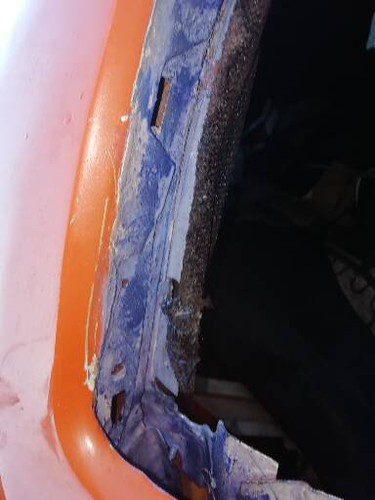
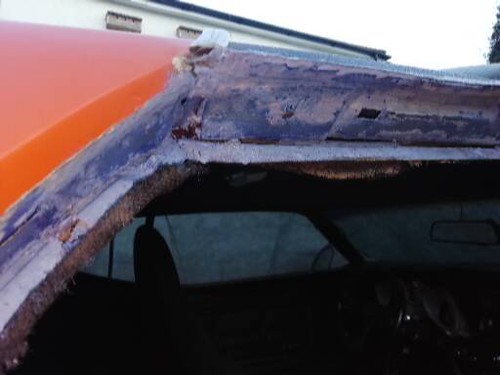
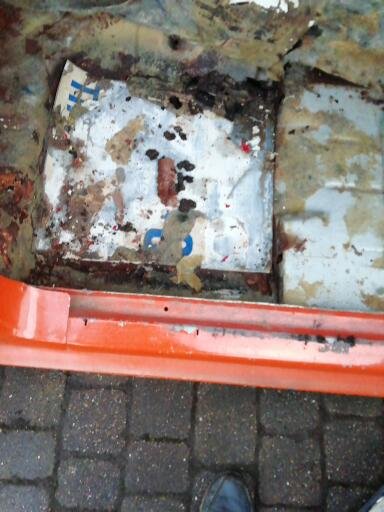
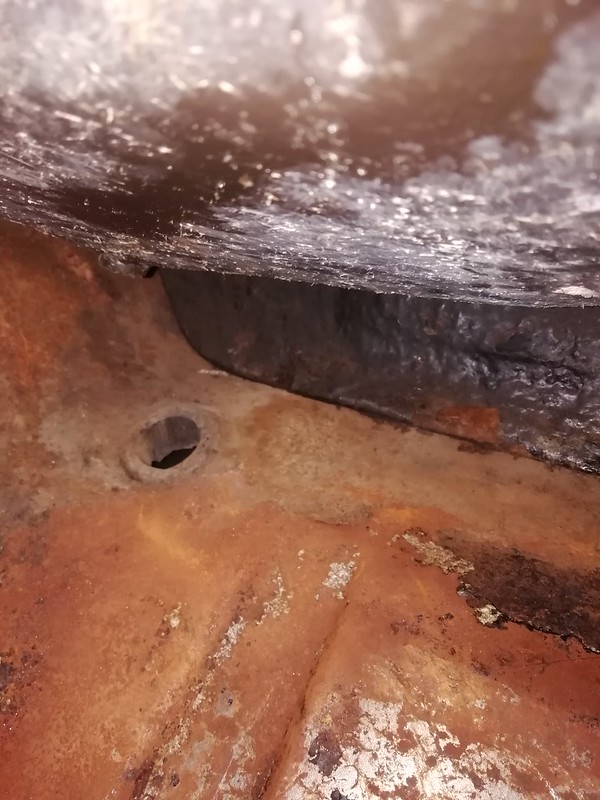
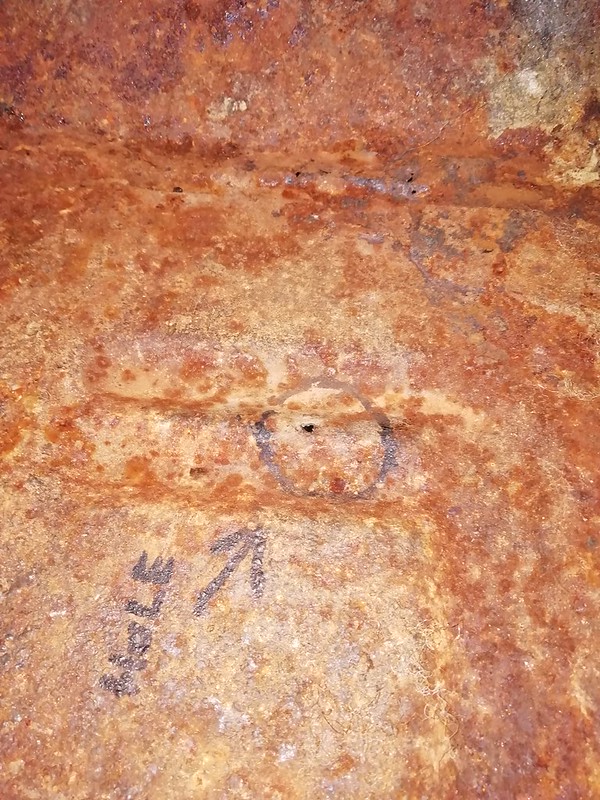
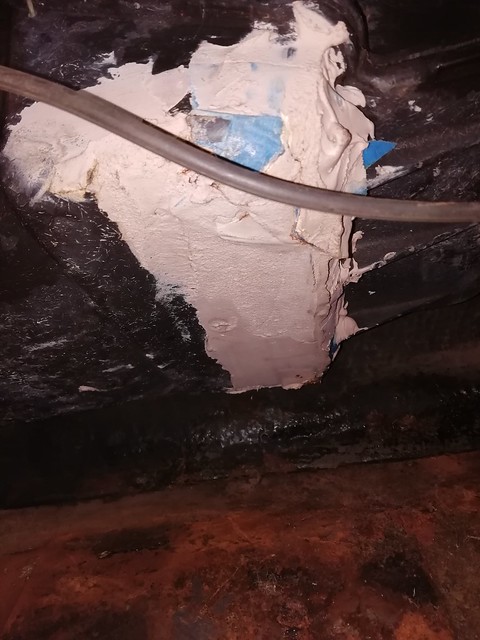
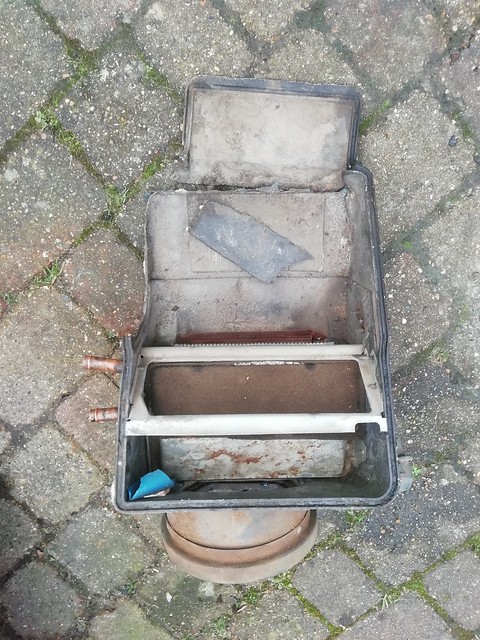
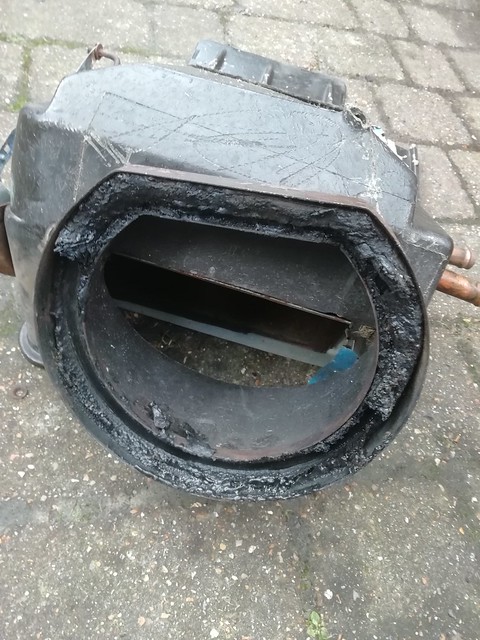
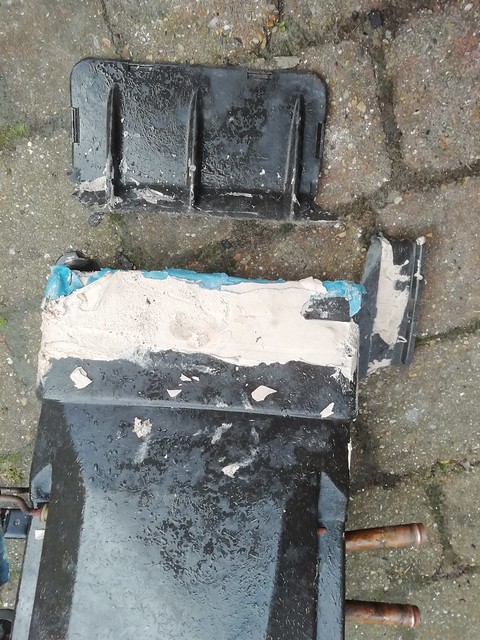
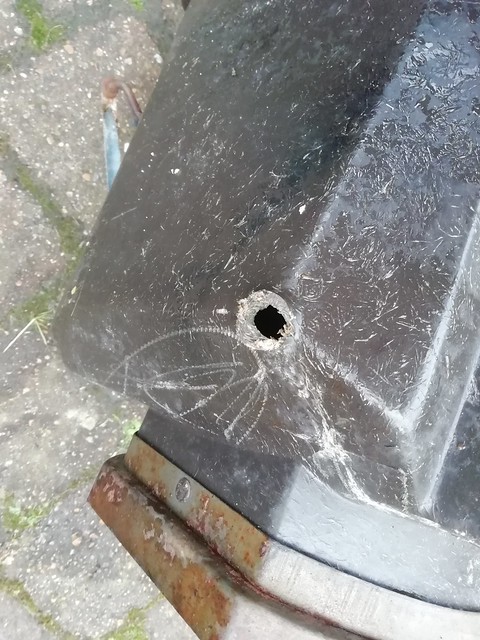
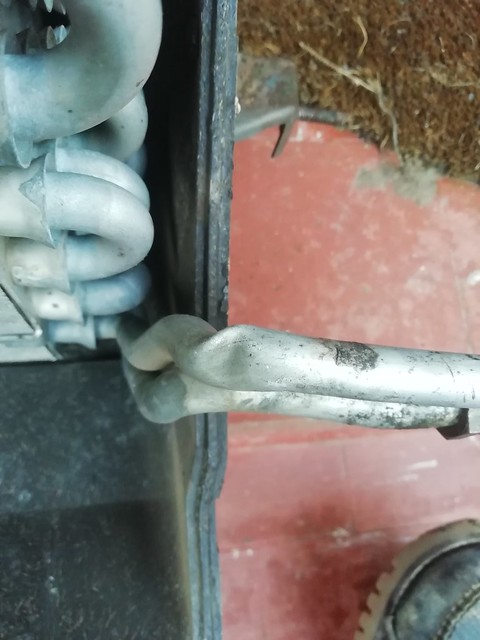
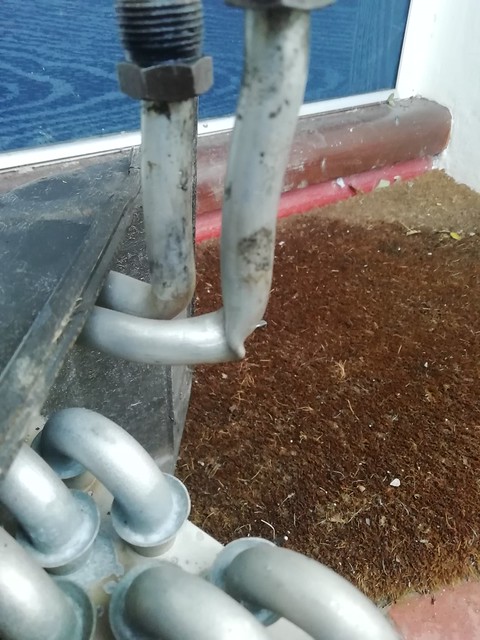
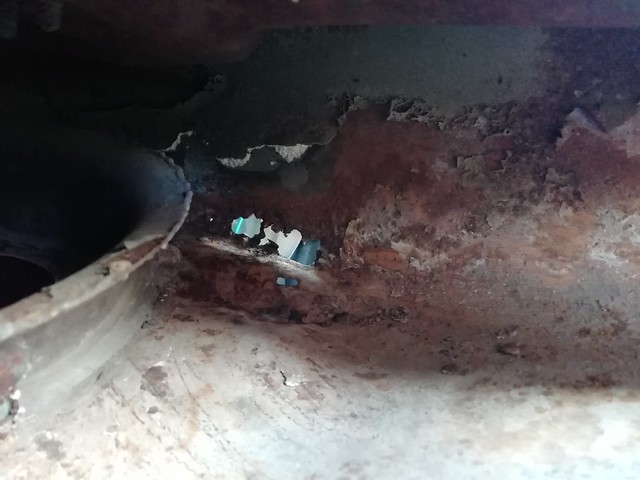
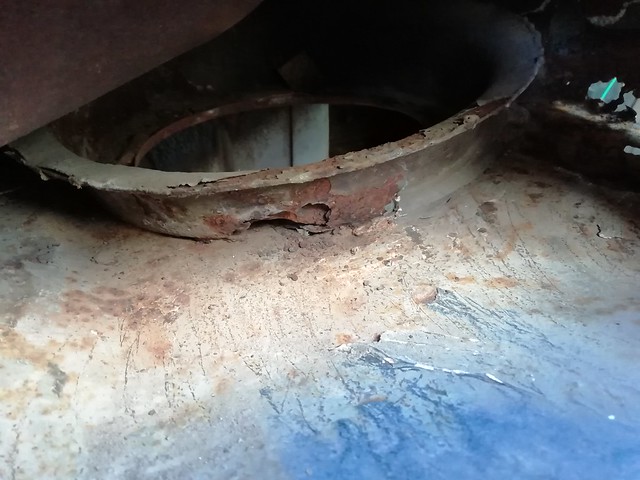
So upon investigation I found all the rubber tank seals had perished!

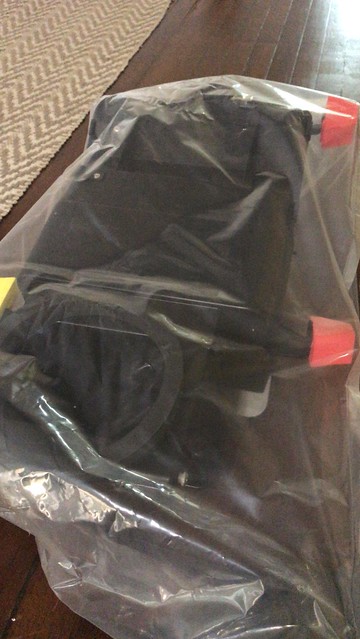
1st Job was to change the parts.

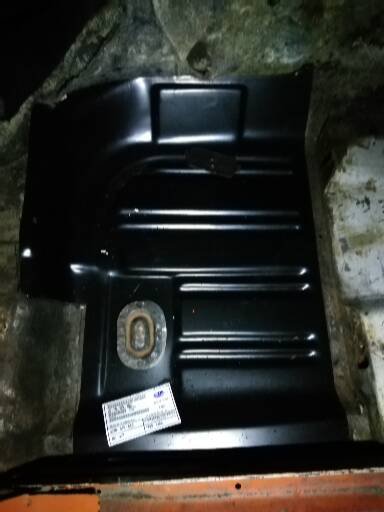
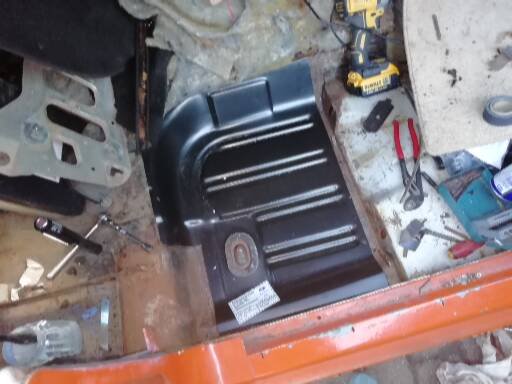
I purchased a new cork gasket for the filler neck to rear panel, a new rubber trunk neck gasket and a new fuel tank collar.


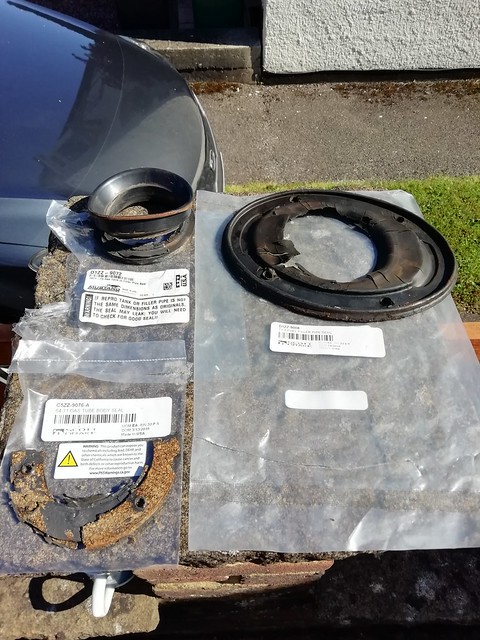
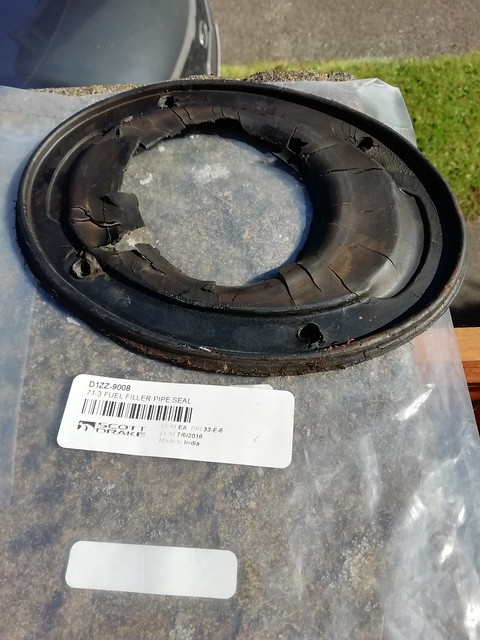
As you can see,the parts were FUBAR!

So that  was Issue No1 Sorted.

Next issue was the car overheated on the 2nd time I took it out.

It turned out the car has been rewired using a harness from Kwick Wire, now someone had wired the radiator fan and A/C fan to the main Heater switch! (No thermostat switch on either radiator)?

So if you turned the heater fan switch off then the car would overheat  :mad:   I also found two relays had burnt out!.

So I have got to go through the whole new harness to work out what has been wired and what has been ripped out of the car.  I am pretty useless when it comes to wiring so I will have to get someone to help me solve the issues.  :huh: 

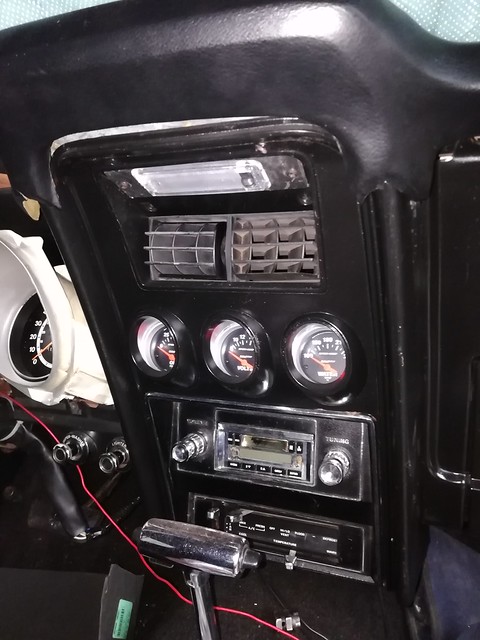
None of the instrument warning lights work, I have checked the bulbs and they do work so it's a wiring issue. 

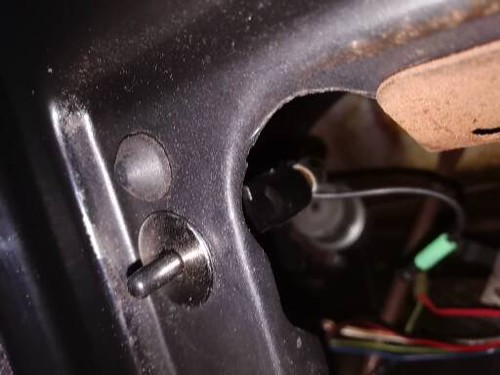
The shifter linkages need adjusting, whoever had the car before must have been a complete idiot, instead of adjusting the linkages correctly, they decided to lengthen the centre slot of the console to allow the lever to travel further back!  

lollerz 

49174243797_4b58a0e862_z.jpg


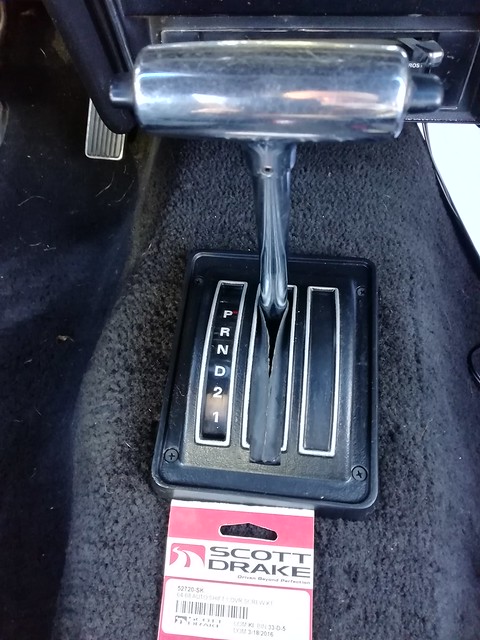
I Purchased 4 new Black screws for the centre shifter cover but looking at other peoples pics, i think these are supposed to be Hex head? 

I have a ton of issues to sort out on the car but I'm trying not to let it get me down.

More updates soon.

 
Last edited by a moderator:
Got the car up in the Air and have found many more problems.

Damaged rear passenger floor pan,

Front suspension strut crossmember bent.

48832937217_4cd197d10f_z.jpg


48832767436_26cc935449_z.jpg


Someone tried to weld up the crossmember!

48832767246_71152f20bd_z.jpg


48832766171_3ef3ff587a_z.jpg


I have purchased a replacement Crossmember and that should be fitted in the next couple of weeks.

49173420288_48d3c86489_z.jpg


The Weatherstripping on the car is in a very poor state and I have also purchased the parts needed.

49173927726_95283a0722_z.jpg


49424609417_00693a5c9a.jpg


One thing many of the companies don't tell you is that there are actually 2 weatherstrips on the outside of the door, the upper weatherstrip normally comes in the new beltline kit, but the lower one is NOT included! This seems nuts to me.

So I managed to find the correct part from NPD.

49424365841_4ac52d7168_w.jpg


I have made a start on Stripping the doors, clearing out surface rust, vacuuming out the crud and treating the interior of the door and quarter panel with water based rust converter I purchased off eBay. Once this is fully dry (and the weather improves) I will spray over this with Grey Zinc primer.

49424698782_2cc429c537.jpg


49424721272_d1a686fc80.jpg


49424721287_6180fd72d6.jpg


I have also started rust proofing the inner quarter panels

Before clearing off the crud,(you can see the moisture build up) :(

49424009763_8a18e7fb2b.jpg


49424488801_db95c464bd.jpg


After rust treatment

49424854311_48e046c56b_z.jpg


I have also had to remove the passenger side roof drip rail as that is damaged and I now need to find a new one :(

49424716767_dd4dee8022.jpg


49424023188_d43b7e44f1.jpg


49424488721_429e9e4299.jpg


Again I will give the rust treatment a blow over with Zinc Primer prior to reassembly.

Now if anyone can help me with advice on the correct sealants and reassembly of the roof drip rails and weatherseals I would appreciate it :)

I will most likely have to order everything from the USA.

Now I needed to do something to cheer me up actually Fitting something on the car (rather than keep removing stuff), so I purchased a interior glove box light from an earlier mustang.

I had to make the empty hole on the glove box frame a little bigger using a step drill and 1st fixed the new light switch and bulb.

49424023378_d077902b60.jpg


2nd job was to fill the empty hole above the centre console where the infamous Map light should be (depending on which model car you have,

my car is a basic 302 so it did not come with the light).

I had seen posts from some old members on here but I did not get any reply on seeking a replacement light, I had seen one on eBay for over $238.00 (which was nuts) So I decided to make my own.

I purchased a Hella interior light (which I think is mercedes and features a 3 position switch) for $9.00 then found an old bit of black plastic and cut the recess for the light to fit, then I shaped the plastic to fit the shape of the centre console. It's not finished yet as I have to clean up the black plastic to get a good finish on it, I also have to wire it up, but I am pleased with the result so far :)

49424708762_61e7c524f0.jpg


49424853951_66129e951e_z.jpg


Last edited by a moderator:
:thankyouyellow: Thanks Don

So I have also been working on the floor pan.......

Removing the side sill cover plate and ripping up the glued down carpet I found this galvanised steel folded up sign!


under the sign the floor was wet (god knows for how long)?


Someone had used Bondo as the glue to hold the metal plate down!  :mad:

Scraping back the floor the chisel went straight through the floor pan!


This car was supposed to be an Arizona rot free car! ........Yeah Right  :mad: 


So the next job was cutting out the Rot ......


This car would now be perfect for Fred Flintstone  lollerz

I have Bedrock for a floor  :D

The new pan fits Good  ::thumb::


My main struggle is I do not have a garage to work on this car, so I'm outside battling with the weather :(

49424577372_06484e6f4e_o.jpg


Will update as progress continues :)

Mark UK

 
Last edited by a moderator:
Found out why the exhaust was blowing! Idiots had welded it up from under the car and could not get to the top part of the exhaust.

I think a 3 year old could have made a better job of welding!

49424018998_aa47d8ba8f_c.jpg


As you can see, this car truly has been worked on by Cowboys!

 
Last edited by a moderator:
Using a Dremel with small drills I managed to Drill out the rusted screw threads and make good the holes where the roof drip rail sits and upper weatherstrip.

I also fitted an electric aerial on the car today. Reason being, I can now get the car cover on and off more easley.

Sadly I keep finding more and more problems with the bodywork.

Just wondering, How easy is it to remove the whole interior dash? I have found rust issues in the lower front cowl area :(

 
Last edited by a moderator:
Well today things just got a whole lot worse :(

Lifting the front carpet I found that there are several small holes in the passenger front floor pan! This is because the Heater box has been broken and the condensate pipe from the A/C is missing.

49484778913_4405fd0739_c.jpg


49484754688_e4ed5359f8_c.jpg


49484754213_bfa8b88b6d_c.jpg


Its looking like I have to remove the whole heater A/C box and repair it, That is a big job!

Being in the UK Shipping a replacement heater box will be very expensive with Duty and customs so I'm not happy at the moment :(

Also I have to address the passenger floor pan issue! Does anyone supply a short front RH floor pan for a 71? They list one for earlier models but I can't find a 71 short floor pan

 
Last edited by a moderator:
I like your determination to work on the car outside in winter in England. Your life would get a lot easier if you spent about $120.00 USD plus UK taxes, to buy the 1971 Ford shop manuals, and the Body, Interior, and Electrical assembly manuals. I could never have properly completed the restoration of my 1972 Mach1 without them. Keep up the good work. Chuck

 
Finally got the Heater box removed after getting the A/C Drained.

This was the state of the Heater box when viewed from under the dash with the glove box insert removed,

49485478907_170ae20abb_z.jpg


49579792591_126cb01814_z.jpg


49580019587_0486c7e72b_z.jpg


49579289958_5bd5707019_z.jpg


49579793276_2631d9a93d_z.jpg


49580020387_caeed01f92_z.jpg


Needless to say a new Heater Box is required!

Now I looked around for a New heater box with A/C and checked out all the usual Websites,

It pays to look around because I got one over $100 bucks cheaper than the going rate!

My new Heater Box

49580207772_3b35bffd9d_z.jpg


Another interesting issue was found when removing the Heater box, Some previous idiot had overtightened the A/C Evaporator Core pipe!

Now its not leaking and I can't see any fracture cracking so I am wondering weather to try and untwist the pipe or leave it as it is? Thoughts?

49580020787_c9a6f1c233_z.jpg


49579793736_924ffa1b27_z.jpg


Next Issue :(

Lower RHS inner Cowl area. This is what I have found so far......

49623743042_98c298dd2f_z.jpg


49623471941_fa5925620d_z.jpg


49623750892_e48891c742_z.jpg


49622955428_a273a7989f_z.jpg


Now I do have a cracked front windscreen, so the screen does need to be replaced, so if I get the screen out I think the best way to tackle this is to remove the hood, cut the top RHS of the upper cowl away and then cut out and replace the lower part :(

Currently I can only find a whole Upper and lower cowl for a 1971?

Is anyone making just the RHS Lower section for a 71/73 yet?

 
Forgot to mention I have also found holes in the Drivers Front foot area too :(

49623479991_db92aebea2_z.jpg


And the LHS Rear floor pan, so have ordered another Rear quarter pan.

I'm not a fabricator and have no experience of welding, but I have found a local guy that used to fabricate and build Hot rods for the dirt oval tracks.

The car is going in for its first bout of welding next week.

I do have a question though, When you do welding to the floor pans, do you cut the hole out to exactly match the replacement panel or do you leave a 1/2" lip all round so that the new pan has a bit of extra metal to hold it in place? Probably a dumb question, But I'm here to learn.

 
Last edited by a moderator:
Because it has a 302 engine it likely came with an 8" rear axle, so a 9" is an upgrade to a stronger rear end, but they can either be an open differential, or one with a locker or posi-traction (EquaLok).

To answer an earlier question about having an overlap when installing the floor pan, the overlap will make it a little stronger and easier to weld, but the benefit is short-lived. The overlap provides a place where moisture can penetrate and take a long time to dry out, giving it plenty of time to rust out the edges of your new floor pan.

And, yes, windshields are available, here's one vendor:

https://www.npdlink.com/1965-1973-mustang/body-exterior/windshield?year=1971

 
Last edited by a moderator:
Thank you, that's what I was thinking  too about the Floor Pan,  so I will tell him I want it Butt welded.

Thanks also for the Diff rear end info.  ::thumb::

Thanks also for the Windshield link, looks like the same part number as my current screen :)

 
Last edited by a moderator:
DW772 is the number assigned to the windscreen by the auto glass industry. You'll want to refer to that, as many place have difficulty with the coupe/fastback distinction, since they are both coupes by definition.

DW773 is the glass for 71-73 coupe & convertible

 
Forgot to mention I have also found holes in the Drivers Front foot area too :(

49623479991_db92aebea2_z.jpg


And the LHS Rear floor pan, so have ordered another Rear quarter pan.

I'm not a fabricator and have no experience of welding, but I have found a local guy that used to fabricate and build Hot rods for the dirt oval tracks.

The car is going in for its first bout of welding next week.

I do have a question though, When you do welding to the floor pans, do you cut the hole out to exactly match the replacement panel or do you leave a 1/2" lip all round so that the new pan has a bit of extra metal to hold it in place?  Probably a dumb question, But I'm here to learn.
All the rust areas you have shown are very common. My car is a duplicate to yours, probably worse. I didnt see the amount you paid for your car? not that it matters however Im sure these forum folks can do the quick math and tell you how much your going to get into the repairs as pictured. Being Ive done all the ones you have shown so far I can answer some of your concerns. I just posted some pics on the cowl repair. That one is a cuss word and a half. :mad:

Anyone can buy a car restored! most of the fun on these cars is the build and the satisfaction of doing it yourself. Sometimes it will mind boggle you. rest assured the folks on here will help you leaps and bounds. 

I see the rust converter you are using is the milky one that turns black when painted on. I would suggest por-15.  Home improvement centers sell a acid concrete etcher called Klen Strip concrete and metal prep. It contains Phosphoric acid. The rust will simply go away when soaked or sprayed on rusty areas. Then apply por-15 on that area for permanent protection.

My buddies and nieghbours always give snide remarks like. Man you should of bought a car done! Your going to have to much money in that car when completed.  My response is.......Maybe but In the end I have a mustang and you dont!  lollerz

Good luck and keep smiling!

 
Oh Yea,

Surfing around on the Net I found the Original advert of the Guys selling my car in the USA

https://www.affordableclassicssandiego.com/1971-ford-mustang-fastback-c-12538.htm

Anyone know this car?

According to the Advert it has a 9" rear diff upgrade?  What does that mean?  I do know if I try to spin the wheels on the car only one side spins, So it's not a LSD (unless that's broke too)!.
Have you purchased Marti Report to see where this car was sold new at? With the amount of rust in the floors I would expect this car spent time in the Midwest USA. Most California cars have a lot less rust.


Latest posts

Back
Top