- Joined
- Sep 8, 2018
- Messages
- 2,045
- Reaction score
- 1,145
- Location
- Ross, Ohio
- My Car
- 71 Sportsroof Bright Red.
Just wanted to share my windshield installation. I notice a couple of other post but there wasn’t much for the front windshield. I hope this will help someone in the future.
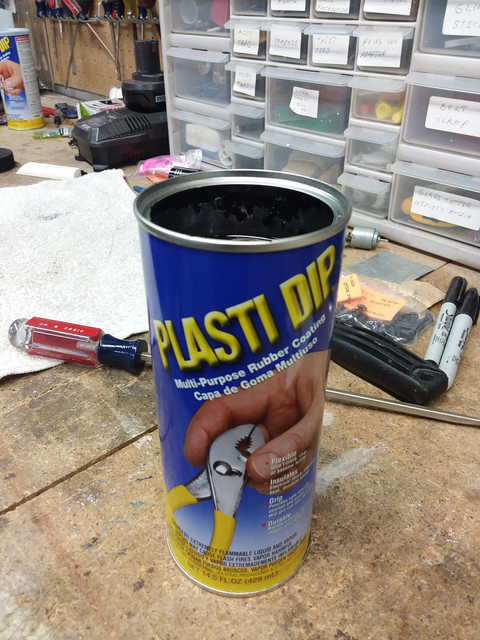
Some of the prep work I did first was to recoat the two window rest brackets. They originally had a rubber coating on them that was dried out and brittle. I consider different ways to replace it and ended up deciding to use Plasti Dip rubber coating. I dipped each rest 4 times to build up a nice layer. Next, I checked the window frame area to make sure all areas were smooth and clean. I finished up by replacing all the molding clips with new ones. Make sure these are seated all the way down.
I installed the rest brackets.
Next with the aid of my helper (wife) we did a dry fit of the windshield. This is to check the clearance around the edges and to see if any shims might be needed on the rest to raise the windshield up. In my case I needed to add a shim on the right side. I used a piece of rubberized plastic. After reading several articles I decided to use 3M ribbon sealer as the adhesive. The following is the list of material I used.
Plasti Dip
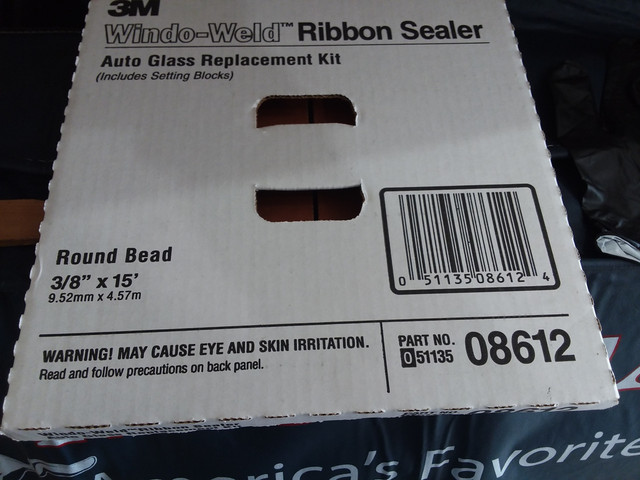
3M Ribbon Sealer - 08612
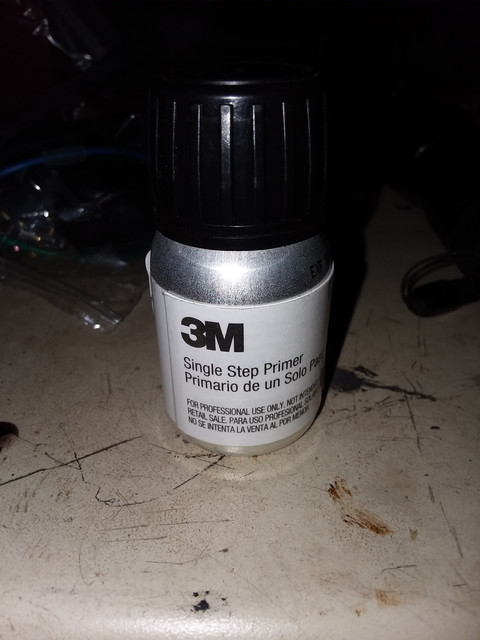
3M Primer – 08682
Don’t forget to get a windshield channel for the bottom.
I used the primer on both the car and the windshield. During the dry fit I mark the windshield at the bottom where it makes contact with the car body. You will need this to know where to put the primer on the windshield at the bottom.
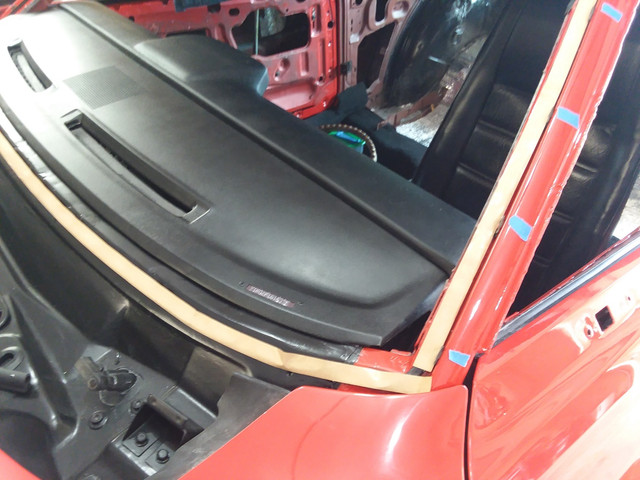
I took the 3m ribbon and in one continuous strip place it on the car. DO NOT remove the backing. If you remove it make sure to put back on before placing the windshield in place. Using a small piece of wood about 4 inches long I went around the frame and pressed down with a little pressure on the ribbon sealer to make sure it was adhered to the frame. With the outer edge of the window primed and the channel on the bottom we went ahead and put the windshield in place.
Since the backing is still on the sealant you can adjust the windshield as need. Once you are satisfied with its placement you can remove the backing. To do this sit in the car and push the top of the windshield out a couple of inches. You helper can then remove the backing from the sealant. Once remove allow the windshield to rest back in on the sealant. Now you will want to go around the windshield and press it into the sealant to set it in place. Once done you go ahead and put your trim back on.
Several things to note. The painter had painted the A pillar and below the top of the cowl on the side. These areas can be seen through the glass so you will need to black them out. I had to remove the dash to get back in these areas to touch up with paint. You do not need to apply a lot of pressure to set the glass. The ribbon is 3/8 inch and I figured I compressed it down to 1/4 inch.
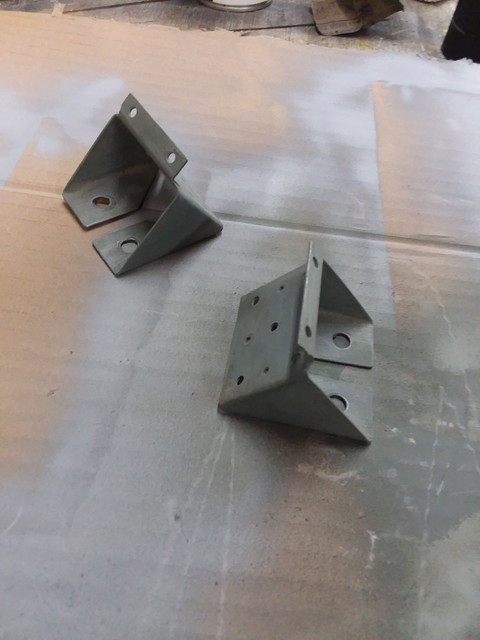
Windshield rest brackets cleaned and primed . I painted black before I dipped them.
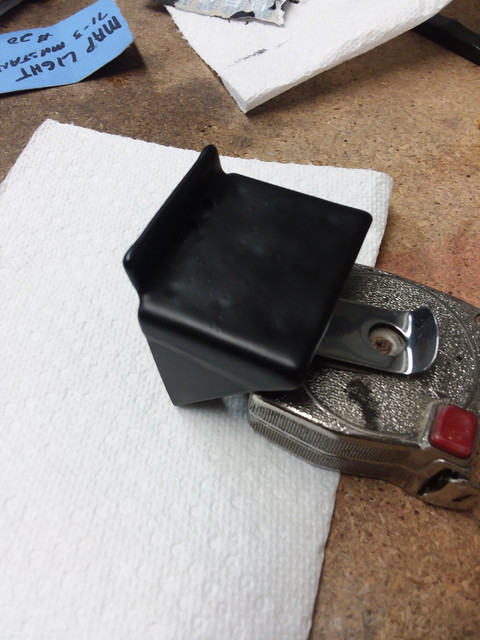
After 4 dips.
Note that I cut the backing tape at the corners but not the sealant. The two ends meet in the middle at the bottom. You can peel it off while placing the sealant just make sure you place it back on before installing the windshield.
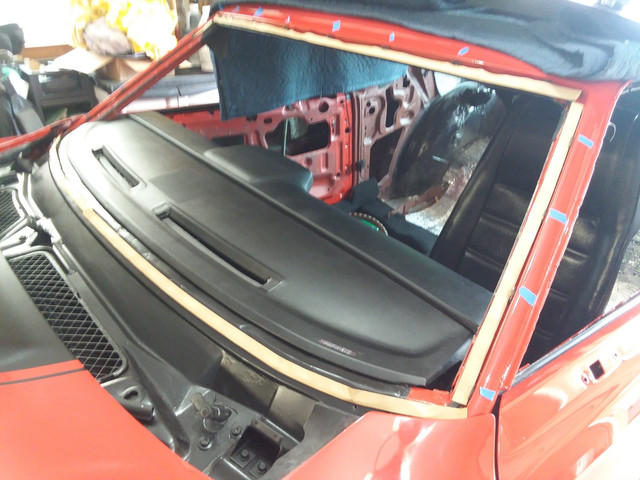
We placed the windshield on top of the roof since we needed the hood open and there were only 2 of us. Used a movers blanket for protection.
Note the red paint along the A pillar and at the bottom. These areas need to be blacked out. Even with the A pillar trim in place you will see some body color.
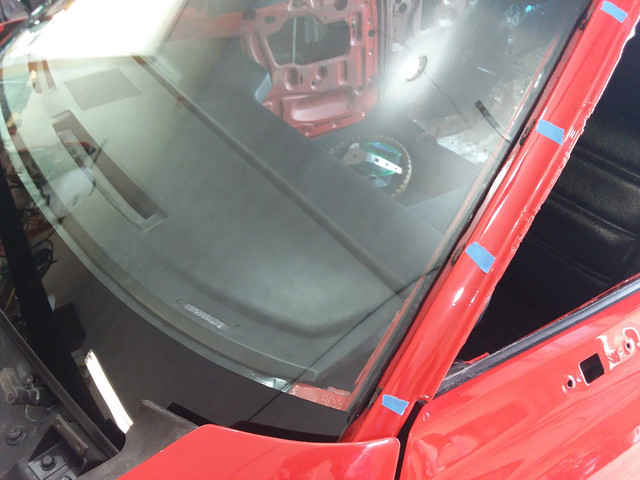
I put tape where the clips are so I know where to press when putting the molding back on.
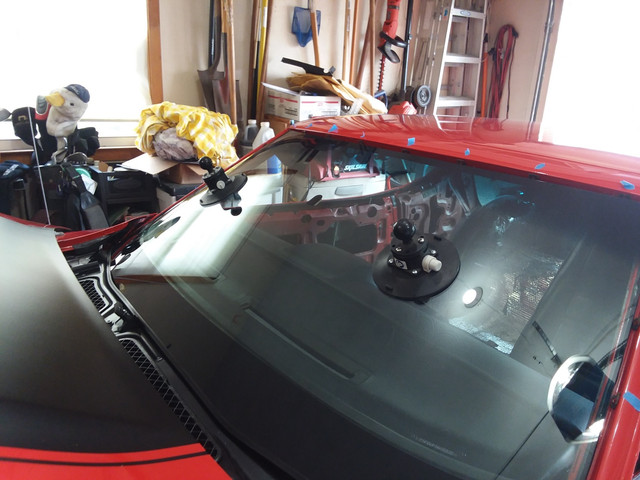
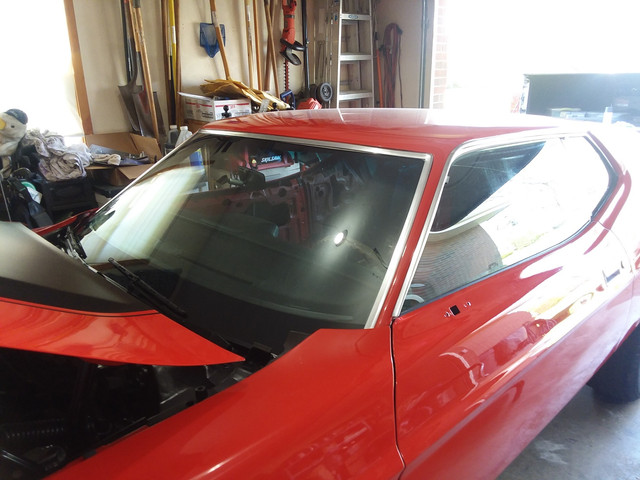
Window in and done.
Some of the prep work I did first was to recoat the two window rest brackets. They originally had a rubber coating on them that was dried out and brittle. I consider different ways to replace it and ended up deciding to use Plasti Dip rubber coating. I dipped each rest 4 times to build up a nice layer. Next, I checked the window frame area to make sure all areas were smooth and clean. I finished up by replacing all the molding clips with new ones. Make sure these are seated all the way down.
I installed the rest brackets.
Next with the aid of my helper (wife) we did a dry fit of the windshield. This is to check the clearance around the edges and to see if any shims might be needed on the rest to raise the windshield up. In my case I needed to add a shim on the right side. I used a piece of rubberized plastic. After reading several articles I decided to use 3M ribbon sealer as the adhesive. The following is the list of material I used.
Plasti Dip
3M Ribbon Sealer - 08612
3M Primer – 08682
Don’t forget to get a windshield channel for the bottom.
I used the primer on both the car and the windshield. During the dry fit I mark the windshield at the bottom where it makes contact with the car body. You will need this to know where to put the primer on the windshield at the bottom.
I took the 3m ribbon and in one continuous strip place it on the car. DO NOT remove the backing. If you remove it make sure to put back on before placing the windshield in place. Using a small piece of wood about 4 inches long I went around the frame and pressed down with a little pressure on the ribbon sealer to make sure it was adhered to the frame. With the outer edge of the window primed and the channel on the bottom we went ahead and put the windshield in place.
Since the backing is still on the sealant you can adjust the windshield as need. Once you are satisfied with its placement you can remove the backing. To do this sit in the car and push the top of the windshield out a couple of inches. You helper can then remove the backing from the sealant. Once remove allow the windshield to rest back in on the sealant. Now you will want to go around the windshield and press it into the sealant to set it in place. Once done you go ahead and put your trim back on.
Several things to note. The painter had painted the A pillar and below the top of the cowl on the side. These areas can be seen through the glass so you will need to black them out. I had to remove the dash to get back in these areas to touch up with paint. You do not need to apply a lot of pressure to set the glass. The ribbon is 3/8 inch and I figured I compressed it down to 1/4 inch.
Windshield rest brackets cleaned and primed . I painted black before I dipped them.


After 4 dips.


Note that I cut the backing tape at the corners but not the sealant. The two ends meet in the middle at the bottom. You can peel it off while placing the sealant just make sure you place it back on before installing the windshield.

We placed the windshield on top of the roof since we needed the hood open and there were only 2 of us. Used a movers blanket for protection.

Note the red paint along the A pillar and at the bottom. These areas need to be blacked out. Even with the A pillar trim in place you will see some body color.

I put tape where the clips are so I know where to press when putting the molding back on.

Window in and done.


